Discover the Magic of Black Magic Cake
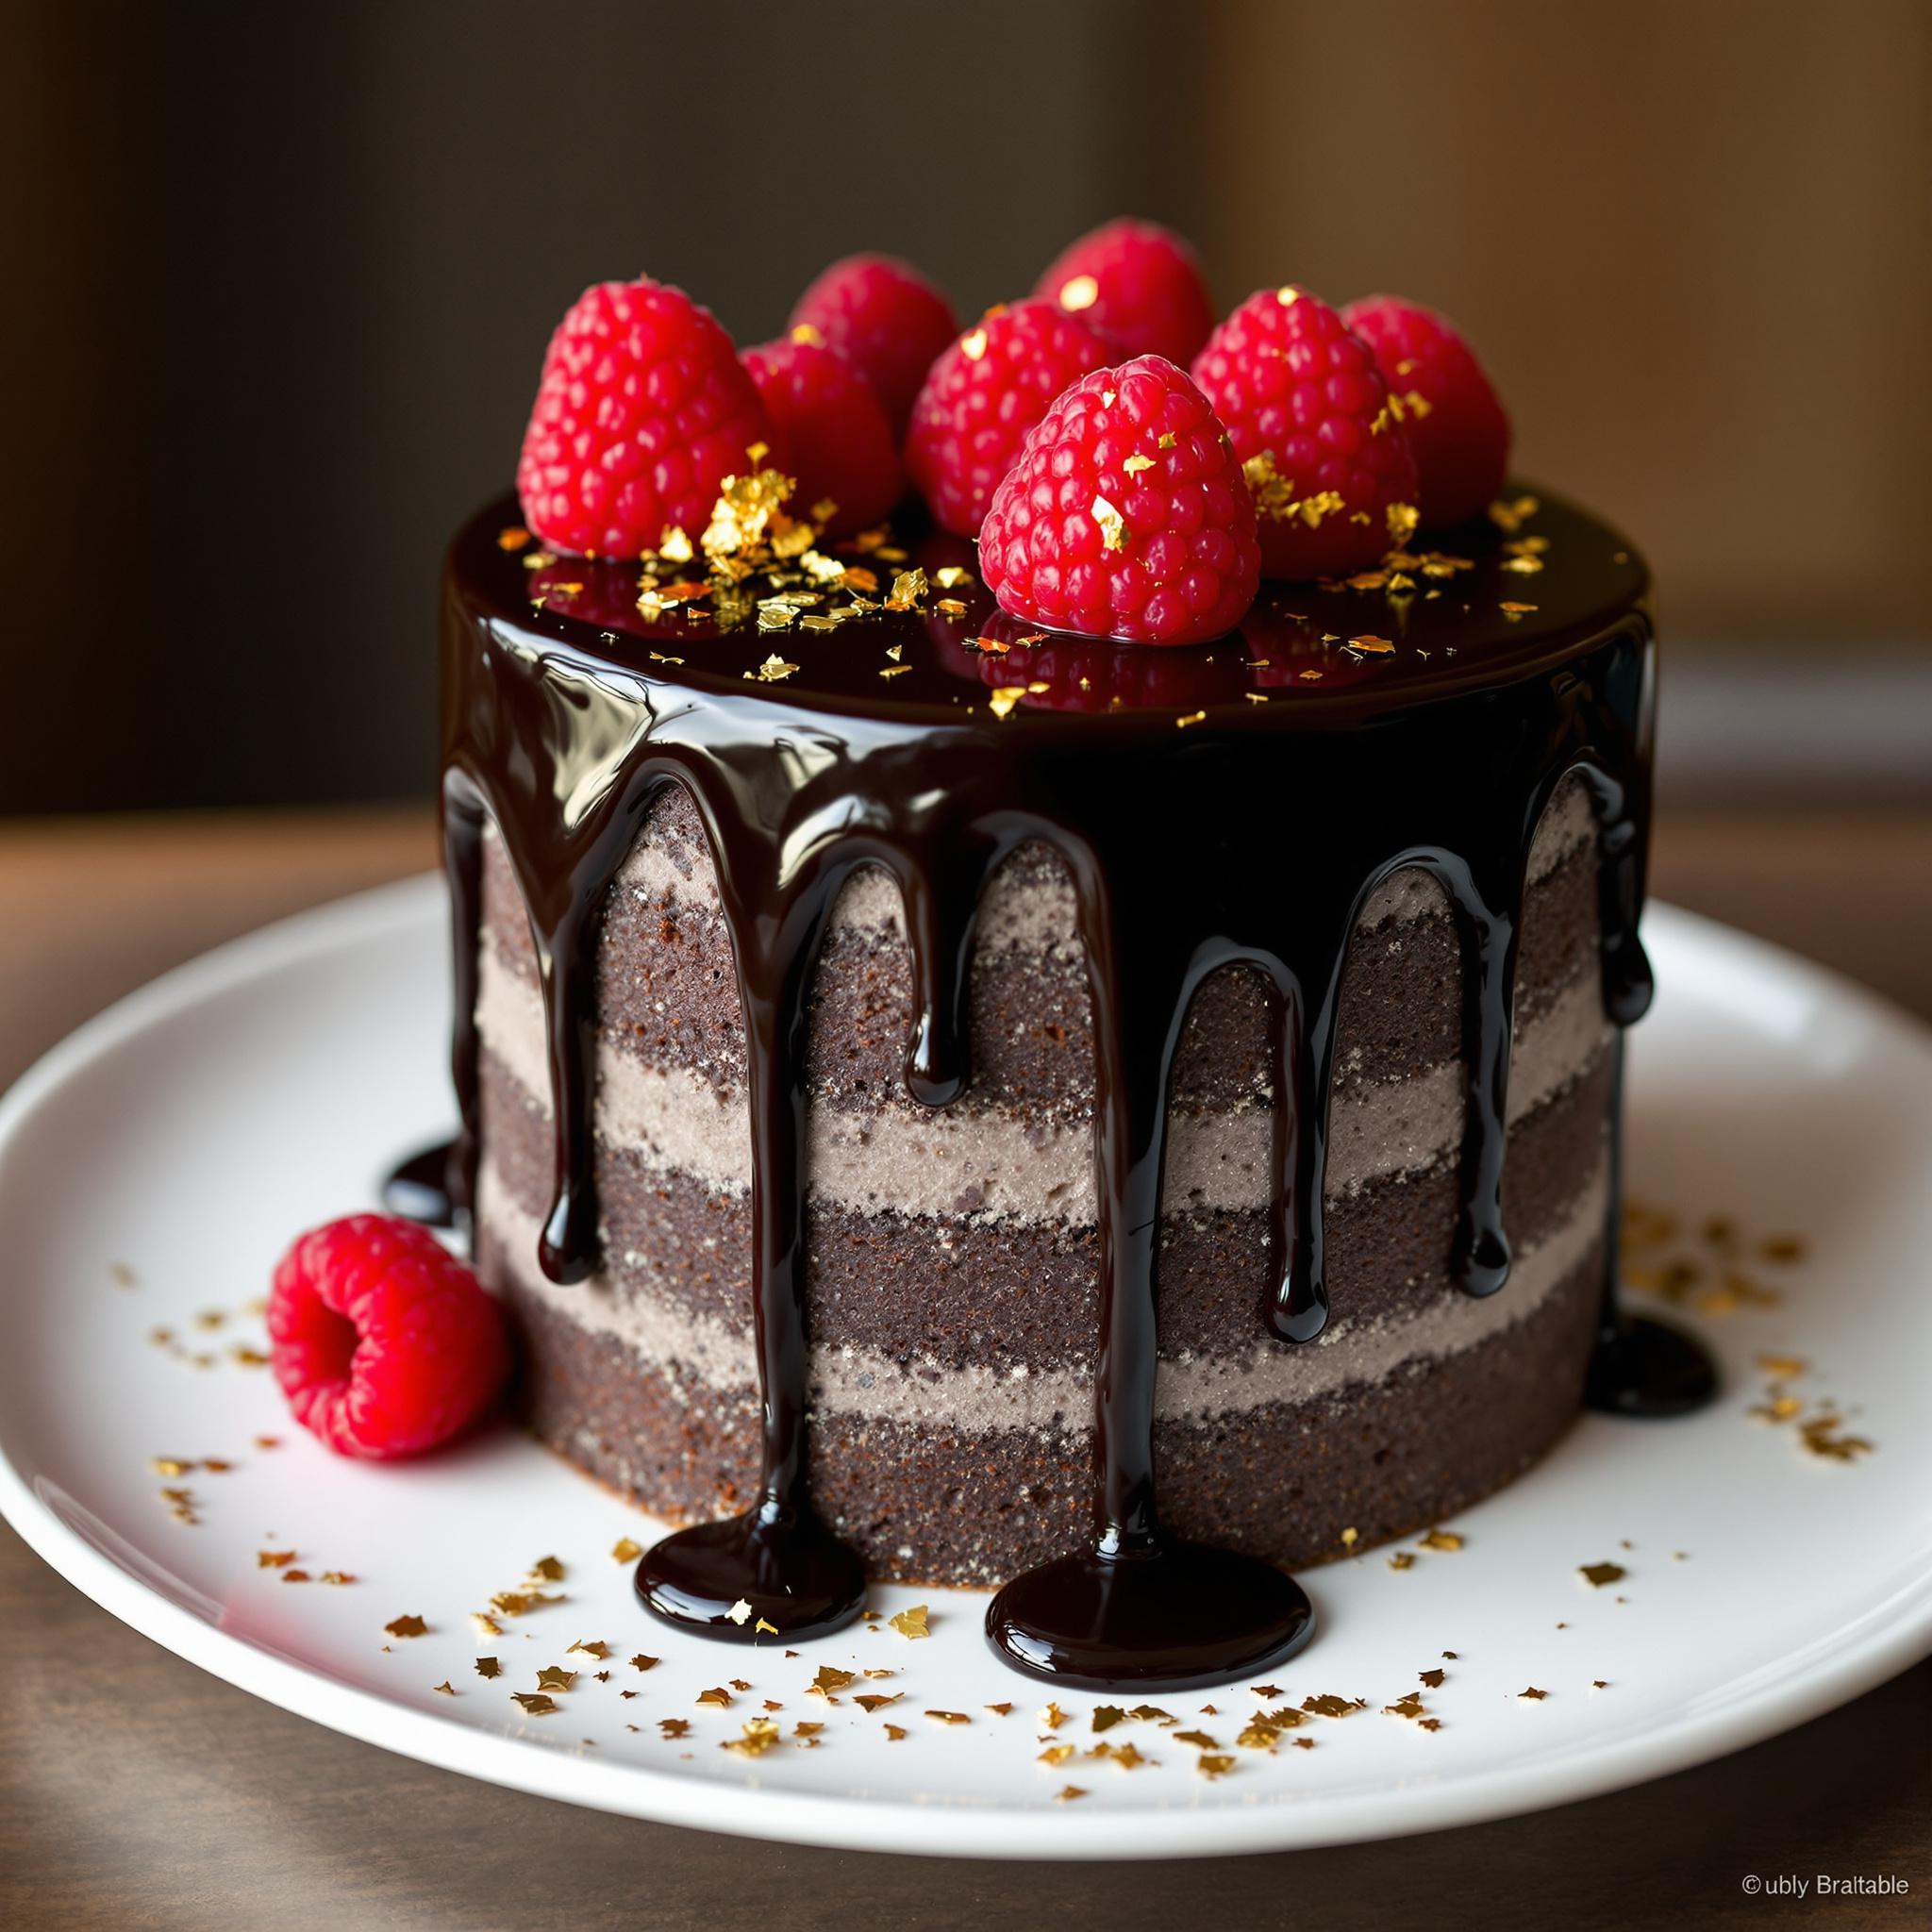
There’s something truly enchanting about a dessert that feels like pure indulgence yet is surprisingly easy to make. Enter Black Magic Cake, a rich, decadent chocolate cake that has stolen my heart—and will steal yours too! This cake isn’t just about its deep, velvety flavor; it’s about how effortlessly it comes together. Whether you’re baking for a special occasion or simply craving something sweet, this black magic dessert is sure to cast a spell on your taste buds.
The Origins of Black Magic Cake
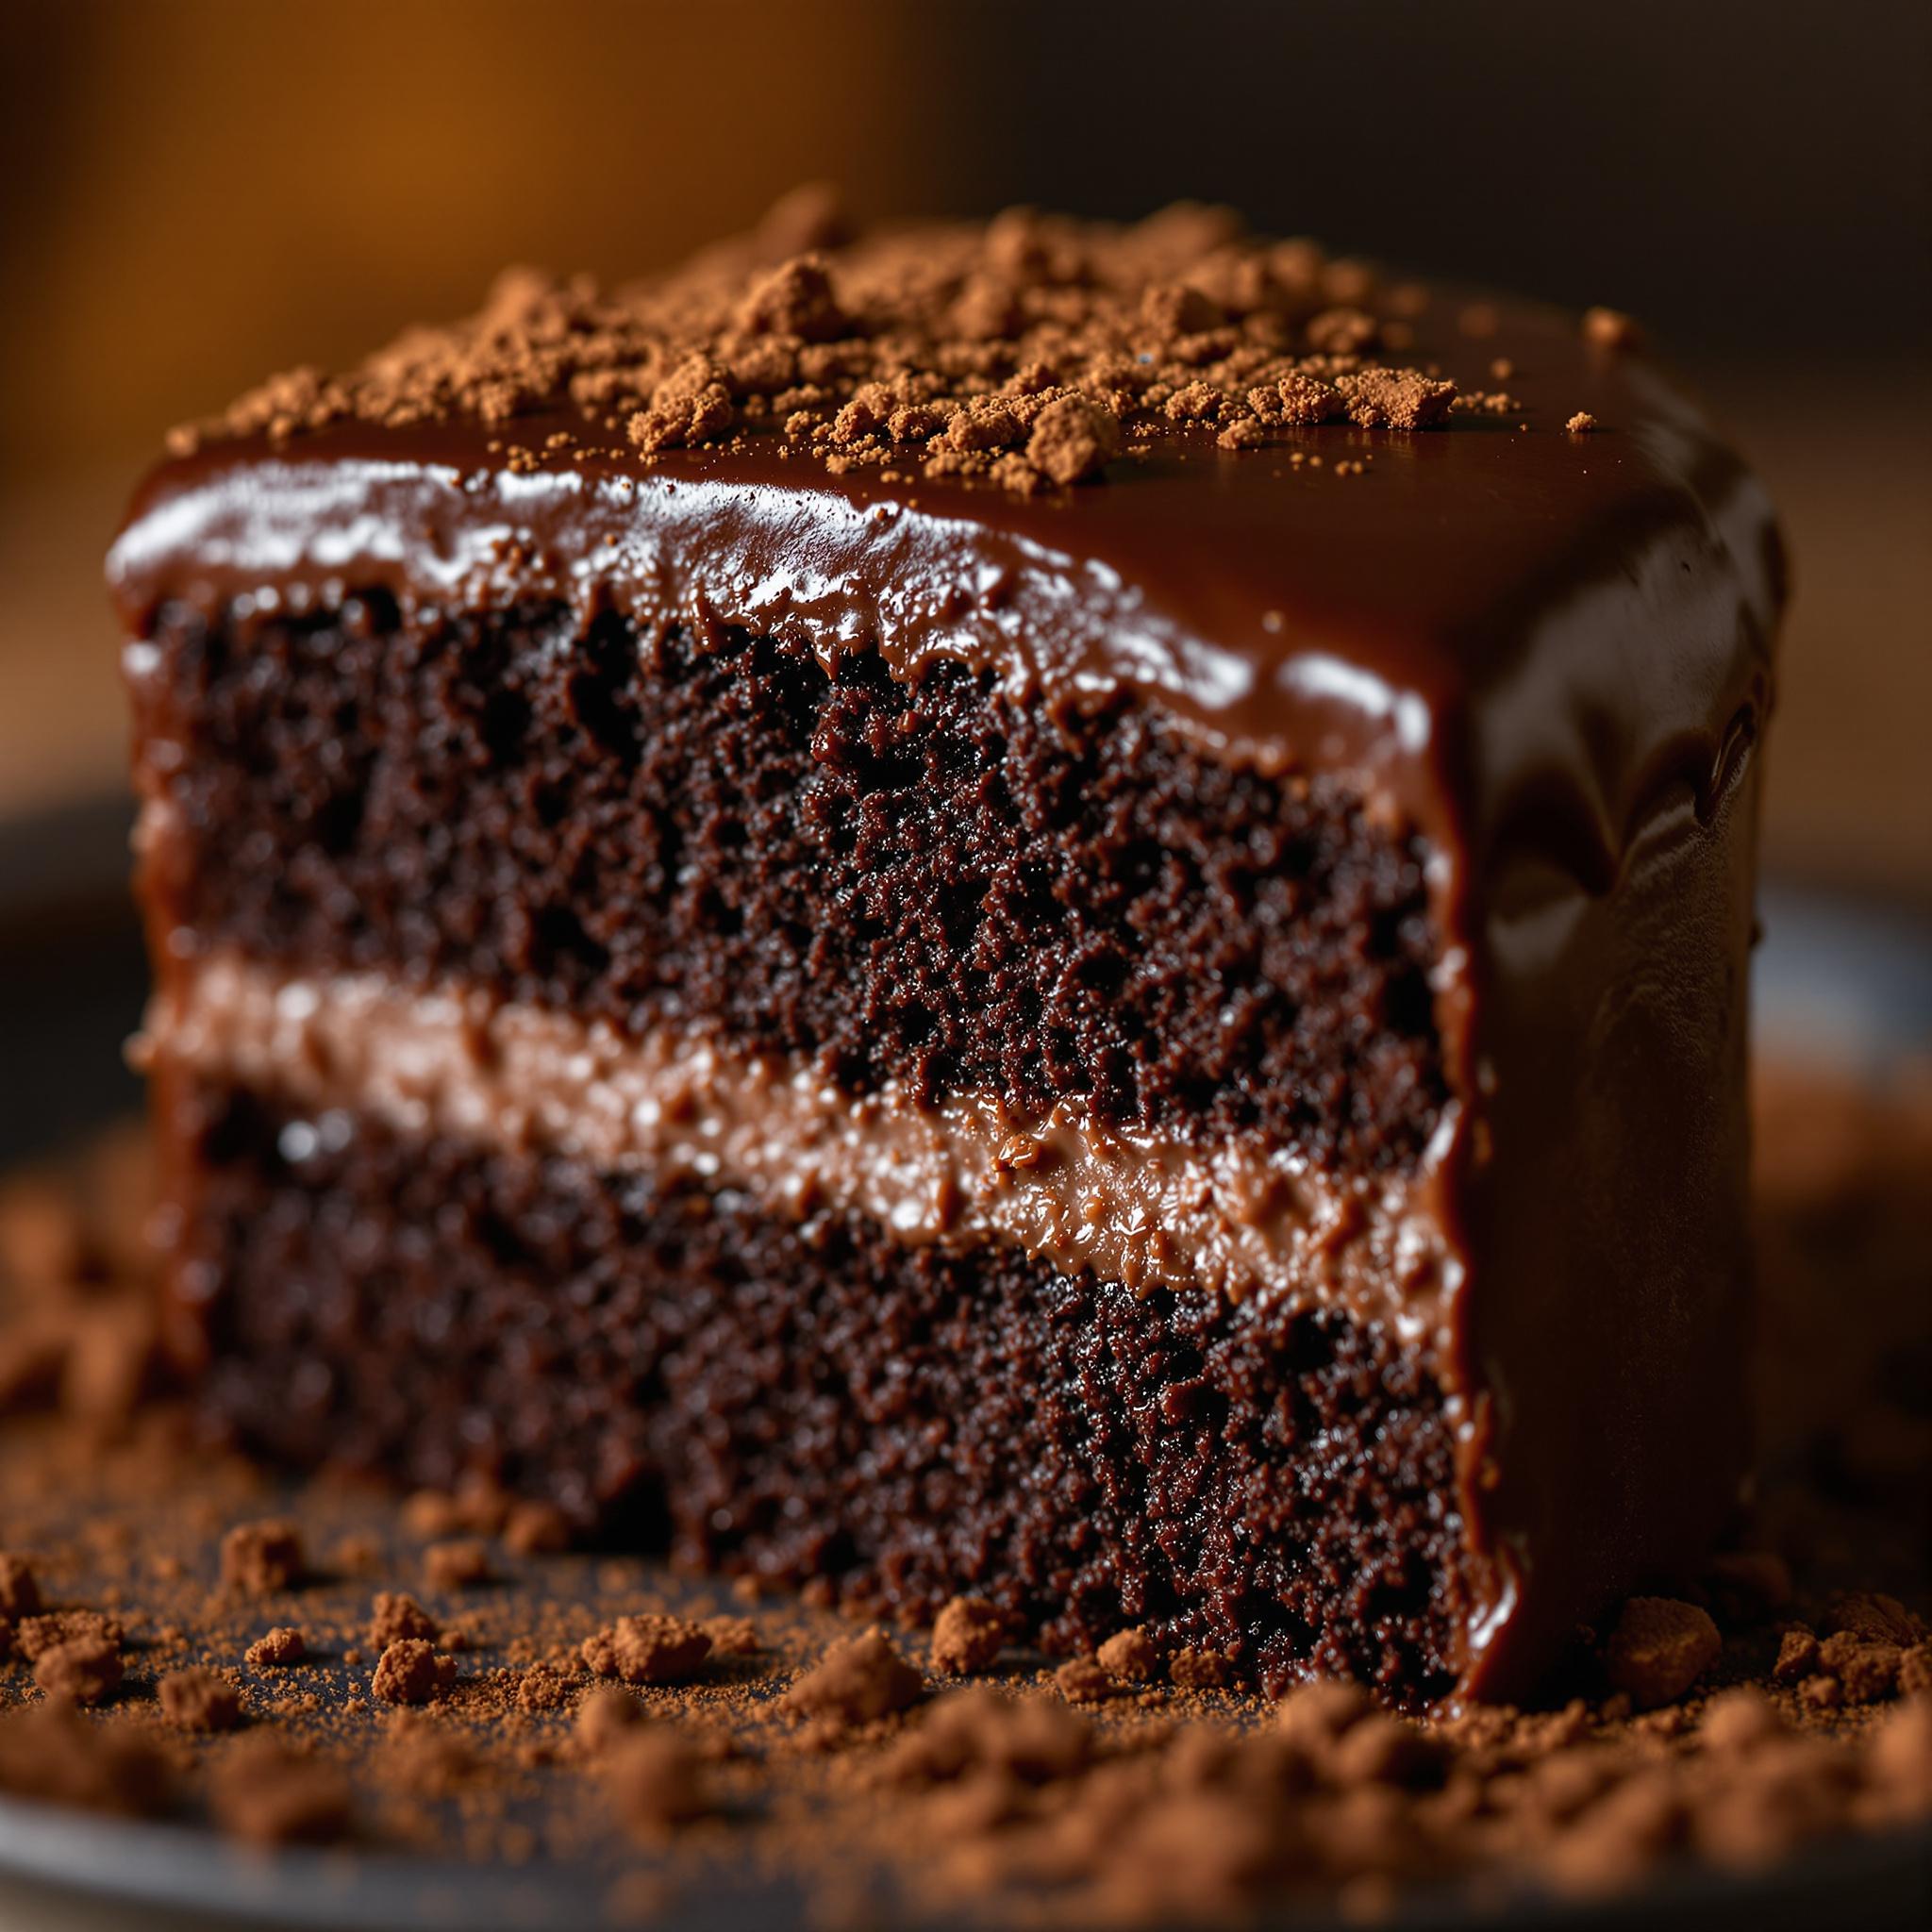
I first stumbled upon Black Magic Cake during a family reunion years ago. My aunt served this cake, and as soon as I took a bite, I knew I had to learn how to make it myself. The name “Black Magic” intrigued me—was it because of the dark cocoa powder? Or perhaps the way it magically disappeared from the table in minutes? While its exact origins are unclear, many believe it’s an American classic that gained popularity in the mid-20th century. It’s often compared to other chocolate cakes but stands out due to its moist texture and intense flavor profile. Over time, bakers have added their own twists, creating variations like chocolate fudge layer cake or even black forest-inspired magic cake.
Why You’ll Love This Recipe
What makes Black Magic Cake so irresistible? For starters, it’s incredibly forgiving—even if you’re new to baking, this recipe won’t let you down. Its simplicity is matched only by its richness: every slice is bursting with chocolatey goodness. Plus, it pairs beautifully with coffee, making it perfect for afternoon tea or post-dinner treats. And did I mention how versatile it is? You can dress it up with frosting or keep it simple with a dusting of powdered sugar. Trust me, once you try this chocolate magic dessert, you’ll understand why it’s a timeless favorite.
Perfect Occasions to Prepare Black Magic Cake
This cake shines at any gathering, whether it’s a birthday party, holiday feast, or casual get-together. I love serving it during cozy winter evenings when everyone craves comfort food, but it’s equally delightful at summer barbecues. If you’re looking for a show-stopping dessert for Valentine’s Day or a romantic dinner, this decadent chocolate cake is guaranteed to impress. Honestly, there’s no wrong time to whip up a batch—it’s always a hit!
Ingredients for Black Magic Cake
- 1 ¾ cups all-purpose flour
- ¾ cup unsweetened cocoa powder
- 2 cups granulated sugar
- 1 ½ teaspoons baking soda
- 1 teaspoon baking powder
- 1 teaspoon salt
- 2 large eggs
- 1 cup whole milk
- ½ cup vegetable oil
- 2 teaspoons vanilla extract
- 1 cup boiling water
Substitution Options
If you’re missing an ingredient or want to experiment, here are some swaps: Use almond milk instead of whole milk for a dairy-free option, or replace vegetable oil with melted coconut oil for a hint of tropical flavor. For a gluten-free version, substitute the all-purpose flour with a gluten-free blend. And if you prefer a darker chocolate taste, opt for Dutch-processed cocoa powder instead of regular cocoa.
Preparation
Step 1: Preheat and Prep
Start by preheating your oven to 350°F (175°C). Grease two round cake pans and line them with parchment paper—this ensures your Black Magic Cake slides out effortlessly later. In a large mixing bowl, sift together the flour, cocoa powder, sugar, baking soda, baking powder, and salt. Sifting not only removes lumps but also aerates the dry ingredients, giving your cake a lighter texture. Pro tip: Use a fine-mesh sieve for the best results.
Step 2: Mix Wet Ingredients
In another bowl, whisk the eggs until frothy, then add the milk, vegetable oil, and vanilla extract. The combination of these wet ingredients creates a smooth, silky batter that smells absolutely divine. Slowly pour this mixture into the bowl of dry ingredients, stirring gently until everything is well combined. Be careful not to overmix; a few small lumps are okay. Remember, we’re aiming for tender crumbs, not tough ones!
Step 3: Add Boiling Water
Now comes the magical part: carefully stir in the boiling water. At first glance, the batter might seem alarmingly thin, but don’t worry—this step is crucial for achieving that signature moistness. The heat from the water enhances the cocoa’s depth, resulting in a richer flavor. Pour the batter evenly into the prepared pans and give each one a gentle tap on the counter to release air bubbles.
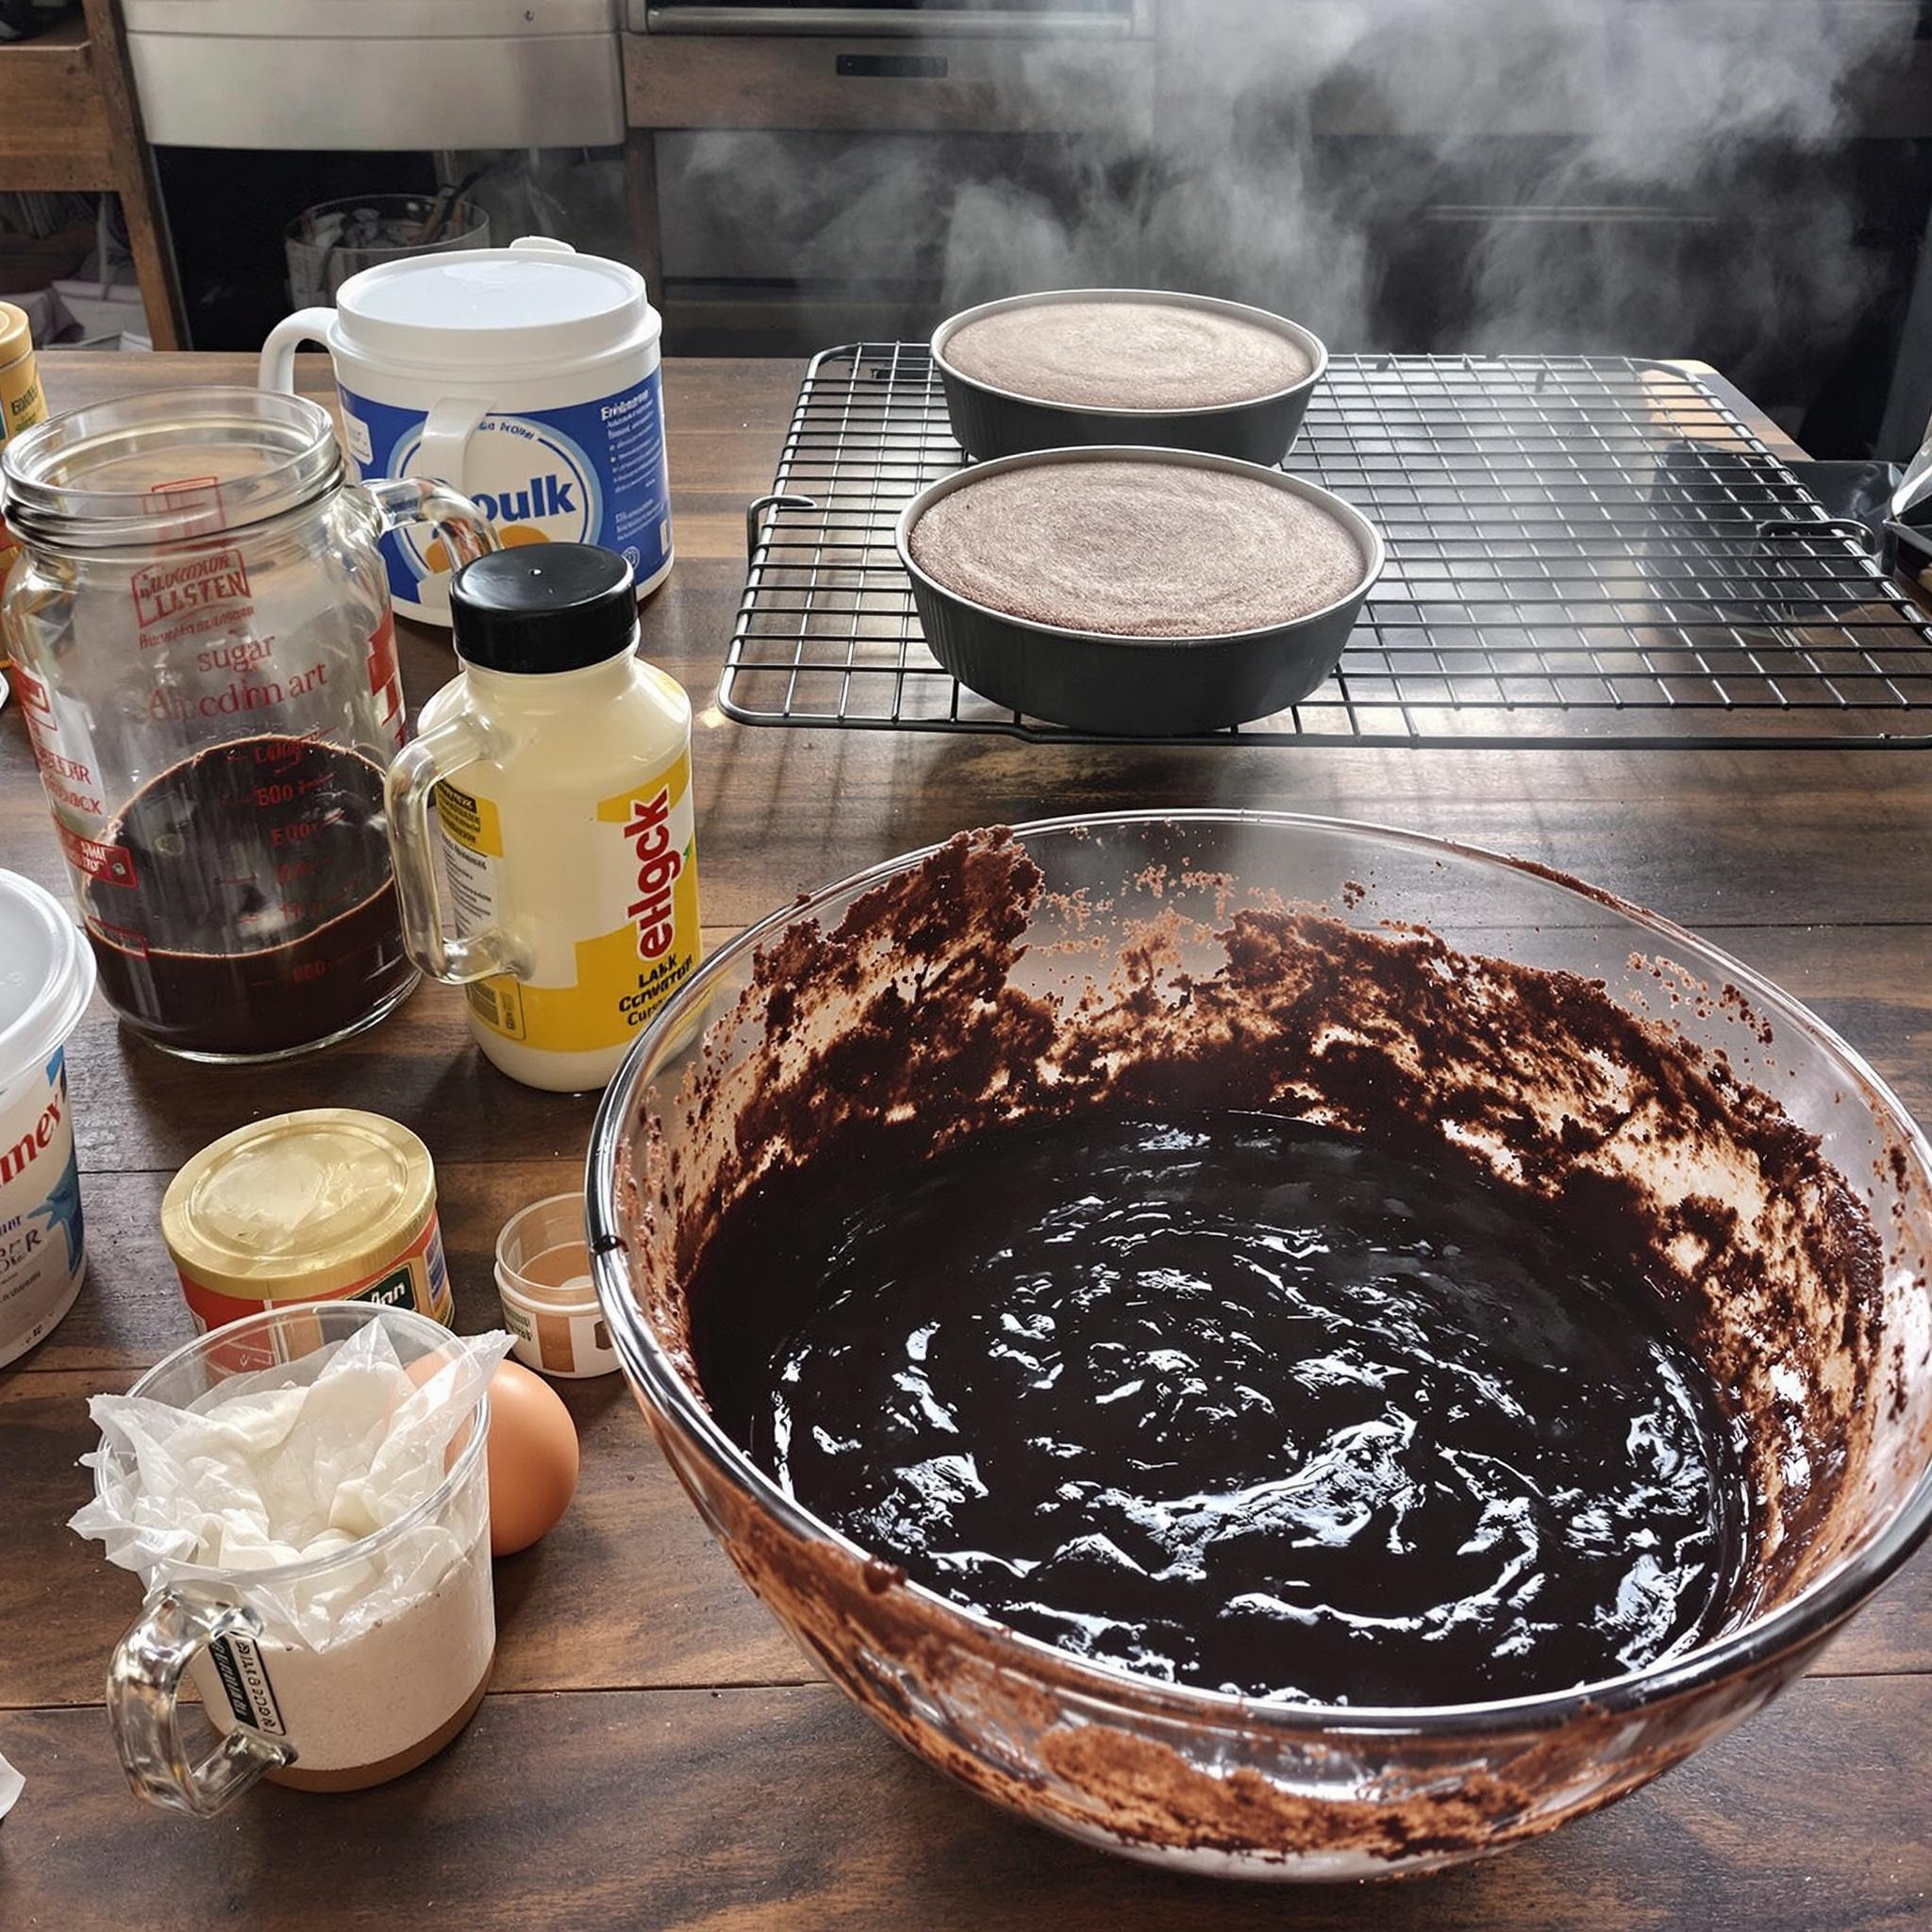
Step 4: Bake to Perfection
Bake the cakes for 30-35 minutes, or until a toothpick inserted into the center comes out clean. As they bake, your kitchen will fill with the intoxicating aroma of chocolate—a sneak peek of what’s to come. Once done, let the cakes cool in the pans for 10 minutes before transferring them to a wire rack. This resting period helps prevent crumbling when you frost them later.
Chef’s Tip
To take your Black Magic Cake to the next level, brush each layer with a light syrup made from equal parts sugar and water. This adds extra moisture and ensures every bite is melt-in-your-mouth delicious. Trust me, it’s a game-changer!
Time Breakdown
- Prep Time: 15 minutes
- Cooking Time: 35 minutes
- Resting/Cooling Time: 20 minutes
- Total Time: 1 hour 10 minutes
Nutritional Information
Per slice (based on 12 servings): Calories: 320 | Protein: 4g | Fat: 12g | Carbohydrates: 50g | Fiber: 2g | Sugar: 36g
Extra Information
Did you know that cocoa powder contains antioxidants called flavonoids? These compounds are believed to support heart health, which means indulging in a slice of Black Magic Cake isn’t just a treat for your taste buds—it’s good for your body too!
Necessary Tools
- Mixing bowls
- Whisk
- Sifter or fine-mesh sieve
- Measuring cups and spoons
- Rubber spatula
- Cake pans
- Wire cooling rack
Storage Instructions
Proper storage is key to keeping your Black Magic Cake fresh and flavorful. After cooling completely, wrap individual slices in plastic wrap or store the entire cake under a dome. Keep it at room temperature for up to three days, ensuring it’s away from direct sunlight or heat sources. For longer storage, refrigerate the cake in an airtight container for up to a week. If you’d like to freeze it, double-wrap the layers in foil and place them in a freezer-safe bag. Thaw overnight in the fridge before serving.
When reheating, avoid microwaving, as this can dry out the cake. Instead, let it sit at room temperature for 15-20 minutes to bring back its original softness. With proper care, your chocolate magic dessert will stay as delightful as the day you baked it.
Tips and Tricks
For an extra-rich frosting, mix softened butter with cream cheese and powdered sugar, then swirl it generously over the cooled cake. Another trick is to chill the frosted cake for 15 minutes before slicing—it helps create clean, picture-perfect pieces. Lastly, invest in a good-quality cocoa powder; it makes a world of difference in flavor.
Serving Suggestions
- Serve with a dollop of whipped cream and fresh berries for a refreshing contrast.
- Pair with a hot cup of espresso or a cold glass of milk for a classic combo.
Healthier Alternatives for Black Magic Cake
If you’re looking to lighten up this indulgent treat, here are six healthier alternatives:
- Swap Sugar: Replace granulated sugar with coconut sugar or monk fruit sweetener for lower glycemic impact.
- Use Applesauce: Substitute half the oil with unsweetened applesauce to reduce fat content.
- Add Zucchini: Grate zucchini into the batter for added moisture and nutrients.
- Go Gluten-Free: Use almond flour or oat flour instead of all-purpose flour.
- Dairy-Free Frosting: Opt for vegan butter and plant-based milk in your frosting recipe.
- Boost Protein: Stir in a scoop of chocolate protein powder for an energizing twist.
Common Mistakes to Avoid
Mistake 1: Overmixing the Batter
Overmixing leads to dense, tough cakes rather than light and fluffy ones. To avoid this, stop mixing as soon as the ingredients are combined. A few streaks of flour are perfectly fine—they’ll disappear during baking.
Mistake 2: Skipping the Boiling Water
The boiling water might seem unusual, but skipping it compromises the cake’s moisture and flavor. Don’t be tempted to use warm water instead—it won’t yield the same results.
Mistake 3: Rushing the Cooling Process
Patience is key! Removing the cake from the pan too soon can cause it to break apart. Let it cool completely before attempting to frost or serve.
Frequently Asked Questions
Can I use Dutch-processed cocoa?
Absolutely! Dutch-processed cocoa gives the cake a deeper, more intense chocolate flavor. Just ensure your recipe accounts for its slightly different acidity levels.
How do I prevent my cake from sinking?
To avoid sunken centers, make sure your leavening agents (baking soda and powder) are fresh. Also, avoid opening the oven door frequently while baking.
Is this cake suitable for vegans?
With a few tweaks, yes! Swap eggs for flaxseed meal mixed with water, and use plant-based milk and oil.
Can I freeze the cake?
Yes, freezing works wonderfully. Double-wrap the layers and label them with the date. They’ll keep for up to three months.
What’s the best frosting for this cake?
A classic chocolate buttercream complements the cake beautifully, but cream cheese frosting offers a tangy twist.
Why does my cake taste bitter?
Bitterness often stems from old or low-quality cocoa powder. Always use fresh, high-quality ingredients for the best results.
Can I halve the recipe?
Definitely! Simply divide all ingredients by two and adjust the baking time accordingly.
Does altitude affect this recipe?
At higher altitudes, increase the flour slightly and reduce the sugar and liquid to compensate for changes in air pressure.
How do I check if the cake is done?
Insert a toothpick into the center—if it comes out clean or with a few moist crumbs, it’s ready.
Can I add nuts or chocolate chips?
Of course! Fold in chopped walnuts or semi-sweet chocolate chips for added texture and flavor.
Conclusion
Black Magic Cake is more than just a dessert—it’s a celebration of simplicity, flavor, and joy. Whether you’re a seasoned baker or a beginner, this recipe promises success and satisfaction. So grab your apron, gather your ingredients, and let the magic unfold in your kitchen. Happy baking!