Introduction to Cake Balls: A Bite-Sized Delight
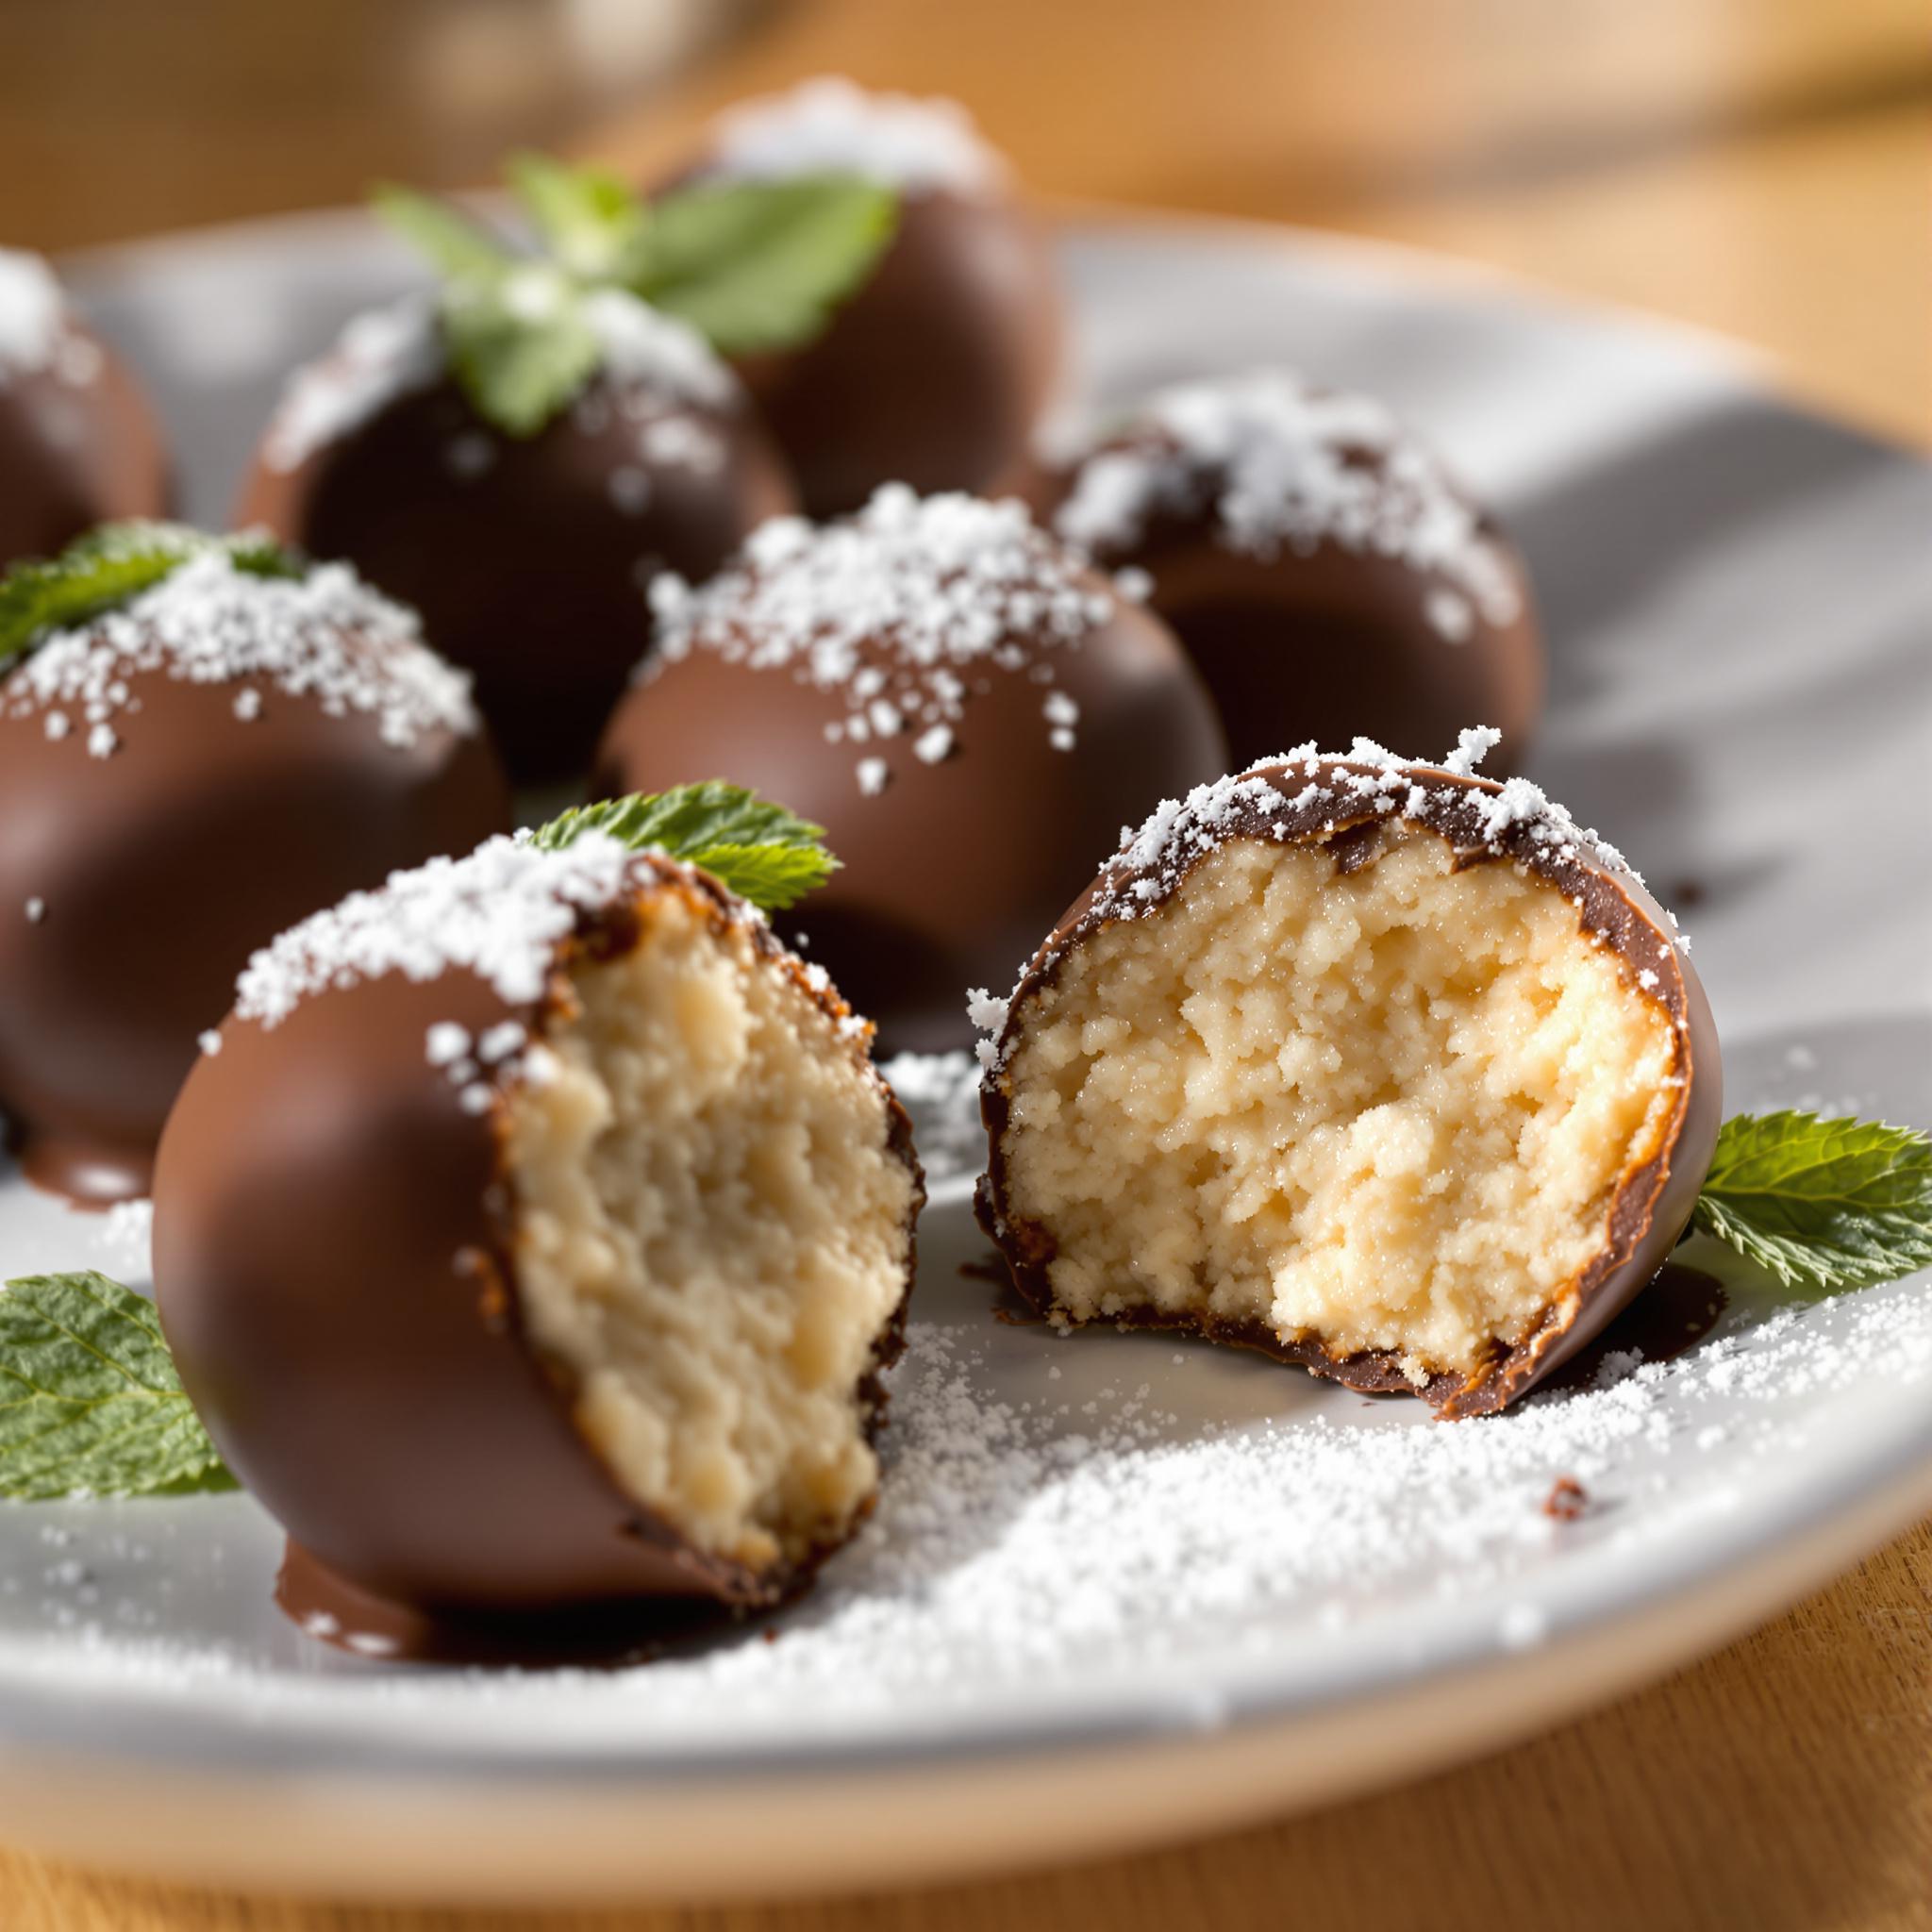
There’s something magical about Cake Balls—those irresistibly cute, bite-sized treats that bring joy to any gathering. Whether you’re a baking enthusiast or just someone who loves sweet surprises, this recipe is perfect for you. I remember the first time I made these little wonders for a family get-together. My niece couldn’t stop popping them into her mouth, and my friends kept asking for the recipe. What makes Cake Balls special isn’t just their rich flavor but also how easy they are to customize. From classic chocolate to festive flavors, Cake Balls are a canvas for creativity.
The Sweet History of Cake Balls
Cake Balls have an interesting backstory. While their exact origin is debated, many believe they started as a clever way to use leftover cake scraps. Bakers would crumble the cake, mix it with frosting, and roll it into balls before dipping them in chocolate. Over time, Cake Balls evolved from a humble recycling idea into a trendy dessert sensation. Today, variations like mini cake pops, gourmet Cake Balls, and themed designs have taken the baking world by storm. They’re not just desserts; they’re edible works of art!
Why You’ll Love This Cake Balls Recipe
This Cake Balls recipe stands out because it’s simple yet sophisticated. The combination of moist cake, creamy frosting, and rich chocolate coating creates a symphony of textures and flavors. Plus, they’re fun to make! Whether you’re baking for kids’ parties or impressing guests at a dinner party, these bite-sized treats are sure to steal the show. Best of all, you can personalize them with different coatings, sprinkles, and fillings to suit any occasion.
Perfect Occasions to Prepare Cake Balls
Cake Balls are versatile enough for almost any event. They’re perfect for birthday parties, baby showers, and holiday gatherings. I love making them for potlucks because they’re easy to transport and always disappear quickly. They’re also great as a DIY dessert project for family baking days or as a thoughtful homemade gift for friends. No matter the occasion, Cake Balls add a touch of sweetness and charm.
Ingredients for Perfect Cake Balls
- 1 box of your favorite cake mix (or homemade cake)
- 1 container of frosting (about ½ cup)
- 16 oz of chocolate chips or candy melts for coating
- Sprinkles, crushed nuts, or edible glitter for decoration
Substitution Options for Cake Balls
- Swap the cake mix for gluten-free options if needed.
- Use cream cheese frosting instead of buttercream for a tangy twist.
- Replace chocolate chips with white chocolate or almond bark for variety.
Preparation: How to Make Delicious Cake Balls
Step 1: Bake the Cake
Start by baking your cake according to the package instructions. I prefer using a boxed mix for convenience, but feel free to whip up a homemade version if you’re feeling adventurous. Once the cake is baked, let it cool completely. This step is crucial because warm cake will make the mixture too soft to handle. Pro tip: To speed up cooling, pop the cake in the fridge for 20 minutes after it reaches room temperature.
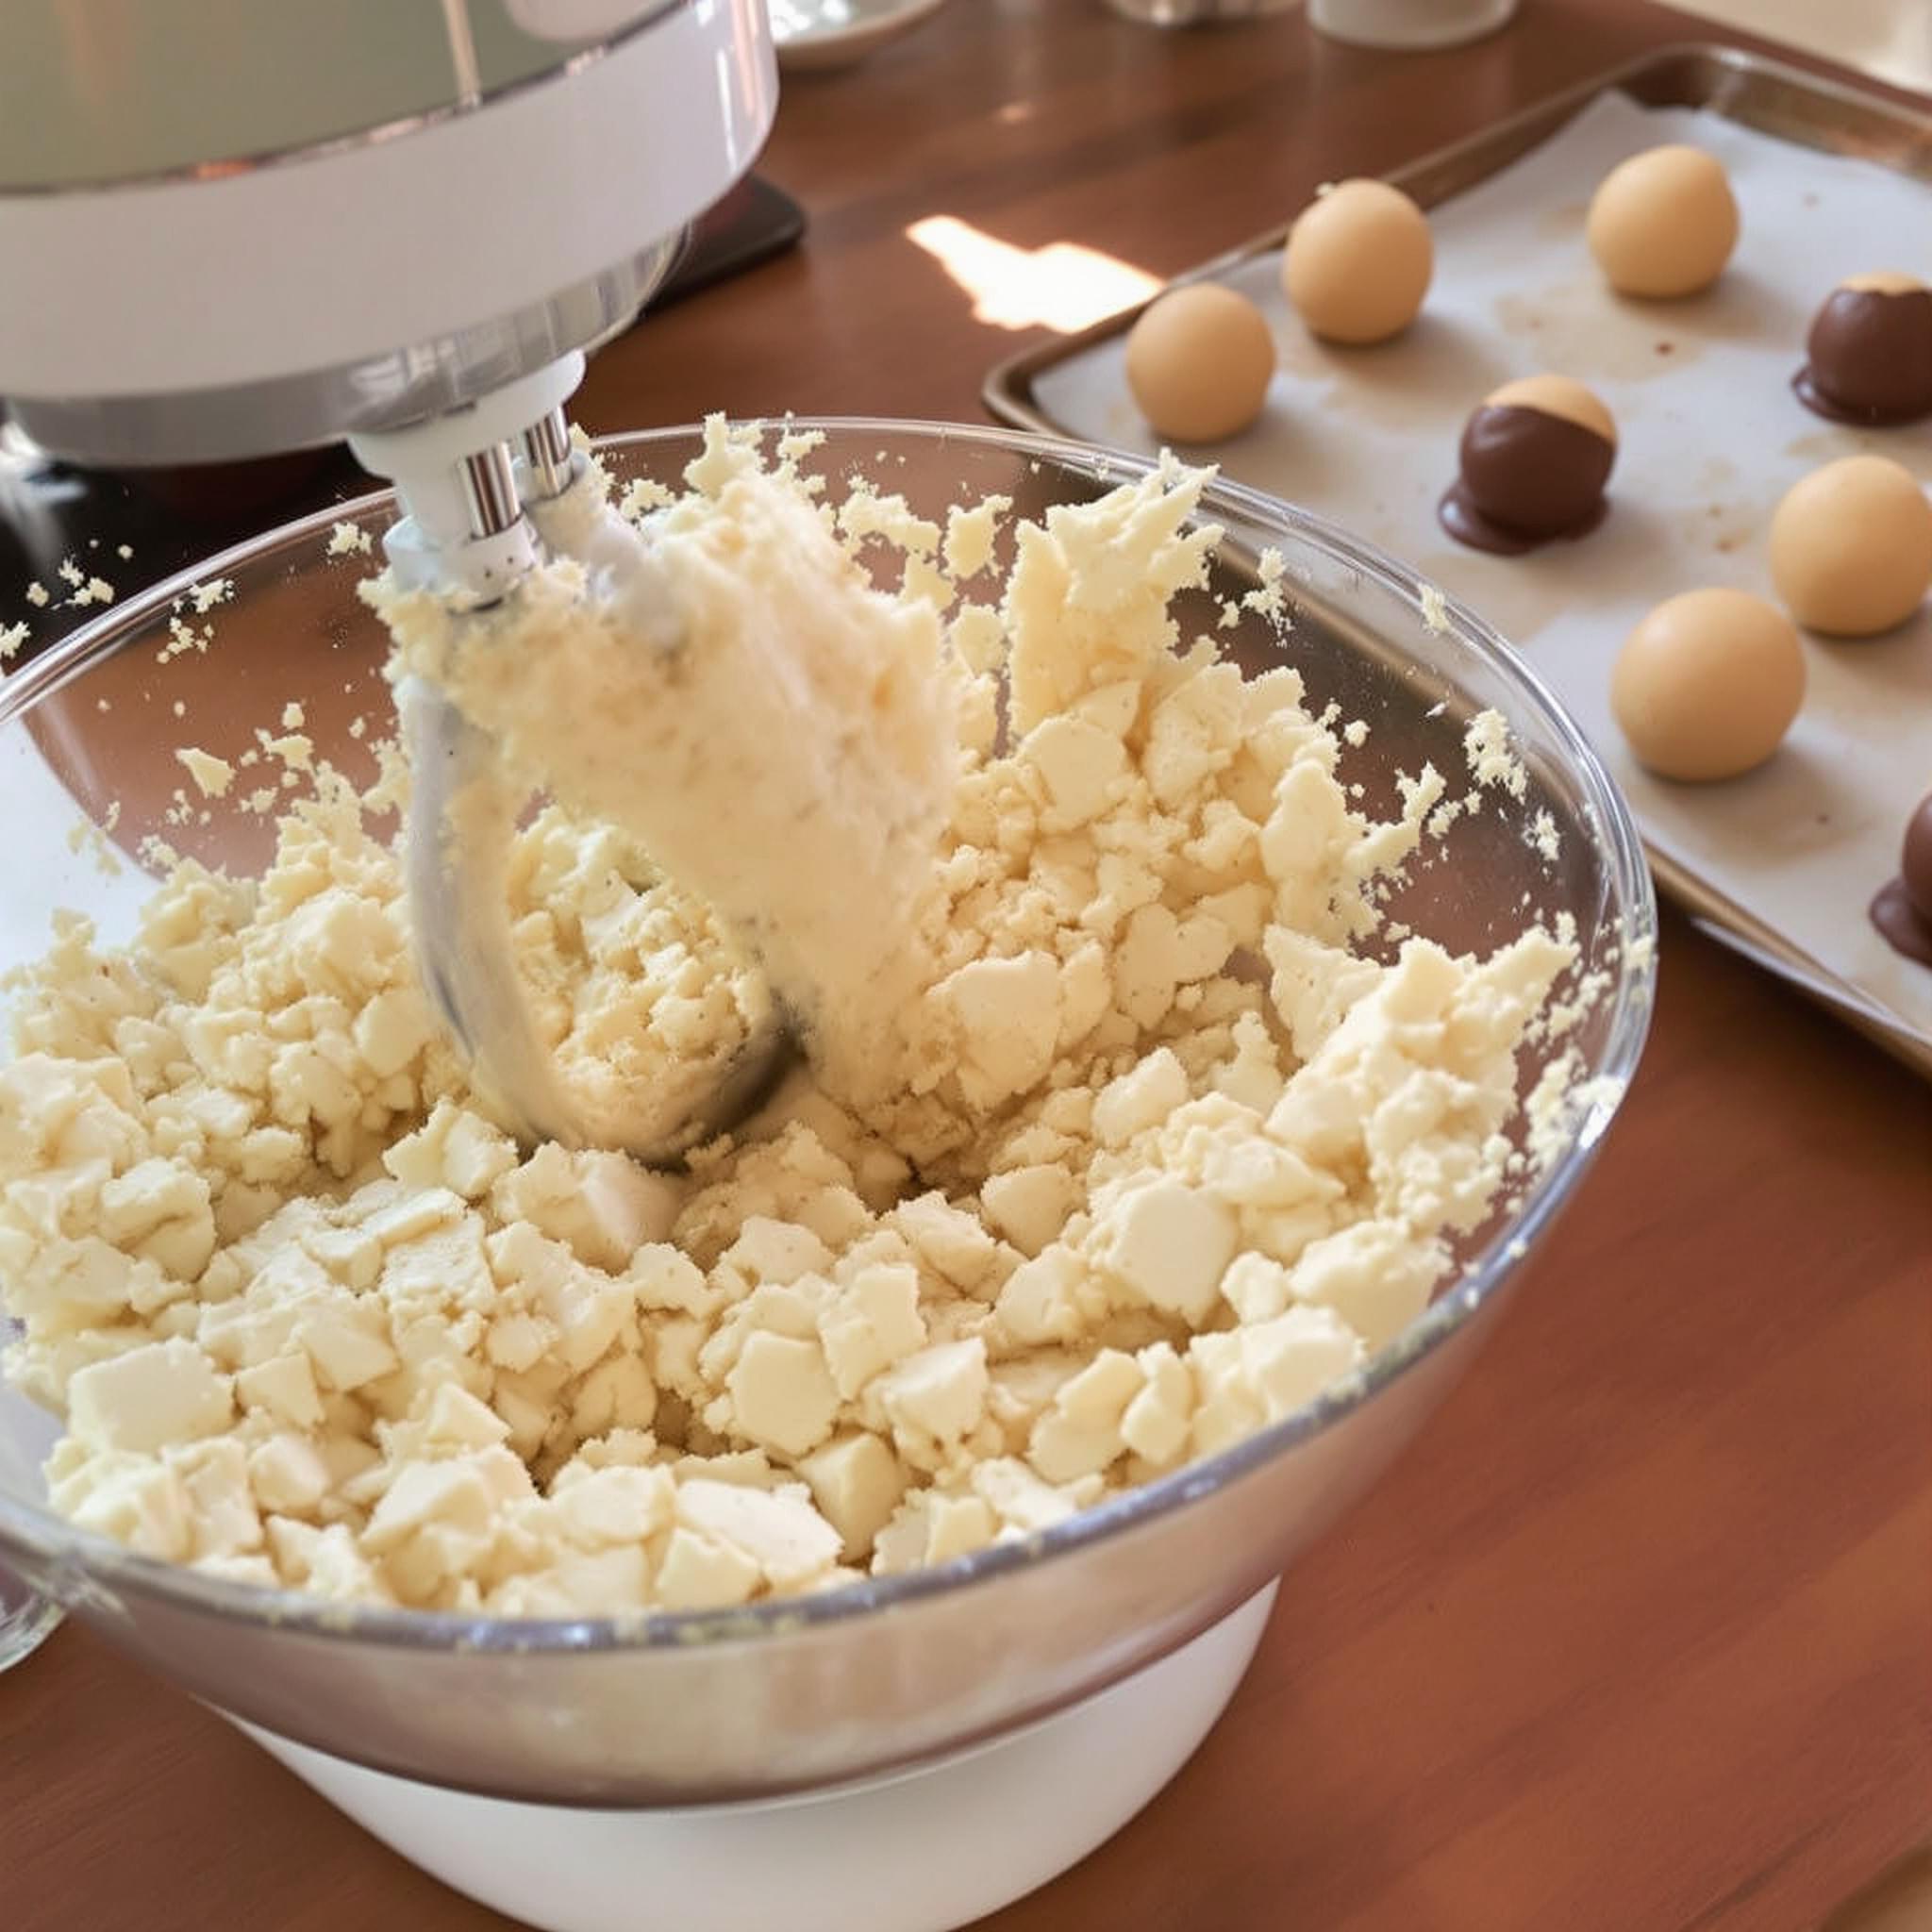
Step 2: Crumble and Mix
Once the cake is cool, crumble it into fine crumbs using your hands or a fork. It’s oddly satisfying to watch the cake transform into tiny pieces! Next, add about ½ cup of frosting and mix until the crumbs stick together. The mixture should hold its shape when squeezed gently. If it’s too dry, add a little more frosting; if it’s too sticky, sprinkle in some powdered sugar.
Step 3: Shape the Balls
Now comes the fun part: shaping the Cake Balls. Scoop out small portions of the mixture and roll them into smooth spheres. Aim for uniform sizes so they look professional and bake evenly. Place the shaped balls on a baking sheet lined with parchment paper and chill them in the fridge for at least 30 minutes. Chilling firms them up, making the next steps easier.
Step 4: Coat with Chocolate
Melt your chocolate chips or candy melts in the microwave or over a double boiler. Dip each chilled ball into the melted chocolate, ensuring it’s fully coated. Use a fork or dipping tool to lift the ball out, letting excess chocolate drip off. Place it back on the parchment paper and immediately add sprinkles or other decorations before the chocolate hardens. Pro tip: Work in small batches to keep the chocolate fluid and prevent it from seizing.
Chef’s Tip for Perfect Cake Balls
To achieve glossy, flawless coatings, temper your chocolate properly. Simply melt two-thirds of the chocolate, then stir in the remaining third while cooling slightly. This technique gives your Cake Balls a professional finish that everyone will admire.
Time Required to Make Cake Balls
- Prep Time: 30 minutes
- Cooking Time: 25 minutes (for baking the cake)
- Resting Time: 1 hour (chilling)
- Total Time: Approximately 2 hours
Nutritional Information
Each Cake Ball contains approximately 120 calories, with 7g of fat, 12g of carbohydrates, and 2g of protein. These numbers may vary based on the type of frosting and chocolate used.
Extra Information About Cake Balls
Did you know that Cake Balls became popular thanks to bakeries like Bakerella? Her creative designs inspired countless home bakers to try their hand at these adorable treats. Today, Cake Balls are a staple at bakeries worldwide.
Necessary Tools for Making Cake Balls
- Baking pan
- Mixing bowls
- Fork or dipping tool
- Parchment paper
- Double boiler or microwave-safe bowl
Storage Instructions for Cake Balls
To store Cake Balls, place them in an airtight container to protect them from moisture. Keep them in the refrigerator for up to one week. The cool temperature helps maintain their shape and freshness. For longer storage, freeze the Cake Balls in a single layer on a tray before transferring them to a freezer bag. They can last up to three months frozen.
When serving refrigerated Cake Balls, let them sit at room temperature for 10–15 minutes to soften slightly. This enhances their texture and flavor. Avoid leaving them out for extended periods, especially in warm weather, as the chocolate coating may melt.
If freezing, thaw the Cake Balls overnight in the fridge before bringing them to room temperature. This ensures they retain their delightful taste and appearance.
Tips and Tricks for Better Cake Balls
- Chill the Cake Balls thoroughly before dipping to prevent them from falling apart.
- Experiment with flavored extracts in the frosting for unique twists.
- Use a piping bag for precise drizzling of chocolate designs.
Serving Suggestions for Cake Balls
- Serve them on a tiered dessert stand for an elegant presentation.
- Pair them with coffee or tea for an afternoon treat.
Healthier Alternatives for Cake Balls
Looking to make your Cake Balls healthier? Try these six variations:
- Gluten-Free Cake Balls: Use gluten-free cake mix and frosting for a celiac-friendly option.
- Vegan Cake Balls: Substitute plant-based ingredients like vegan cake mix and dairy-free chocolate.
- Low-Sugar Cake Balls: Opt for sugar-free cake mix and stevia-sweetened frosting.
- Protein-Packed Cake Balls: Add a scoop of protein powder to the cake mixture for a fitness-friendly snack.
- Fruit-Infused Cake Balls: Blend pureed fruit into the cake batter for natural sweetness.
- Nutty Cake Balls: Incorporate finely chopped nuts for added crunch and healthy fats.
Common Mistakes to Avoid When Making Cake Balls
Mistake 1: Using Too Much Frosting
One common mistake is adding too much frosting, which makes the Cake Balls overly soft and prone to falling apart. To avoid this, start with a small amount of frosting and gradually incorporate more until the mixture holds together. Pro tip: Test the consistency by squeezing a small portion; it should form a firm ball without crumbling.
Mistake 2: Skipping the Chilling Step
Skipping the chilling step is another frequent error. Without proper chilling, the Cake Balls may lose their shape during dipping. Always chill them for at least 30 minutes to ensure they stay intact.
Mistake 3: Overheating the Chocolate
Overheating the chocolate can cause it to seize and become grainy. Heat it in short intervals, stirring frequently, and remove it from the heat just before it’s fully melted. The residual warmth will finish the job.
Frequently Asked Questions About Cake Balls
Can I make Cake Balls without baking?
Absolutely! You can use store-bought cake or even brownies as a shortcut. Just crumble, mix with frosting, and proceed with the recipe. While homemade cakes offer freshness, pre-made options save time.
How do I prevent cracks in the chocolate coating?
Cracks often occur due to uneven cooling. Ensure your Cake Balls are at the same temperature before dipping, and let the chocolate set gradually at room temperature.
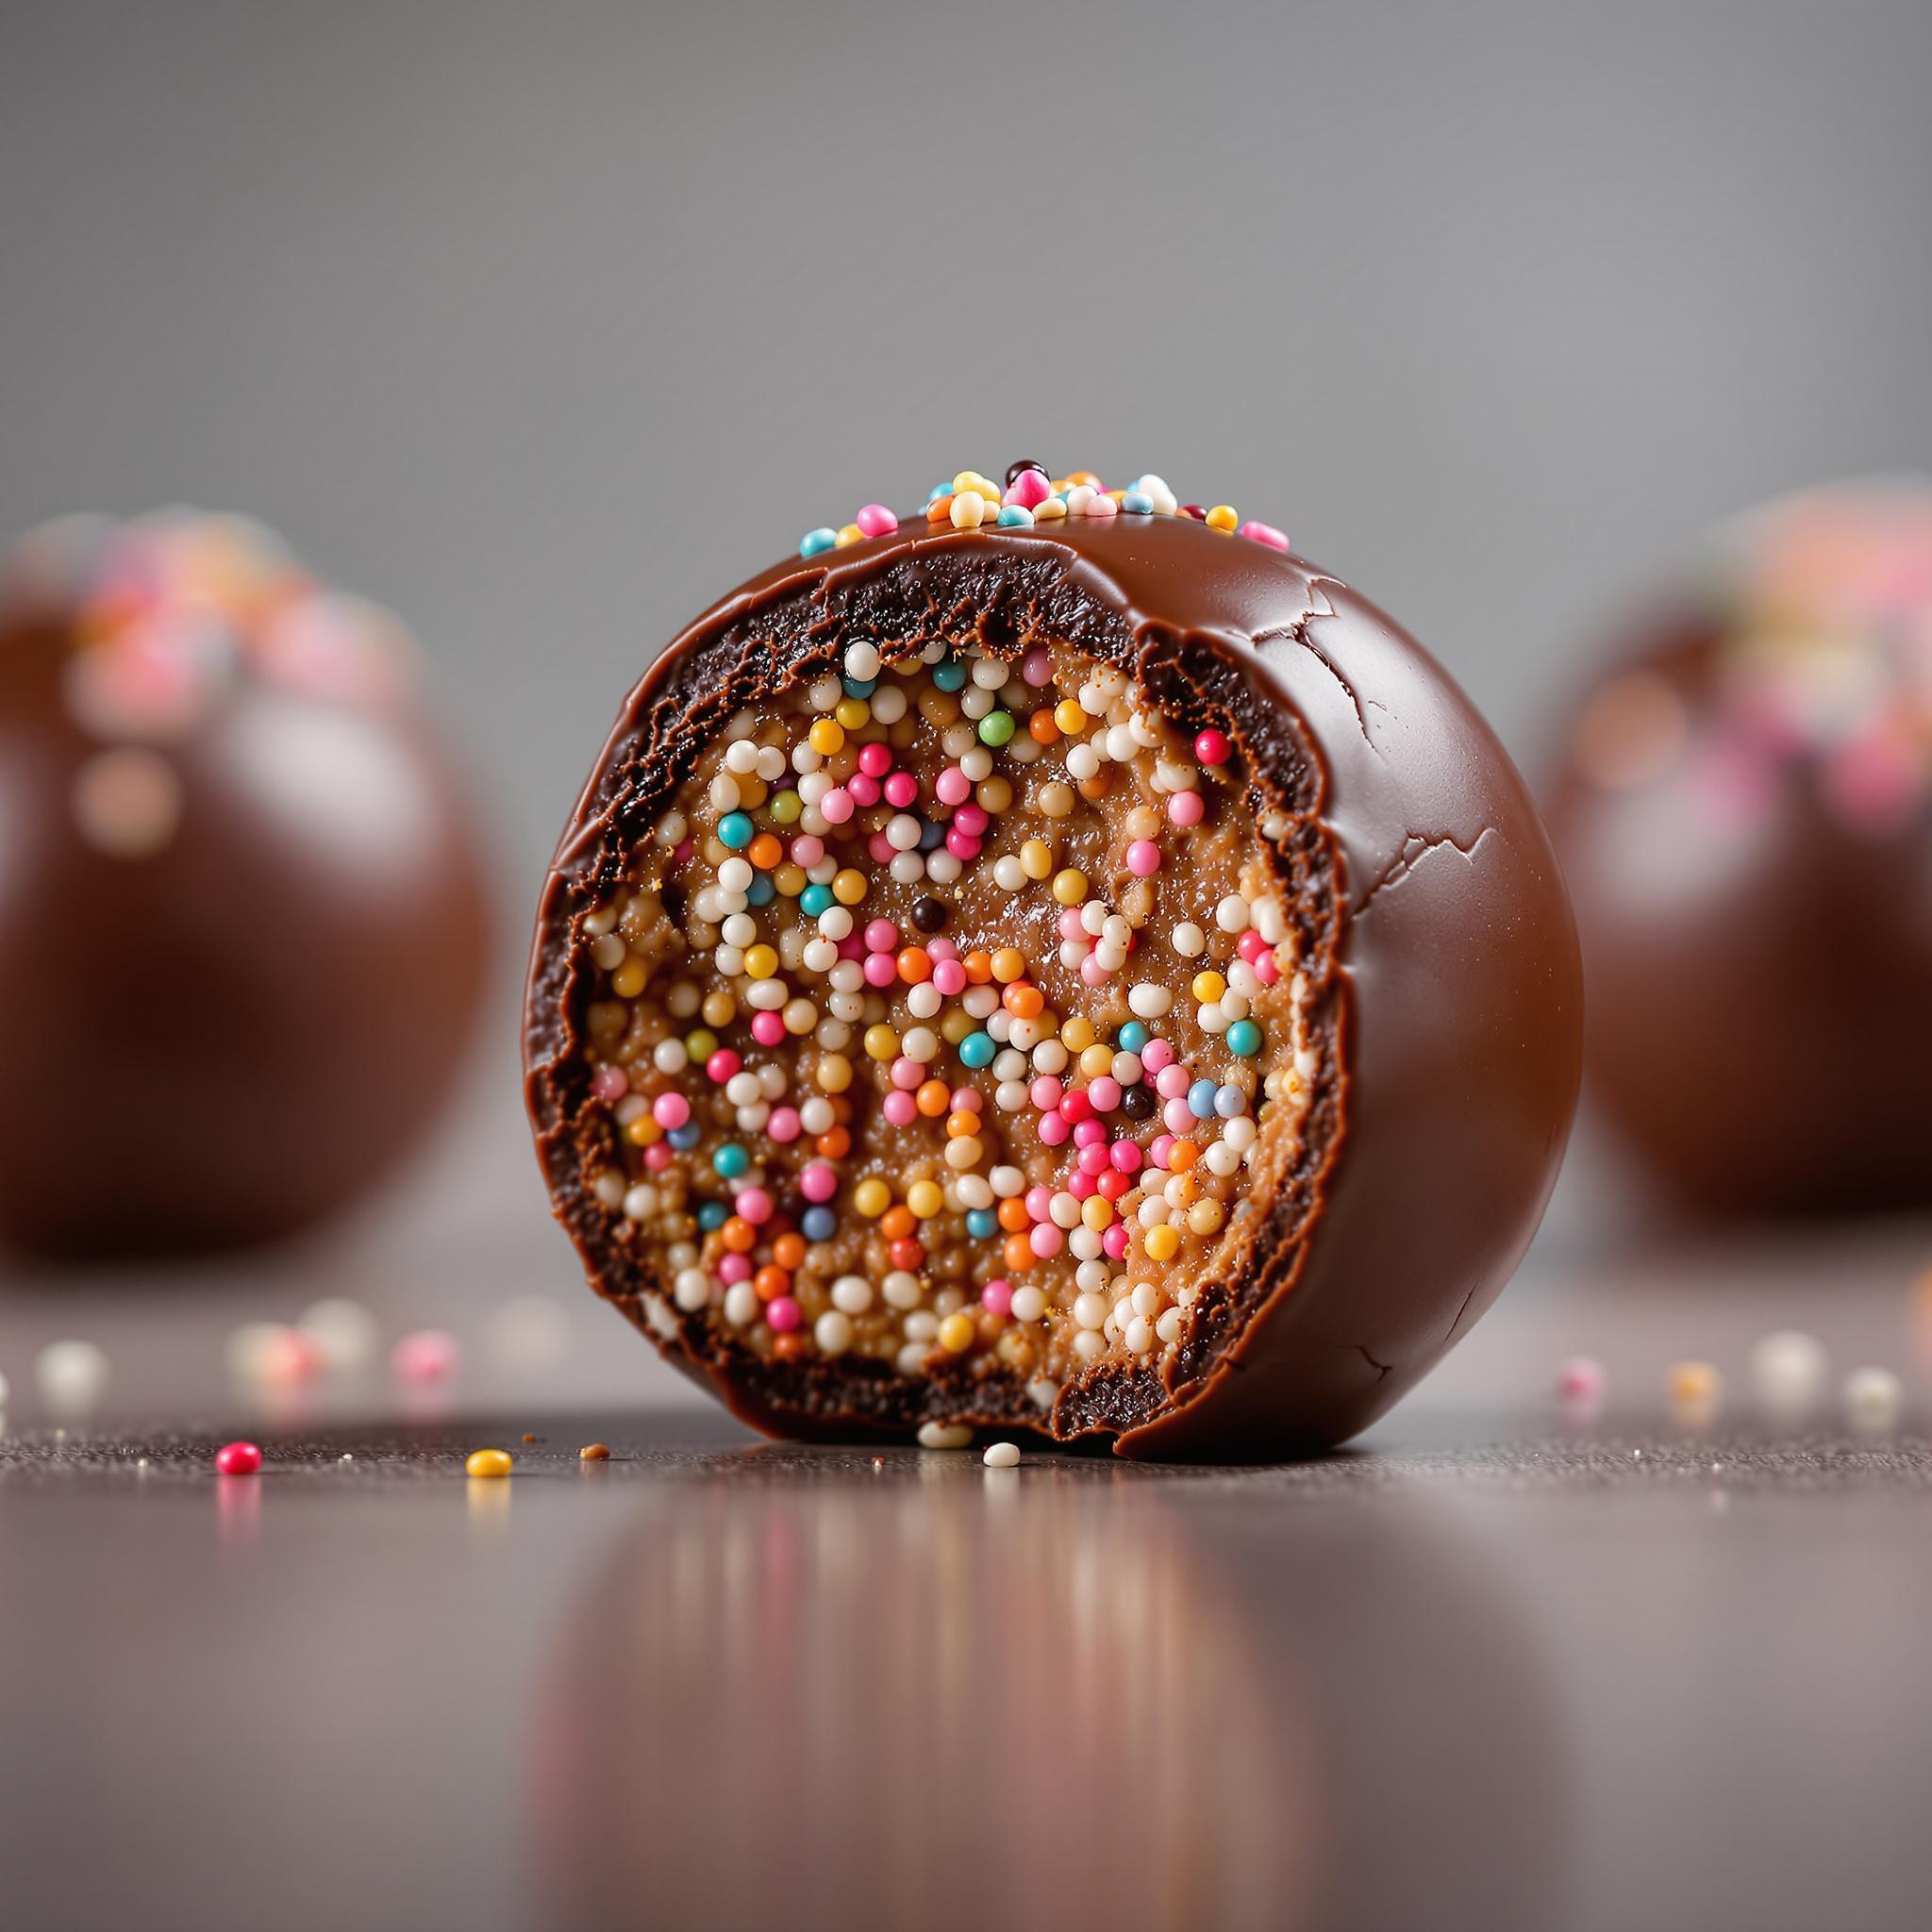
What’s the best way to decorate Cake Balls?
Use colorful sprinkles, drizzled chocolate, or edible glitter for eye-catching designs. Apply decorations immediately after dipping while the chocolate is still wet.
Can I freeze Cake Balls?
Yes, Cake Balls freeze beautifully. Arrange them in a single layer on a tray, freeze until solid, then transfer to a freezer bag. Thaw in the fridge before serving.
How long do Cake Balls last?
Stored in the fridge, Cake Balls remain fresh for up to one week. In the freezer, they can last up to three months.
Are Cake Balls suitable for kids’ parties?
Definitely! Their bite-sized nature and endless customization options make them perfect for kids’ parties. Plus, kids love helping decorate them.
Can I use dark chocolate for coating?
Yes, dark chocolate adds a rich, sophisticated flavor. Just ensure it’s tempered correctly for a smooth finish.
What tools do I need for shaping Cake Balls?
A cookie scoop helps create uniform sizes, while a dipping tool or fork aids in coating them neatly.
Do I have to use candy melts?
No, you can use regular chocolate chips or bars. However, candy melts are easier to work with for beginners.
Can I add alcohol to the Cake Balls?
For adult versions, consider brushing the cake crumbs with liqueurs like rum or amaretto before mixing with frosting. It adds depth to the flavor profile.
Conclusion
Cake Balls are more than just desserts—they’re tiny bundles of happiness that bring people together. With their endless possibilities for customization and ease of preparation, they’re a must-try for every home baker. So grab your apron, gather your ingredients, and let’s create some sweet memories one Cake Ball at a time!