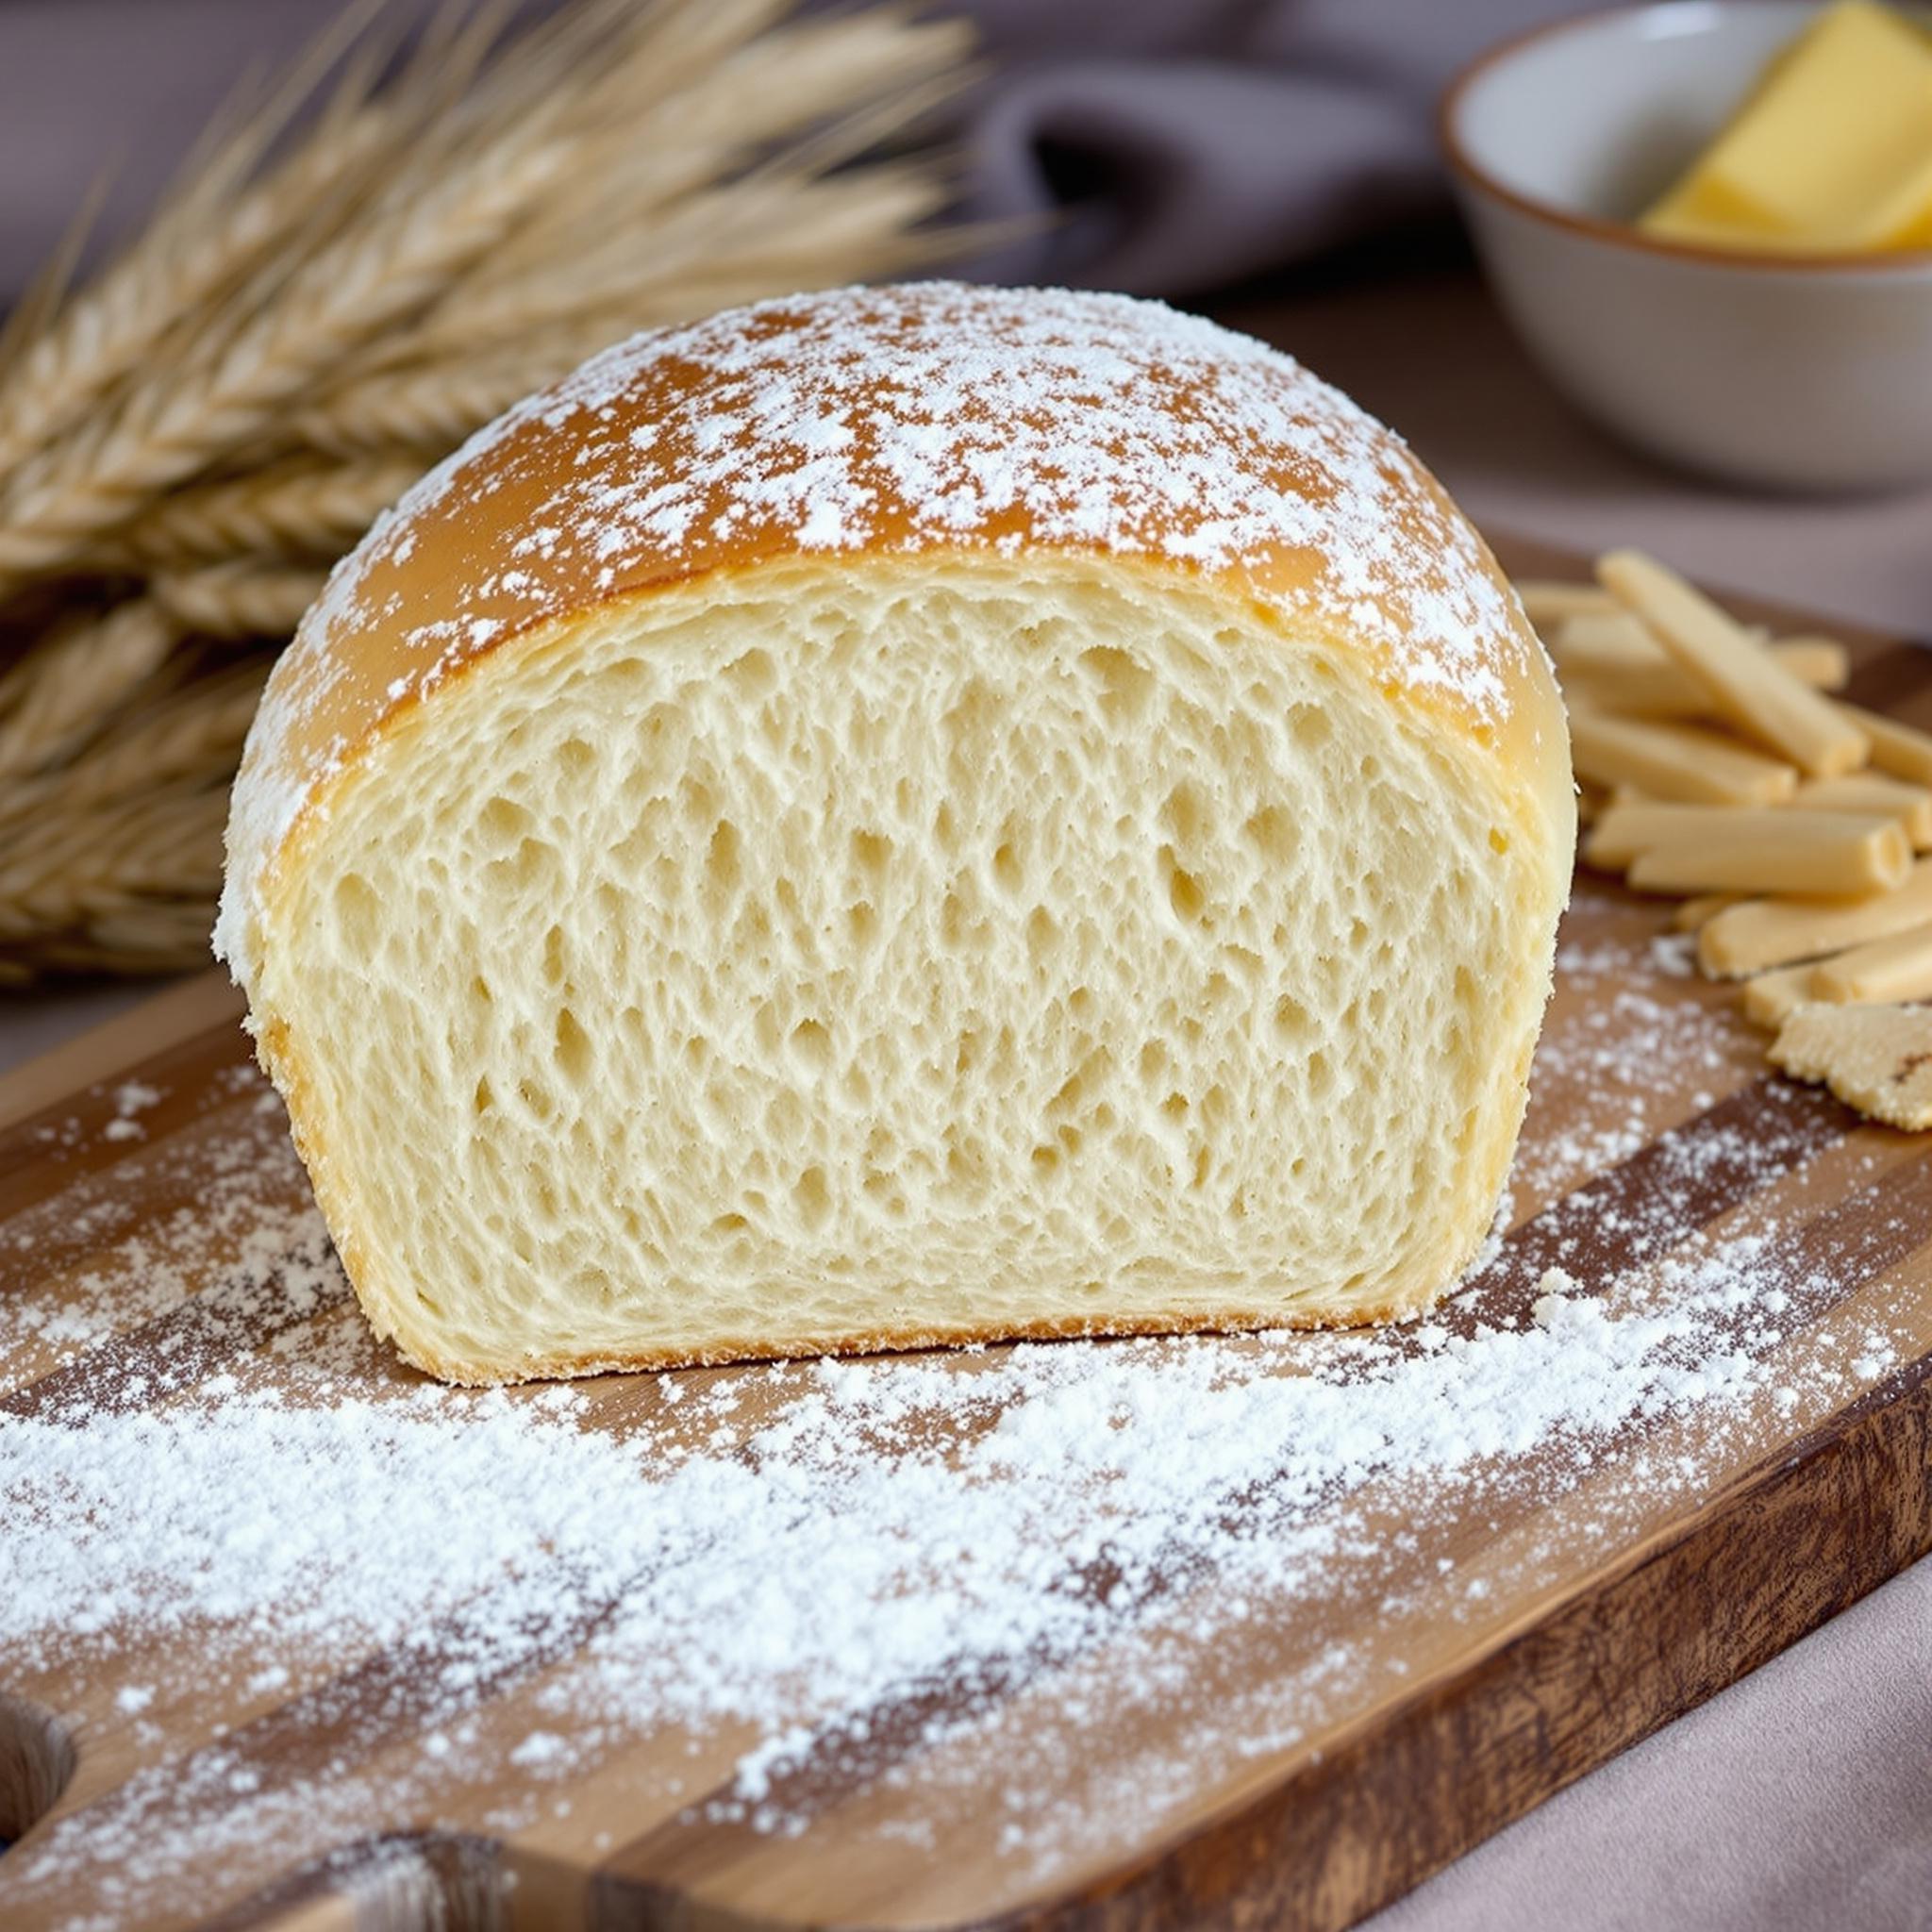
Discover the Magic of Amish White Bread
There’s something truly magical about baking your own bread at home. The aroma that fills your kitchen, the warmth of the loaf fresh out of the oven, and the satisfaction of creating something so wholesome with your own hands—it’s pure joy! Today, I’m sharing my favorite recipe for Amish White Bread, a classic that has become a staple in my household. Whether you’re new to bread-making or a seasoned baker, this recipe is simple, foolproof, and absolutely delicious. It’s perfect for sandwiches, toast, or even just slathered with butter while it’s still warm.
The Story Behind Amish White Bread
Amish White Bread hails from the kitchens of the Amish community, known for their dedication to simplicity and quality in cooking. This bread is a testament to their love for hearty, homemade meals. I first stumbled upon this recipe during a visit to an Amish market years ago. A kind vendor handed me a slice, and I was instantly hooked. Since then, I’ve baked it countless times, tweaking it slightly to suit my family’s taste. What makes this bread special is its soft texture, subtle sweetness, and versatility. It’s a crowd-pleaser whether you’re serving it at breakfast or dinner!
Why You’ll Love This Recipe
If you’re looking for a bread recipe that’s easy to follow yet yields professional results, this homemade white bread is for you. Its flavor is mild yet satisfying, making it a perfect canvas for all kinds of toppings. Plus, there’s no need for fancy equipment—just a few basic tools and ingredients. Whether you’re craving a comforting sandwich or a slice of warm bread with jam, this recipe delivers every time.
Perfect Occasions to Bake Amish White Bread
This classic white bread is ideal for any occasion! Whip it up for a cozy family breakfast, pack it for picnics, or serve it alongside soups and stews during colder months. It’s also a wonderful gift for friends and neighbors, especially when paired with homemade jam or honey. Trust me, they’ll be asking for the recipe!
Ingredients for Amish White Bread
- 2 cups warm water (about 110°F)
- 2 tablespoons active dry yeast
- ½ cup granulated sugar
- 1½ cups milk, warmed
- ⅓ cup unsalted butter, melted
- 2 teaspoons salt
- 2 large eggs
- 7–8 cups all-purpose flour
Substitution Options
Don’t worry if you don’t have all the ingredients on hand! Here are some substitutions you can try:
- Use almond milk or oat milk instead of regular milk for a dairy-free version.
- Swap melted coconut oil for butter if you prefer a vegan option.
- Bread flour can replace all-purpose flour for a chewier texture.
Preparation
Step 1: Activate the Yeast
To start, combine the warm water, yeast, and a pinch of sugar in a large mixing bowl. Let it sit for about 5–10 minutes until the mixture becomes frothy. This step is crucial because it ensures your yeast is alive and ready to work its magic. Pro tip: Make sure the water isn’t too hot, as temperatures above 120°F can kill the yeast. Once it’s bubbly, stir in the remaining sugar, warm milk, melted butter, and salt. The mixture will smell sweet and inviting—a promise of what’s to come!
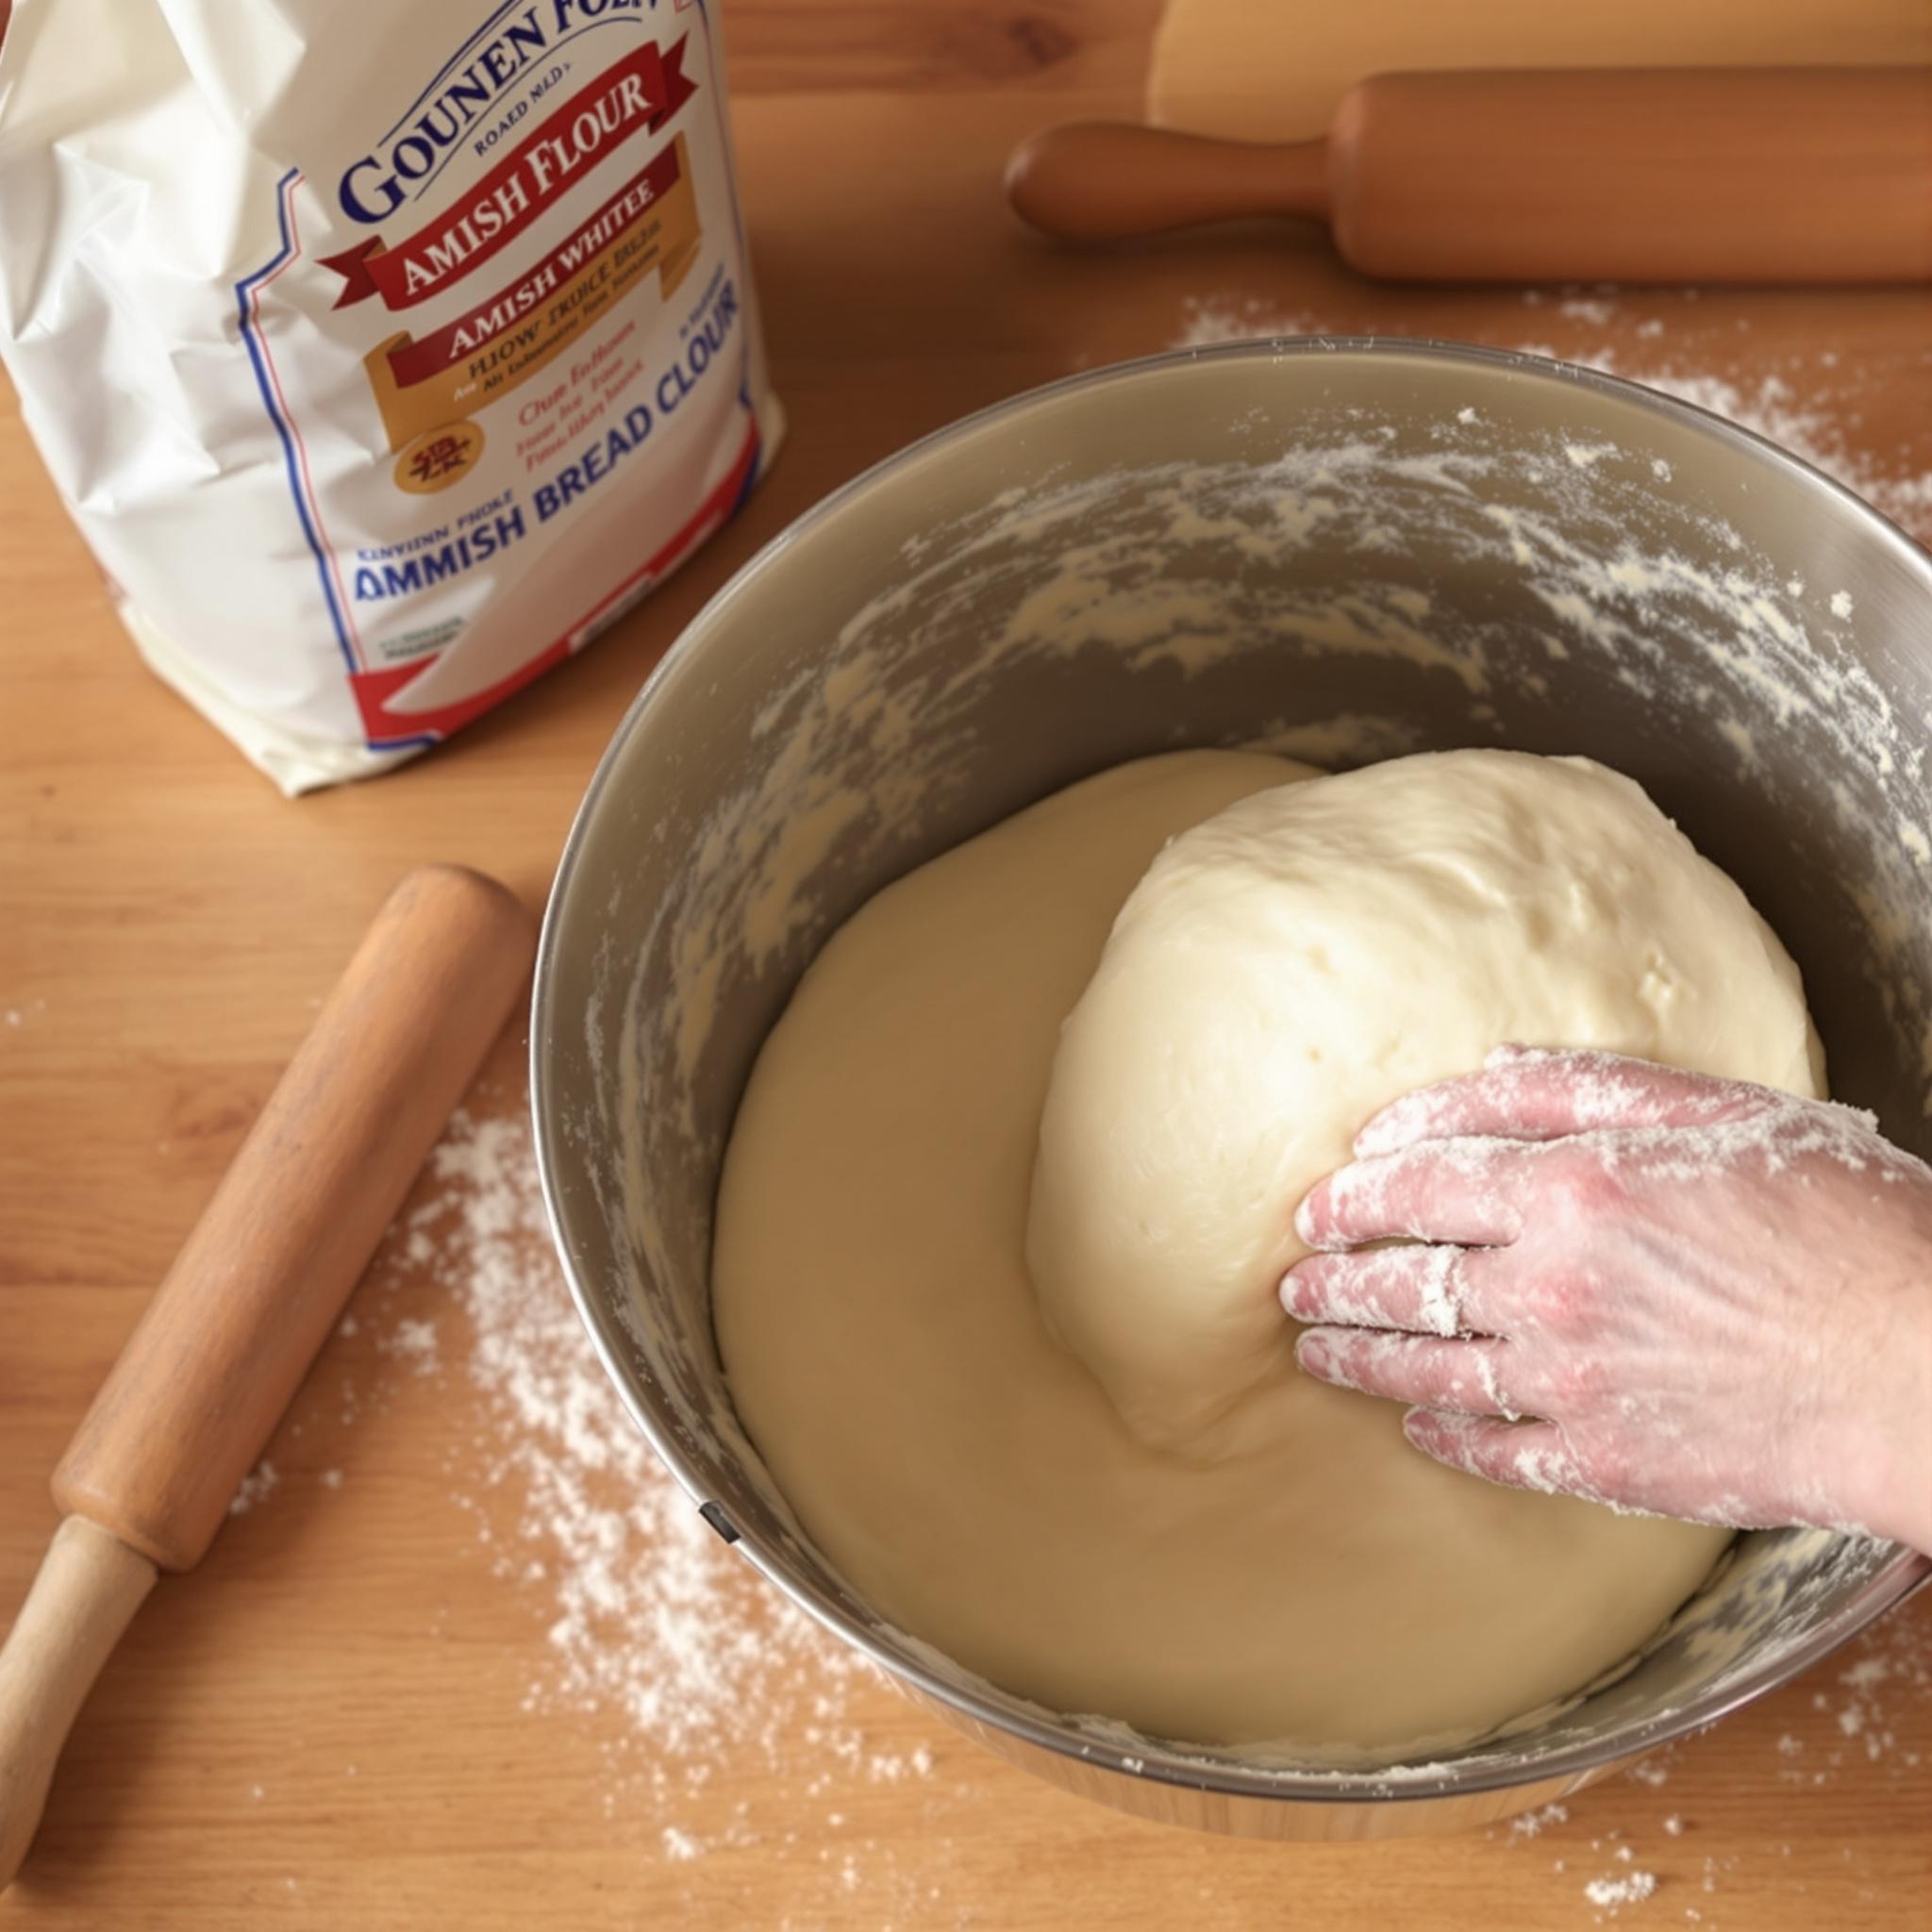
Step 2: Mix the Dough
Add the eggs and gradually incorporate the flour, one cup at a time, until the dough starts pulling away from the sides of the bowl. Kneading is next! Turn the dough onto a floured surface and knead for about 8–10 minutes until smooth and elastic. You’ll notice how the dough transforms under your hands, becoming soft and pliable. If the dough feels sticky, add a little more flour—but not too much, or your bread might turn out dense.
Step 3: Let It Rise
Place the dough in a greased bowl, cover it with a clean kitchen towel, and let it rise in a warm, draft-free spot for about 1–2 hours. Watch as it doubles in size—a sign that the yeast is doing its job. During this time, your kitchen will fill with the comforting scent of fermentation, which always reminds me of simpler times.
Step 4: Shape and Bake
Punch down the risen dough to release any air bubbles, then divide it into two equal portions. Shape each portion into a loaf and place them in greased bread pans. Cover again and let them rise for another 30–45 minutes. Preheat your oven to 350°F while you wait. Once the loaves have risen, bake them for 30–35 minutes until golden brown. Tap the bottom of a loaf—if it sounds hollow, it’s done!
Chef’s Tip
For an extra touch of flavor, brush the tops of the loaves with melted butter right after they come out of the oven. Not only does it give the bread a beautiful shine, but it also adds a hint of richness that pairs perfectly with the soft interior.
Time Required
Making homemade white bread requires patience, but the process is rewarding. Prep time takes about 20 minutes, rising time totals around 2 hours, and baking takes 30–35 minutes. In total, you’ll need approximately 3 hours from start to finish.
Nutritional Information
Each slice of Amish White Bread contains approximately 150 calories, 3g protein, 25g carbohydrates, and 4g fat. It’s a balanced treat that fits well into most diets when enjoyed in moderation.
Extra Information
Did you know that the Amish traditionally avoid modern technology? Their recipes often rely on simple techniques passed down through generations, making dishes like this soft white bread timeless classics.
Necessary Tools
- Large mixing bowl
- Measuring cups and spoons
- Loaf pans (9×5 inches)
- Kitchen towel
- Oven
Storage Instructions
To keep your Amish White Bread fresh, store it in a cool, dry place. Wrap it tightly in plastic wrap or place it in a resealable bag to prevent it from drying out. For longer storage, freeze the bread by wrapping it in foil and placing it in a freezer-safe bag. When ready to eat, thaw it at room temperature or reheat it in the oven for a freshly baked feel. Avoid refrigerating bread, as it can accelerate staling.
Tips and Tricks
Here are a few tricks to elevate your bread-baking game:
- Always check the expiration date on your yeast to ensure it’s still active.
- Use a stand mixer with a dough hook if you want to save time on kneading.
- Let the bread cool completely before slicing to maintain its structure.
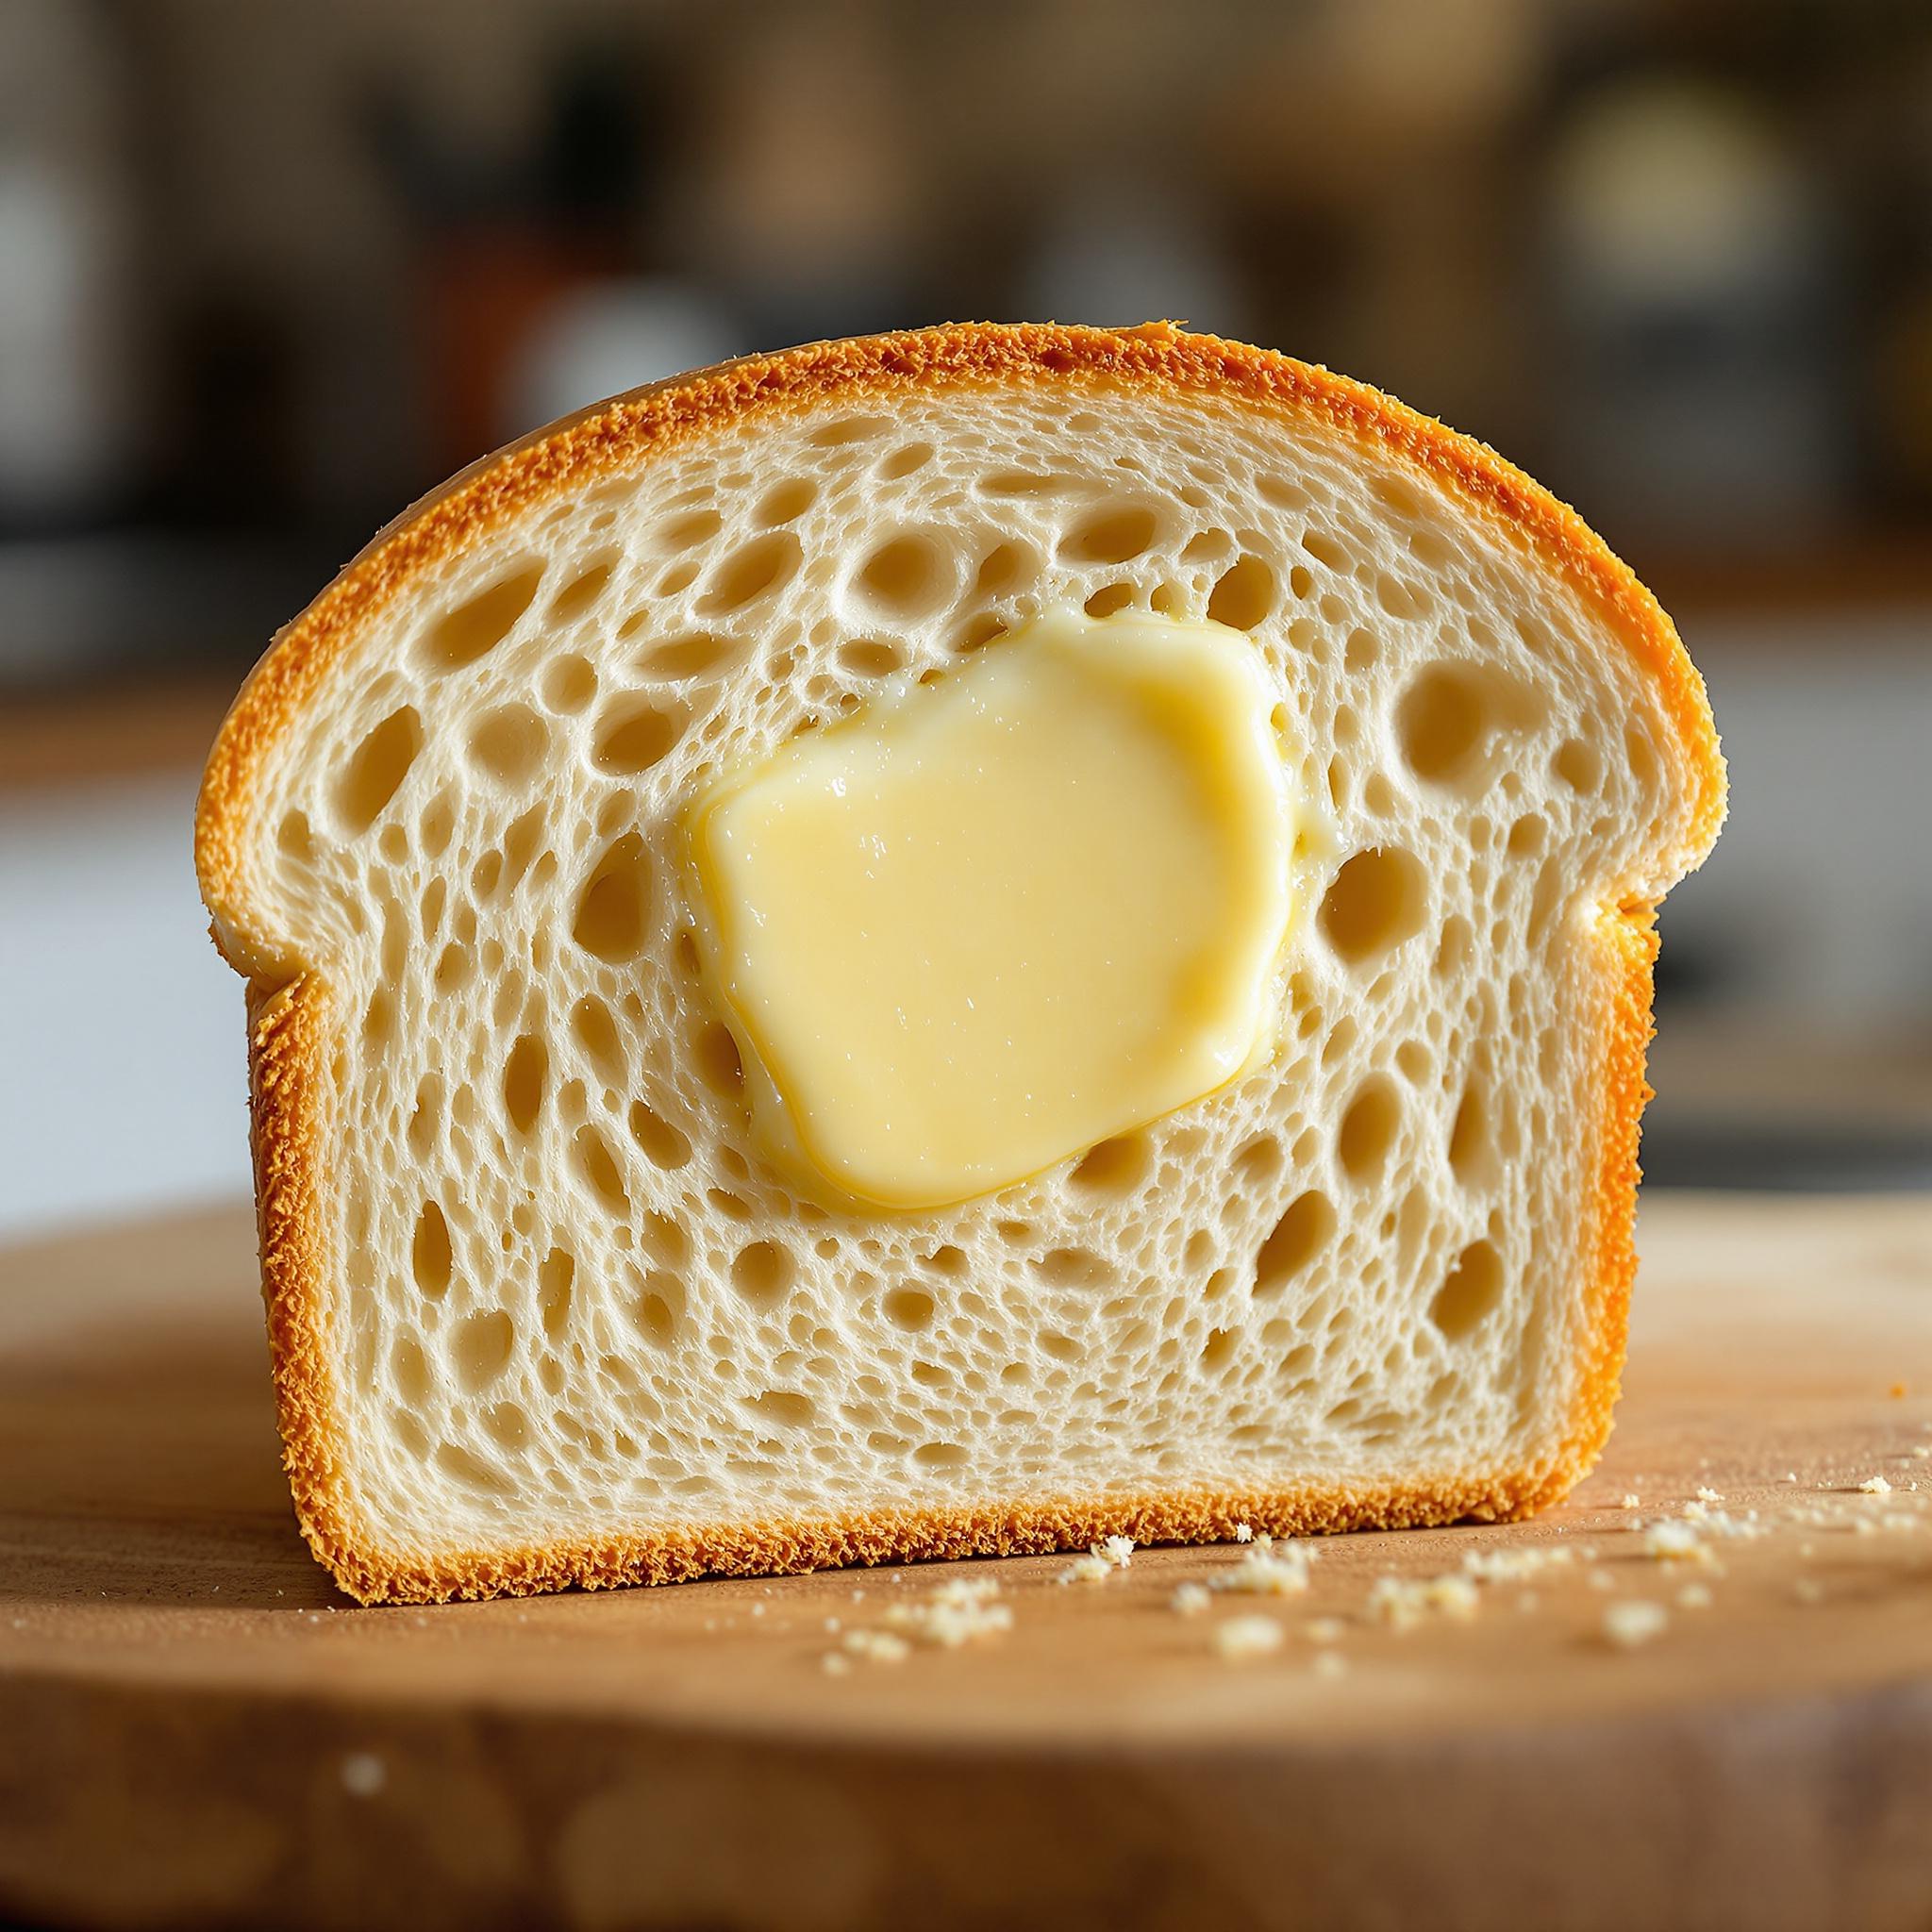
Serving Suggestions
Enjoy your soft white bread with a pat of butter and a drizzle of honey for a quick snack. It’s also fantastic toasted and topped with avocado or used as the base for a hearty BLT sandwich.
Healthier Alternatives
If you’re looking to make this recipe healthier, here are six variations to consider:
- Whole Wheat Version: Substitute half of the all-purpose flour with whole wheat flour for added fiber.
- Low-Sugar Option: Reduce the sugar to ¼ cup or use a sugar substitute like stevia.
- Vegan Adaptation: Replace the eggs with flax eggs and use plant-based milk and butter.
- Gluten-Free Twist: Use a gluten-free flour blend designed for bread-making.
- Herb-Infused Bread: Add dried herbs like rosemary or thyme for a savory twist.
- Seeded Loaf: Sprinkle sesame or poppy seeds on top before baking for extra crunch.
Common Mistakes to Avoid
Mistake 1: Using Water That’s Too Hot
One common mistake is using water that’s too hot when activating the yeast. Yeast is a living organism, and extreme heat can kill it, preventing your dough from rising. Always aim for water between 105°F and 115°F. Pro tip: Test the temperature with your finger—it should feel warm but not scalding.
Mistake 2: Adding Too Much Flour
Another pitfall is adding too much flour, resulting in dense bread. Flour measurements can vary depending on humidity levels, so focus on the dough’s texture rather than exact quantities. Aim for a soft, slightly tacky dough that doesn’t stick to your hands excessively.
Mistake 3: Skipping the Second Rise
Some bakers rush the process by skipping the second rise. This step is essential for developing flavor and ensuring a light, airy texture. Be patient and allow the dough to double in size again before baking.
Frequently Asked Questions
Can I use instant yeast instead of active dry yeast?
Yes, you can! Instant yeast doesn’t require activation, so you can mix it directly with the dry ingredients. Just skip the step where you dissolve the yeast in water.
How do I know when the bread is fully baked?
A perfectly baked loaf will sound hollow when tapped on the bottom. Alternatively, insert a thermometer into the center—the internal temperature should read around 190°F.
Can I freeze this bread?
Absolutely! Wrap the cooled loaves tightly in plastic wrap and aluminum foil, then freeze for up to three months. Thaw at room temperature before serving.
What if my dough doesn’t rise?
If your dough fails to rise, the yeast may be expired or the environment might be too cold. Try placing the dough in a warmer area, such as near a sunny window or on top of the fridge.
Is this bread suitable for sandwiches?
Definitely! Its soft texture and mild flavor make it perfect for sandwiches, whether you’re layering meats, cheeses, or veggies.
Can I add nuts or dried fruits to the dough?
Of course! Fold in chopped walnuts, raisins, or cranberries during the kneading stage for a delightful twist.
How long does this bread stay fresh?
Stored properly, Amish White Bread stays fresh for up to five days at room temperature. Beyond that, freezing is recommended.
Do I need a stand mixer to knead the dough?
Nope! While a stand mixer saves time, you can easily knead the dough by hand for a fun and therapeutic experience.
Can I make smaller rolls instead of loaves?
Yes! Divide the dough into smaller portions, shape them into rolls, and adjust the baking time to 15–20 minutes.
Why does my bread taste bland?
If your bread lacks flavor, ensure you’re using enough salt and letting the dough rise adequately. Both steps contribute significantly to the final taste.
Conclusion
Baking Amish White Bread is a journey worth taking. From the moment you mix the ingredients to the first slice fresh out of the oven, this recipe brings joy and nourishment to your table. Whether you’re a beginner or a seasoned baker, this bread is sure to become a cherished part of your repertoire. So roll up your sleeves, gather your ingredients, and let’s get baking!