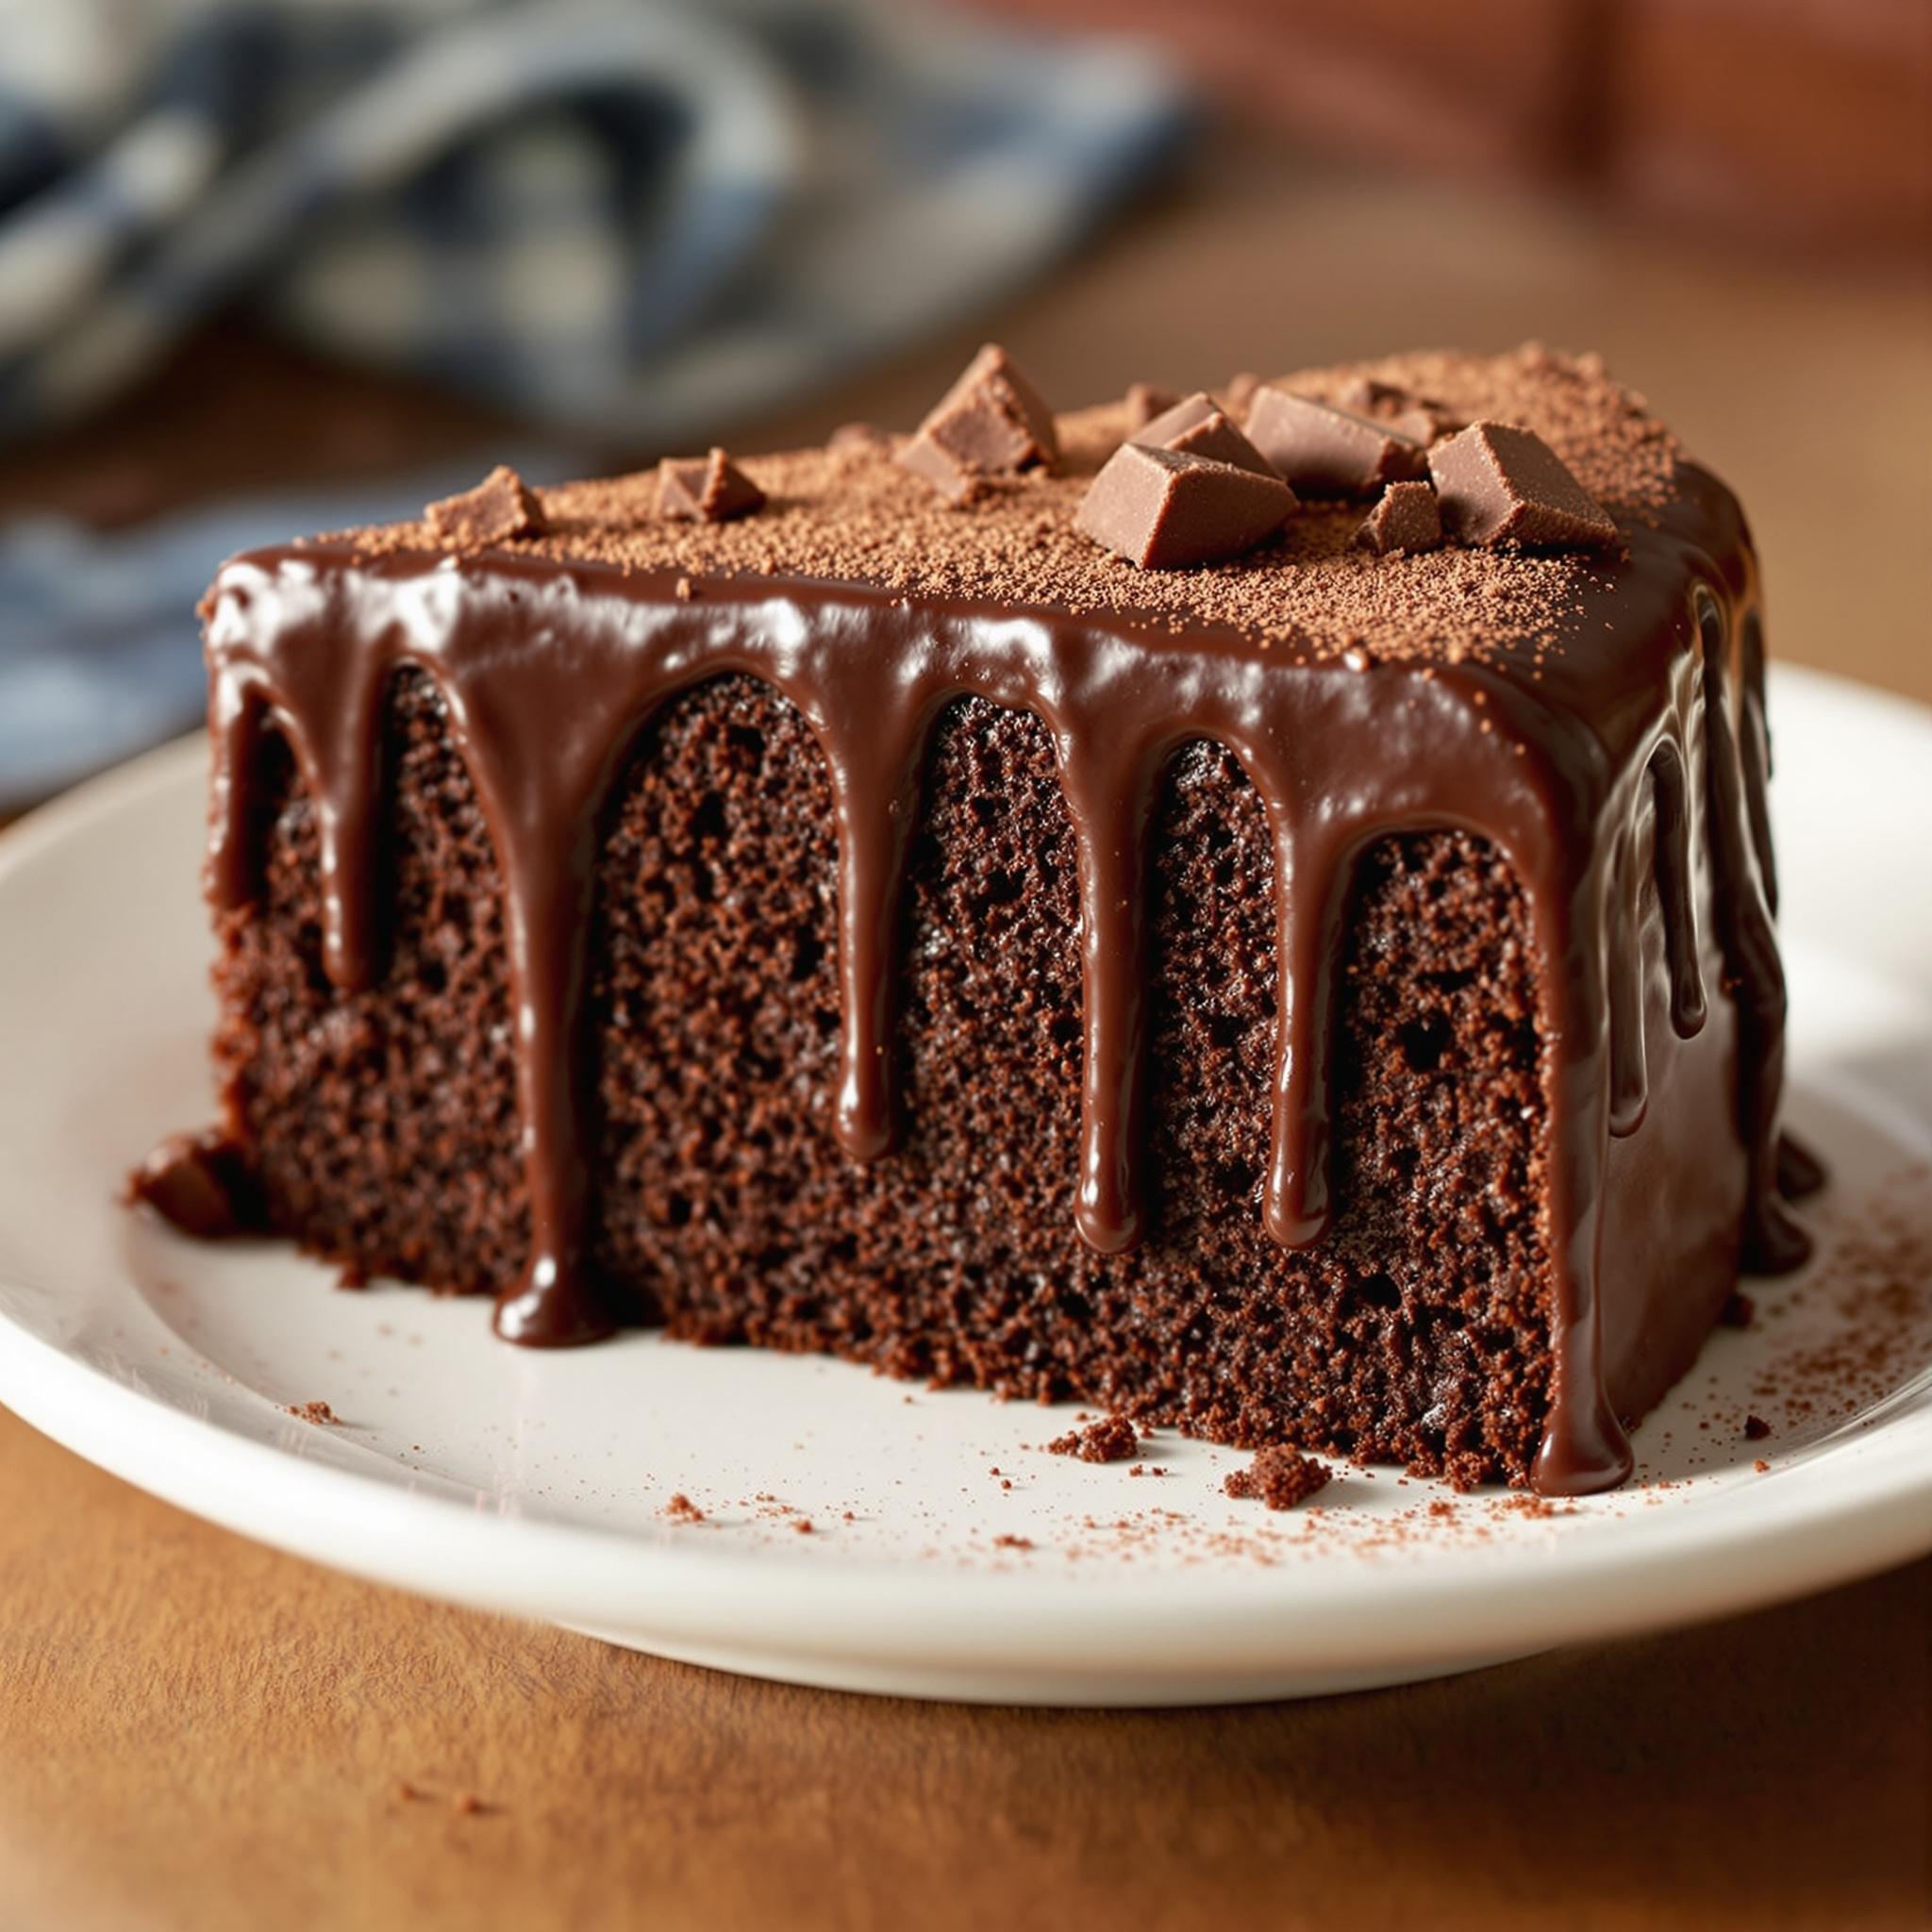
Introduction to Back-of-the-Box Hershey’s Chocolate Cake
There’s something magical about the Back-of-the-Box Hershey’s Chocolate Cake. It’s a classic recipe that has stood the test of time, delivering rich, moist chocolate goodness every single time. I first stumbled upon this gem when I was searching for an easy yet impressive dessert to bake for my family reunion. The result? A cake so decadent and delicious that it became the star of the evening! Whether you’re a seasoned baker or just starting out, this Hershey’s chocolate delight is sure to win hearts.
The History Behind the Back-of-the-Box Hershey’s Chocolate Cake
This iconic recipe has been around for decades, printed on the back of Hershey’s cocoa boxes as a way to inspire home bakers. It’s a testament to how simple ingredients can create extraordinary flavors. Over the years, variations like moist chocolate layer cakes, chocolate sheet cakes, and even Hershey’s-inspired cupcakes have emerged. But nothing beats the original—it’s timeless, comforting, and oh-so-chocolatey!
Why You’ll Love This Back-of-the-Box Hershey’s Chocolate Cake Recipe
This recipe shines because it’s both foolproof and flavorful. With its velvety texture and deep cocoa aroma, it’s perfect for satisfying any chocolate craving. Plus, it uses pantry staples, making it accessible for everyone. Whether you’re baking for yourself or hosting a gathering, this classic chocolate cake will never disappoint.
Perfect Occasions to Prepare This Hershey’s Chocolate Cake
This cake is versatile enough for almost any occasion. Serve it at birthday parties, holiday dinners, or casual get-togethers. It’s also ideal for potlucks, where its crowd-pleasing flavor guarantees empty plates. And let’s not forget those cozy nights in—pairing a slice with a cup of coffee or tea makes for pure bliss.
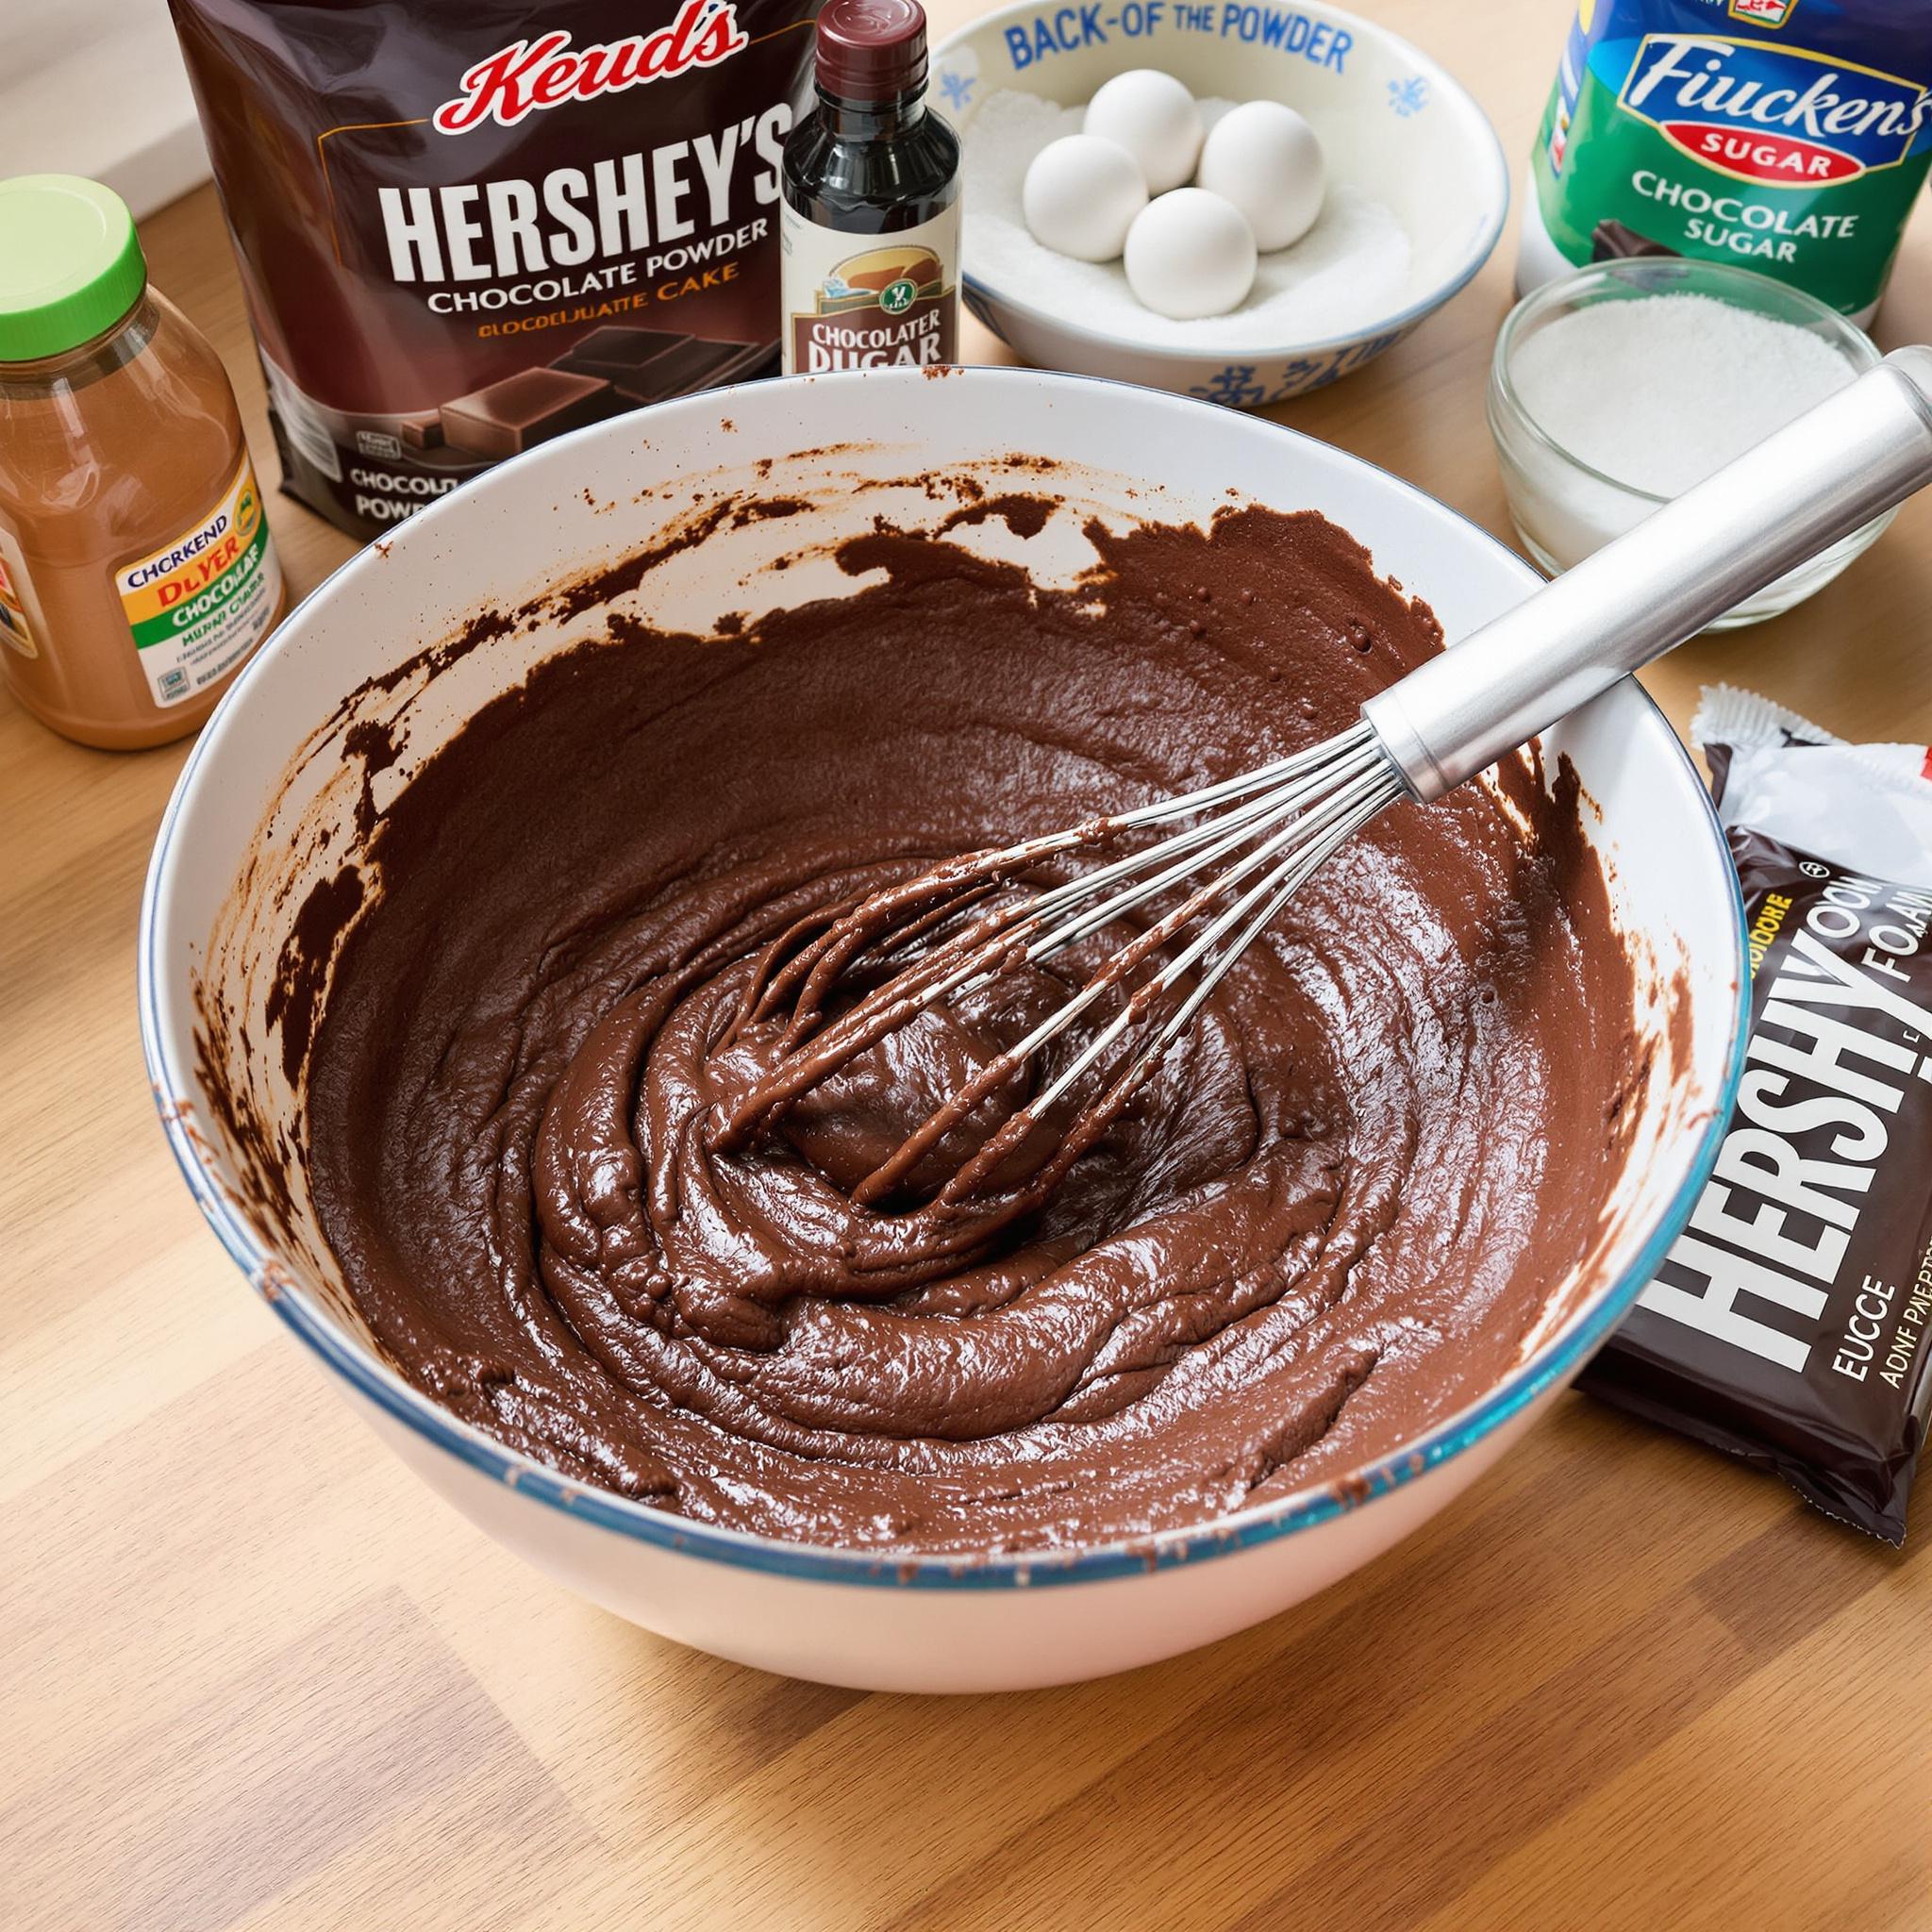
Ingredients for Back-of-the-Box Hershey’s Chocolate Cake
- 1 3/4 cups all-purpose flour
- 3/4 cup Hershey’s cocoa powder
- 2 cups granulated sugar
- 1 1/2 teaspoons baking powder
- 1 1/2 teaspoons baking soda
- 1 teaspoon salt
- 2 large eggs
- 1 cup whole milk
- 1/2 cup vegetable oil
- 2 teaspoons vanilla extract
- 1 cup boiling water
Substitution Options for Flexibility
If you’re missing an ingredient, don’t worry! Swap whole milk with almond or soy milk for a dairy-free option. Coconut oil works beautifully instead of vegetable oil, adding a subtle tropical twist. For a gluten-free version, replace the all-purpose flour with a gluten-free blend. These substitutions ensure that your moist chocolate layer cake remains inclusive and adaptable.
Preparation: Step-by-Step Guide
Step 1: Preparing Your Dry Ingredients
Start by whisking together the flour, cocoa powder, sugar, baking powder, baking soda, and salt in a large mixing bowl. This step ensures that all the dry components are evenly distributed, which is key to achieving that perfectly balanced chocolate flavor. As you mix, take a moment to inhale the rich scent of cocoa—it’s enough to make anyone excited for what’s coming next!
Step 2: Combining Wet Ingredients
In another bowl, beat the eggs, then add the milk, oil, and vanilla extract. Mix until smooth and creamy. The golden hue of the mixture contrasts beautifully with the dark cocoa powder waiting in the other bowl. Pro tip: Use room-temperature eggs and milk for easier blending and a smoother batter.
Step 3: Creating the Batter
Gradually pour the wet ingredients into the dry mixture, stirring gently until combined. Once mixed, slowly incorporate the boiling water. Don’t panic if the batter seems thin—it’s supposed to be! This liquid consistency helps create that melt-in-your-mouth texture we all love in a classic chocolate cake.
Step 4: Baking the Cake
Pour the batter into a greased 9×13-inch pan and pop it into a preheated oven at 350°F (175°C). Set a timer for 30-35 minutes and resist the urge to open the oven door too often. When done, a toothpick inserted into the center should come out clean. The smell of warm chocolate wafting through your kitchen is worth the wait!
Chef’s Tip for Elevating Your Cake
To take your Hershey’s chocolate cake to the next level, brush a simple syrup made from equal parts sugar and water over the cooled layers before frosting. This adds extra moisture and enhances the overall richness of the cake.
Time Required for Preparation
- Prep Time: 15 minutes
- Cooking Time: 30-35 minutes
- Total Time: Approximately 45-50 minutes
Nutritional Information
Per serving (assuming 12 servings): Calories: 320 | Protein: 4g | Fat: 12g | Carbohydrates: 50g | Fiber: 2g | Sugar: 35g
Extra Information About the Recipe
Did you know that Hershey’s cocoa powder is alkalized, giving it a darker color and milder taste compared to natural cocoa? This process, known as Dutch processing, contributes to the cake’s signature deep chocolate flavor.
Necessary Tools for Making the Cake
- Mixing bowls
- Whisk
- Measuring cups and spoons
- 9×13-inch baking pan
- Oven
Storage Instructions
Once cooled, cover the cake tightly with plastic wrap or transfer slices to an airtight container. Store it at room temperature for up to three days. If you live in a warm climate, refrigerate the cake to extend its shelf life. Just bring it back to room temperature before serving for optimal taste.
For longer storage, freeze individual slices wrapped in parchment paper and sealed in freezer bags. They’ll stay fresh for up to two months. Simply thaw overnight in the fridge before enjoying.
Avoid leaving the cake uncovered, as exposure to air can dry it out. Proper storage keeps your moist chocolate layer cake tasting fresh and delightful.
Tips and Tricks for Perfect Results
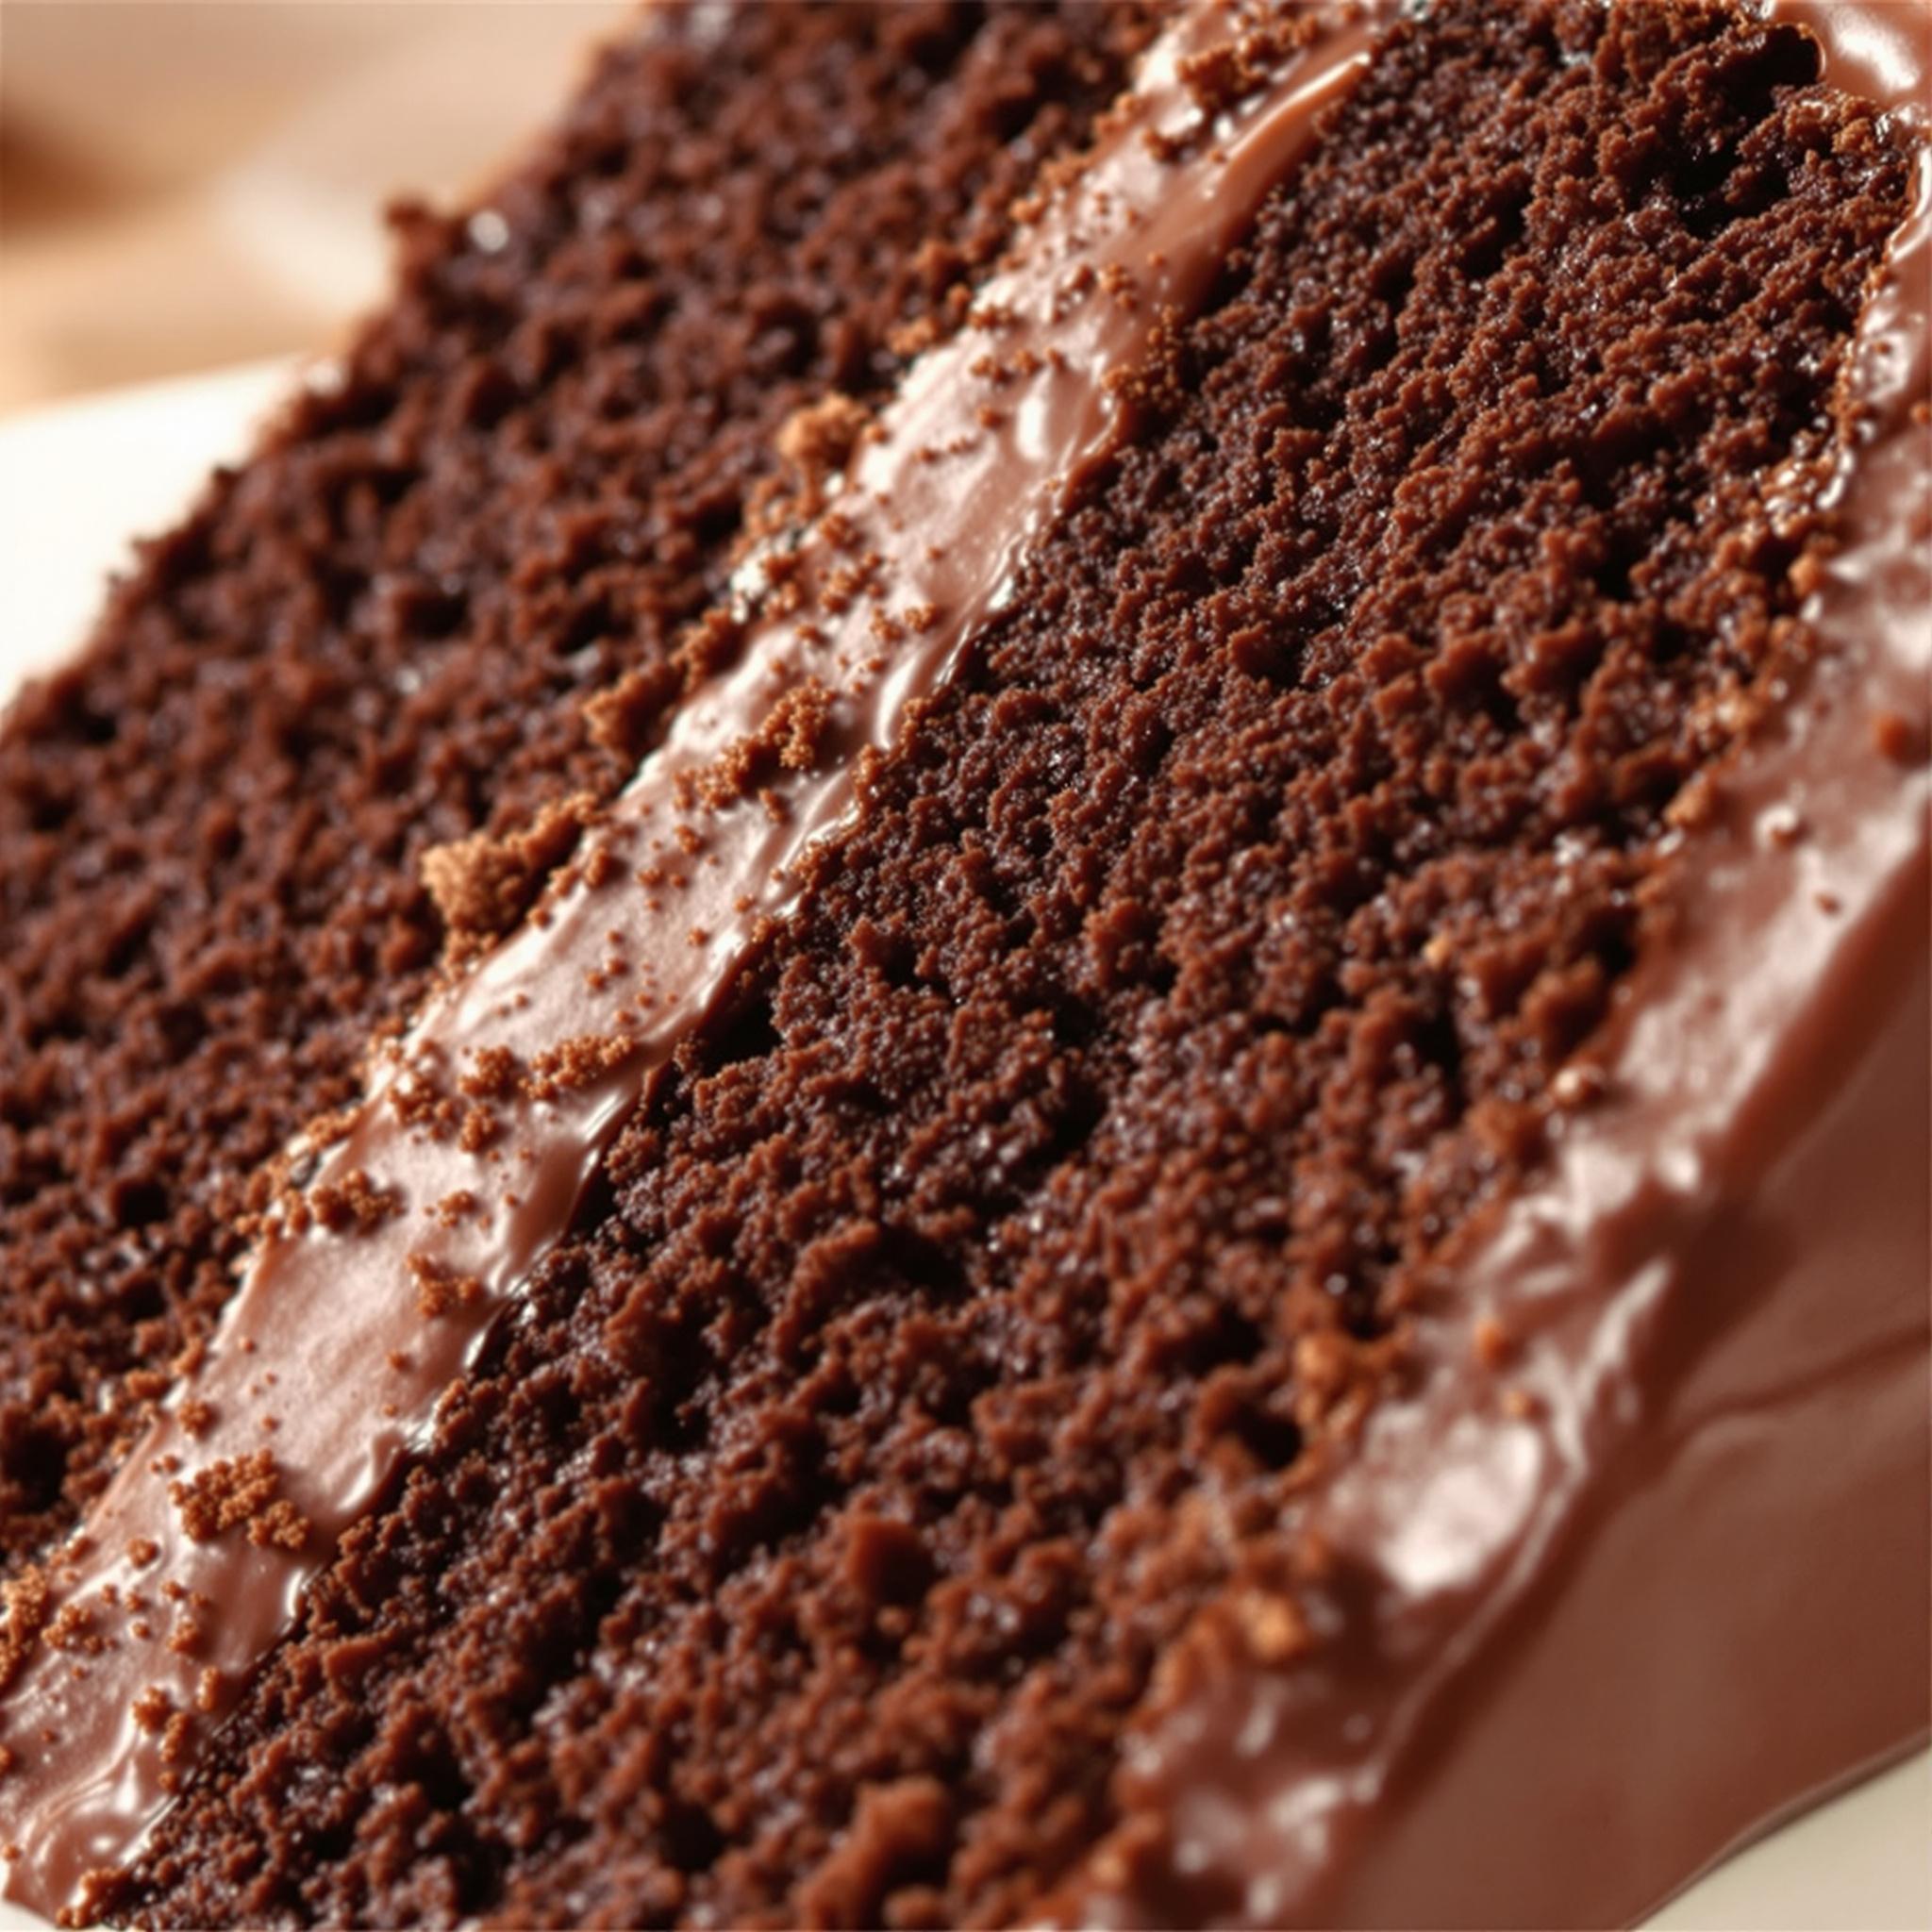
Sift the cocoa powder and flour to remove lumps and aerate the batter. This small step makes a big difference in texture. Also, always grease your pan generously to prevent sticking. Lastly, cool the cake completely before frosting to avoid melty icing mishaps.
Serving Suggestions
- Serve with a dollop of whipped cream or a scoop of vanilla ice cream for added indulgence.
- Garnish with fresh berries for a pop of color and freshness.
Healthier Alternatives for the Recipe
Looking to lighten up your Back-of-the-Box Hershey’s Chocolate Cake? Here are six healthier variations:
- Reduced-Sugar Version: Cut the sugar by half and use a sugar substitute like stevia or monk fruit.
- Gluten-Free Option: Replace the all-purpose flour with a gluten-free flour blend.
- Dairy-Free Delight: Use almond milk and coconut oil instead of dairy products.
- Whole Grain Goodness: Substitute half the flour with whole wheat flour for added fiber.
- Vegan Twist: Replace eggs with flax eggs and use plant-based milk and oil.
- Low-Fat Alternative: Reduce the oil by half and replace it with unsweetened applesauce.
Common Mistakes to Avoid
Mistake 1: Overmixing the Batter
Overmixing can lead to a dense cake rather than a light and airy one. Mix just until the ingredients are combined. Remember, a few lumps are okay—they’ll disappear during baking. Pro tip: Use a spatula for gentle folding.
Mistake 2: Skipping the Boiling Water
The boiling water might seem unusual, but it’s crucial for developing the cocoa’s flavor and ensuring the right consistency. Without it, your cake may turn out dry. Trust the process—it works wonders!
Mistake 3: Opening the Oven Too Often
Opening the oven door repeatedly lets heat escape, affecting the cake’s rise. Be patient and rely on your timer. If you must check, do so sparingly and quickly.
Frequently Asked Questions
Can I double the recipe?
Absolutely! Doubling the recipe is great for larger gatherings. Just ensure your pans are appropriately sized and adjust the baking time slightly if needed.
What frosting pairs best with this cake?
A classic chocolate buttercream complements the cake beautifully. Cream cheese frosting offers a tangy twist, while whipped cream provides a lighter option.
Can I bake this in round pans?
Yes, divide the batter between two 8-inch round pans for a layered cake. Bake for 25-30 minutes or until a toothpick comes out clean.
How do I prevent the cake from sticking to the pan?
Grease the pan thoroughly with butter or nonstick spray, then dust it lightly with flour. Alternatively, line the bottom with parchment paper for extra insurance.
Is this recipe suitable for beginners?
Definitely! Its straightforward instructions and minimal equipment requirements make it beginner-friendly.
Can I add mix-ins like nuts or chocolate chips?
Of course! Fold in chopped walnuts, pecans, or chocolate chips after combining the wet and dry ingredients for added texture and flavor.
Why does my cake sink in the middle?
This usually happens due to underbaking or opening the oven door too early. Ensure the cake is fully baked and avoid disturbances during the initial rising phase.
Can I make cupcakes instead?
Yes, fill cupcake liners two-thirds full and bake for 18-20 minutes. Keep an eye on them to avoid overbaking.
How long does the cake last?
Stored properly, it lasts up to three days at room temperature or five days in the fridge.
Can I freeze the cake?
Yes, wrap individual slices tightly and freeze for up to two months. Thaw overnight in the fridge before serving.
Conclusion
The Back-of-the-Box Hershey’s Chocolate Cake is more than just a dessert—it’s a celebration of simplicity, tradition, and pure chocolate joy. Whether you stick to the original recipe or experiment with healthier alternatives, this cake promises to bring smiles to everyone who tries it. So grab your apron, gather your ingredients, and let’s bake some happiness!