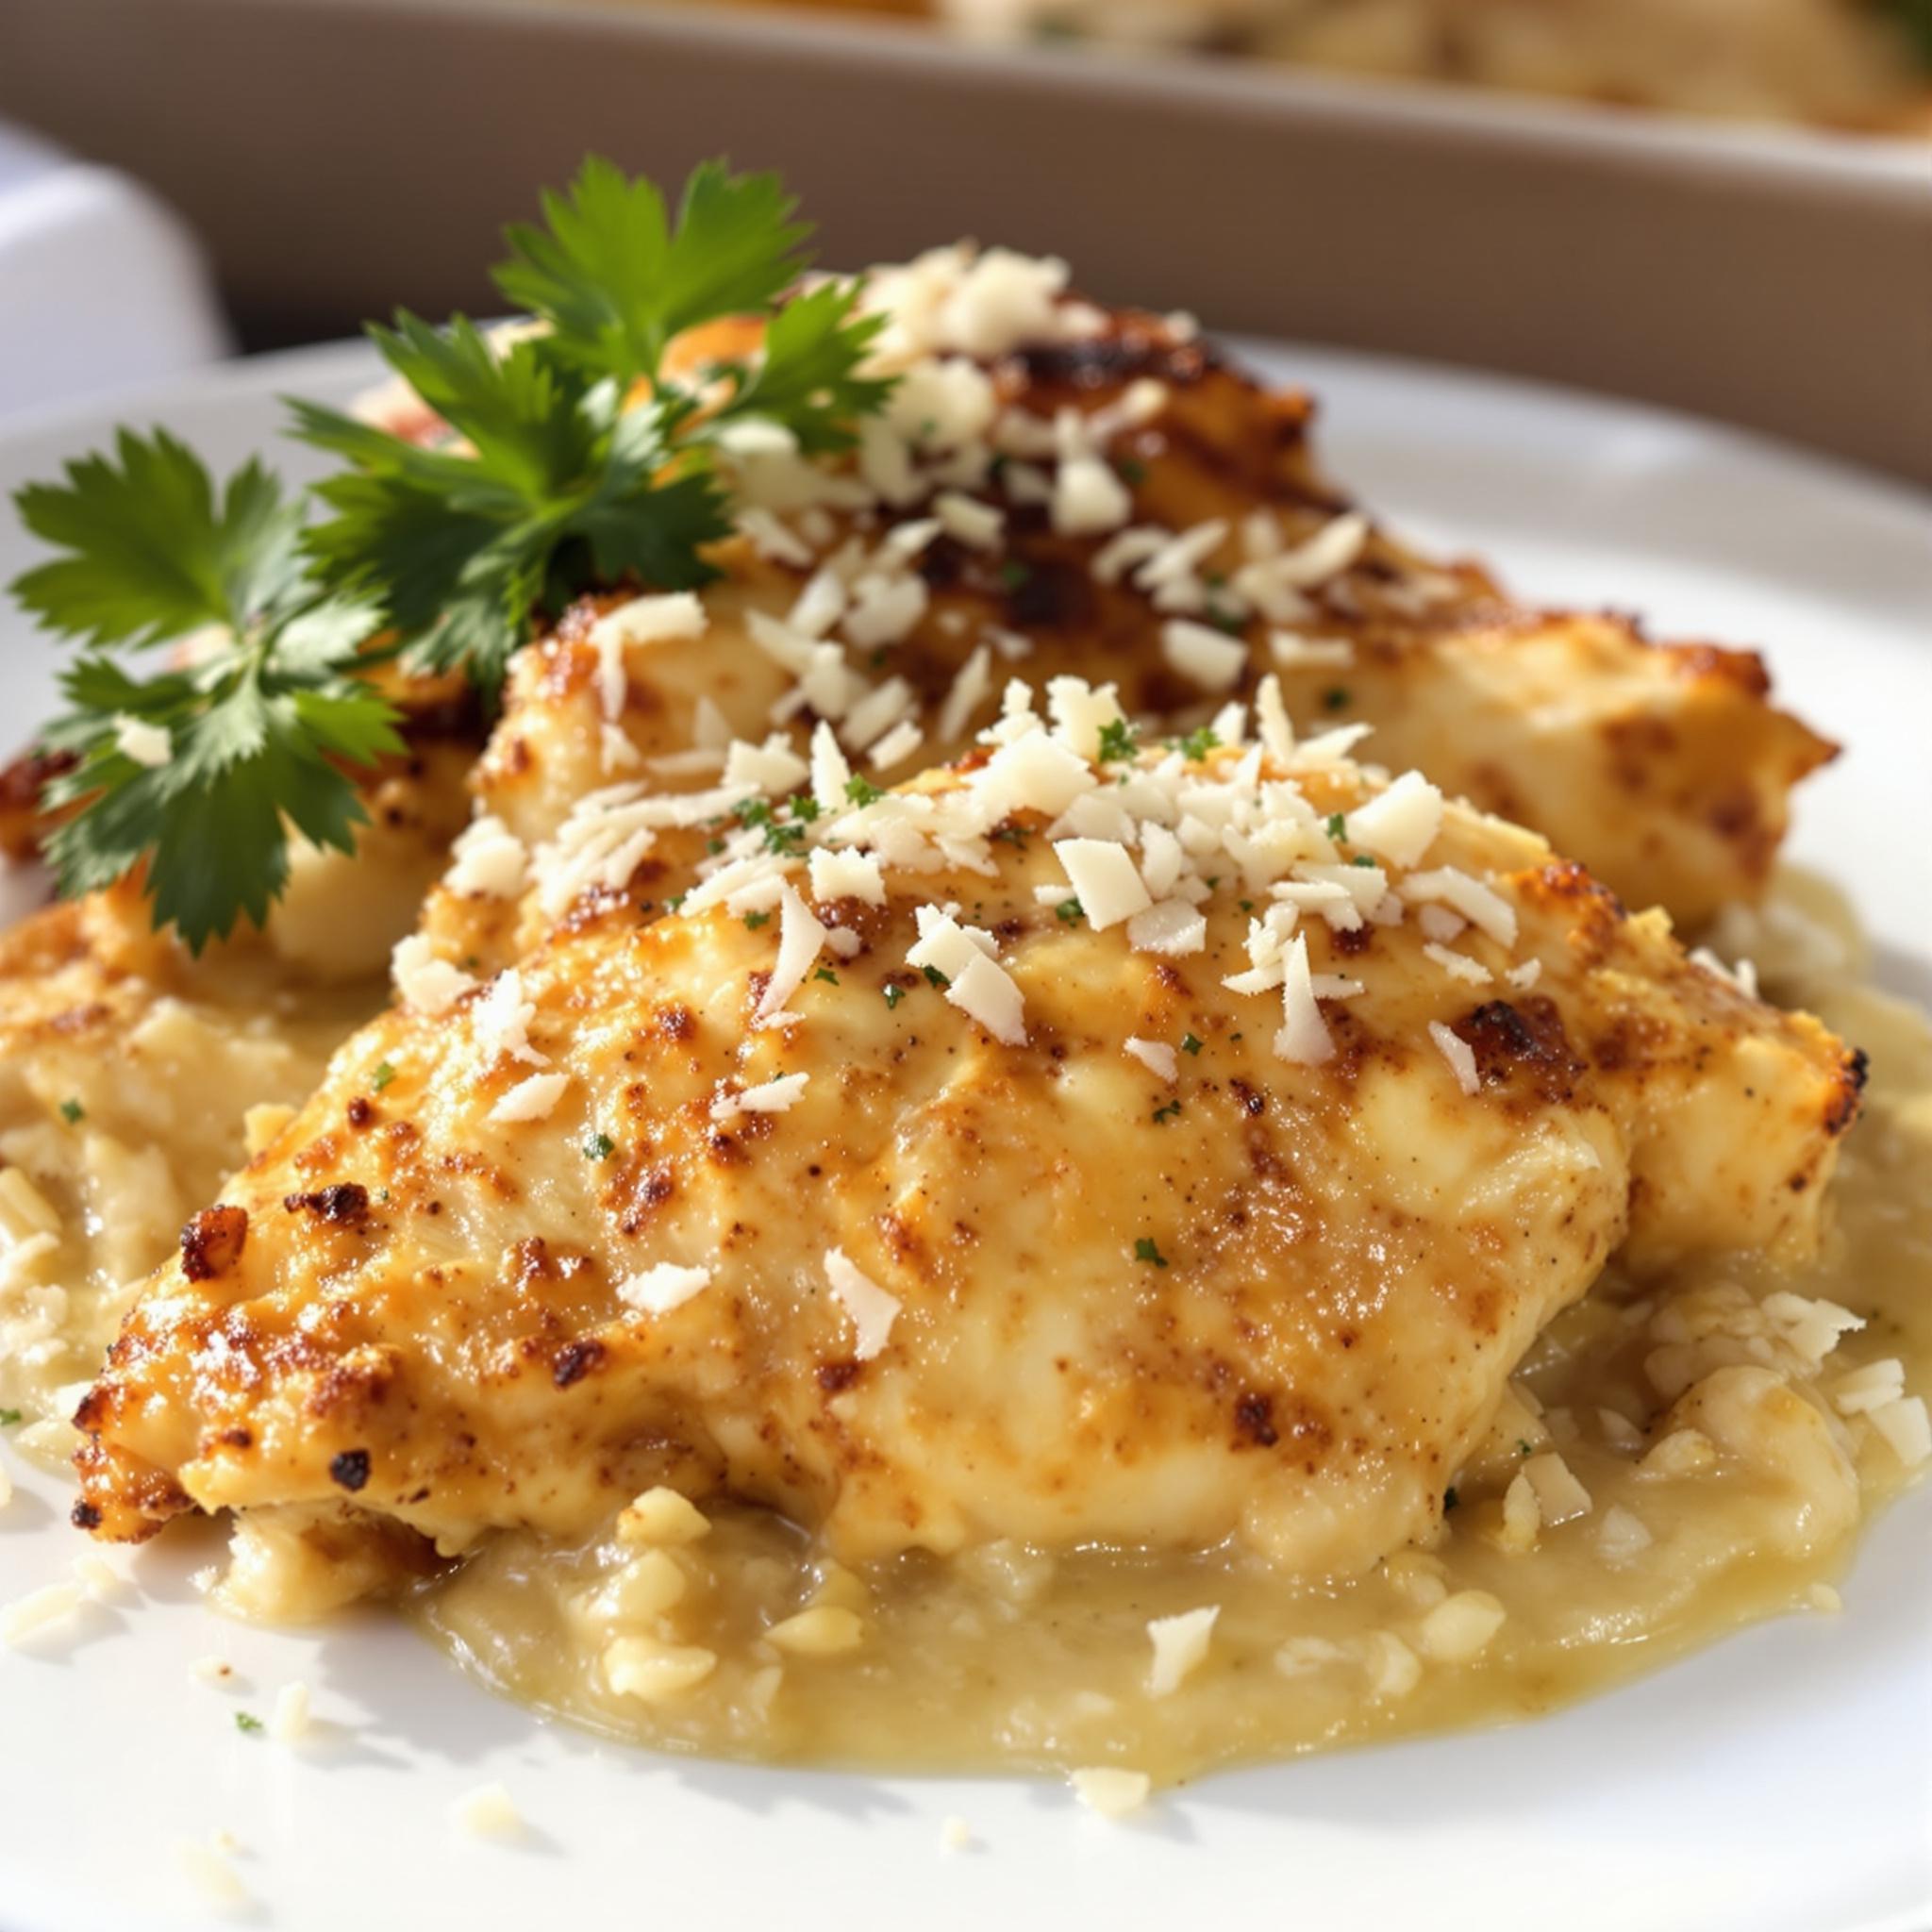
Discover the Magic of Baked Garlic Parmesan Chicken
There’s something truly magical about a dish that combines crispy textures, savory aromas, and a hint of cheesy indulgence. That’s exactly what you get with Baked Garlic Parmesan Chicken. This recipe has become one of my absolute favorites over the years, not just because it’s easy to make but also because it’s a guaranteed crowd-pleaser. Whether I’m cooking for family dinners or hosting friends, this dish always gets rave reviews. The combination of garlic, parmesan, and perfectly baked chicken is simply irresistible.
The Story Behind Baked Garlic Parmesan Chicken
This recipe reminds me of cozy Sunday dinners at my grandmother’s house. She had a knack for turning simple ingredients into something extraordinary. While her version was fried (hello, extra calories!), I’ve modernized it by baking the chicken instead. The result? A healthier yet equally delicious take on her classic garlic parmesan chicken. Over time, I’ve experimented with different seasonings and techniques, and this baked version has become my go-to. It’s proof that tradition and innovation can coexist beautifully in the kitchen.
Why You’ll Love This Baked Garlic Parmesan Chicken Recipe
Let’s talk about why this garlic parmesan chicken bake is such a winner. First, it’s incredibly flavorful without being complicated. The garlic adds a punch of aroma, while the parmesan brings a nutty, cheesy richness. Second, it’s so easy to prepare—perfect for busy weeknights or last-minute gatherings. Plus, baking ensures the chicken stays juicy and tender, with a golden crust that’s crispy but not greasy. If you’re looking for a dish that’s both comforting and impressive, this is it!
Perfect Occasions to Serve Garlic Parmesan Chicken
This baked chicken with garlic and parmesan is versatile enough for any occasion. Serve it as the star of a family dinner, pair it with a fresh salad for a light lunch, or bring it to a potluck where it’s sure to steal the show. It’s also a fantastic option for date night or holiday meals when you want something special but not overly fussy. Trust me, once you try it, you’ll find yourself making it again and again.
Ingredients for Baked Garlic Parmesan Chicken
- 4 boneless, skinless chicken breasts
- 1 cup grated parmesan cheese
- 3 cloves garlic, minced
- 1/2 cup breadcrumbs
- 1 teaspoon paprika
- 1 teaspoon dried oregano
- Salt and pepper to taste
- 2 tablespoons olive oil
- 1/4 cup melted butter
- Fresh parsley, chopped (for garnish)
Substitution Options
If you’re out of an ingredient or want to switch things up, here are some ideas:
- Swap chicken breasts for thighs for a juicier option.
- Use almond flour or crushed crackers instead of breadcrumbs for a gluten-free version.
- Replace fresh garlic with garlic powder if you’re short on time.
- Try pecorino romano instead of parmesan for a sharper flavor.
Preparation Steps
Step 1: Preheat and Prep
Start by preheating your oven to 400°F (200°C). While the oven heats up, pat the chicken breasts dry with paper towels. Removing excess moisture ensures a crispier coating later. Season both sides generously with salt, pepper, and paprika. Pro tip: Let the chicken sit for 5 minutes after seasoning to allow the flavors to penetrate the meat.
Step 2: Create the Coating Mixture
In a shallow bowl, mix together the breadcrumbs, grated parmesan, minced garlic, and dried oregano. This blend will give your chicken its signature golden crust and aromatic flavor. For an extra layer of crunch, toast the breadcrumbs lightly in a pan before mixing them with the other ingredients. Trust me, it makes a difference!
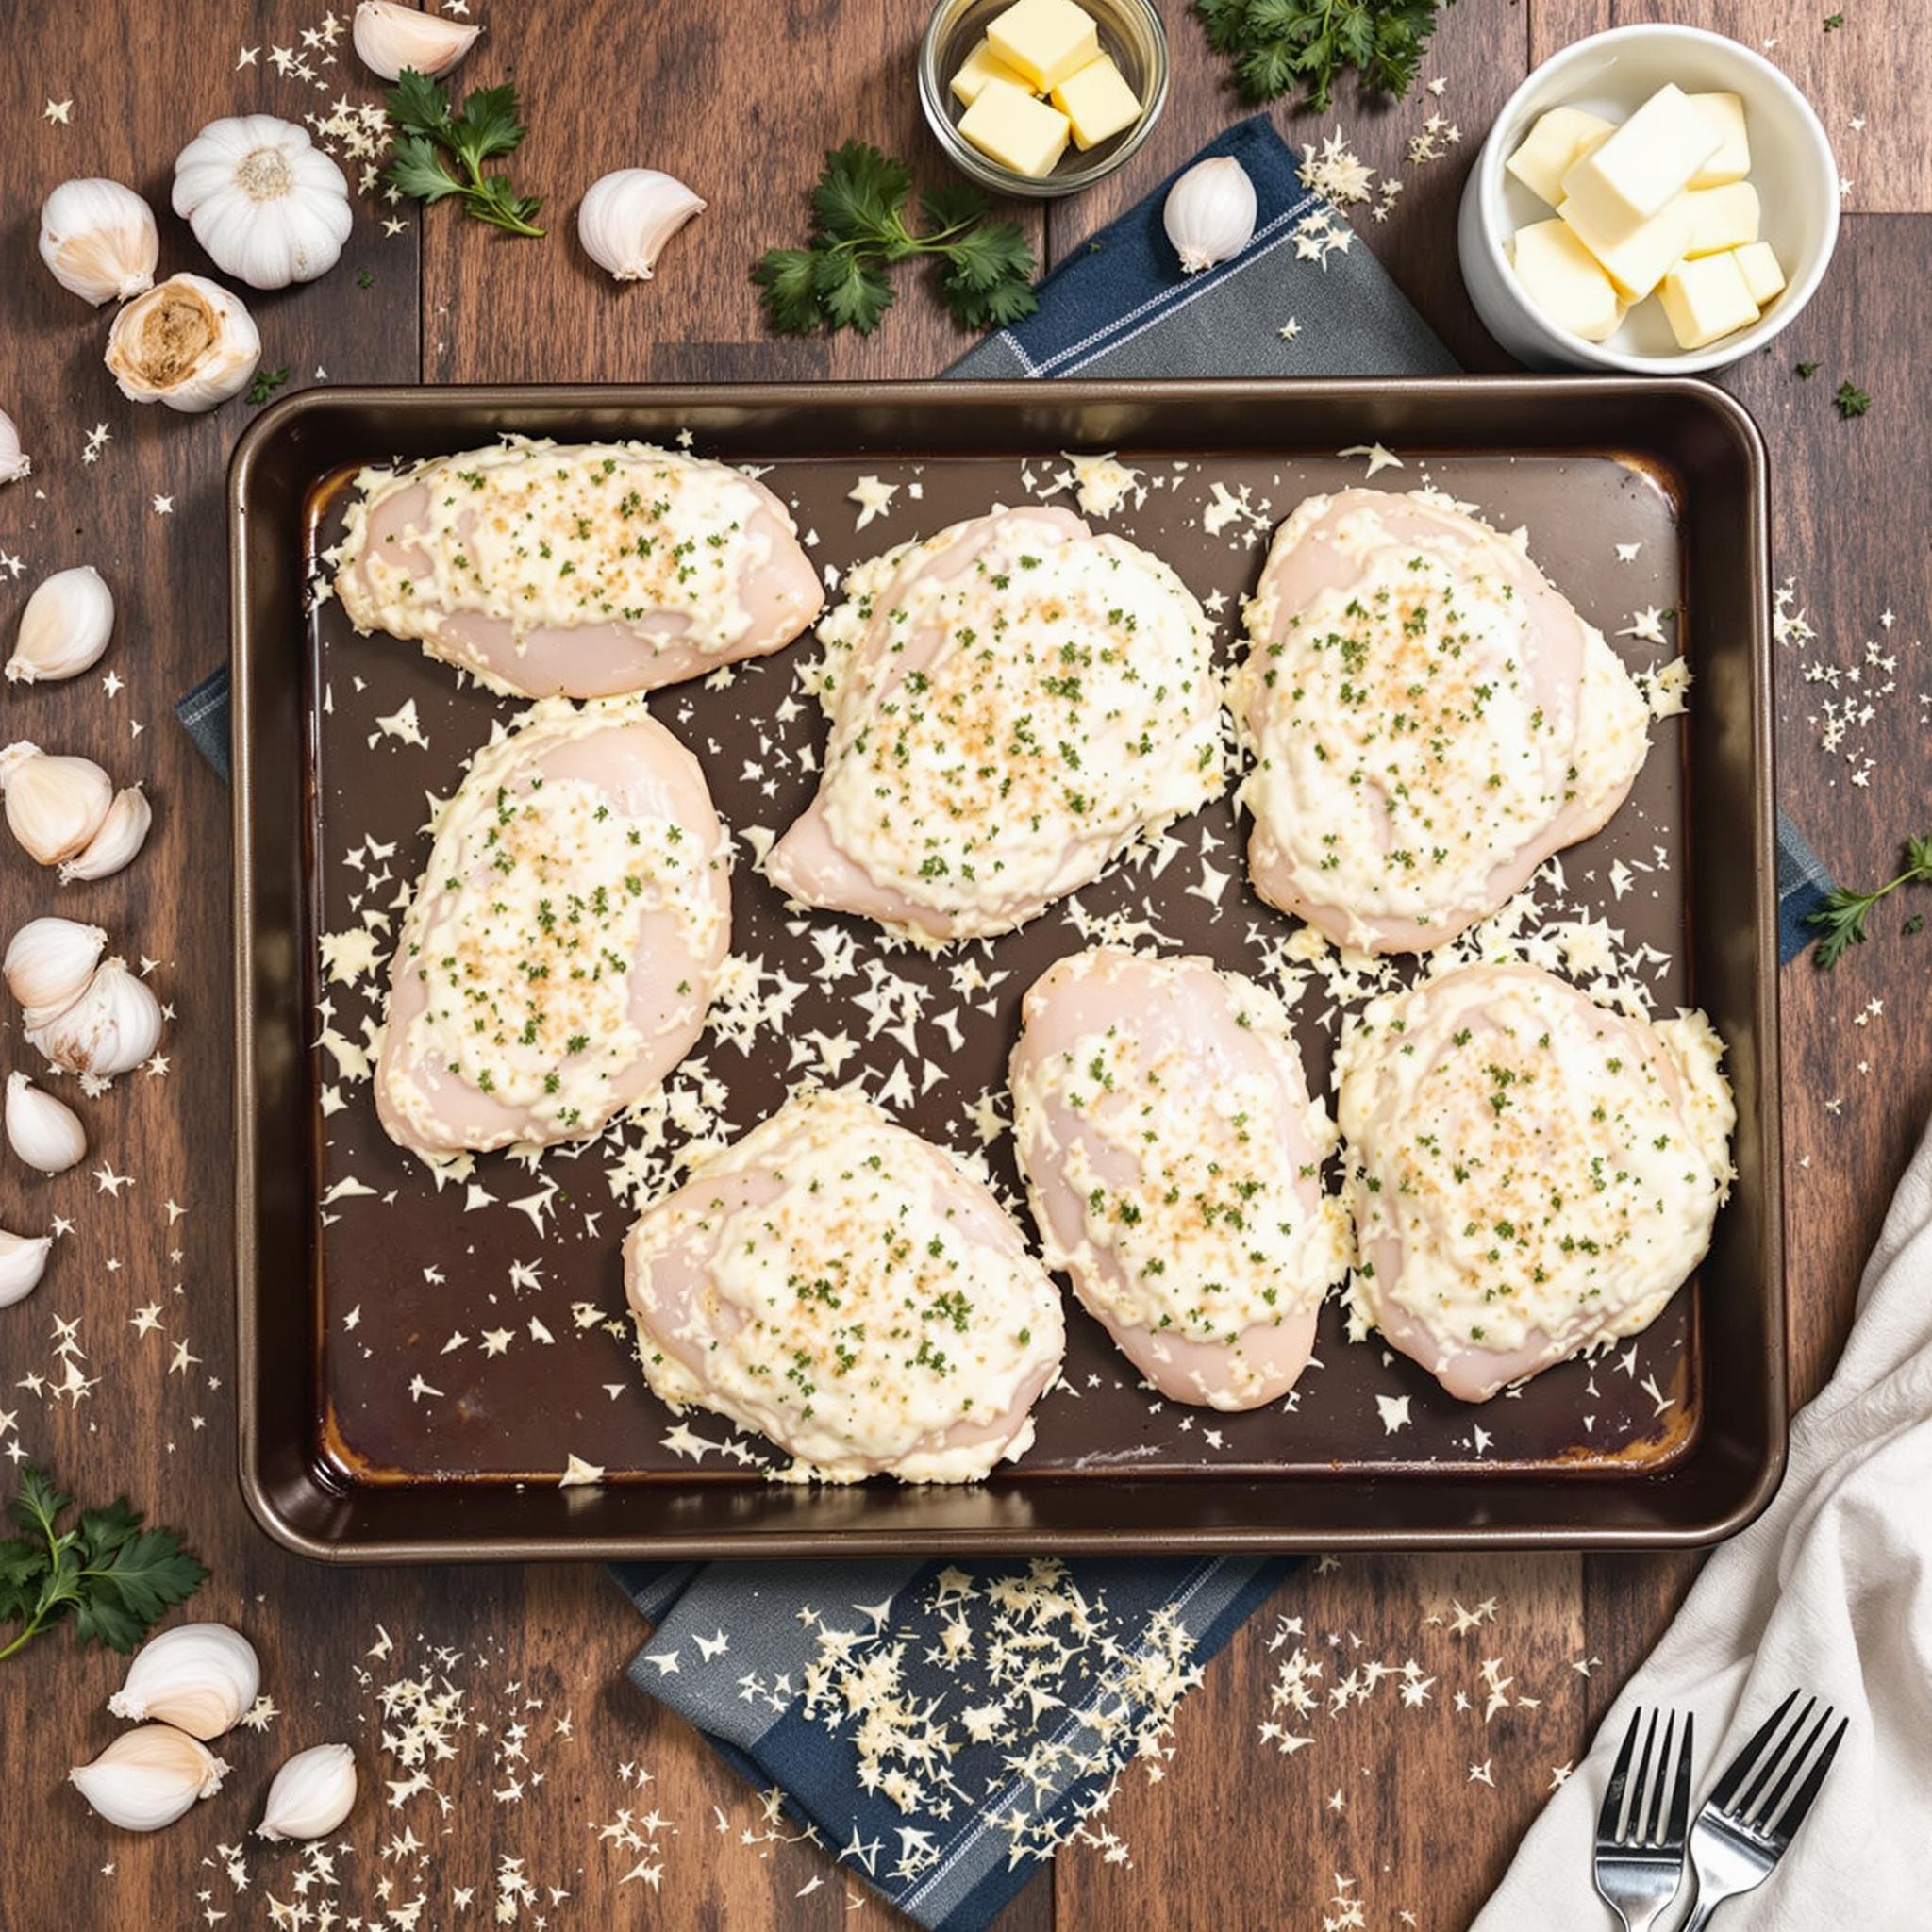
Step 3: Coat the Chicken
Brush each chicken breast with melted butter, then press it firmly into the breadcrumb mixture, ensuring an even coat on all sides. Place the coated chicken on a baking sheet lined with parchment paper. Drizzle a little olive oil over the top for added moisture and shine during baking. Pro tip: Use your hands to press the coating onto the chicken—it sticks better than using utensils!
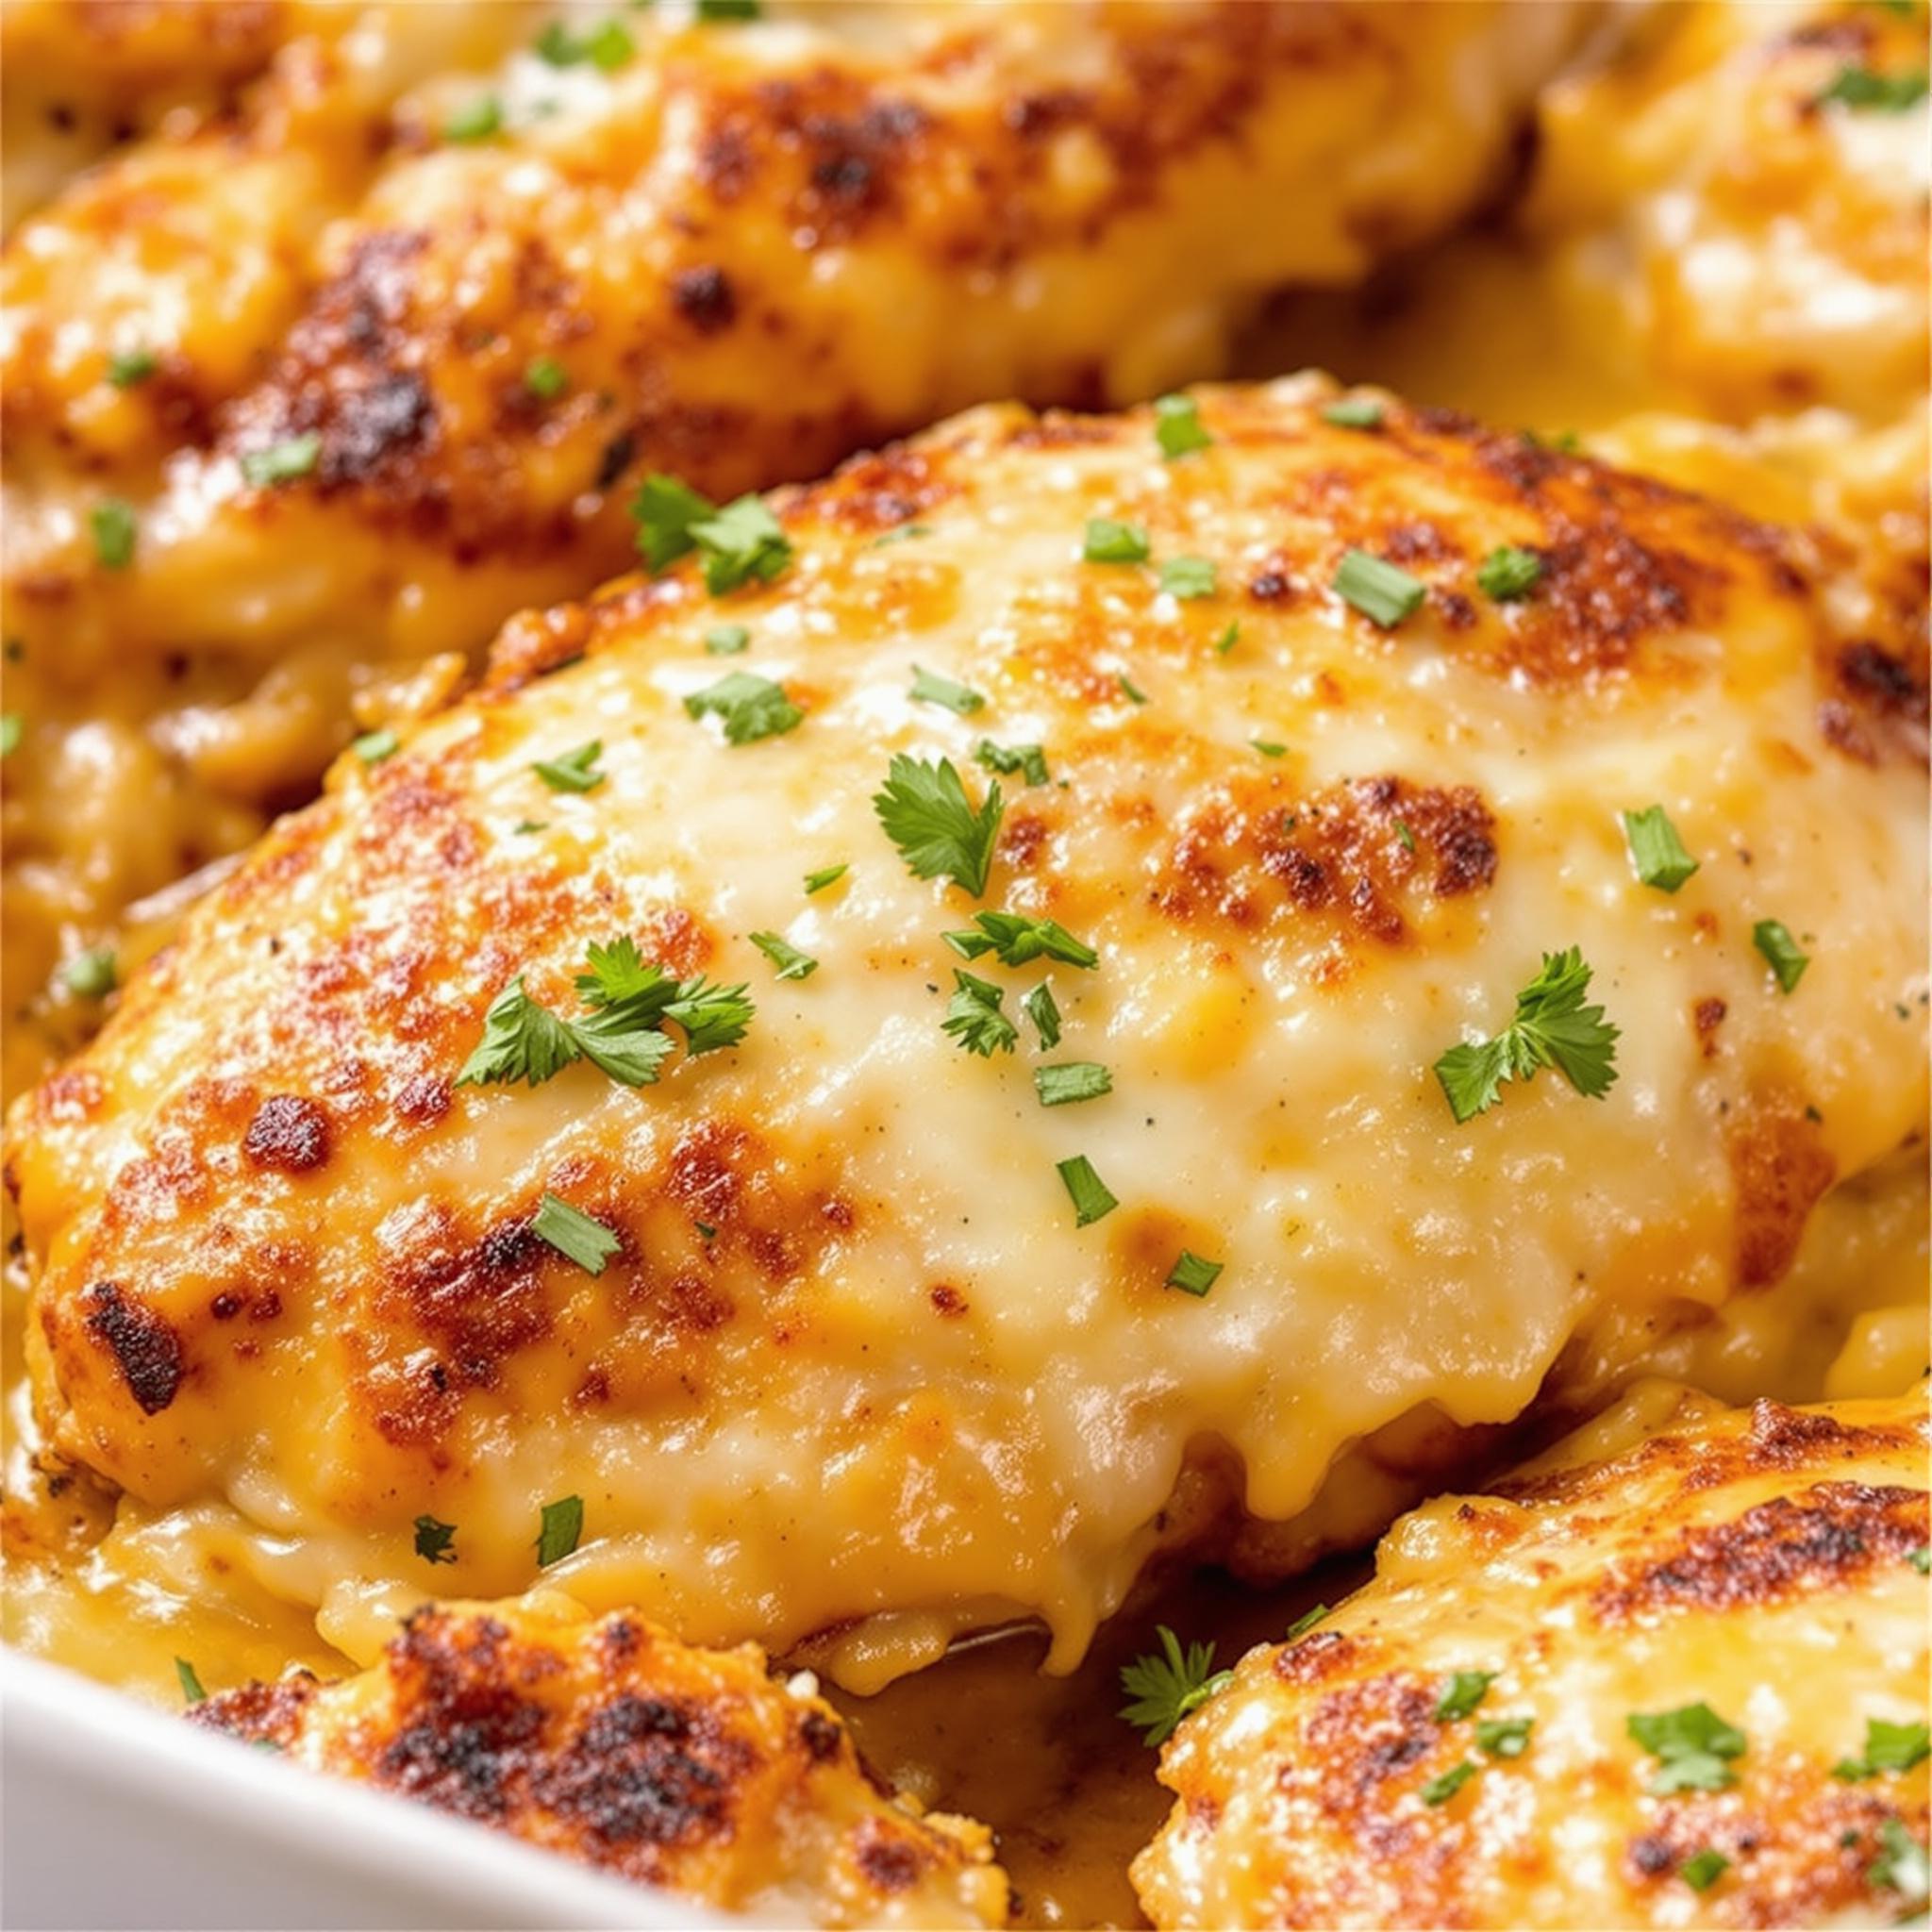
Step 4: Bake to Perfection
Bake the chicken in the preheated oven for 25-30 minutes, or until the internal temperature reaches 165°F (75°C). Keep an eye on it towards the end to prevent over-browning. Once done, let the chicken rest for 5 minutes before serving. Garnish with freshly chopped parsley for a pop of color and freshness.
Chef’s Tip
For an extra burst of flavor, add a squeeze of lemon juice over the baked chicken just before serving. The acidity brightens up the rich, cheesy notes and complements the garlic beautifully. It’s a small touch that makes a big impact!
Time Breakdown
- Prep Time: 15 minutes
- Cooking Time: 25-30 minutes
- Total Time: 40-45 minutes
Nutritional Information
Per serving (1 chicken breast):
- Calories: 320
- Protein: 35g
- Fat: 14g
- Carbohydrates: 12g
Fun Fact About Garlic Parmesan Chicken
Did you know that parmesan cheese dates back to the Middle Ages? Originating in Italy, it was prized for its long shelf life and rich flavor. Today, it’s a staple in countless recipes, including this baked garlic parmesan chicken, adding depth and umami to every bite.
Necessary Tools
- Baking sheet
- Parchment paper
- Shallow bowls for coating
- Meat thermometer
- Brush for butter or oil
Storage Instructions
To store leftovers, let the chicken cool completely before transferring it to an airtight container. Refrigerate for up to 3 days. When reheating, place the chicken in a 350°F (175°C) oven for 10-15 minutes to retain its crispiness. Avoid microwaving, as it can make the coating soggy. For longer storage, freeze individual portions in freezer-safe bags for up to 2 months. Thaw overnight in the fridge before reheating.
Tips and Tricks
- Double the breadcrumb mixture if you like an extra-thick coating.
- Use a zester to grate fresh parmesan for the best texture and flavor.
- Add a pinch of red pepper flakes to the coating for a subtle kick.
Serving Suggestions
Pair this garlic parmesan baked chicken with roasted vegetables, mashed potatoes, or a side of quinoa for a balanced meal. For a low-carb option, serve it over a bed of mixed greens with a drizzle of balsamic vinaigrette.
Healthier Alternatives
Here are six ways to make this recipe even healthier:
- Air Fryer Version: Cook the chicken in an air fryer at 375°F (190°C) for 15-20 minutes for a crispier, lower-fat option.
- Whole Wheat Breadcrumbs: Swap regular breadcrumbs for whole wheat to boost fiber content.
- Olive Oil Spray: Use a spray bottle to lightly coat the chicken instead of brushing with melted butter.
- Low-Fat Cheese: Opt for reduced-fat parmesan to cut down on saturated fats.
- Veggie Base: Serve the chicken over cauliflower rice or zucchini noodles for a carb-conscious twist.
- Honey Mustard Glaze: Skip the butter and brush the chicken with a honey mustard mixture for added sweetness and tang.
Common Mistakes to Avoid
Mistake 1: Skipping the Resting Step
One common error is slicing into the chicken immediately after removing it from the oven. Doing so releases valuable juices, leaving the meat dry. Always let the chicken rest for 5 minutes to redistribute the juices and ensure maximum tenderness.
Mistake 2: Overcrowding the Baking Sheet
Placing the chicken pieces too close together can lead to uneven cooking and steaming rather than crisping. Leave at least an inch of space between each piece for optimal airflow and browning.
Mistake 3: Using Pre-Shredded Parmesan
Pre-shredded cheese often contains anti-caking agents that prevent it from melting smoothly. For the best results, shred your own block of parmesan—it melts beautifully and tastes fresher.
Frequently Asked Questions
Can I use chicken thighs instead of breasts?
Absolutely! Chicken thighs are juicier and work wonderfully in this recipe. Just adjust the cooking time slightly since thighs may take a bit longer to cook through.
Is this recipe gluten-free?
With a few tweaks, yes! Substitute the breadcrumbs with almond flour or gluten-free crumbs, and ensure your parmesan cheese is certified gluten-free.
How do I know when the chicken is fully cooked?
Use a meat thermometer to check the internal temperature. It should read 165°F (75°C) for safe consumption. If you don’t have a thermometer, slice into the thickest part of the chicken—the juices should run clear, and there should be no pinkness.
Can I make this ahead of time?
Yes! You can prepare the coated chicken up to a day in advance and refrigerate it until ready to bake. This saves time and allows the flavors to meld even more.
What sides go well with this dish?
Roasted vegetables, creamy mashed potatoes, or a fresh garden salad complement this baked garlic parmesan chicken perfectly.
Can I freeze the leftovers?
Definitely! Store individual portions in freezer-safe bags for up to 2 months. Reheat in the oven for best results.
Why does my coating fall off?
This usually happens if the chicken isn’t patted dry before coating or if the butter/oil layer isn’t applied evenly. Make sure to follow these steps carefully for a secure crust.
Can I use dried herbs instead of fresh?
Yes, but reduce the quantity by half since dried herbs are more concentrated. For example, use 1/2 teaspoon of dried oregano instead of 1 teaspoon fresh.
What type of pan works best?
A rimmed baking sheet lined with parchment paper is ideal. It prevents sticking and makes cleanup a breeze.
Can I add other spices?
Of course! Experiment with Italian seasoning, smoked paprika, or even curry powder for a unique twist.
Conclusion
Baked Garlic Parmesan Chicken is more than just a recipe—it’s a celebration of flavor, simplicity, and versatility. Whether you’re whipping it up for a quick weeknight dinner or impressing guests at a gathering, this dish delivers every time. With its crispy exterior, juicy interior, and mouthwatering aroma, it’s no wonder this recipe holds a special place in my heart. So grab your ingredients, roll up your sleeves, and let’s get baking!