Introduction to Best Bread Machine Bread
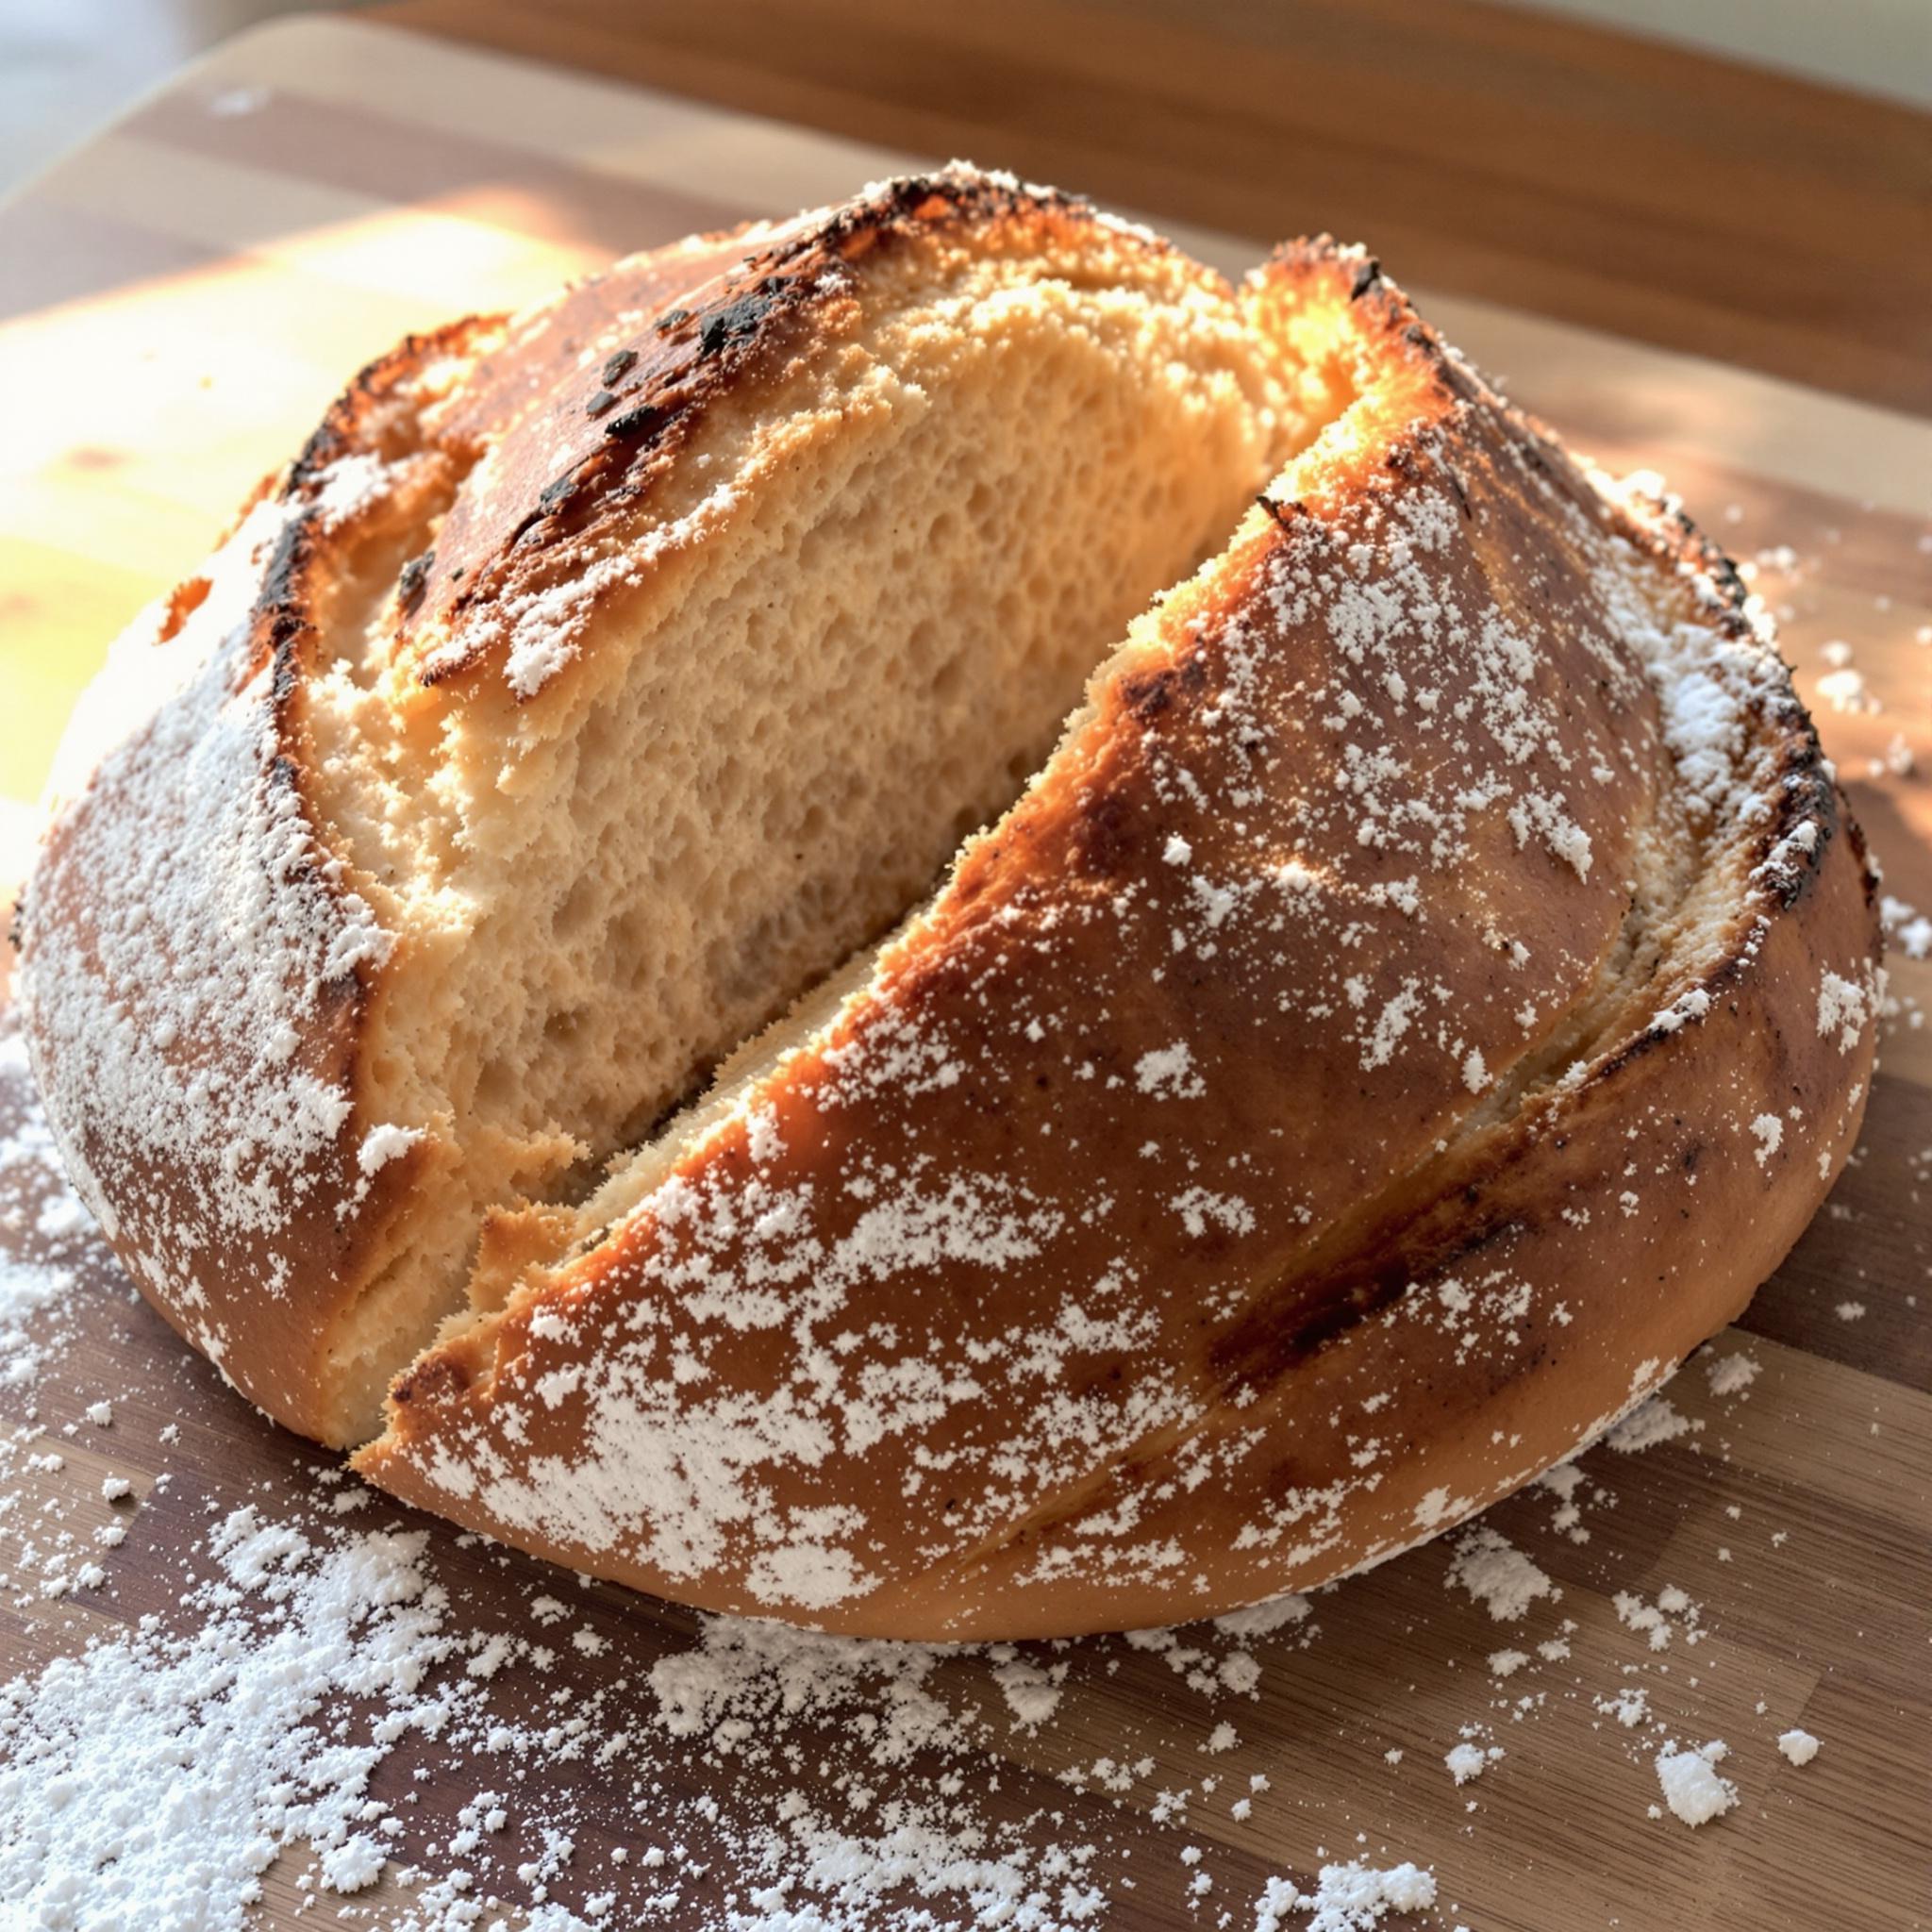
There’s something magical about the aroma of freshly baked bread wafting through your home. When I first tried making Best Bread Machine Bread, it was a revelation! Not only is this recipe incredibly easy, but it also delivers bakery-quality results without the hassle. Whether you’re a seasoned baker or a beginner, this bread machine wonder will quickly become a staple in your kitchen. Trust me, once you taste this soft, golden loaf, you’ll never look back!
The Origins of Bread Machine Bread
Bread has been a cornerstone of human diets for thousands of years, evolving from simple flatbreads to the fluffy loaves we know today. The invention of bread machines in the 1980s revolutionized home baking, making it accessible to everyone. I remember my grandma kneading dough by hand for hours, but with modern technology, we can achieve the same delicious results with minimal effort. This Best Bread Machine Bread recipe combines traditional flavors with contemporary convenience—perfect for busy families who still crave homemade goodness.
Why You’ll Love This Recipe
This Best Bread Machine Bread is not just any loaf; it’s light, airy, and packed with flavor. What makes it stand out? For starters, it requires zero manual kneading, which means no sore arms or sticky countertops. Plus, the bread machine does all the hard work for you, ensuring consistent results every time. Whether you’re craving sandwiches, toast, or simply a slice slathered with butter, this recipe has got you covered.
Perfect Occasions to Prepare It
This bread is perfect for lazy Sunday mornings when you want the house to smell like a bakery. It’s also ideal for dinner parties, where warm slices of bread served with olive oil or butter are always a hit. Need a last-minute gift? Wrap a loaf of homemade bread machine bread in parchment paper, tie it with a ribbon, and watch someone’s face light up!
Ingredients
- 3 cups all-purpose flour
- 1 tablespoon active dry yeast
- 1 teaspoon salt
- 2 tablespoons sugar
- 1 cup warm water (about 110°F)
- 2 tablespoons olive oil or melted butter
Substitution Options
- Use whole wheat flour instead of all-purpose for a healthier twist.
- Replace sugar with honey or maple syrup for natural sweetness.
- Swap olive oil with coconut oil or vegetable oil if preferred.
Preparation
Step 1: Measure Your Ingredients Carefully
Start by measuring out all your ingredients precisely. Accuracy is key here—too much flour can make your bread dense, while too little yeast might leave it under-risen. As you measure, take a moment to appreciate the simplicity of these pantry staples coming together to create something so comforting. Pro tip: Always use lukewarm water when activating yeast—it should feel slightly warm to the touch but not hot.
Step 2: Add Ingredients to the Bread Machine
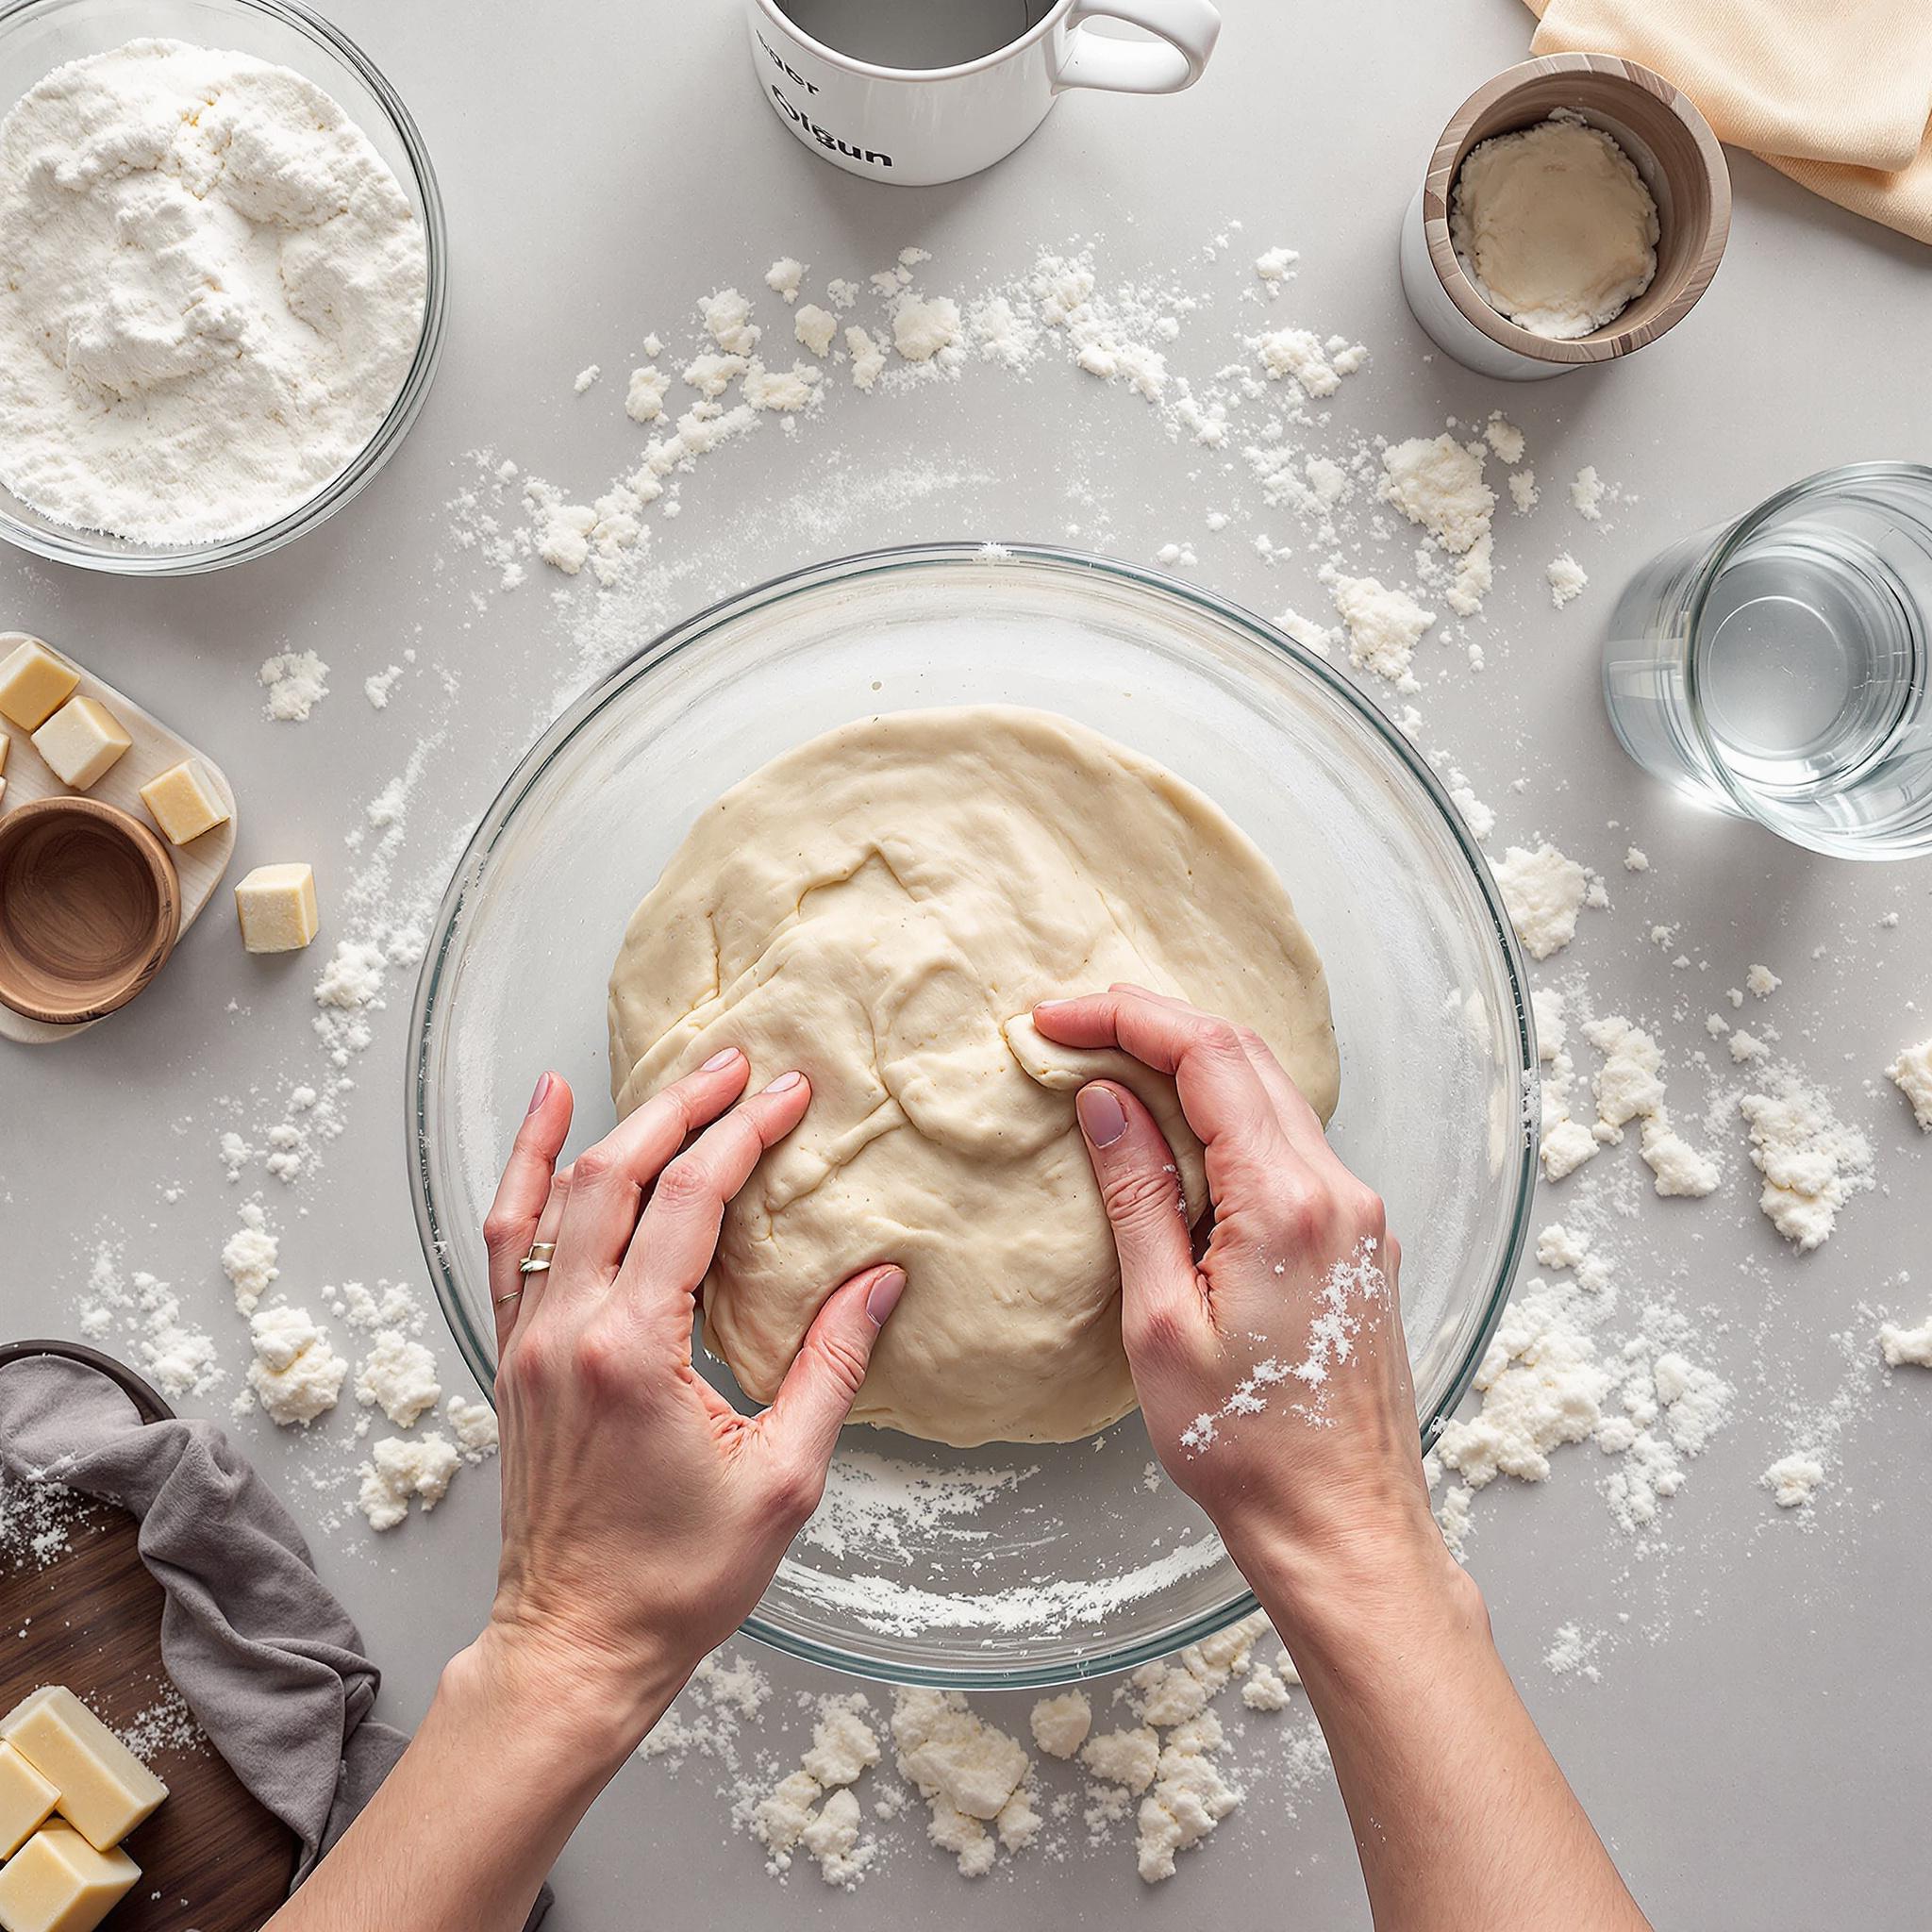
Now comes the fun part! Open the lid of your bread machine and add the ingredients in the order specified by your machine’s manual. Typically, liquids go first, followed by dry ingredients, with yeast sprinkled on top. Watch as the machine whirs to life, mixing everything into a smooth, elastic dough. The sight of the dough forming is oddly satisfying, isn’t it?
Step 3: Select the Right Settings
Choose the appropriate setting on your bread machine—most machines have a “basic” or “white bread” option. Set the crust color to your preference (I love a medium crust) and press start. Now sit back and let the machine do its magic. Within minutes, you’ll notice the delightful scent of baking bread filling your kitchen—a promise of deliciousness to come.
Time Required
- Prep Time: 10 minutes
- Cooking Time: 3 hours (varies by machine)
- Total Time: Approximately 3 hours and 10 minutes
Nutritional Information
Per serving (1 slice): Calories: 120 | Protein: 3g | Carbohydrates: 22g | Fat: 2g
Extra Information
Did you know that bread machines were initially considered a fad in the ’80s? However, their popularity surged again during the pandemic when people rediscovered the joy of baking at home. Fun fact: Adding a teaspoon of vinegar to your dough can enhance the rise and texture of your bread!
Necessary Tools
- Bread machine
- Measuring cups and spoons
- Small bowl for mixing liquids
Storage Instructions
To keep your Best Bread Machine Bread fresh, store it in an airtight container or plastic bag at room temperature for up to three days. If you live in a humid climate, consider keeping it in the refrigerator to prevent mold growth. For longer storage, freeze individual slices wrapped tightly in plastic wrap—they thaw beautifully in the toaster.
When freezing, label the bags with the date to ensure freshness. And remember, nothing beats the smell of reheated bread, so pop those frozen slices into the oven for a few minutes before serving.
Lastly, avoid slicing the entire loaf at once unless you plan to consume it quickly. Slicing exposes more surface area to air, causing the bread to stale faster.
Tips and Tricks
- Always check the expiration date on your yeast—it loses potency over time.
- For softer bread, brush the crust with melted butter immediately after baking.
- If your dough seems too sticky, add a tablespoon of flour at a time until it reaches the right consistency.

Serving Suggestions
- Serve warm slices with a drizzle of honey and a sprinkle of sea salt for a gourmet touch.
- Pair with soups, stews, or salads for a hearty meal.
Healthier Alternatives for the Recipe
Here are six variations to make your Best Bread Machine Bread even healthier:
- Whole Wheat Version: Substitute half or all of the all-purpose flour with whole wheat flour for added fiber.
- Gluten-Free Option: Use a gluten-free flour blend designed for bread machines.
- Low-Sugar Loaf: Reduce the sugar to one teaspoon or replace it with stevia.
- Herb-Infused Bread: Add dried rosemary or thyme for a fragrant twist.
- Seeded Delight: Mix in sunflower seeds, flaxseeds, or chia seeds for extra crunch and nutrients.
- Dairy-Free Alternative: Replace butter with plant-based oils like avocado or almond oil.
Common Mistakes to Avoid
Mistake 1: Using Cold Water Instead of Warm
Yeast needs warmth to activate properly. If you use cold water, your dough won’t rise, resulting in a flat, dense loaf. To avoid this, always aim for water around 110°F—just warm enough to feel pleasant on your skin. Pro tip: Use a kitchen thermometer for accuracy.
Mistake 2: Overloading the Machine
Adding too many extras like nuts, seeds, or dried fruits can weigh down the dough, preventing it from rising correctly. Stick to recommended quantities, and if you’re unsure, err on the side of caution.
Mistake 3: Opening the Lid Mid-Cycle
It’s tempting to peek, but opening the lid disrupts the baking process and can lead to uneven results. Resist the urge and trust your machine to do its job!
Frequently Asked Questions
Can I use instant yeast instead of active dry yeast?
Absolutely! Instant yeast works just as well and doesn’t require pre-activation. Simply add it directly to the dry ingredients.
What if my bread collapses after baking?
This usually happens due to over-proofing. Ensure you’re using the correct cycle and avoid letting the dough rise for too long.
How do I clean my bread machine?
Most bread machines have removable nonstick pans that are dishwasher-safe. Wipe down the exterior with a damp cloth and avoid submerging electrical components in water.
Can I bake two loaves at once?
Unfortunately, most machines can only handle one loaf at a time. If you need more, consider investing in a second machine or baking back-to-back batches.
Why does my bread taste bland?
Double-check your ingredient measurements, especially salt and sugar. These elements play a crucial role in balancing flavors.
Is it okay to let the dough rest overnight?
Yes, many machines have a “delayed start” feature that allows you to prep the dough ahead of time. Just ensure the liquid-to-flour ratio is correct to prevent drying out.
Can I add milk instead of water?
Definitely! Milk creates a richer, softer loaf. Just heat it gently to lukewarm before adding.
How do I know when the bread is done?
Your machine will beep when the cycle is complete. For assurance, tap the bottom of the loaf—it should sound hollow.
Why is my bread too dense?
This could be due to insufficient kneading or expired yeast. Make sure your machine is functioning properly and your yeast is fresh.
Can I make gluten-free bread in a regular bread machine?
Yes, but you may need to adjust settings or use a dedicated gluten-free cycle if available.
Conclusion
Making Best Bread Machine Bread is a rewarding experience that brings warmth and joy to any household. With its simplicity, versatility, and undeniable charm, this recipe is bound to become a family favorite. So grab your bread machine, gather your ingredients, and embark on a delicious journey—one slice at a time!