Introduction to Classic Waffles
There’s something magical about the smell of freshly baked waffles wafting through the kitchen. Classic Waffles are one of those timeless treats that bring joy to breakfast tables, brunch gatherings, and even late-night snack cravings. I remember the first time I made these waffles—it was a lazy Sunday morning, and my family couldn’t stop raving about how fluffy and golden they turned out. Whether you’re a seasoned baker or just starting your culinary journey, this recipe is sure to become a favorite in your household.
The History Behind Classic Waffles
Waffles have been around for centuries, with their origins tracing back to medieval Europe. Back then, they were cooked over open flames using two iron plates held together by wooden handles. Fast forward to today, and we’ve modernized the process with electric waffle makers, but the essence remains the same: crispy on the outside, soft and airy on the inside. These Belgian-style beauties have inspired countless variations worldwide, from savory waffle sandwiches to sweet dessert versions drizzled with chocolate and fruit.
Why You’ll Love This Classic Waffles Recipe
This Classic Waffles recipe stands out because it strikes the perfect balance between simplicity and flavor. With basic pantry ingredients, you can whip up a batch that’s both light and indulgent. The aroma of vanilla mingling with buttery batter is irresistible, and the satisfying crunch when you take your first bite? Pure bliss. Plus, it’s versatile enough to pair with sweet toppings like maple syrup and whipped cream or savory options like fried chicken and gravy.
Perfect Occasions to Make Classic Waffles
Classic Waffles are perfect for any occasion! Serve them as a weekend breakfast treat to kickstart your day, bring them to a potluck brunch, or even surprise someone special with a cozy midnight snack. They’re also a hit during holidays like Mother’s Day or Christmas morning when everyone gathers around the table. Trust me; no matter the setting, these waffles will steal the show.
Ingredients for Classic Waffles
- 2 cups all-purpose flour
- 2 tablespoons sugar
- 1 tablespoon baking powder
- ½ teaspoon salt
- 2 large eggs, separated
- 1¾ cups milk
- ½ cup unsalted butter, melted
- 1 teaspoon vanilla extract
Substitution Options for Classic Waffles
- Use almond milk instead of regular milk for a dairy-free version.
- Swap granulated sugar with honey or maple syrup for natural sweetness.
- Replace all-purpose flour with whole wheat flour for added fiber.
- Omit the egg yolks if you prefer an eggless batter (though texture may vary).
Preparation Steps for Classic Waffles
Step 1: Mix the Dry Ingredients
Start by whisking together the flour, sugar, baking powder, and salt in a large mixing bowl. This step ensures that the leavening agents are evenly distributed throughout the batter, which helps achieve those delightful air pockets in your waffles. Pro tip: Sift the dry ingredients to remove lumps and make your batter smoother.
Step 2: Combine the Wet Ingredients
In another bowl, beat the egg yolks, milk, melted butter, and vanilla extract until well combined. The rich scent of vanilla will start filling your kitchen at this point, making it hard not to sneak a taste! Be careful not to overmix—just blend until everything comes together smoothly.
Step 3: Beat the Egg Whites
Using a clean bowl and electric mixer, beat the egg whites until stiff peaks form. Folding these into the batter later gives your Classic Waffles their signature fluffiness. It’s a bit of extra effort, but trust me, it’s worth it!
Step 4: Fold Everything Together
Gently fold the beaten egg whites into the wet ingredient mixture, followed by the dry ingredients. Use a spatula and mix with light, gentle strokes to avoid deflating the batter. Your final mixture should look slightly lumpy—that’s okay; it means you haven’t overworked it!
Step 5: Cook the Waffles
Pour the batter onto a preheated waffle maker and cook according to the manufacturer’s instructions. As the waffles bake, you’ll hear a satisfying sizzle and see steam rising—signs that magic is happening. Once golden brown and crisp, transfer them to a plate and keep warm while you finish the rest of the batch.

Chef’s Tip for Perfect Classic Waffles
To elevate your Classic Waffles, brush the waffle iron lightly with melted butter before pouring the batter. This adds an extra layer of crispiness and prevents sticking without needing non-stick spray.
Time Required for Classic Waffles
- Prep Time: 15 minutes
- Cooking Time: 20 minutes
- Total Time: 35 minutes
Nutritional Information
Per serving (1 waffle): Calories: 250 | Protein: 6g | Fat: 12g | Carbohydrates: 30g | Fiber: 1g | Sugar: 8g
Extra Information About Classic Waffles
Did you know that National Waffle Day is celebrated on August 24th? It’s a great excuse to host a waffle-themed party and experiment with fun toppings like fresh berries, caramelized bananas, or even Nutella!
Necessary Tools for Making Classic Waffles
- Electric waffle maker
- Mixing bowls
- Whisk or electric mixer
- Spatula
- Measuring cups and spoons
Storage Instructions for Classic Waffles
If you happen to have leftovers (which rarely happens in my house!), store them properly to maintain freshness. Let the waffles cool completely before placing them in an airtight container or zip-top bag. For short-term storage, keep them in the fridge for up to three days. To reheat, pop them in the toaster or oven for a few minutes to restore their crispiness.
For longer storage, freeze the cooled waffles individually on a baking sheet before transferring them to a freezer-safe bag. They’ll stay good for up to two months. Simply reheat directly from frozen in the toaster for a quick breakfast option.
Avoid stacking hot waffles directly into storage containers, as the trapped steam can make them soggy. Patience pays off here!
Tips and Tricks for Better Classic Waffles
- Let the batter rest for 5-10 minutes before cooking to allow the gluten to relax.
- Don’t overcrowd the waffle maker—use the recommended amount of batter for each waffle.
- Experiment with spices like cinnamon or nutmeg for a unique twist.
Serving Suggestions for Classic Waffles
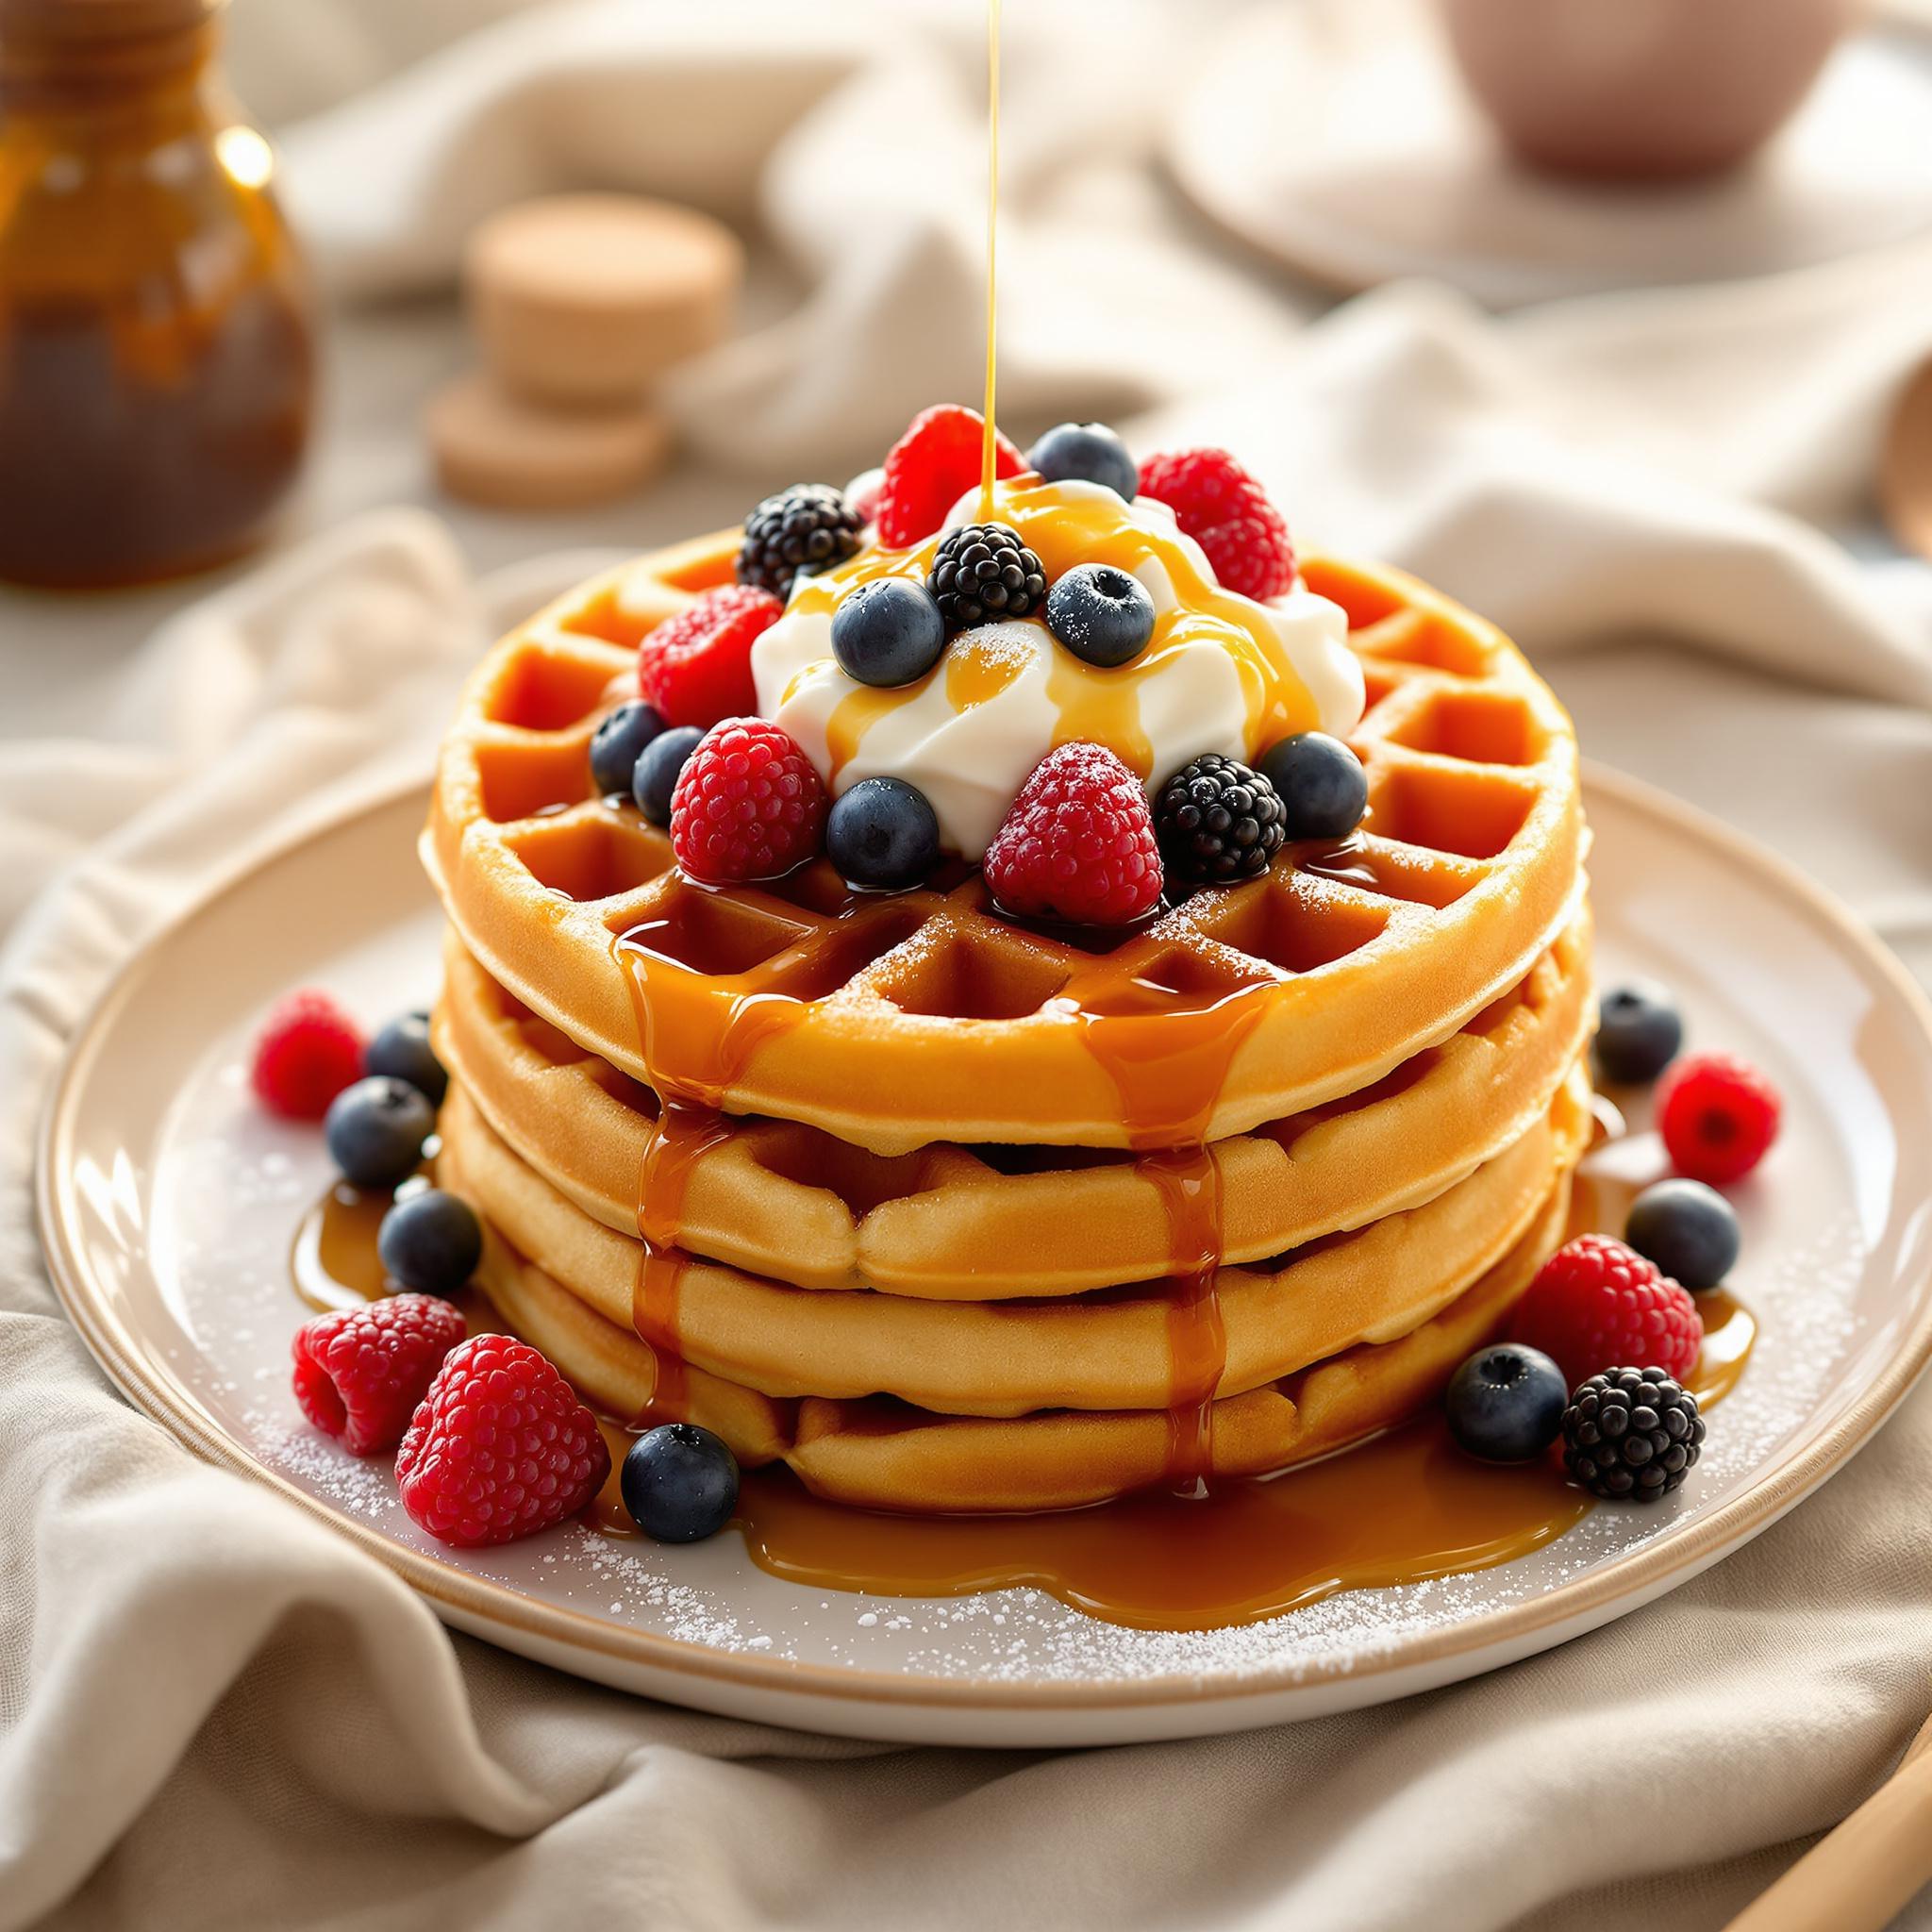
- Top with fresh strawberries, blueberries, and a dollop of whipped cream for a fruity delight.
- Create a savory option by pairing with crispy bacon and a drizzle of maple syrup.
Healthier Alternatives for Classic Waffles
Looking to lighten up your waffles? Here are six healthier alternatives:
- Gluten-Free Waffles: Substitute all-purpose flour with a gluten-free blend.
- Vegan Waffles: Replace eggs with flaxseed meal and use plant-based milk.
- Low-Sugar Waffles: Cut down on sugar and add mashed bananas for natural sweetness.
- Protein-Packed Waffles: Add a scoop of protein powder to the batter.
- Oatmeal Waffles: Swap half the flour with rolled oats for added fiber.
- Coconut Flour Waffles: Use coconut flour for a lower-carb option.
Common Mistakes to Avoid When Making Classic Waffles
Mistake 1: Overmixing the Batter
Overmixing leads to dense, tough waffles instead of light and fluffy ones. Gently fold the ingredients until just combined, leaving some lumps in the batter. Pro tip: Stirring less means better texture!
Mistake 2: Skipping the Resting Time
Letting the batter rest allows the baking powder to activate fully, resulting in fluffier waffles. Rushing this step can leave you with flat, unimpressive results.
Mistake 3: Opening the Waffle Maker Too Soon
Resist the urge to peek! Opening the lid too early can cause the waffles to tear or stick. Wait for the indicator light or timer to signal doneness.
Frequently Asked Questions About Classic Waffles
Can I make Classic Waffles ahead of time?
Absolutely! Prepare the batter the night before and refrigerate it. Just give it a quick stir before using. Alternatively, freeze cooked waffles for future meals.
What if I don’t have a waffle maker?
No problem! Pour the batter into a greased skillet to make pancakes instead. While they won’t have the iconic grid pattern, they’ll still taste amazing.
How do I prevent soggy waffles?
Ensure your waffle maker is hot enough before adding the batter, and avoid stacking hot waffles immediately after cooking. Cooling them on a wire rack helps too.
Can I use self-rising flour?
Yes, but omit the baking powder and salt since self-rising flour already contains these ingredients.
Why are my waffles sticking to the iron?
Make sure your waffle maker is properly greased. If it’s non-stick, a light brushing of oil or butter should suffice.
How can I make crispy waffles?
Bake the cooked waffles in a 200°F oven for a few minutes to crisp them up further. This trick works wonders!
Do I need to separate the eggs?
Separating the eggs creates a fluffier texture, but you can skip this step if you’re short on time. Just mix the whole eggs with the other wet ingredients.
Can I freeze leftover waffles?
Definitely! Freeze them individually on a tray, then transfer to a freezer bag. Reheat in the toaster for best results.
What toppings go well with Classic Waffles?
Maple syrup, fresh fruit, whipped cream, chocolate chips, peanut butter, and even fried chicken are popular choices. Get creative!
Is it possible to make mini waffles?
Yes! Use a mini waffle maker or reduce the batter quantity per waffle for smaller portions. Kids love them!
Conclusion
Classic Waffles are more than just a dish—they’re a celebration of comfort, flavor, and togetherness. Whether you’re enjoying them solo or sharing them with loved ones, this recipe promises happiness in every bite. So grab your apron, fire up that waffle maker, and let the deliciousness begin!