Discover the Magic of Debdoozie’s Blue Ribbon Chili
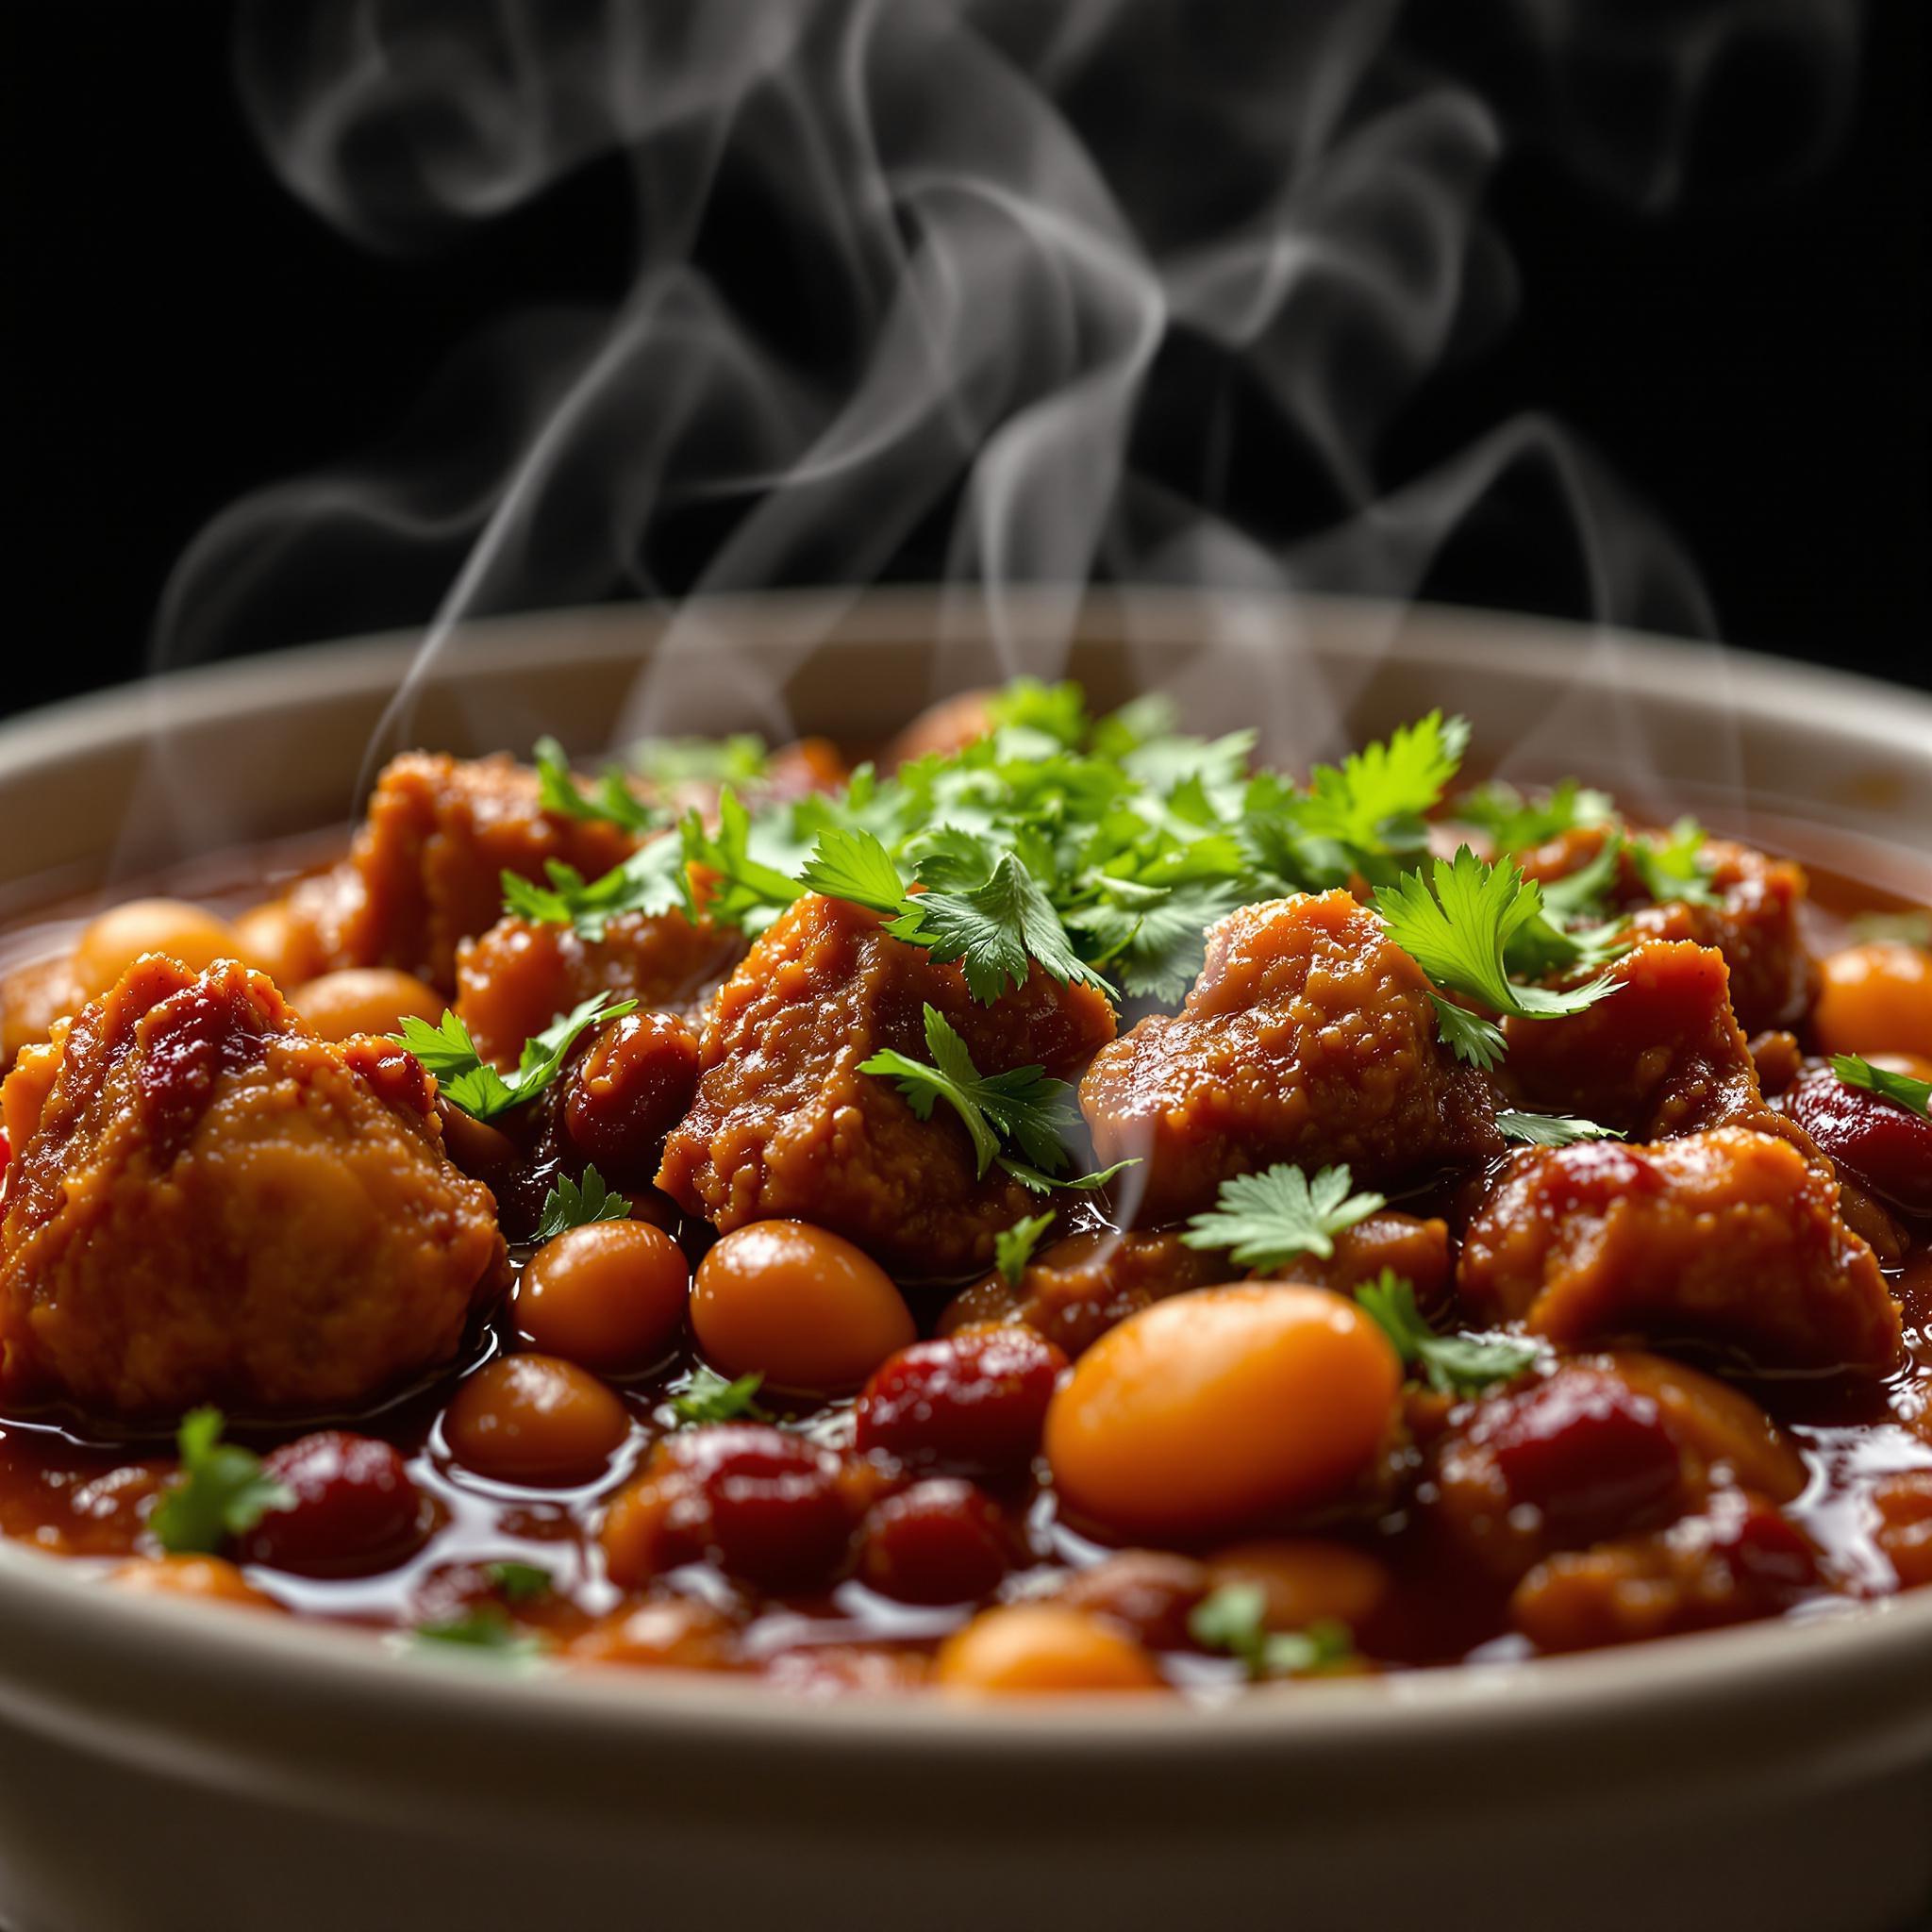
There’s something about a steaming bowl of Debdoozie’s Blue Ribbon Chili that feels like a warm hug on a chilly evening. This hearty, flavorful dish has become a staple in my kitchen, and I’m thrilled to share it with you today. Whether you’re cooking for your family or hosting a cozy get-together, this chili is sure to impress. The combination of rich spices, tender meat, and vibrant veggies creates a symphony of flavors that will leave everyone craving seconds.
The Story Behind Debdoozie’s Blue Ribbon Chili
This recipe holds a special place in my heart because it was passed down from my grandmother, who always called it her “Blue Ribbon” creation. She won first prize at the county fair with this chili years ago, and now it’s my turn to carry on the tradition. Over time, I’ve added my own twists—like a hint of smoked paprika and a splash of dark chocolate—to elevate the flavor profile. While the original version was a simple, rustic dish, my modern take on award-winning chili recipes brings a gourmet touch to this classic comfort food.
Why You’ll Love This Chili Recipe
What makes Debdoozie’s Blue Ribbon Chili stand out? For starters, it’s incredibly versatile. You can whip it up in under an hour, yet it tastes like it’s been simmering all day. The balance of spices is just right—not too spicy, but packed with depth and warmth. Plus, it’s a crowd-pleaser! Whether you’re feeding picky eaters or seasoned foodies, this chili will win them over every time.
Perfect Occasions to Make This Chili
This chili is perfect for game nights, potlucks, or lazy Sunday dinners. It’s also a lifesaver during busy weeks when you need a satisfying meal without spending hours in the kitchen. If you’re looking for easy party chili ideas, this one is a no-brainer. Serve it alongside cornbread or crusty bread for a comforting spread that everyone will love.
Ingredients for Debdoozie’s Blue Ribbon Chili
- 1 lb ground beef (or turkey for a lighter option)
- 1 onion, finely chopped
- 2 cloves garlic, minced
- 1 bell pepper, diced
- 1 can (15 oz) kidney beans, drained and rinsed
- 1 can (15 oz) black beans, drained and rinsed
- 1 can (15 oz) diced tomatoes
- 2 tbsp tomato paste
- 2 cups beef broth
- 1 tsp smoked paprika
- 1 tsp cumin
- 1/2 tsp chili powder
- Salt and pepper to taste
- 1 square dark chocolate (optional, for richness)
Substitution Options
If you’re missing an ingredient or want to customize this recipe, here are some swaps:
- Ground beef can be replaced with ground chicken, turkey, or even plant-based alternatives like lentils or mushrooms.
- Kidney beans and black beans can be substituted with pinto beans or chickpeas.
- For a gluten-free option, ensure your broth and spices are certified gluten-free.
Preparation Steps
Step 1: Sauté the Aromatics
Start by heating a large pot over medium heat and adding a drizzle of olive oil. Toss in the chopped onions and garlic, letting them sizzle until golden and fragrant. The aroma of caramelizing onions will fill your kitchen, setting the stage for the deliciousness to come. Once they’re soft and translucent, add the diced bell pepper and cook for another 2-3 minutes. Pro tip: Don’t rush this step; sautéing the aromatics properly builds the foundation of flavor for your chili.
Step 2: Brown the Meat
Next, crumble the ground beef into the pot, breaking it apart with a wooden spoon. Cook until it’s nicely browned, stirring occasionally to prevent sticking. This step is crucial because browning the meat adds a layer of savory goodness to your homemade chili recipes. Drain any excess fat if needed before moving on to the next step.
Step 3: Combine the Ingredients
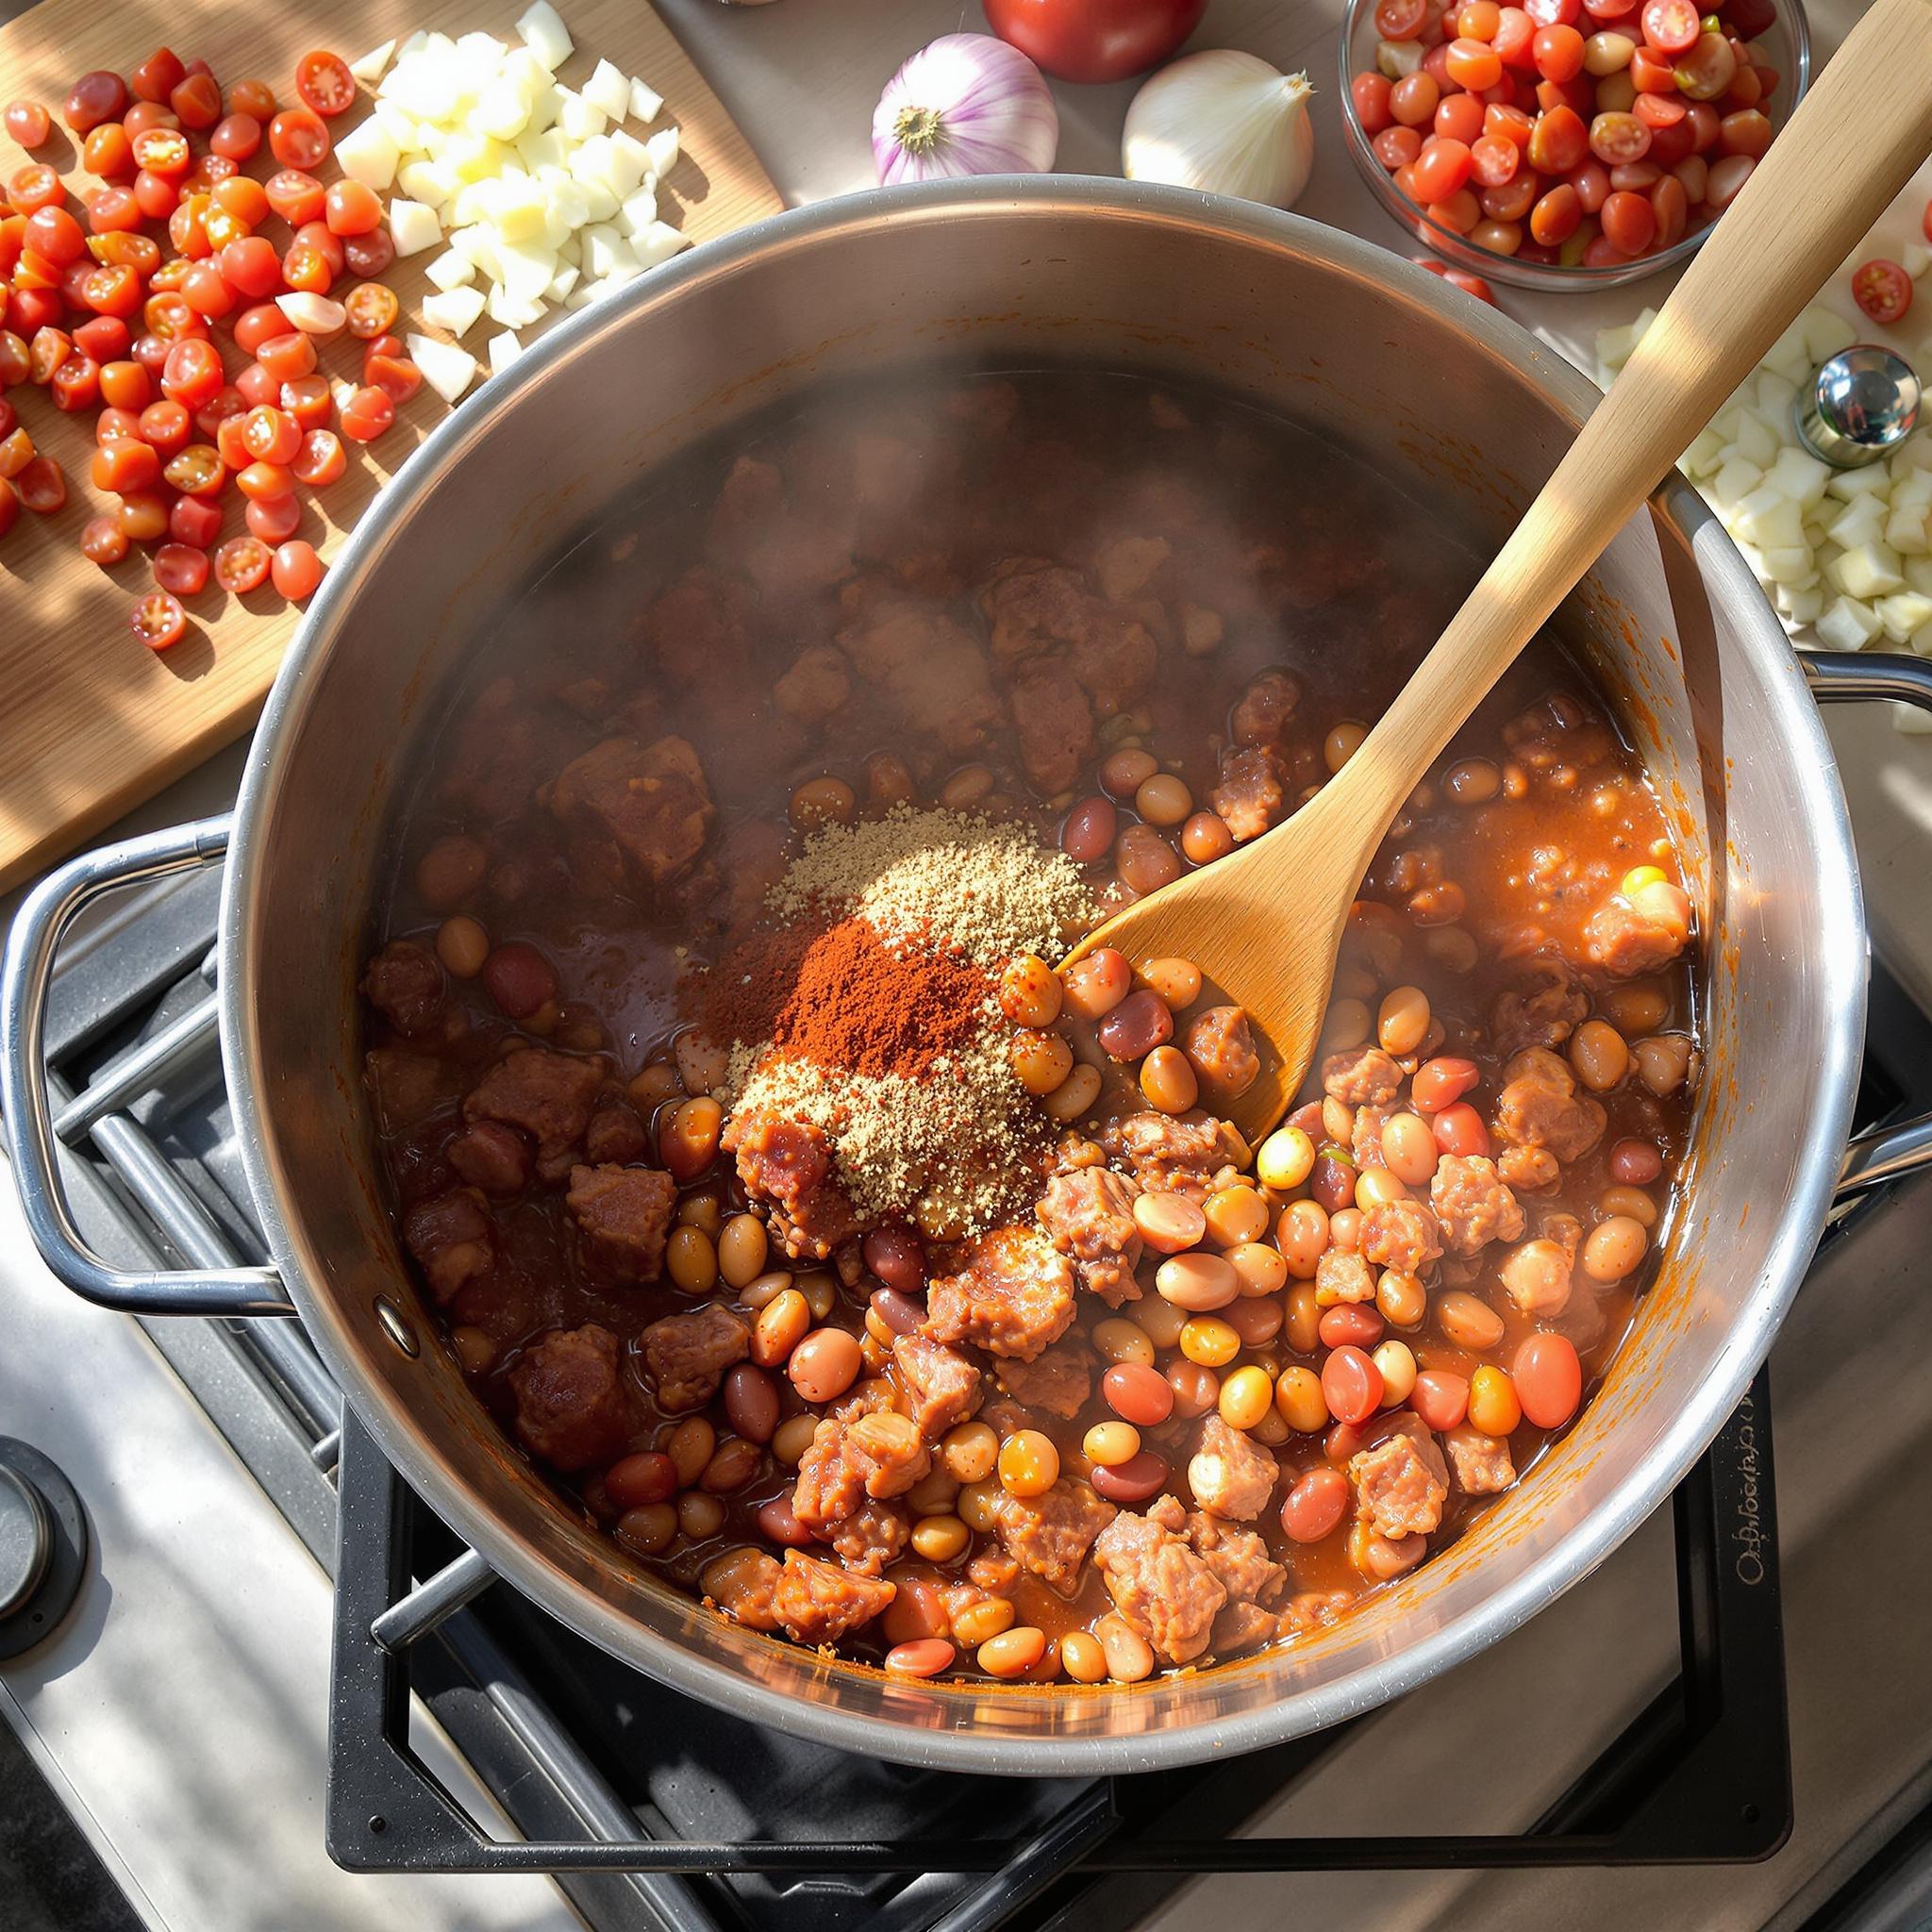
Add the diced tomatoes, tomato paste, beans, and broth to the pot. Stir everything together, ensuring the tomato paste dissolves evenly. Sprinkle in the smoked paprika, cumin, chili powder, salt, and pepper. Let the mixture come to a gentle boil, then reduce the heat to low. Pro tip: For an extra layer of complexity, stir in a square of dark chocolate—it melts into the chili, adding a subtle richness that ties all the flavors together.
Step 4: Simmer to Perfection
Cover the pot and let the chili simmer for at least 30 minutes, stirring occasionally. This slow cooking allows the flavors to meld beautifully. As the chili simmers, your kitchen will fill with the irresistible scent of spices and savory goodness. Taste and adjust the seasoning as needed before serving.
Chef’s Tip
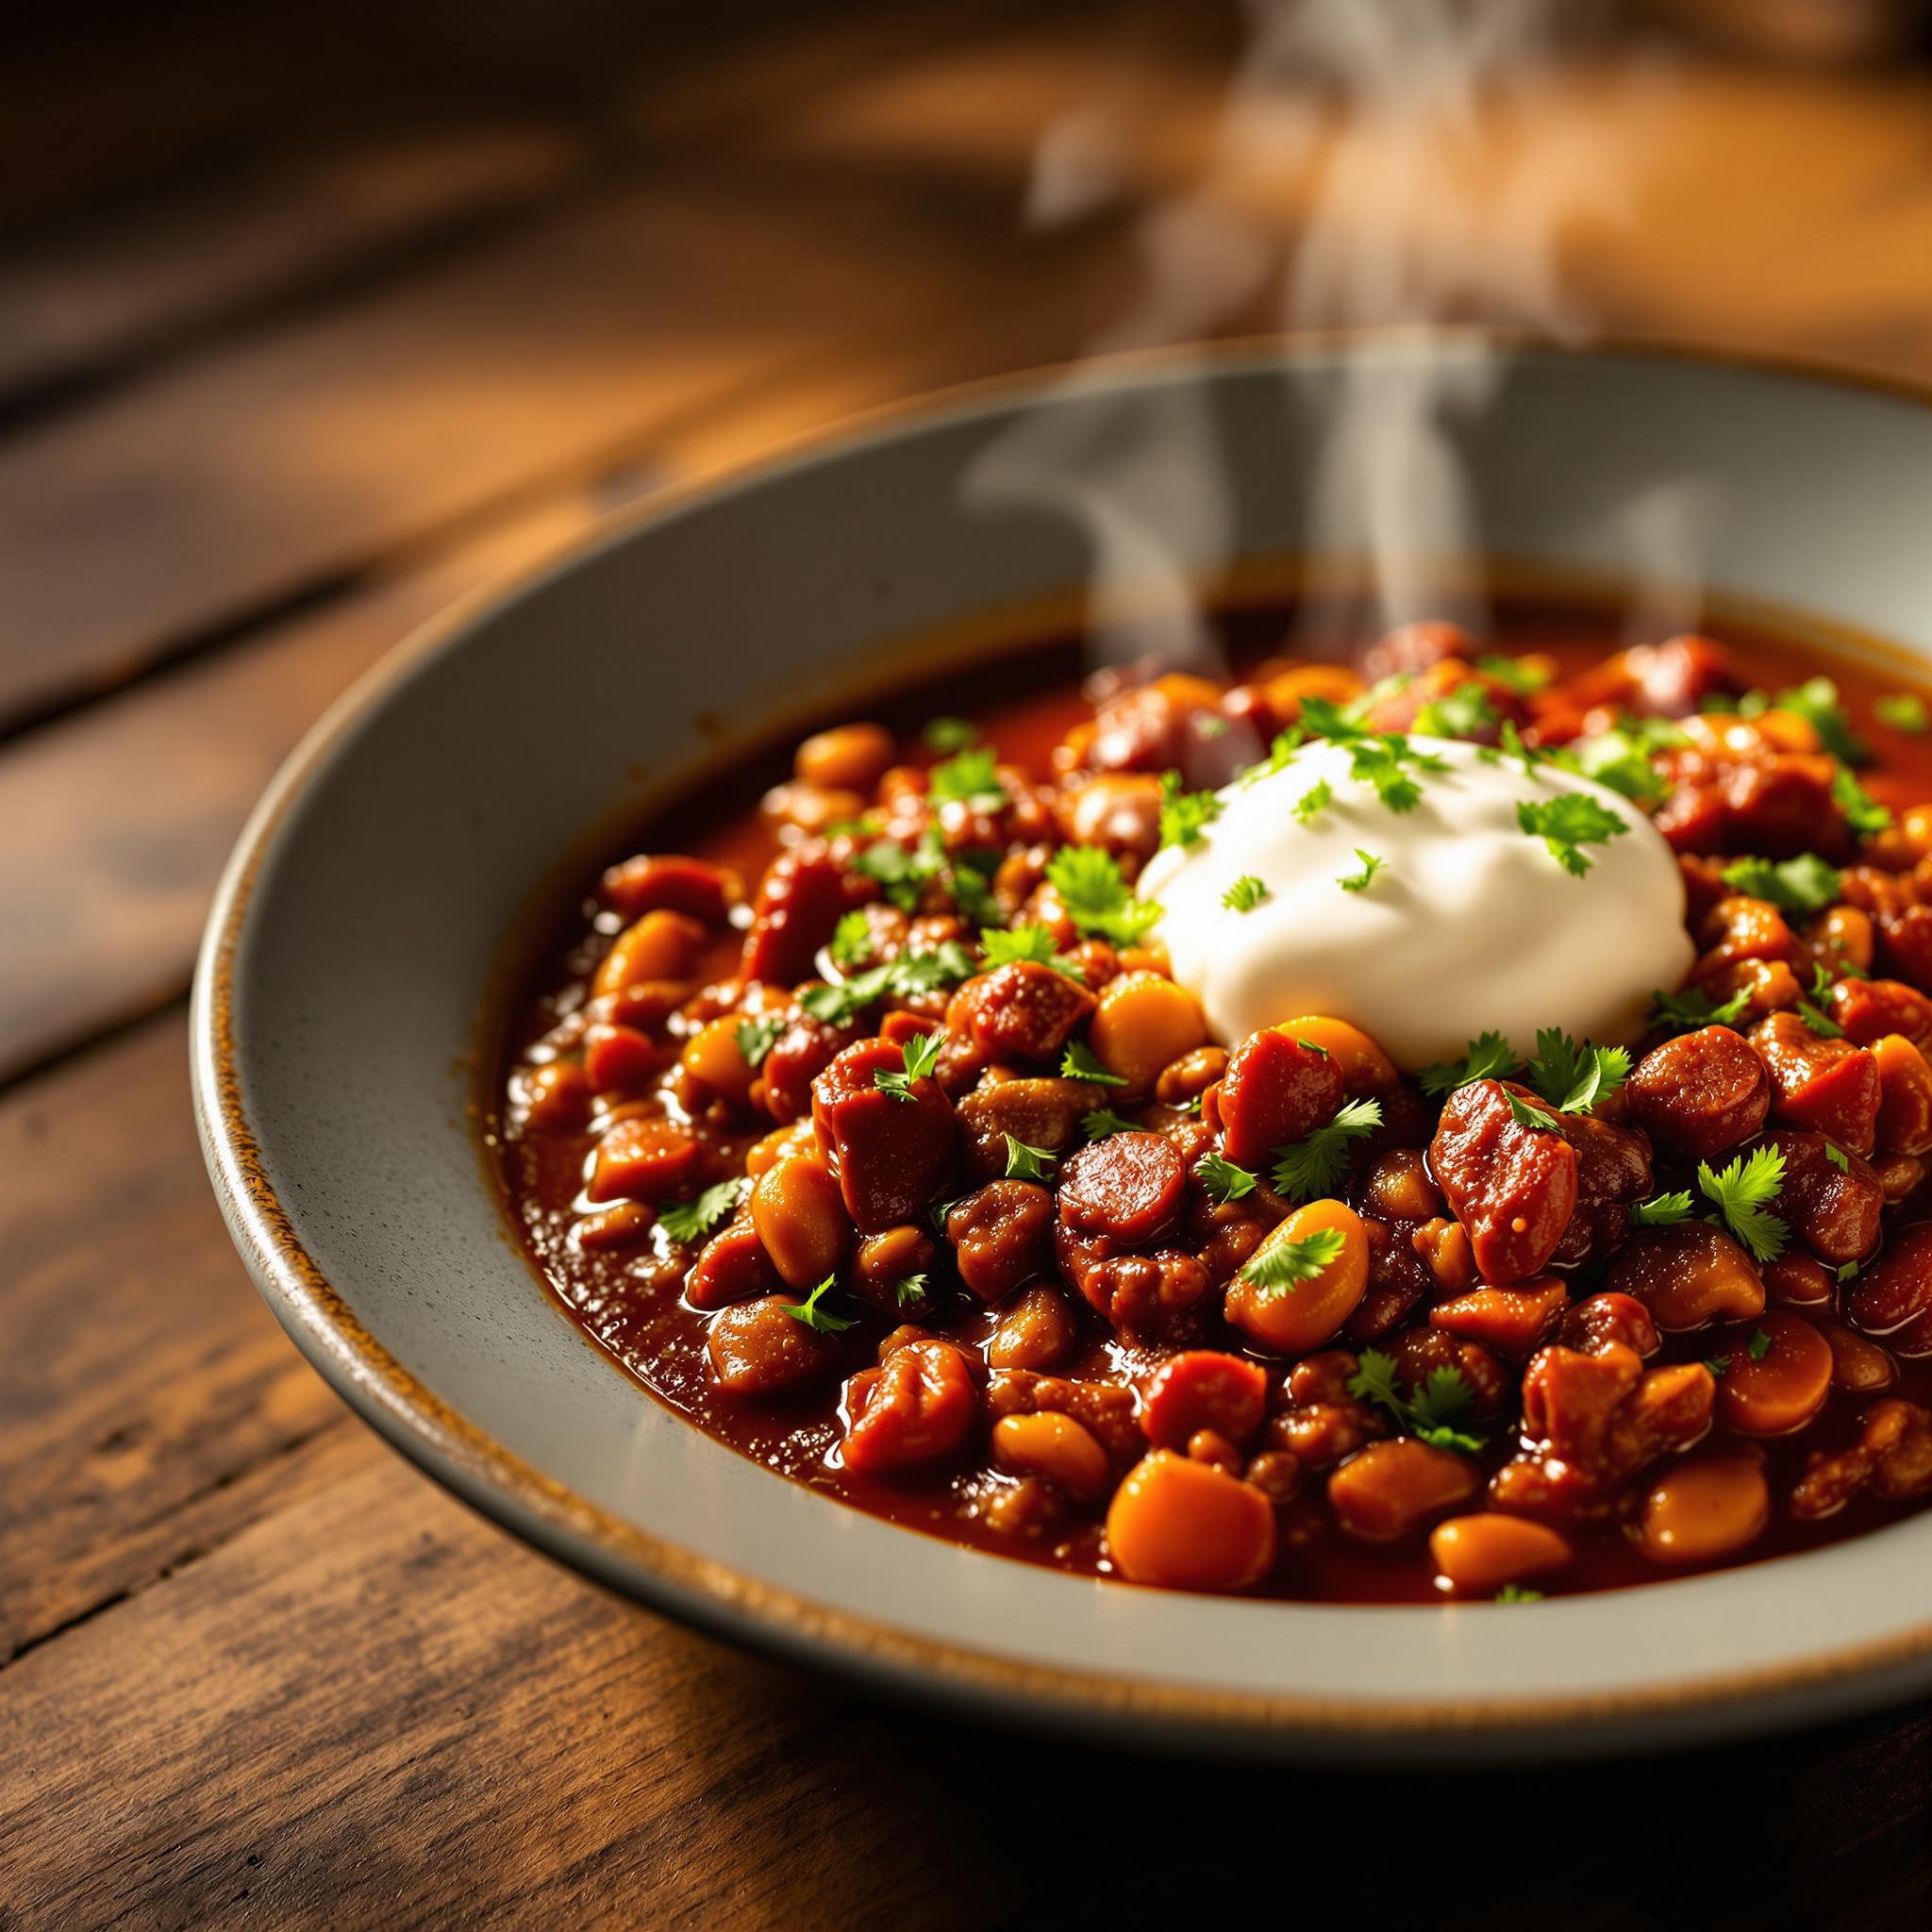
To take your Debdoozie’s Blue Ribbon Chili to the next level, garnish each bowl with a dollop of sour cream, shredded cheese, and fresh cilantro. These toppings not only enhance the presentation but also add a refreshing contrast to the hearty dish.
Time Breakdown
- Prep Time: 15 minutes
- Cooking Time: 45 minutes
- Total Time: 1 hour
Nutritional Information
Per serving (approximate values):
- Calories: 350
- Protein: 25g
- Fat: 15g
- Carbohydrates: 30g
- Fiber: 8g
Extra Information
Did you know that chili has been a staple in American cuisine since the late 1800s? It’s believed to have originated in Texas, where cowboys would prepare it as a quick and filling meal during cattle drives. Today, classic chili recipes continue to evolve, blending tradition with creativity.
Necessary Tools
- Large pot or Dutch oven
- Wooden spoon
- Sharp knife and cutting board
- Measuring spoons and cups
Storage Instructions
Short-Term Storage: Allow the chili to cool completely before transferring it to an airtight container. Store it in the refrigerator for up to 4 days. Reheat gently on the stovetop or in the microwave, adding a splash of water or broth to loosen the consistency if needed.
Freezing: This chili freezes beautifully! Portion it into freezer-safe bags or containers and freeze for up to 3 months. Thaw overnight in the fridge before reheating.
Tips for Best Results: Label your containers with the date to keep track of freshness. Always reheat only the portion you plan to eat to preserve the quality of leftovers.
Tips and Tricks
- Toast your spices briefly in a dry pan before adding them to the chili for enhanced flavor.
- Use fire-roasted diced tomatoes for a smoky twist.
- Make a double batch and freeze half for a quick meal later.
Serving Suggestions
- Serve with warm cornbread or crusty bread for a comforting pairing.
- Top with avocado slices or guacamole for a creamy contrast.
Healthier Alternatives for the Recipe
Here are six ways to make this chili healthier while keeping it delicious:
- Lean Protein: Swap ground beef for lean ground turkey or chicken.
- Veggie-Packed Version: Add zucchini, carrots, or spinach for extra nutrients.
- Low-Sodium Option: Use low-sodium broth and canned goods.
- Plant-Based Twist: Replace meat with lentils or mushrooms.
- Whole Grains: Serve over quinoa or brown rice instead of bread.
- Less Oil: Use a nonstick pan to reduce the amount of oil needed.
Common Mistakes to Avoid
Mistake 1: Skipping the Sauté Step
Some people rush through sautéing the onions, garlic, and peppers, but this step is essential for building flavor. Without proper caramelization, your chili may lack depth. Pro tip: Take your time and let the aromatics develop a golden hue before proceeding.
Mistake 2: Overpowering Spices
While spices are key to great chili, too much chili powder or cumin can overwhelm the dish. Start with small amounts and adjust gradually. Remember, you can always add more, but you can’t take it away!
Mistake 3: Not Allowing Enough Simmer Time
A quick simmer won’t allow the flavors to meld properly. Patience pays off—let your chili bubble away for at least 30 minutes to achieve that rich, cohesive taste we all love.
Frequently Asked Questions
Can I make this chili vegetarian?
Absolutely! Simply omit the meat and add extra veggies or legumes like lentils or chickpeas. You’ll still get a hearty and satisfying dish.
How do I store leftover chili?
Store leftovers in an airtight container in the fridge for up to 4 days. For longer storage, freeze portions in freezer-safe bags for up to 3 months.
What sides pair well with this chili?
Cornbread, crusty bread, or a simple green salad complement this chili perfectly. For a fun twist, try serving it over baked potatoes.
Can I use dried beans instead of canned?
Yes, but you’ll need to soak and cook them beforehand. Canned beans save time, but dried beans offer a firmer texture if prepared correctly.
Is this recipe spicy?
Not overly so! Adjust the chili powder and spices to suit your preference. For milder chili, reduce the spice quantities or omit the chili powder entirely.
How can I thicken my chili?
If your chili is too thin, mix a teaspoon of cornstarch with water and stir it in. Alternatively, let it simmer uncovered to reduce the liquid.
Can I prep this ahead of time?
Definitely! This chili tastes even better the next day as the flavors have more time to meld. Prepare it a day in advance for maximum deliciousness.
What type of chocolate should I use?
Dark chocolate works best due to its bitterness, which balances the sweetness of the tomatoes. Opt for 70% cocoa or higher for optimal results.
Can I make this in a slow cooker?
Yes! Brown the meat and sauté the aromatics first, then transfer everything to a slow cooker and cook on low for 6-8 hours.
How do I reheat frozen chili?
Thaw it overnight in the fridge, then reheat gently on the stovetop or in the microwave. Stir frequently and add a splash of broth if needed.
Conclusion
Debdoozie’s Blue Ribbon Chili is more than just a recipe—it’s a celebration of flavor, tradition, and creativity. Whether you stick to the classic version or experiment with healthier alternatives, this dish is guaranteed to become a favorite in your household. So grab your apron, gather your ingredients, and let’s make some magic in the kitchen!


