Discover the Magic of Jay’s Signature Pizza Crust
There’s something truly magical about homemade pizza, and Jay’s Signature Pizza Crust is the secret ingredient that elevates it to a whole new level. Whether you’re a seasoned home cook or just starting out, this recipe will become your go-to for creating restaurant-quality pizzas right in your kitchen. I remember the first time I tried this crust—it was during a cozy family dinner, and everyone couldn’t stop raving about its perfect texture and flavor. From that moment, I knew I had to share this gem with others who love cooking as much as I do.
The Story Behind Jay’s Signature Pizza Crust
This delightful pizza crust has its roots in Italian tradition but carries a modern twist thanks to Jay, a passionate home cook who loves experimenting in the kitchen. He spent years perfecting his dough, blending classic techniques with innovative touches like adding a hint of olive oil for richness. The result? A crispy yet chewy base that pairs beautifully with any topping. Over time, this recipe became a favorite among friends and family, earning its reputation as one of the best homemade pizza crust recipes around.
Why You’ll Fall in Love with This Crust
Jay’s Signature Pizza Crust stands out because it strikes the perfect balance between simplicity and flavor. Unlike store-bought options, this crust lets you control every ingredient, ensuring freshness and quality. Plus, the process is surprisingly easy—even beginners can master it! The aroma of freshly baked dough filling your kitchen is enough to make anyone fall in love with this recipe.
Perfect Occasions to Make Jay’s Signature Pizza Crust
This versatile crust is perfect for casual Friday nights, game day gatherings, or even special occasions like birthdays or anniversaries. It’s also a fantastic way to get kids involved in the kitchen, as they can help shape the dough and choose their favorite toppings. No matter the event, serving a pizza made with Jay’s Signature Pizza Crust guarantees smiles all around.
Ingredients for Jay’s Signature Pizza Crust
- 2 ½ cups all-purpose flour (plus extra for dusting)
- 1 packet (2 ¼ teaspoons) active dry yeast
- 1 teaspoon sugar
- ¾ teaspoon salt
- 1 cup warm water (about 110°F/45°C)
- 2 tablespoons olive oil
Substitution Options for Flexibility
If you want to experiment, try substituting half of the all-purpose flour with whole wheat flour for added nutrition. For a dairy-free version, replace the olive oil with melted coconut oil. And if you’re short on time, instant yeast works just as well as active dry yeast—no need to proof it beforehand!
Step 1: Activating the Yeast
To start, combine the warm water, sugar, and yeast in a small bowl. Let it sit for about 5-10 minutes until it becomes frothy. This step ensures your yeast is alive and ready to work its magic. Pro tip: Make sure the water isn’t too hot, as temperatures above 120°F (49°C) can kill the yeast, leaving you with a flat dough.
Step 2: Mixing the Dough
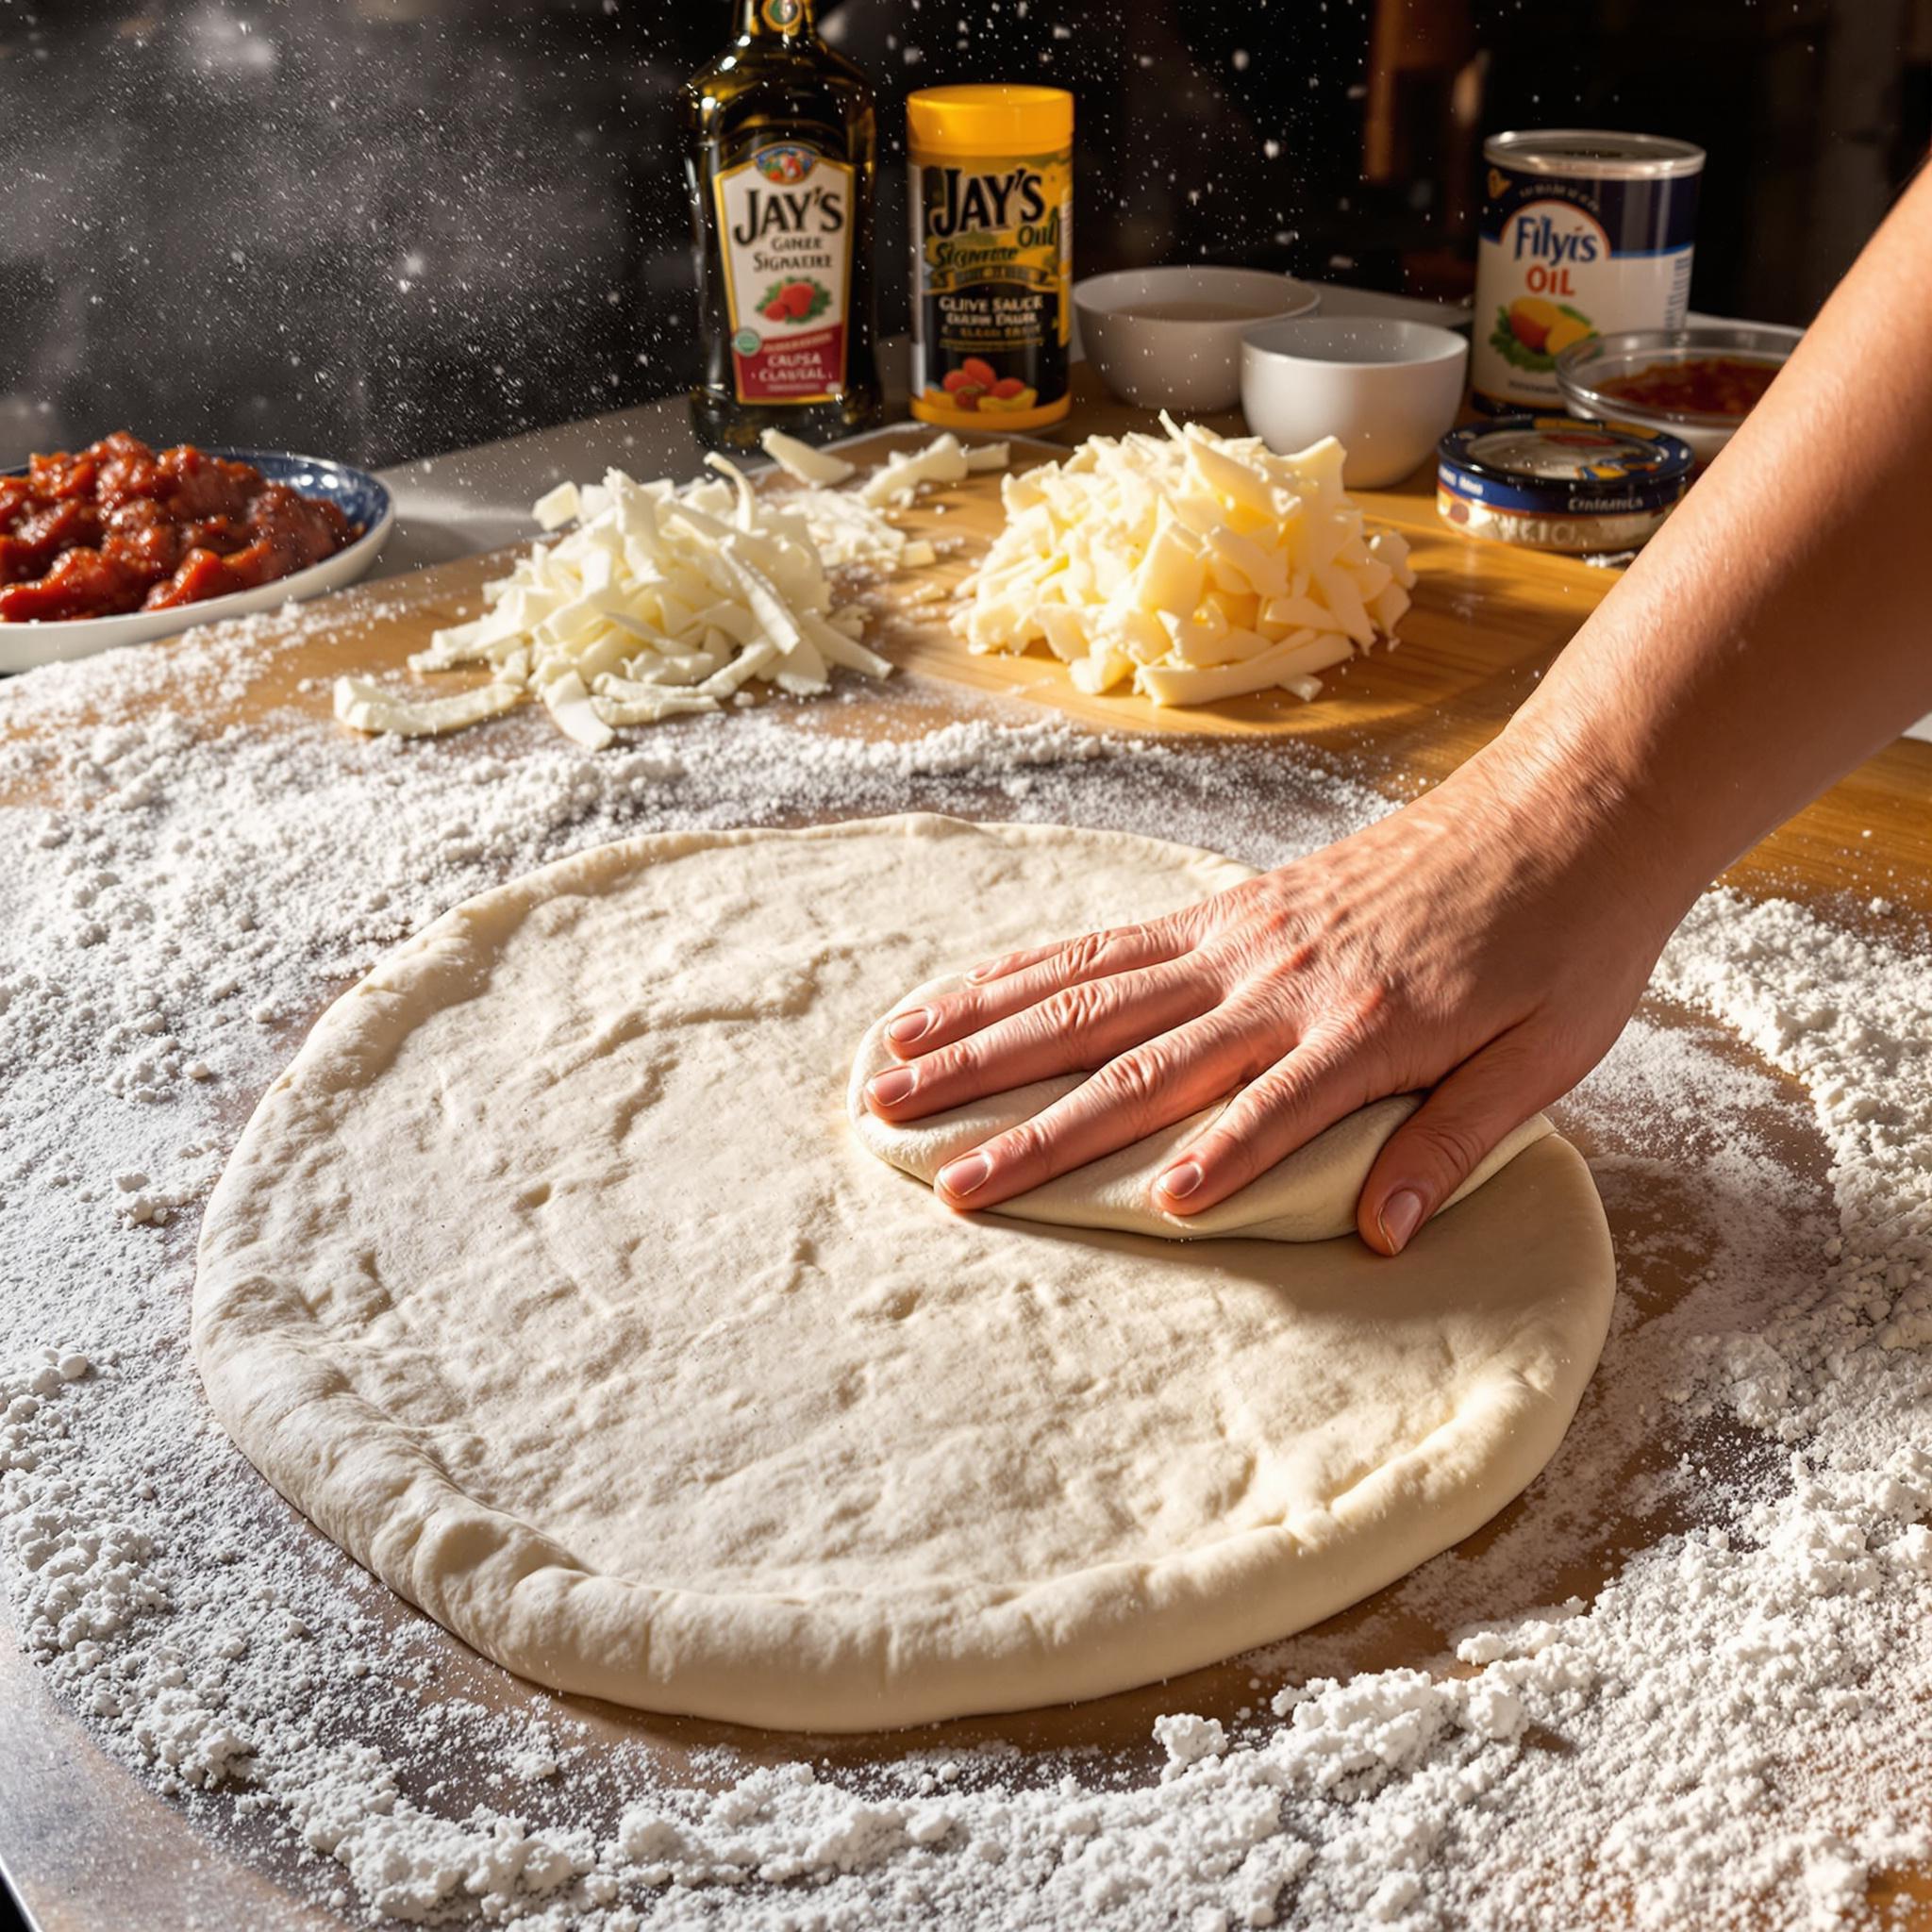
In a large mixing bowl, whisk together the flour and salt. Once the yeast mixture is ready, pour it into the bowl along with the olive oil. Stir everything together until a shaggy dough forms. At this stage, the dough might look messy, but don’t worry—that’s completely normal!
Step 3: Kneading the Dough
Turn the dough onto a lightly floured surface and knead it for about 8-10 minutes until smooth and elastic. As you work the dough, you’ll notice how it transforms from sticky and rough to soft and pliable. This step is crucial for developing gluten, which gives the crust its signature chewiness.
Step 4: Letting the Dough Rise
Place the kneaded dough in a greased bowl, cover it with a clean kitchen towel, and let it rise in a warm spot for 1-2 hours, or until it doubles in size. Watching the dough puff up is always satisfying—it’s like witnessing a little miracle in your kitchen!
Step 5: Shaping and Baking
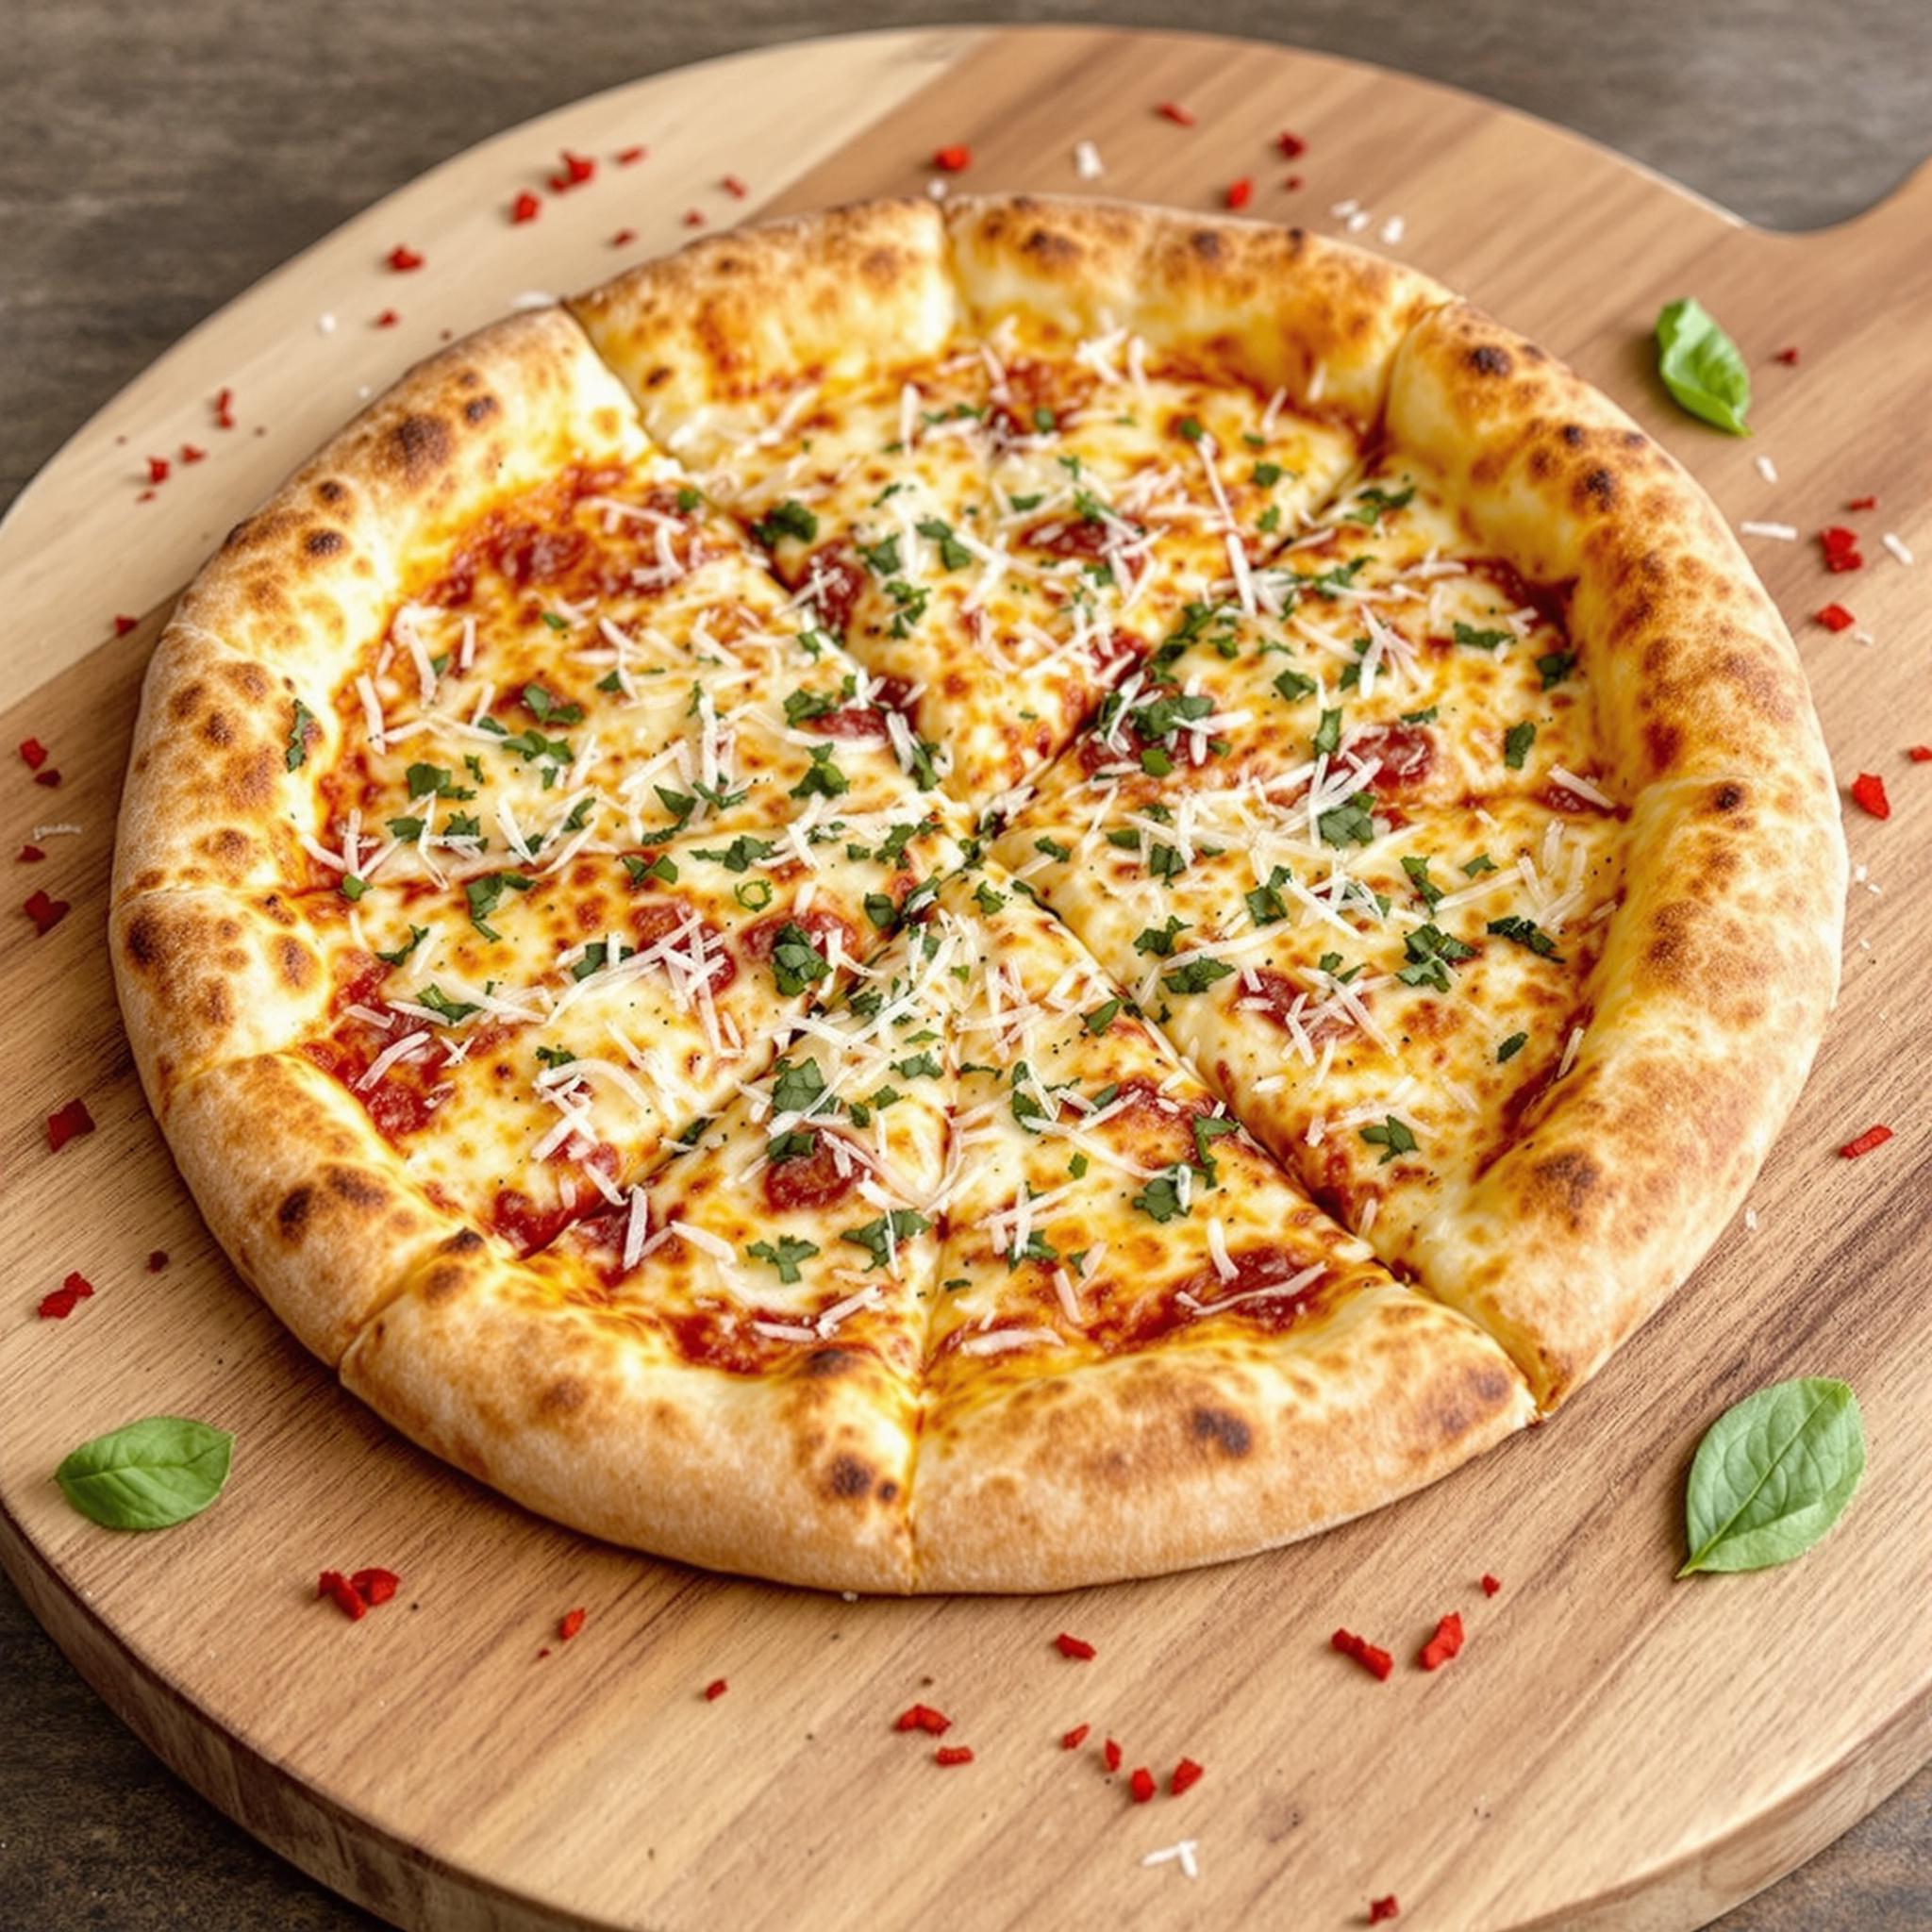
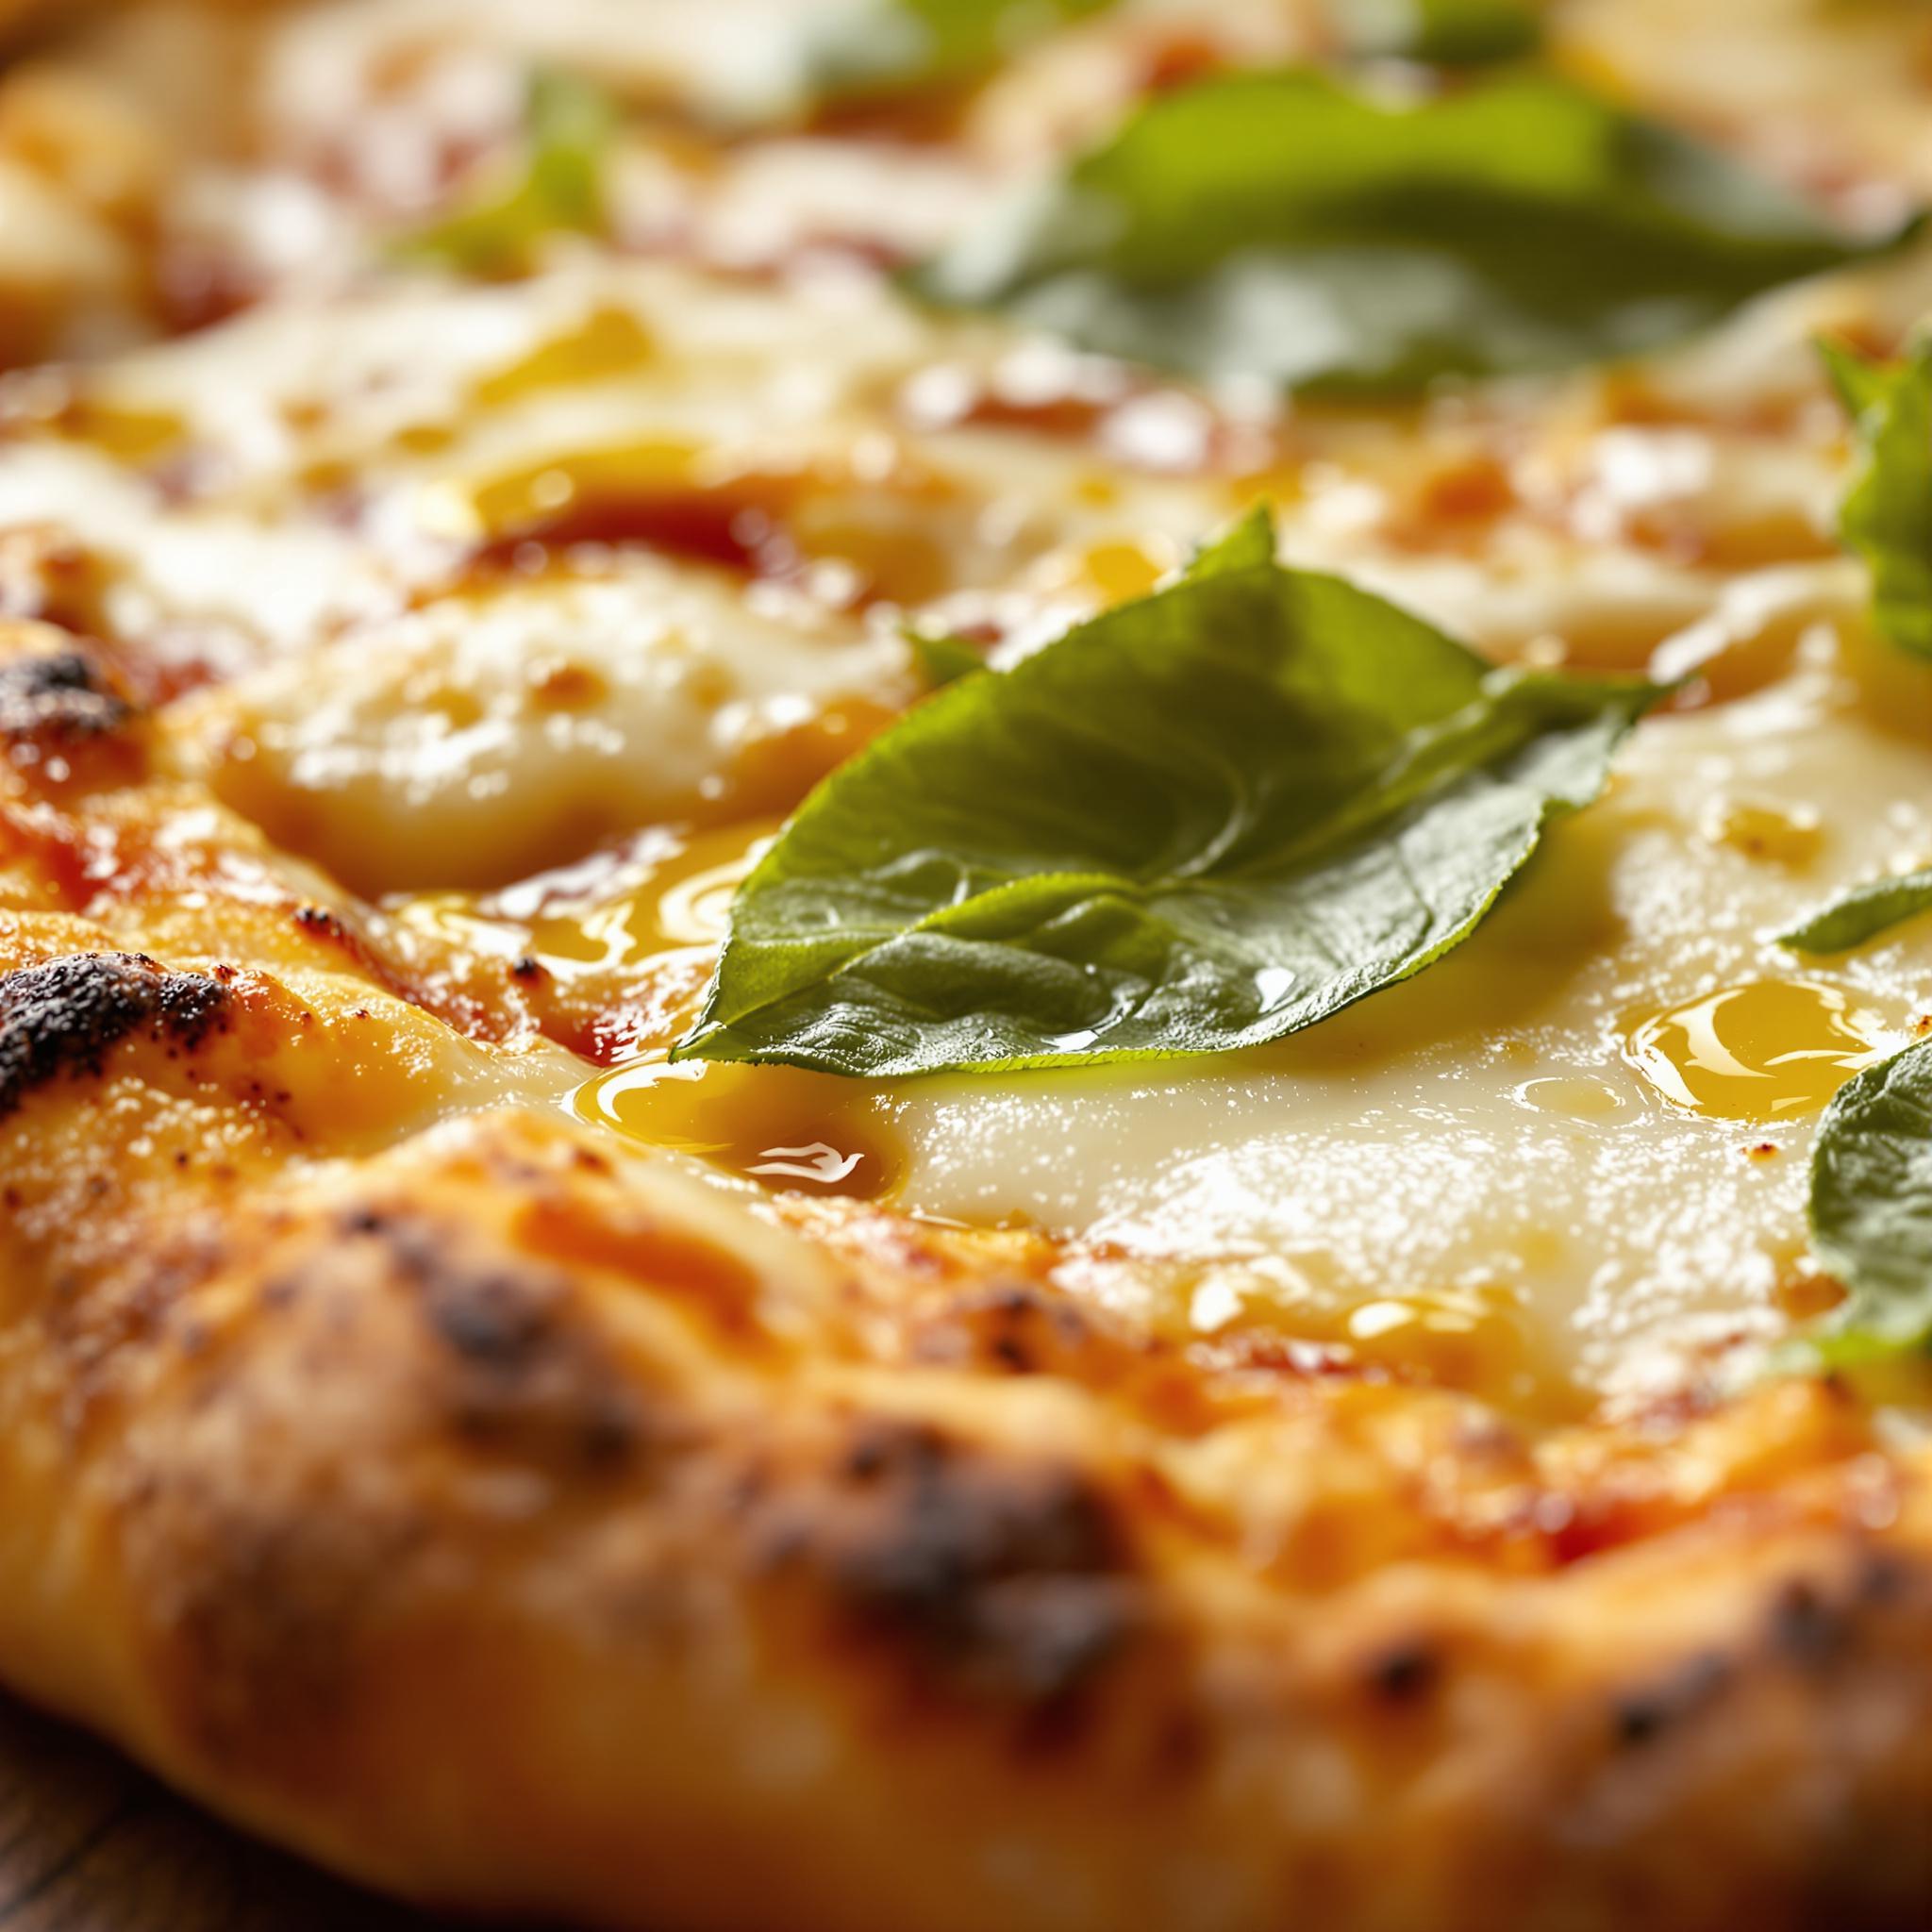
Once risen, punch down the dough to release any air bubbles. Divide it into two portions if you’d like to make smaller pizzas. Roll out the dough on a floured surface to your desired thickness, then transfer it to a baking sheet or pizza stone. Add your favorite toppings and bake at 475°F (245°C) for 12-15 minutes until golden brown. The smell of freshly baked pizza wafting through your home is simply irresistible.
Chef’s Tip for Perfect Results
For an extra crispy crust, preheat your baking sheet or pizza stone in the oven before placing the shaped dough on it. This trick mimics the effect of a professional pizza oven, giving you a beautifully blistered crust every time.
Time Required for Jay’s Signature Pizza Crust
- Preparation Time: 20 minutes
- Rising Time: 1-2 hours
- Baking Time: 12-15 minutes
- Total Time: Approximately 2 hours
Nutritional Information per Serving
- Calories: 220
- Protein: 5g
- Fat: 4g
- Carbohydrates: 40g
- Fiber: 2g
An Interesting Curiosity About Pizza Crusts
Did you know that the world’s largest pizza ever made measured over 13,500 square feet? While we may not be aiming for record-breaking sizes here, Jay’s Signature Pizza Crust proves that greatness often comes in smaller, more delicious packages.
Necessary Tools for Making Pizza
- Large mixing bowl
- Rolling pin
- Baking sheet or pizza stone
- Parchment paper (optional)
- Kitchen towel
Storage Instructions for Leftover Dough
If you have leftover dough, wrap it tightly in plastic wrap and store it in the refrigerator for up to 3 days. When you’re ready to use it, let it come to room temperature before rolling it out. Alternatively, freeze the dough for longer storage; just thaw it overnight in the fridge before using.
For cooked pizza, keep slices in an airtight container in the fridge for up to 3 days. Reheat them in the oven at 350°F (175°C) for a few minutes to restore crispiness. Never microwave leftovers, as this makes the crust soggy.
If freezing cooked pizza, wrap individual slices in aluminum foil and place them in a freezer-safe bag. They’ll stay good for up to 2 months. To reheat, pop them directly into a preheated oven without thawing first.
Tips and Tricks for Better Results
- Use a digital scale for precise measurements when weighing ingredients.
- Let the dough rest for 10 minutes after shaping it for easier handling.
- Brush the edges of the crust with garlic-infused olive oil before baking for added flavor.
Serving Suggestions for Your Pizza
- Serve with a side salad dressed in balsamic vinaigrette for a balanced meal.
- Pair with a glass of red wine or sparkling water infused with lemon slices.
Healthier Alternatives for Jay’s Signature Pizza Crust
Looking to lighten things up? Here are six variations to consider:
- Whole Wheat Version: Swap half the all-purpose flour with whole wheat flour for added fiber.
- Gluten-Free Option: Use a gluten-free flour blend designed for baking.
- Low-Carb Crust: Replace regular flour with almond flour and add xanthan gum for structure.
- Vegan Twist: Substitute olive oil with avocado oil and ensure your yeast is vegan-friendly.
- Herb-Infused Dough: Mix dried oregano, basil, or rosemary into the dough for extra flavor.
- Thin and Crispy Base: Roll the dough thinner than usual and bake at a higher temperature for less time.
Common Mistakes to Avoid
Mistake 1: Using Cold Water
One of the most common errors is using water that’s either too cold or too hot. Yeast thrives in warm environments, so aim for a temperature of 110°F (45°C). If the water feels lukewarm to the touch, you’re good to go. Pro tip: Invest in a kitchen thermometer for accuracy.
Mistake 2: Skipping the Kneading Process
Kneading is essential for developing gluten, which gives the crust its chewy texture. Don’t rush this step—spend at least 8 minutes working the dough. If you’re short on energy, a stand mixer with a dough hook can do the job for you.
Mistake 3: Overloading Toppings
While it’s tempting to pile on tons of toppings, doing so can weigh down the crust and prevent it from cooking evenly. Stick to a moderate amount to maintain the perfect balance between crust and toppings.
Frequently Asked Questions
Can I make the dough ahead of time?
Absolutely! You can prepare the dough up to 24 hours in advance and refrigerate it. Just let it come to room temperature before shaping and baking.
What if my dough doesn’t rise?
If your dough fails to rise, it could be due to expired yeast or water that’s too hot or cold. Always check the expiration date on your yeast and test the water temperature with a thermometer.
Can I use bread flour instead of all-purpose?
Yes, bread flour works wonderfully for a chewier crust. Its higher protein content helps develop more gluten, resulting in a firmer texture.
How do I prevent a soggy bottom?
To avoid a soggy crust, preheat your baking sheet or pizza stone and consider brushing the dough with olive oil before adding toppings.
Is it possible to freeze the dough?
Definitely! Wrap the dough tightly in plastic wrap and freeze for up to 3 months. Thaw it in the fridge overnight before using.
What toppings pair best with this crust?
Classic combinations like Margherita, pepperoni, or veggie-loaded pizzas shine with Jay’s Signature Pizza Crust. Experiment with seasonal produce for unique creations.
Can I bake this crust without a pizza stone?
Yes, a regular baking sheet works fine. For better results, invert the sheet and place the dough directly on it for improved airflow underneath.
How thick should I roll out the dough?
For a traditional thin crust, aim for about ¼-inch thickness. For a thicker, Chicago-style deep dish, roll it slightly thicker and adjust baking time accordingly.
Can I add cheese to the crust itself?
Of course! Sprinkle grated Parmesan or mozzarella along the edges before baking for a cheesy, pull-apart crust.
Why does my crust taste bland?
A bland crust might result from insufficient seasoning. Be generous with salt and consider brushing the baked crust with garlic butter for enhanced flavor.
Conclusion
Jay’s Signature Pizza Crust is more than just a recipe—it’s a gateway to endless culinary creativity. With its perfect balance of crispiness and chewiness, this crust will quickly become a staple in your kitchen. So gather your ingredients, invite some friends over, and enjoy the joy of making (and eating) homemade pizza. Happy cooking!