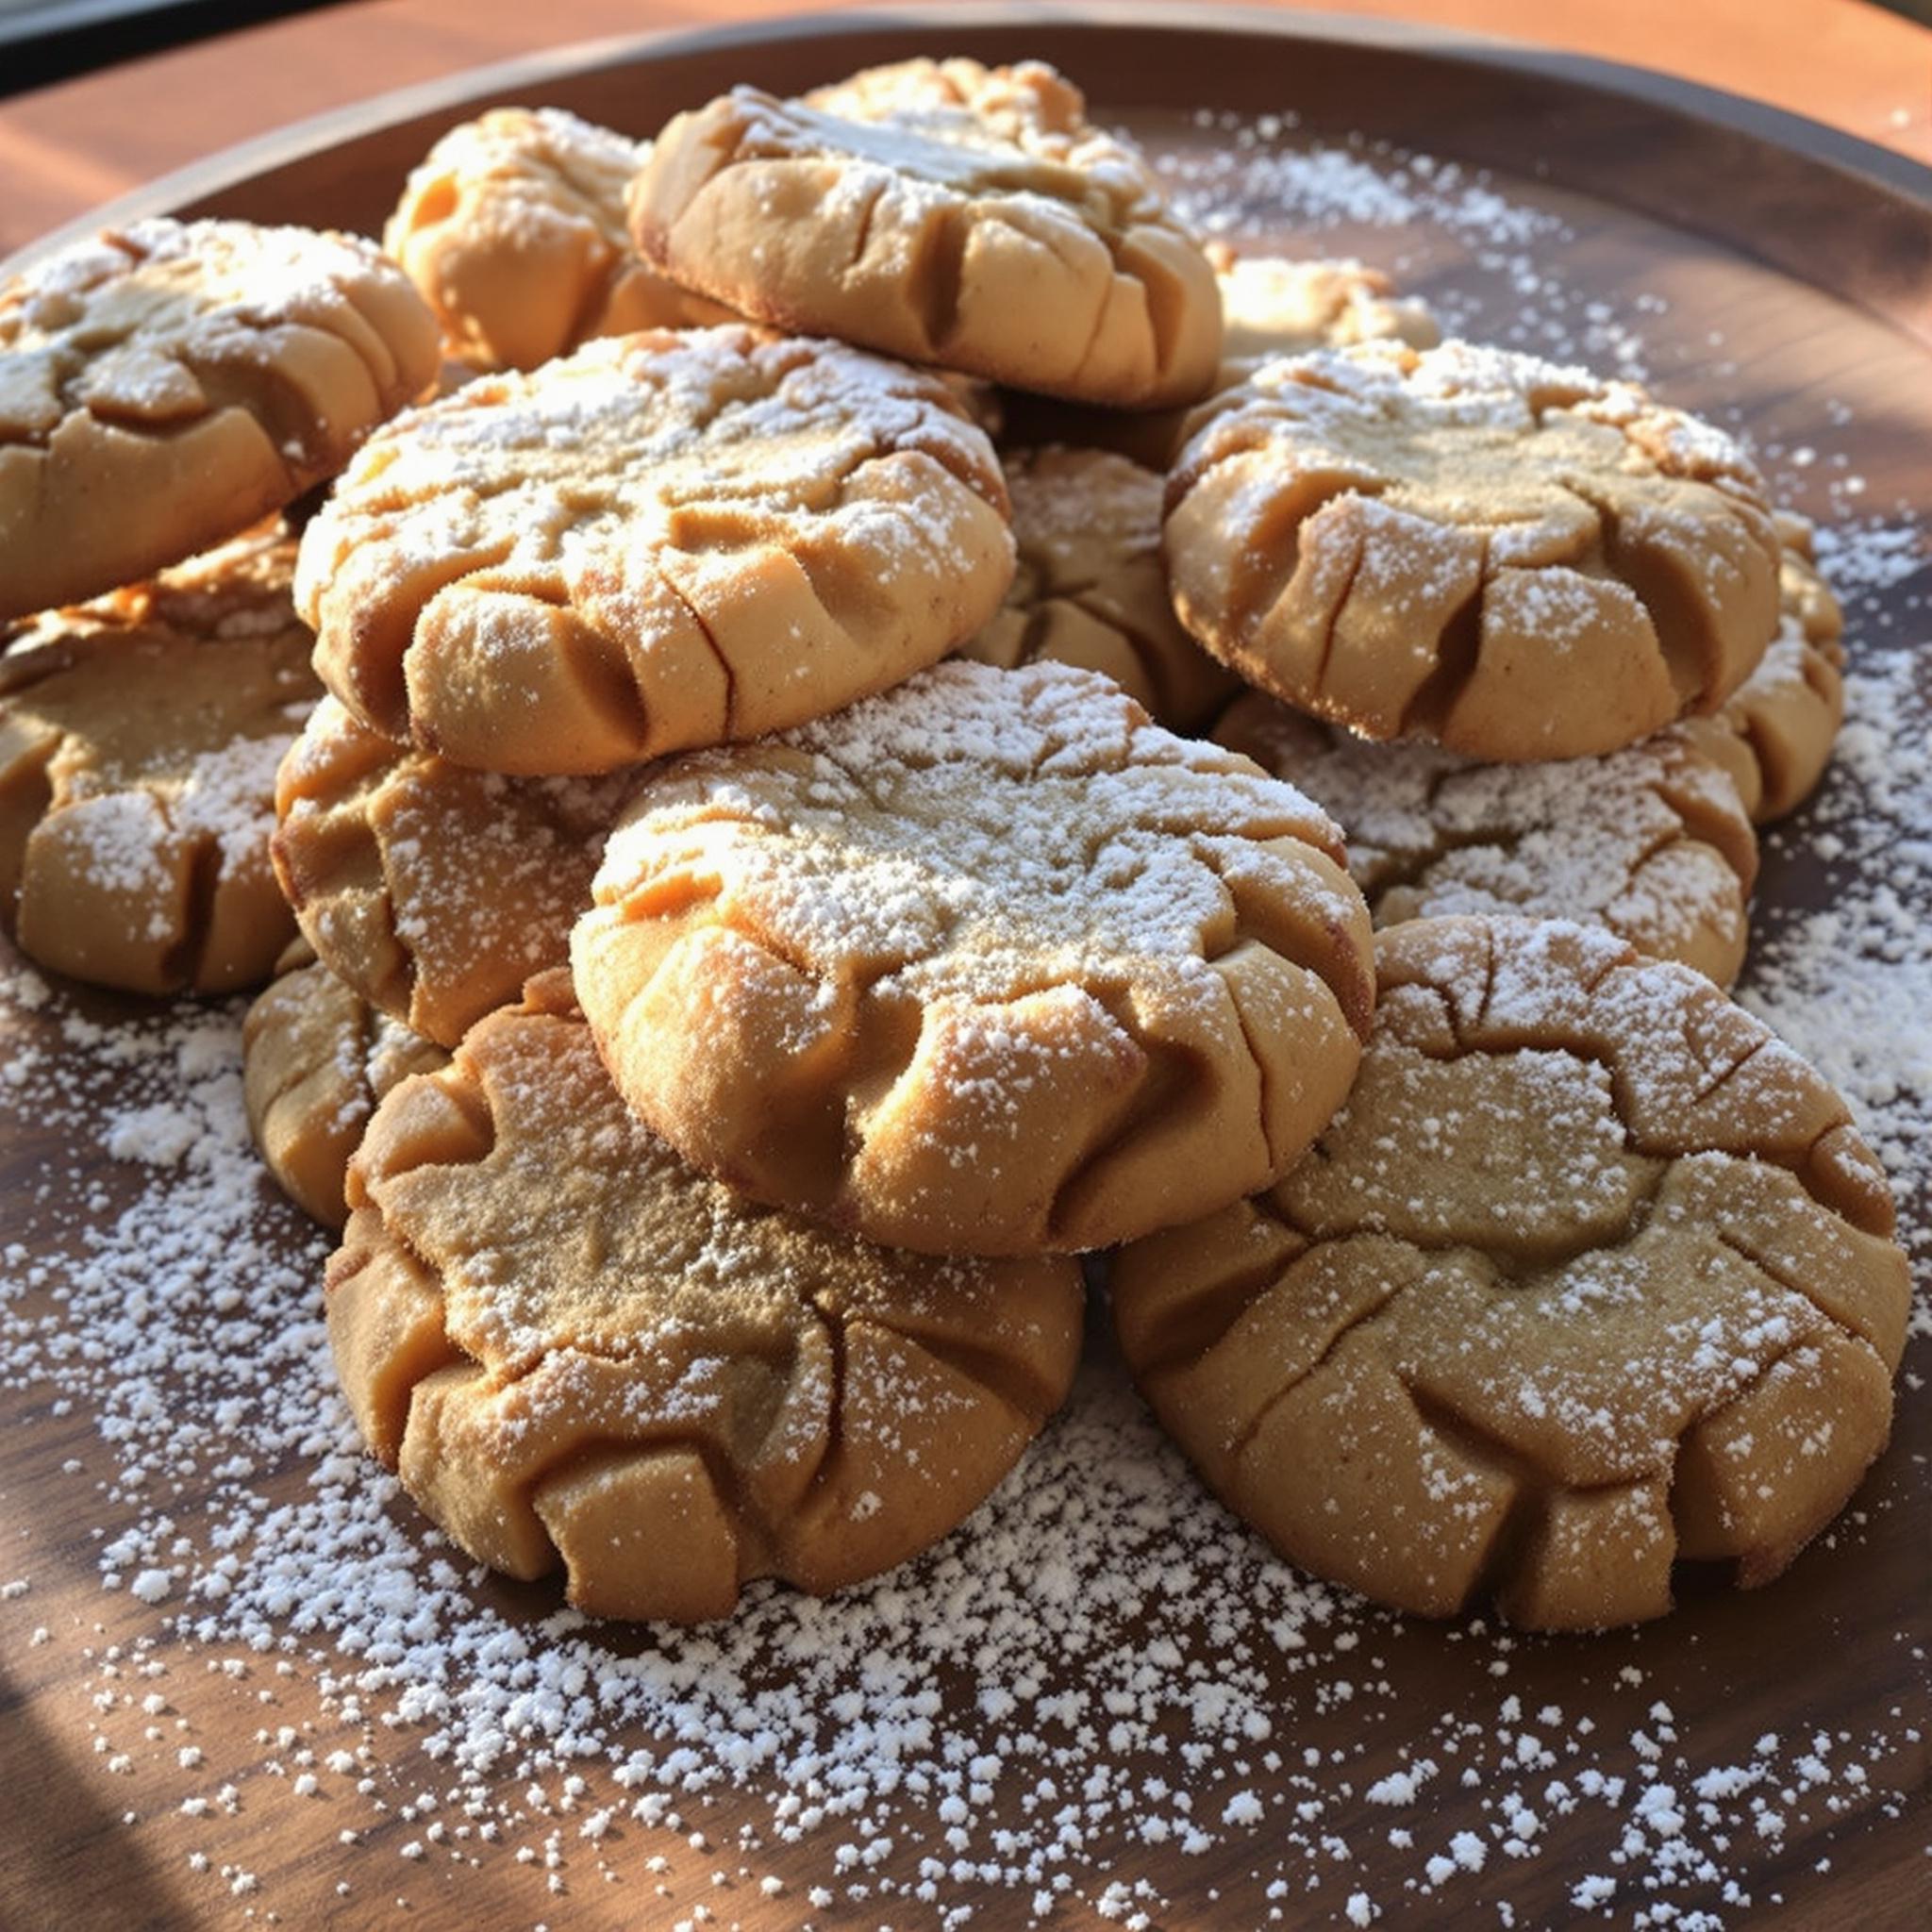
Discover the Magic of Mrs. Sigg’s Snickerdoodles
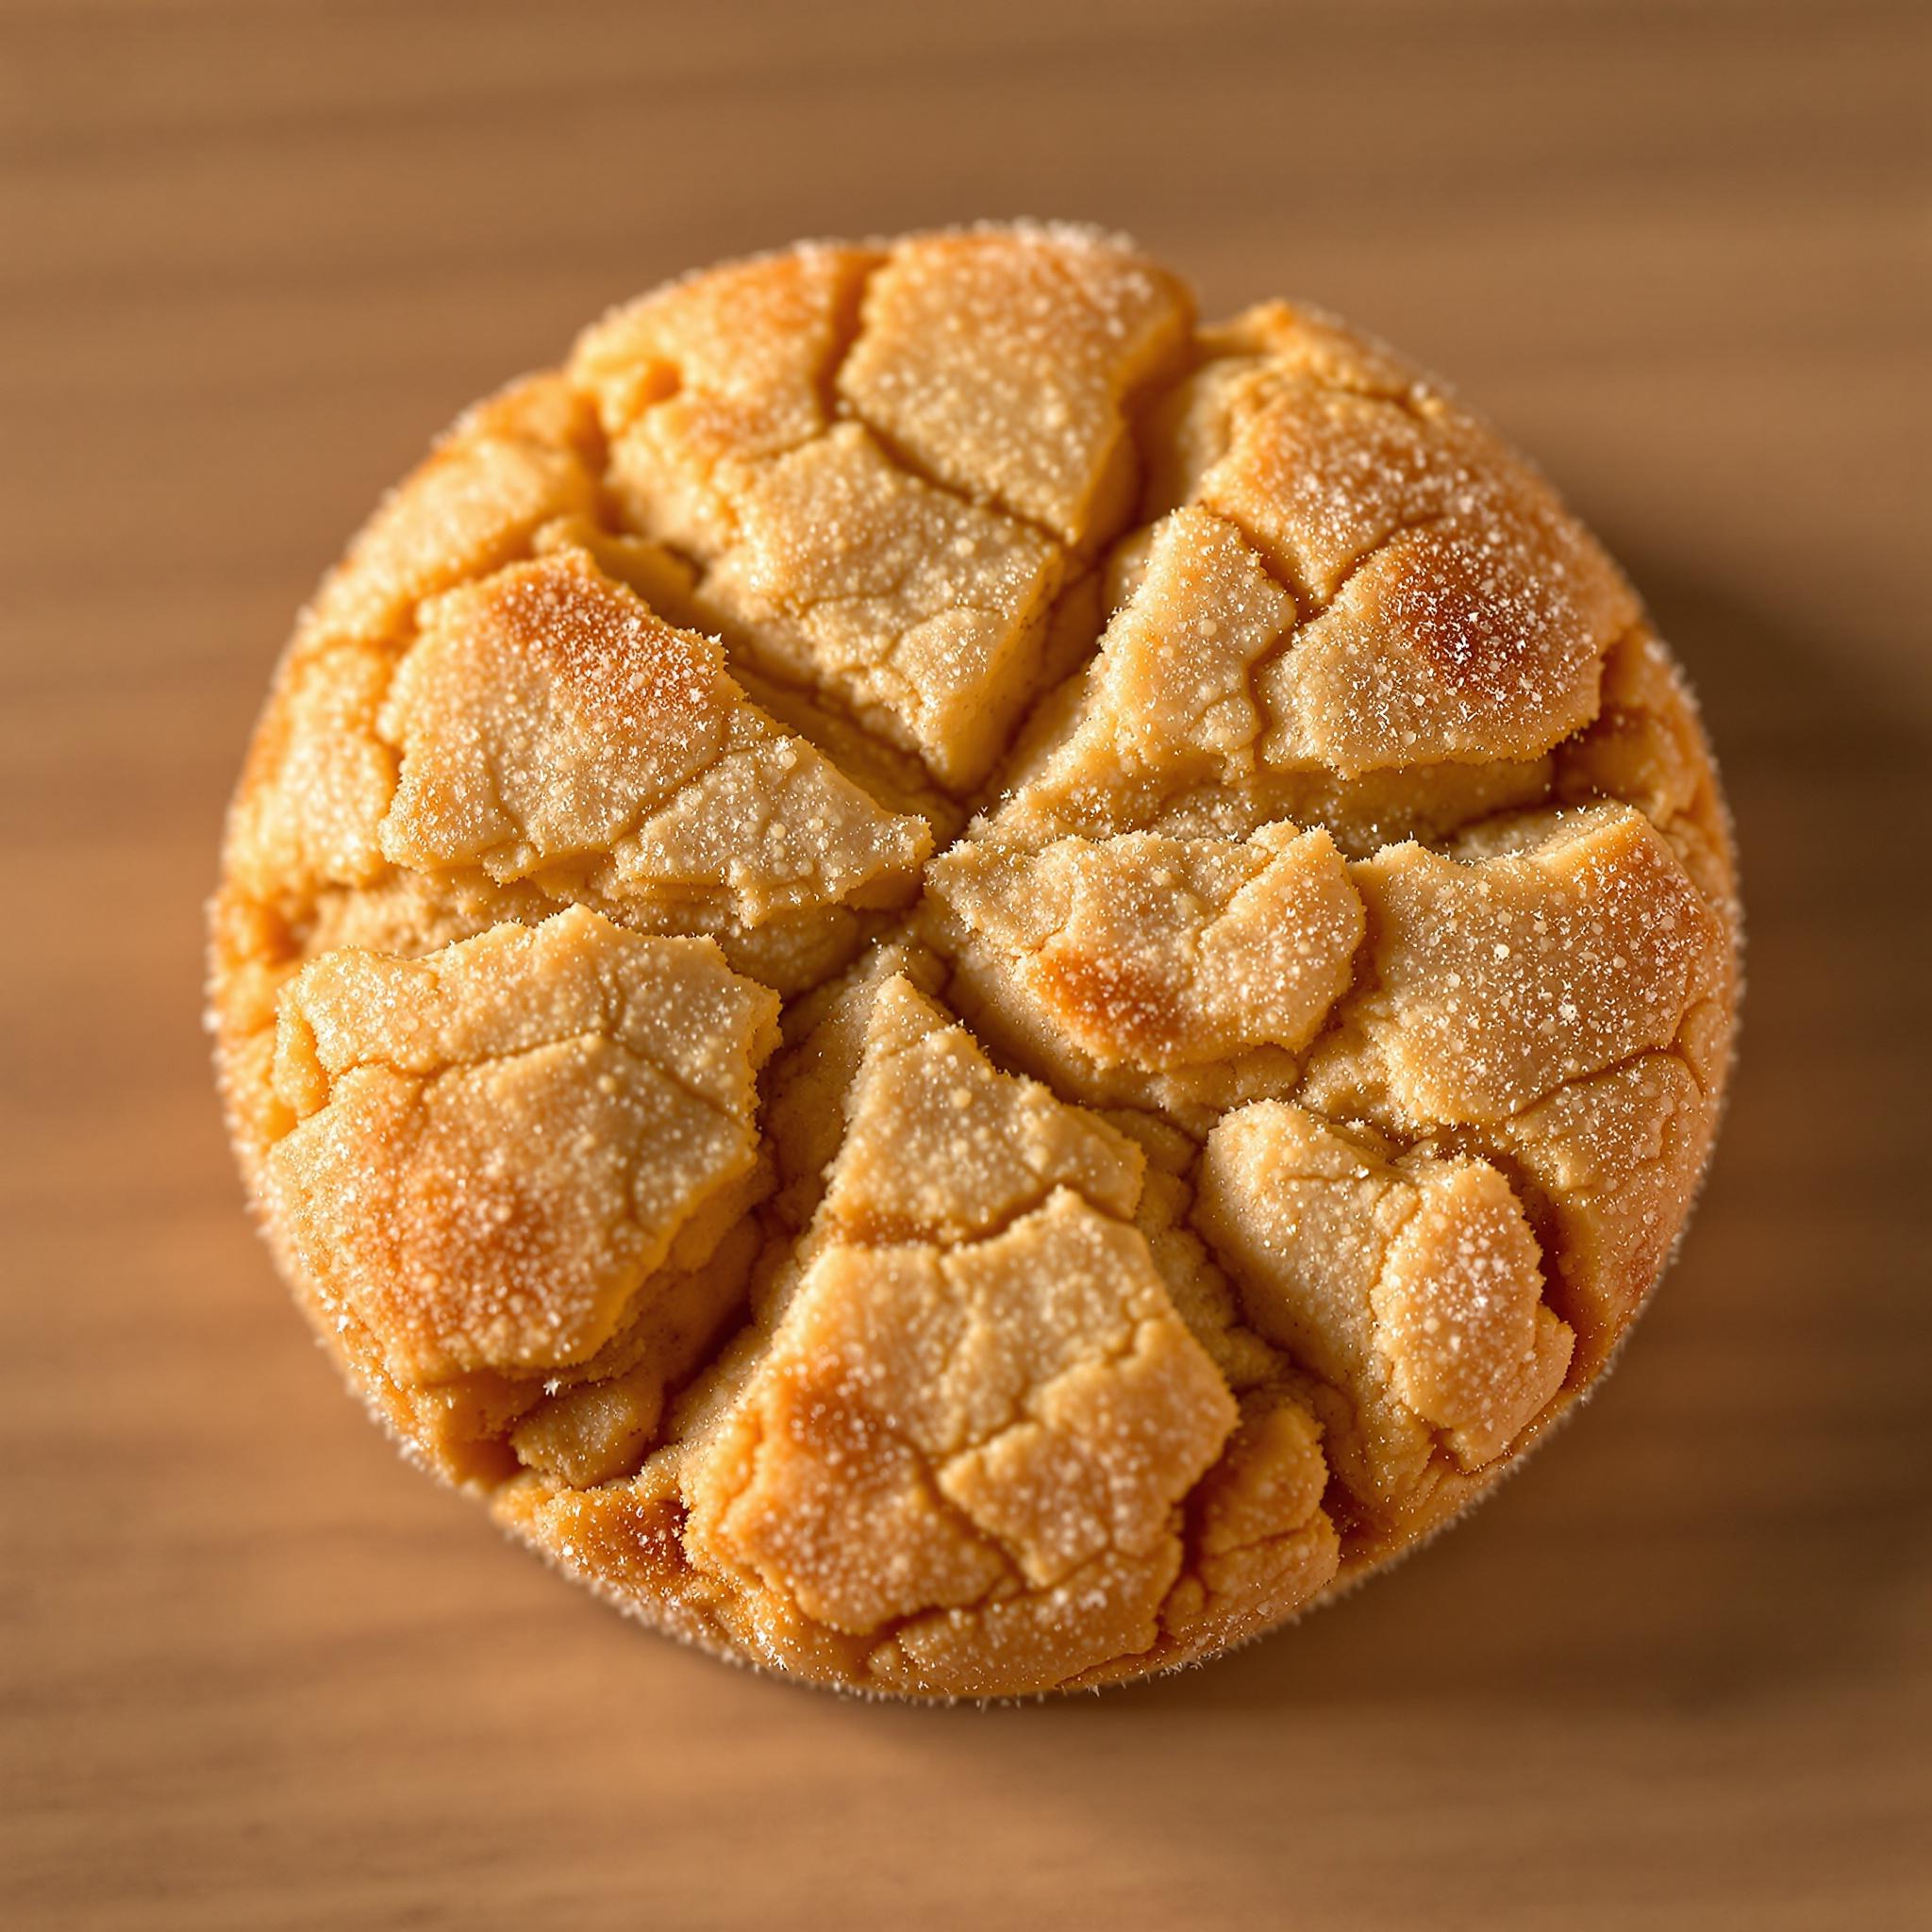
There’s something truly magical about biting into a soft, chewy, cinnamon-sugar cookie that melts in your mouth. Mrs. Sigg’s Snickerdoodles have become a staple in my kitchen, and I can’t wait to share this delightful recipe with you. Whether you’re baking for family, friends, or just yourself (no judgment here!), these snickerdoodles are guaranteed to bring joy. With their crackly tops and warm, spiced aroma, they’re simply irresistible.
The Sweet History Behind Mrs. Sigg’s Snickerdoodles
I first stumbled upon Mrs. Sigg’s Snickerdoodles at a holiday cookie exchange years ago. The hostess, Mrs. Sigg herself, shared how her grandmother brought this recipe from Germany, where similar cookies were often made during festive seasons. Over time, she adapted it to suit American tastes by adding a touch of cream of tartar—a secret ingredient that gives these cookies their signature tangy flavor and soft texture. It’s amazing how recipes evolve while still holding onto their roots. Every time I bake them, I feel connected to generations of bakers who’ve enjoyed these sweet treats.
Why You’ll Love This Snickerdoodle Recipe
Mrs. Sigg’s Snickerdoodles stand out because they strike the perfect balance between sweetness and spice. The dough is easy to work with, making it ideal for bakers of all skill levels. Plus, the aroma of cinnamon and butter wafting through your home is pure comfort. These cookies are not only delicious but also incredibly versatile—you can enjoy them plain or get creative with mix-ins like chocolate chips or nuts.
Perfect Occasions to Bake Mrs. Sigg’s Snickerdoodles
These snickerdoodles are perfect for any occasion! Whip them up for cozy weekend baking sessions, holiday gatherings, or even as a thoughtful homemade gift. They’re especially wonderful during fall and winter when the scent of cinnamon feels extra comforting. Trust me, once you start sharing these cookies, everyone will be asking for the recipe.
Ingredients for Mrs. Sigg’s Snickerdoodles
- 2 ¾ cups all-purpose flour
- 2 teaspoons cream of tartar
- 1 teaspoon baking soda
- ½ teaspoon salt
- 1 cup unsalted butter, softened
- 1 ½ cups granulated sugar, divided
- 2 large eggs
- 2 teaspoons vanilla extract
- 2 tablespoons ground cinnamon
Substitution Options for Mrs. Sigg’s Snickerdoodles
- Use coconut oil instead of butter for a dairy-free version.
- Swap white sugar for brown sugar to add a caramel-like depth.
- Replace regular flour with gluten-free flour if needed.
- Omit the cream of tartar and use buttermilk in place of one egg for a slight tang.
Preparation Steps for Mrs. Sigg’s Snickerdoodles
Step 1: Prepare Your Dry Ingredients
Start by whisking together the flour, cream of tartar, baking soda, and salt in a medium bowl. This ensures that all the dry ingredients are evenly distributed throughout the dough. Cream of tartar might seem unusual, but it’s what gives these snickerdoodles their unique texture and subtle tang. Pro tip: Sift the dry ingredients to avoid lumps and achieve a smoother batter.
Step 2: Cream the Butter and Sugar
In a separate large bowl, beat the softened butter and 1 ¼ cups of sugar until light and fluffy. This step is crucial because it incorporates air into the mixture, resulting in softer cookies. As you mix, notice how the color lightens and the texture becomes almost cloud-like. Don’t rush this process—it’s worth the effort!
Step 3: Add Eggs and Vanilla
Crack in the eggs one at a time, beating well after each addition. Then, stir in the vanilla extract. The eggs act as a binding agent, while the vanilla adds warmth and richness to the dough. Take a moment to inhale the heavenly scent—it’s already starting to smell like Christmas in your kitchen!
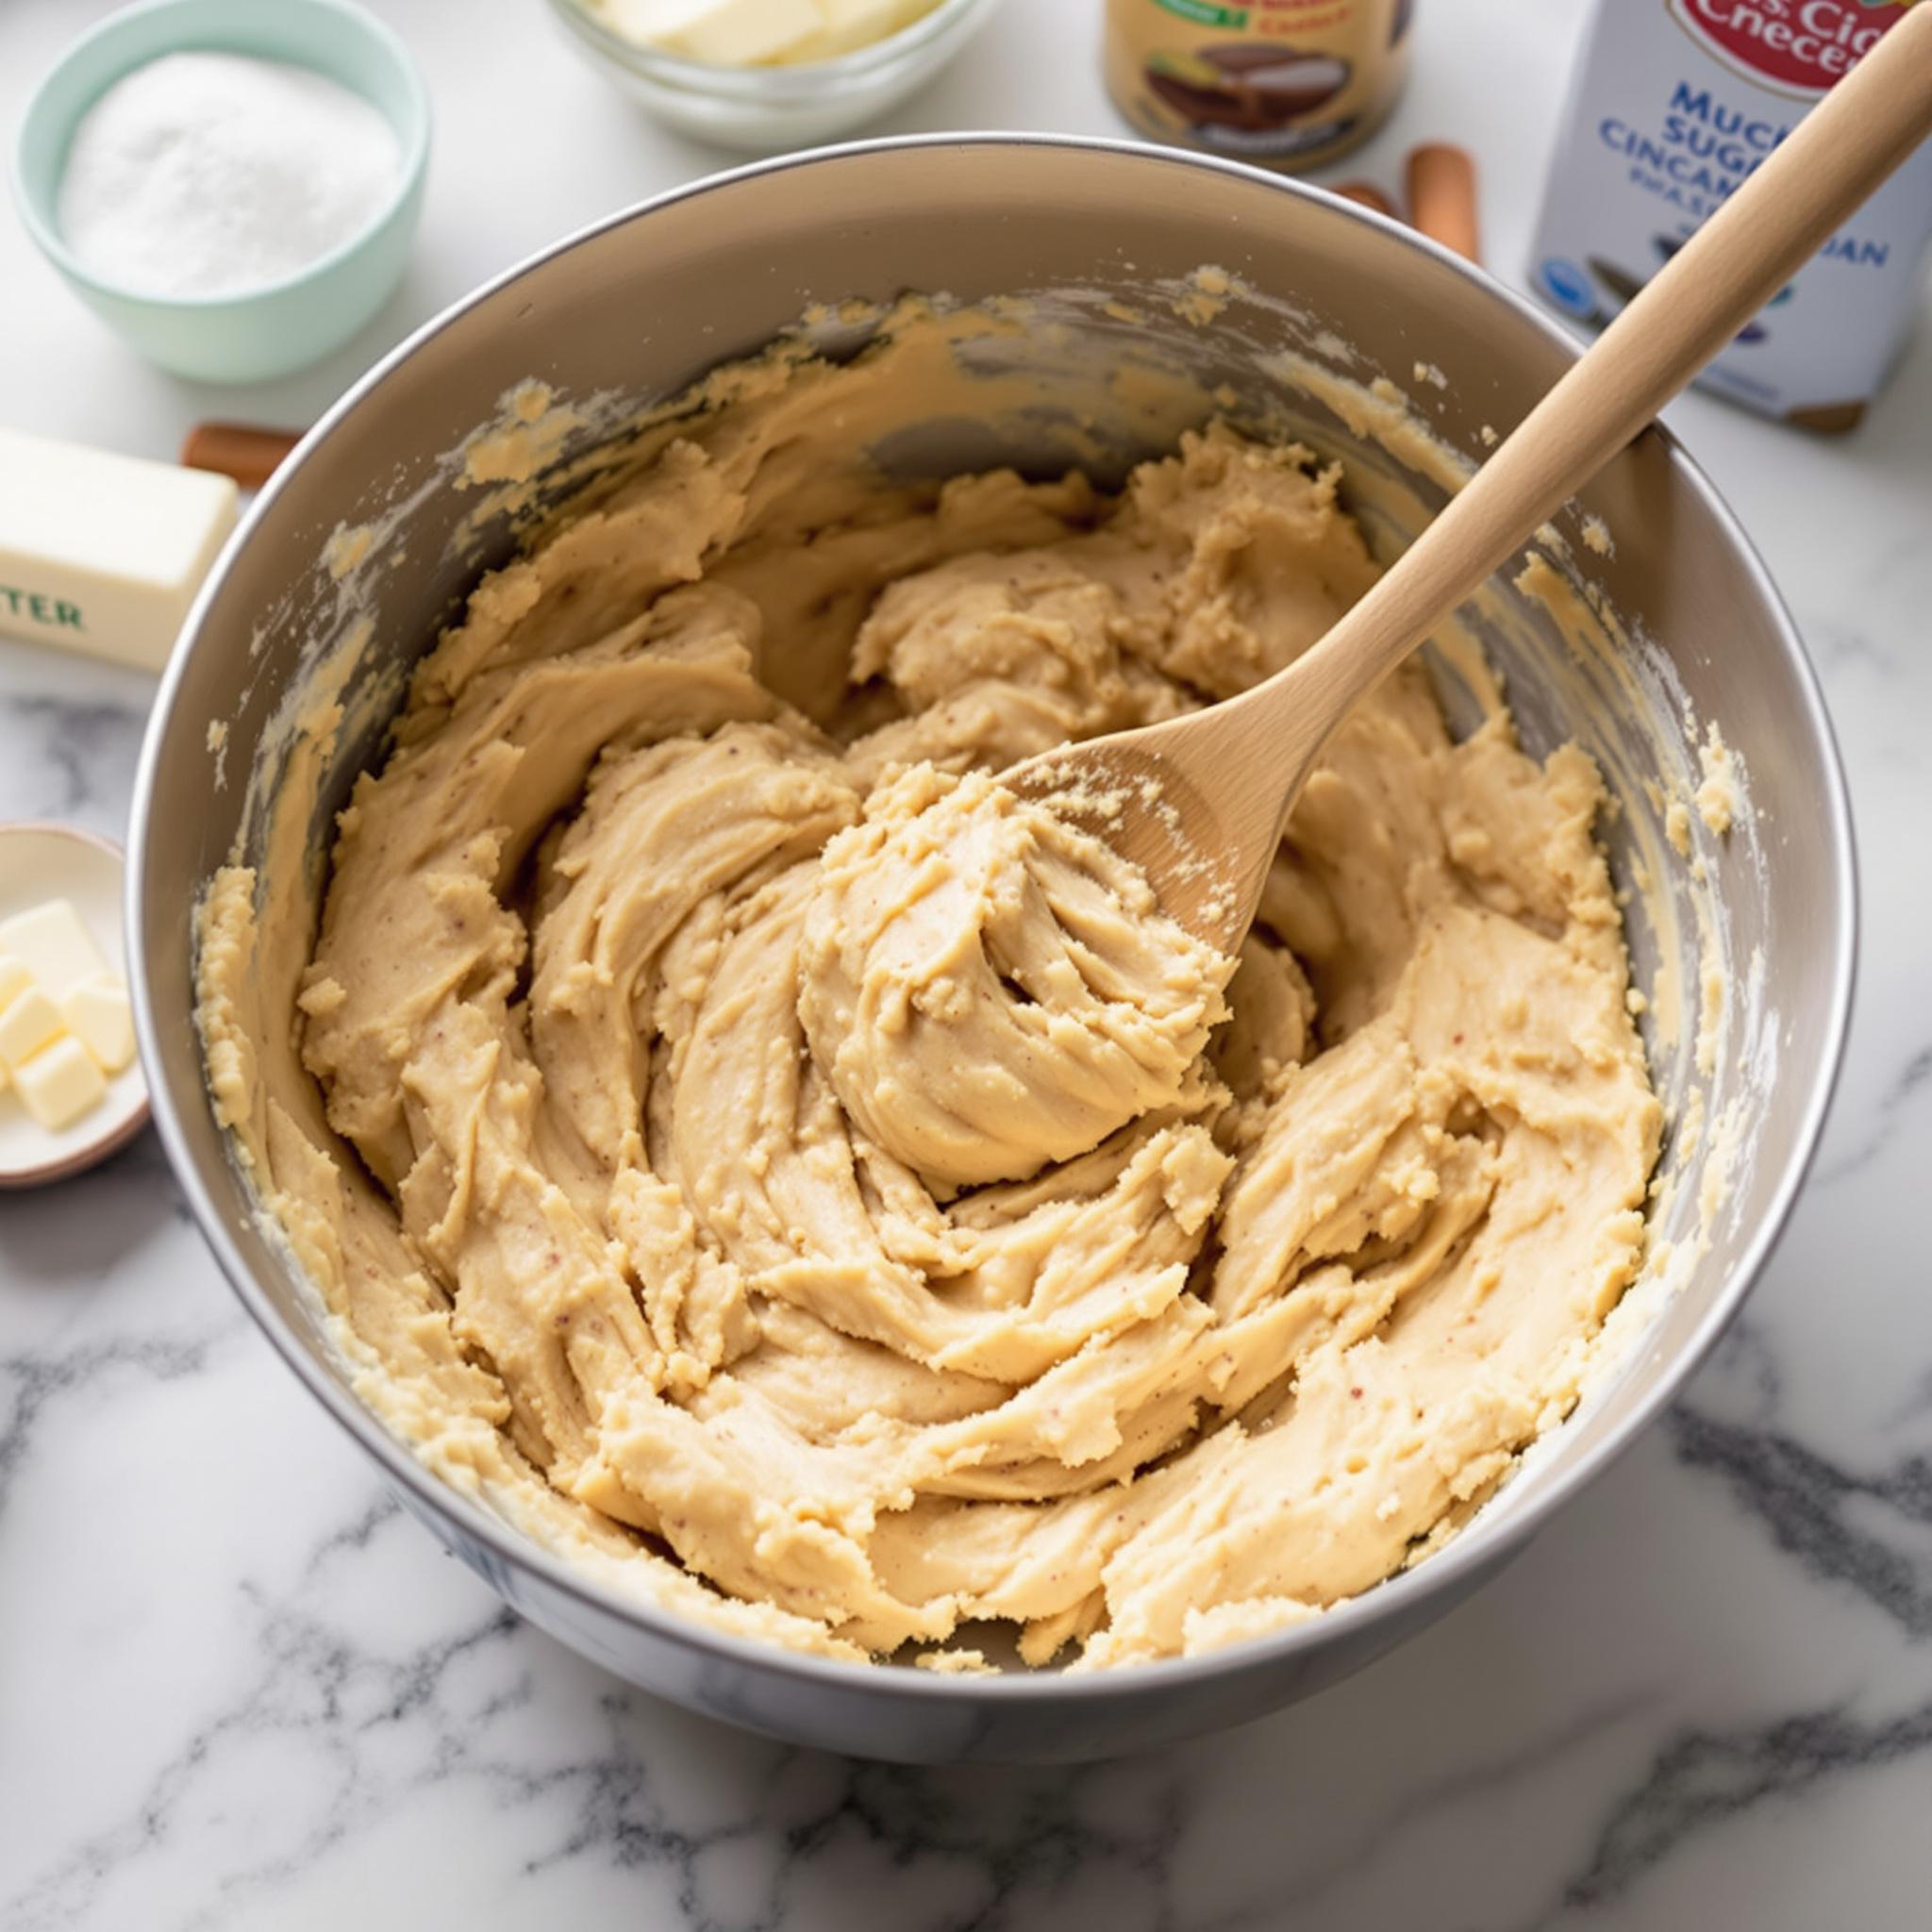
Step 4: Combine Wet and Dry Ingredients
Gradually add the dry ingredients to the wet mixture, mixing on low speed until just combined. Be careful not to overmix, as this can make the cookies tough. At this point, the dough should be thick, smooth, and slightly sticky—perfect for rolling into balls.
Step 5: Roll and Coat the Dough Balls
In a small bowl, combine the remaining ¼ cup of sugar with the ground cinnamon. Scoop tablespoon-sized portions of dough, roll them into balls, and coat generously in the cinnamon-sugar mixture. Place them on a parchment-lined baking sheet, leaving space for spreading. The contrast between the golden dough and the deep cinnamon coating is absolutely beautiful.
Step 6: Bake to Perfection
Bake the cookies in a preheated oven at 350°F (175°C) for 8-10 minutes. Keep an eye on them—they’re done when the edges are set but the centers still look slightly underbaked. This ensures that they stay soft and chewy once cooled. Let them rest on the baking sheet for a few minutes before transferring to a wire rack.
Chef’s Tip: Elevate Your Snickerdoodles
For an extra burst of flavor, sprinkle a pinch of sea salt on top of each cookie right after they come out of the oven. The combination of sweet, spicy, and salty creates a sophisticated twist that elevates the classic snickerdoodle experience.
Time Required for Mrs. Sigg’s Snickerdoodles
- Prep Time: 15 minutes
- Cooking Time: 10 minutes per batch
- Total Time: 30-35 minutes (plus cooling)
Nutritional Information
Each serving (1 cookie) contains approximately:
- Calories: 120
- Protein: 1g
- Fat: 6g
- Carbohydrates: 15g
- Sugar: 9g
Fun Fact About Snickerdoodles
Did you know that the origin of the name “snickerdoodle” remains a mystery? Some believe it comes from a German word meaning “snail dumpling,” while others think it was simply a playful term coined by early American bakers. Regardless, one thing’s for sure: these cookies are timeless!
Necessary Tools for Baking Mrs. Sigg’s Snickerdoodles
- Mixing bowls
- Electric mixer or whisk
- Baking sheets
- Parchment paper
- Cookie scoop or spoon
Storage Instructions for Mrs. Sigg’s Snickerdoodles
To keep your snickerdoodles fresh, store them in an airtight container at room temperature for up to 5 days. If you live in a humid climate, consider adding a slice of bread to the container—it helps absorb excess moisture and keeps the cookies soft. For longer storage, freeze the baked cookies in a freezer-safe bag for up to 3 months. Simply thaw at room temperature before serving.
If you prefer to freeze the dough, portion it into balls, coat them in cinnamon-sugar, and freeze on a baking sheet. Once solid, transfer to a freezer bag. When ready to bake, pop them straight into the oven—no need to thaw!
Remember, properly stored snickerdoodles retain their texture and flavor, so don’t skip these steps!
Tips and Tricks for Perfect Snickerdoodles
- Chill the dough for 15-20 minutes before baking to prevent excessive spreading.
- Use fresh baking soda and cream of tartar for optimal results.
- Don’t overcrowd the baking sheet; leave at least 2 inches between cookies.
Serving Suggestions for Mrs. Sigg’s Snickerdoodles
- Serve warm with a glass of cold milk for a nostalgic treat.
- Pair with coffee or tea for an afternoon pick-me-up.
Healthier Alternatives for Mrs. Sigg’s Snickerdoodles
Here are six healthier variations to try:
- Whole Wheat Version: Substitute half of the all-purpose flour with whole wheat flour for added fiber.
- Reduced Sugar: Cut the sugar by ¼ cup without compromising taste.
- Vegan Option: Use plant-based butter and flax eggs instead of regular eggs.
- Gluten-Free: Swap the flour with a gluten-free blend.
- Spice Boost: Add a dash of nutmeg or cardamom for extra warmth.
- Protein-Packed: Mix in chopped almonds or walnuts for crunch and protein.
Common Mistakes to Avoid When Making Snickerdoodles
Mistake 1: Skipping the Cream of Tartar
One of the most common mistakes is omitting cream of tartar, thinking it’s optional. However, this ingredient is key to achieving the classic snickerdoodle texture and tangy flavor. Without it, your cookies may turn out flat and bland. Pro tip: Always double-check your pantry before starting!
Mistake 2: Overbaking the Cookies
Overbaking leads to dry, crumbly snickerdoodles instead of soft and chewy ones. Remember, the cookies will continue to cook slightly on the baking sheet after removal from the oven. Aim for lightly golden edges and slightly soft centers.
Mistake 3: Not Coating Enough in Cinnamon-Sugar
A generous coating of cinnamon-sugar is essential for that iconic snickerdoodle look and flavor. Don’t skimp on this step—roll those dough balls thoroughly to ensure every bite is packed with goodness.
Frequently Asked Questions About Mrs. Sigg’s Snickerdoodles
Can I make snickerdoodles without cream of tartar?
While possible, skipping cream of tartar changes the texture and flavor significantly. For best results, stick to the original recipe.
How do I store leftover snickerdoodles?
Store them in an airtight container at room temperature for up to 5 days or freeze for longer storage.
Can I freeze the dough?
Yes! Portion the dough into balls, coat in cinnamon-sugar, and freeze. Bake directly from frozen, adding 1-2 minutes to the baking time.
What makes snickerdoodles different from other cookies?
The combination of cream of tartar and cinnamon-sugar sets snickerdoodles apart, giving them a unique tang and spiced flavor.
Are snickerdoodles gluten-free?
Not traditionally, but you can easily adapt the recipe using gluten-free flour blends.
Can I reduce the sugar content?
Yes, reducing the sugar by ¼ cup won’t drastically affect the outcome.
Do I need to chill the dough?
Chilling isn’t mandatory but helps prevent spreading. Try chilling for 15-20 minutes for thicker cookies.
Can I add mix-ins like chocolate chips?
Absolutely! Chocolate chips, nuts, or dried fruit work wonderfully in snickerdoodles.
Why are my cookies spreading too much?
This could be due to old baking soda, warm dough, or improper measuring of ingredients. Chill the dough and check your leaveners.
How many cookies does this recipe yield?
This recipe makes about 24 medium-sized snickerdoodles, depending on how large you scoop the dough.
Conclusion
Mrs. Sigg’s Snickerdoodles are more than just cookies—they’re a celebration of tradition, flavor, and love. Whether you’re a seasoned baker or a beginner, this recipe is sure to become a favorite. So grab your apron, gather your ingredients, and let’s create some sweet memories together. Happy baking!