Introduction to Protein-Packed Brownies
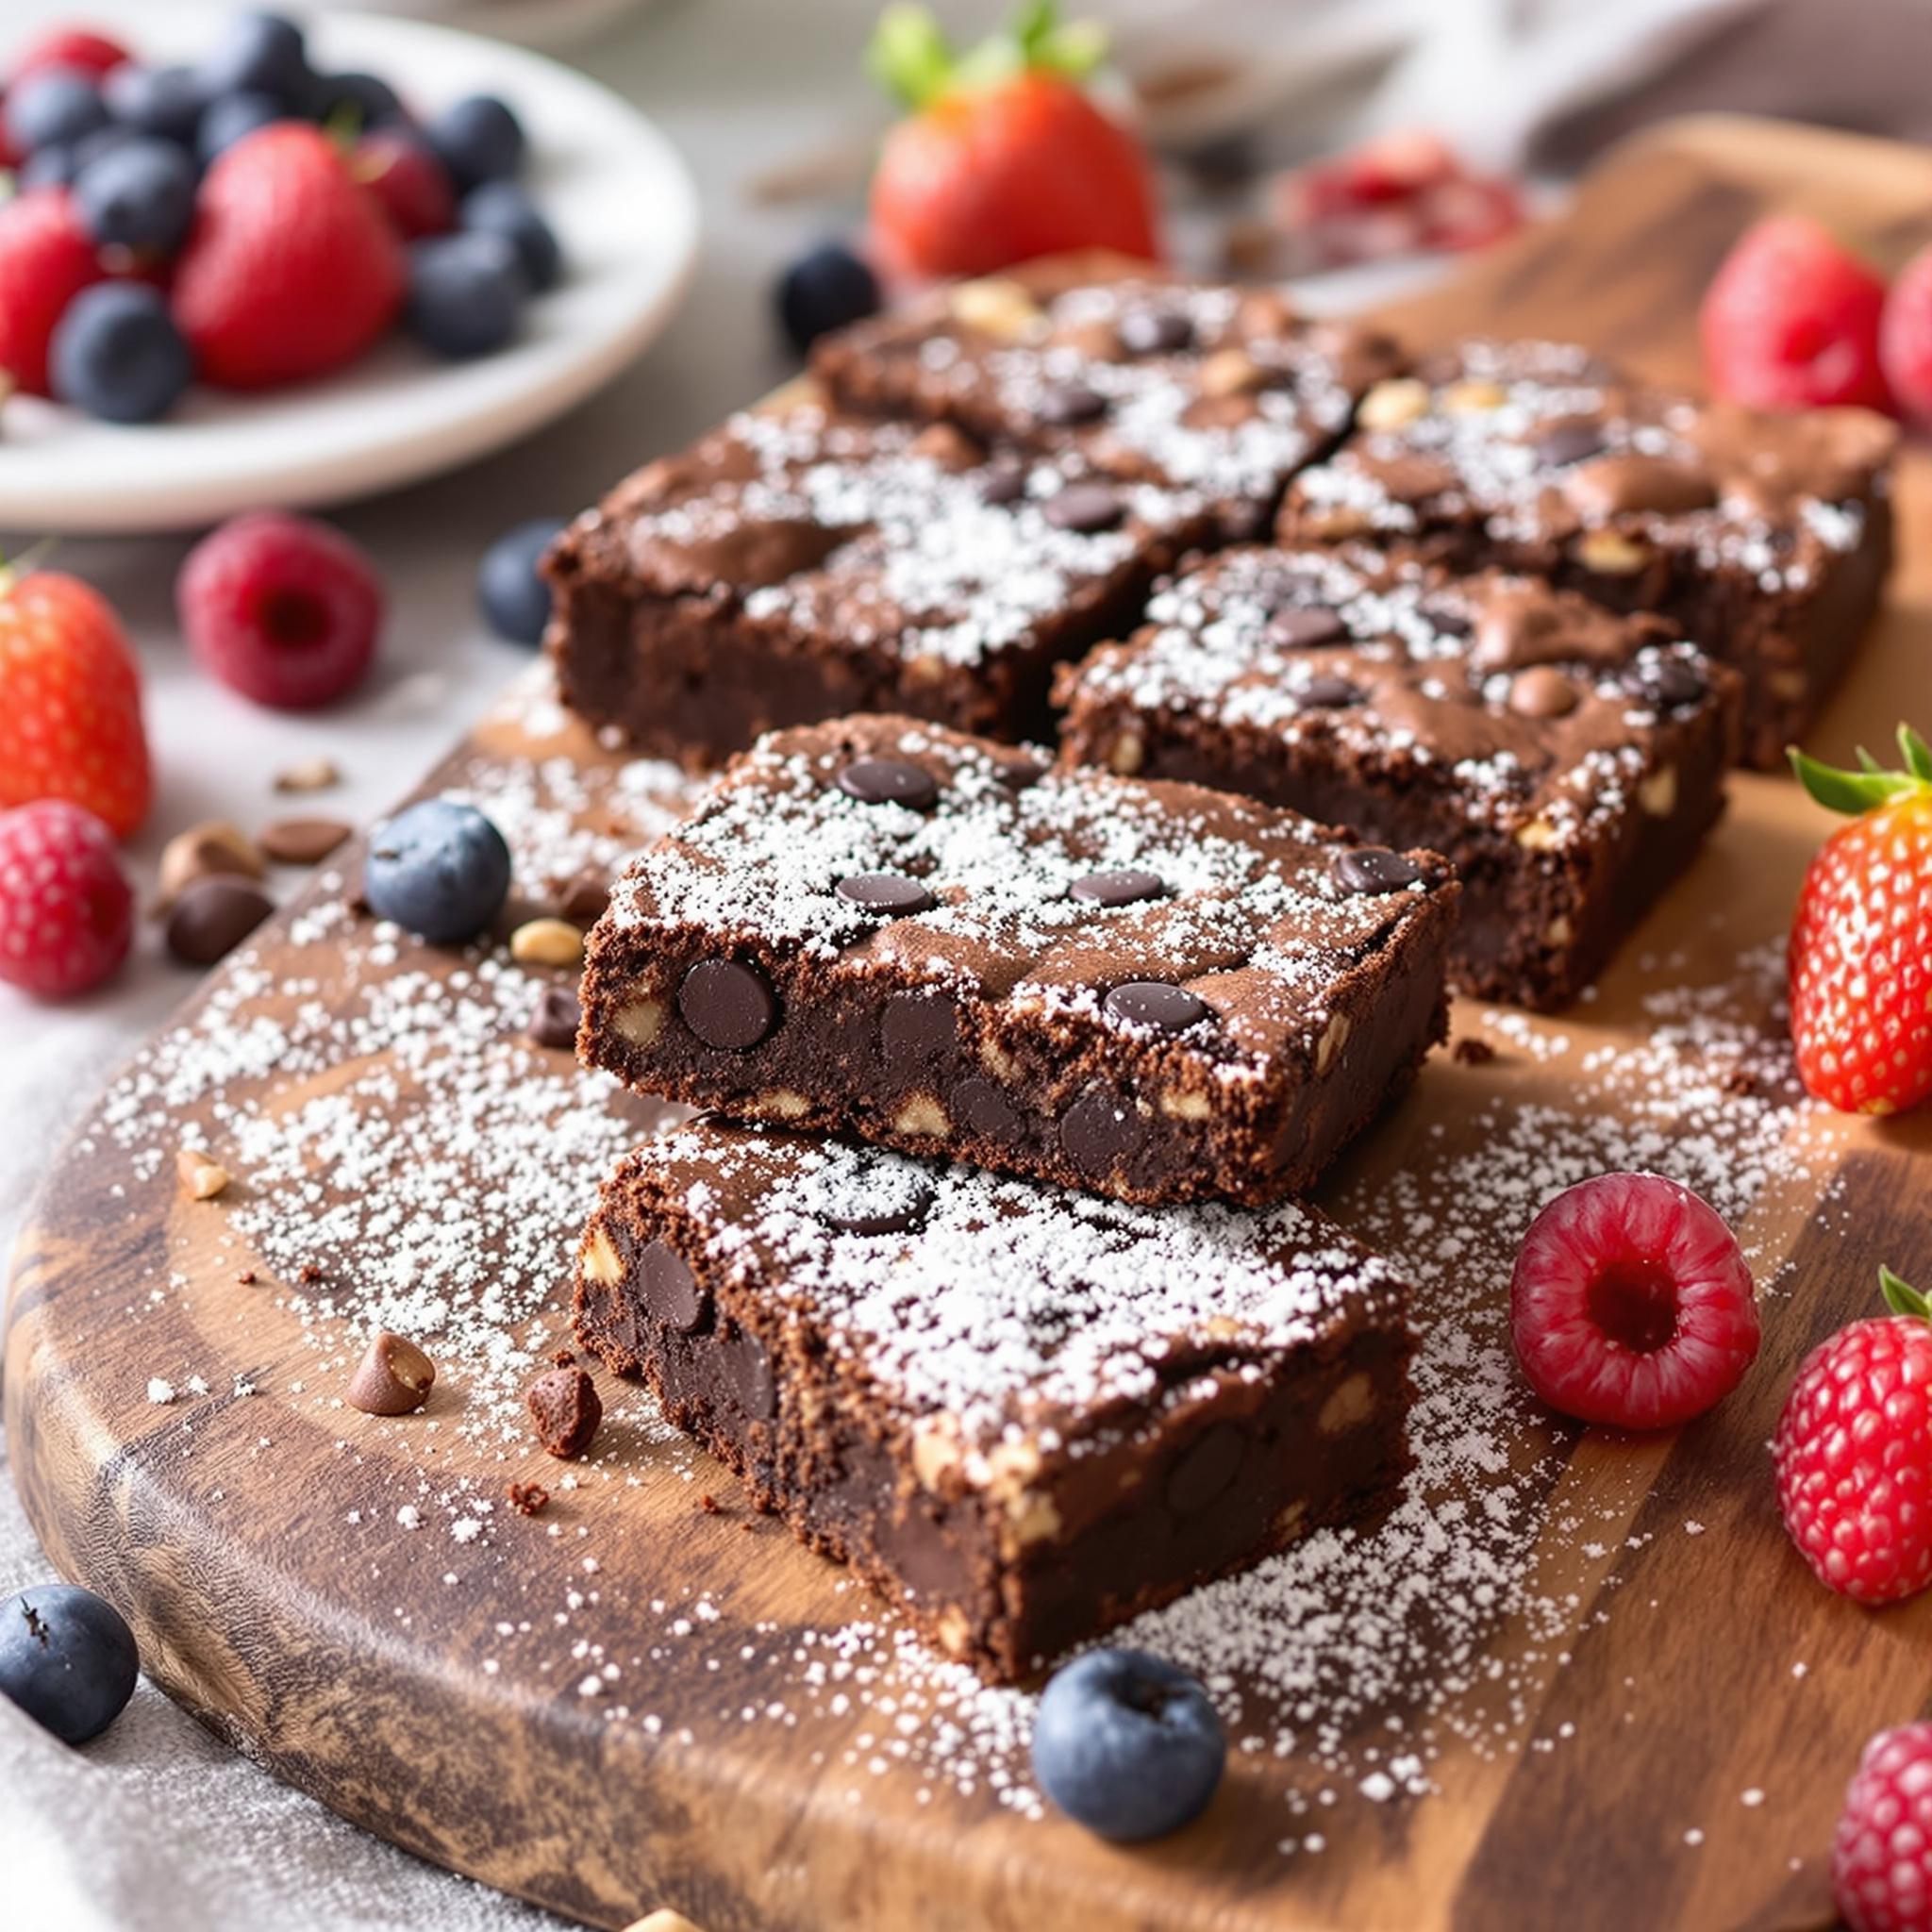
There’s something magical about sinking your teeth into a rich, fudgy brownie. But what if I told you that you could enjoy all the decadence of a classic brownie while also getting a boost of protein? Enter Protein-Packed Brownies, my go-to treat for satisfying sweet cravings without derailing my fitness goals. These brownies are moist, chocolatey, and secretly nutritious—perfect for anyone who loves indulging but wants to stay on track. Whether you’re an athlete, a busy parent, or just someone who loves good food, this recipe is sure to become a favorite.
The Origin of Protein-Packed Brownies
Brownies have been a beloved dessert since the late 19th century, with their origins traced back to the United States. Over time, bakers have experimented with countless variations, from adding nuts to swapping sugar for healthier alternatives. My journey with protein-rich brownies began when I was training for a marathon and needed snacks that were both energizing and delicious. After several trials (and many taste tests with friends), I perfected this recipe. It’s a modern twist on a timeless classic, blending indulgence with nutrition seamlessly.
Why You’ll Love This Recipe
What sets these high-protein brownies apart is their perfect balance of flavor and health benefits. They’re easy to make, require no fancy equipment, and come together in under an hour. Plus, they’re versatile—you can customize them to suit your dietary preferences. Whether you’re craving something sweet after dinner or need a quick snack before a workout, these brownies deliver every time.
Perfect Occasions to Prepare Protein-Packed Brownies
These brownies shine at any occasion! Bring them to potlucks, pack them in lunchboxes, or serve them as post-workout fuel. They’re also a hit at birthday parties or holiday gatherings where guests appreciate healthier dessert options. Honestly, there’s never a bad time to whip up a batch of chocolate protein brownies.
Ingredients for Protein-Packed Brownies
- 1 cup almond flour
- ½ cup cocoa powder
- 1 scoop vanilla protein powder
- ½ teaspoon baking powder
- ¼ teaspoon salt
- 3 large eggs
- ½ cup maple syrup
- ¼ cup melted coconut oil
- 1 teaspoon vanilla extract
- ½ cup dark chocolate chips
Substitution Options
If you don’t have almond flour, try oat flour or whole wheat flour instead. Swap maple syrup for honey or agave nectar if you prefer. For those avoiding dairy, use dairy-free chocolate chips. Coconut oil can be replaced with olive oil or butter depending on your preference. Feel free to experiment until you find your ideal combination!
Preparation
Step 1: Preheat and Prep
Begin by preheating your oven to 350°F (175°C). Grease an 8×8-inch baking pan and line it with parchment paper for easy removal later. As the oven heats up, gather all your ingredients. The rich aroma of cocoa powder will already start teasing your senses, promising a delightful treat ahead. Pro tip: Sift the cocoa powder to avoid lumps and ensure a smooth batter.
Step 2: Mix Dry Ingredients
In a large mixing bowl, combine the almond flour, cocoa powder, protein powder, baking powder, and salt. Whisk everything together thoroughly to distribute the ingredients evenly. This step ensures that each bite of your protein-infused brownies has a consistent texture and flavor. Imagine the deep, earthy scent of cocoa mingling with the subtle sweetness of the protein powder—it’s almost hypnotic!
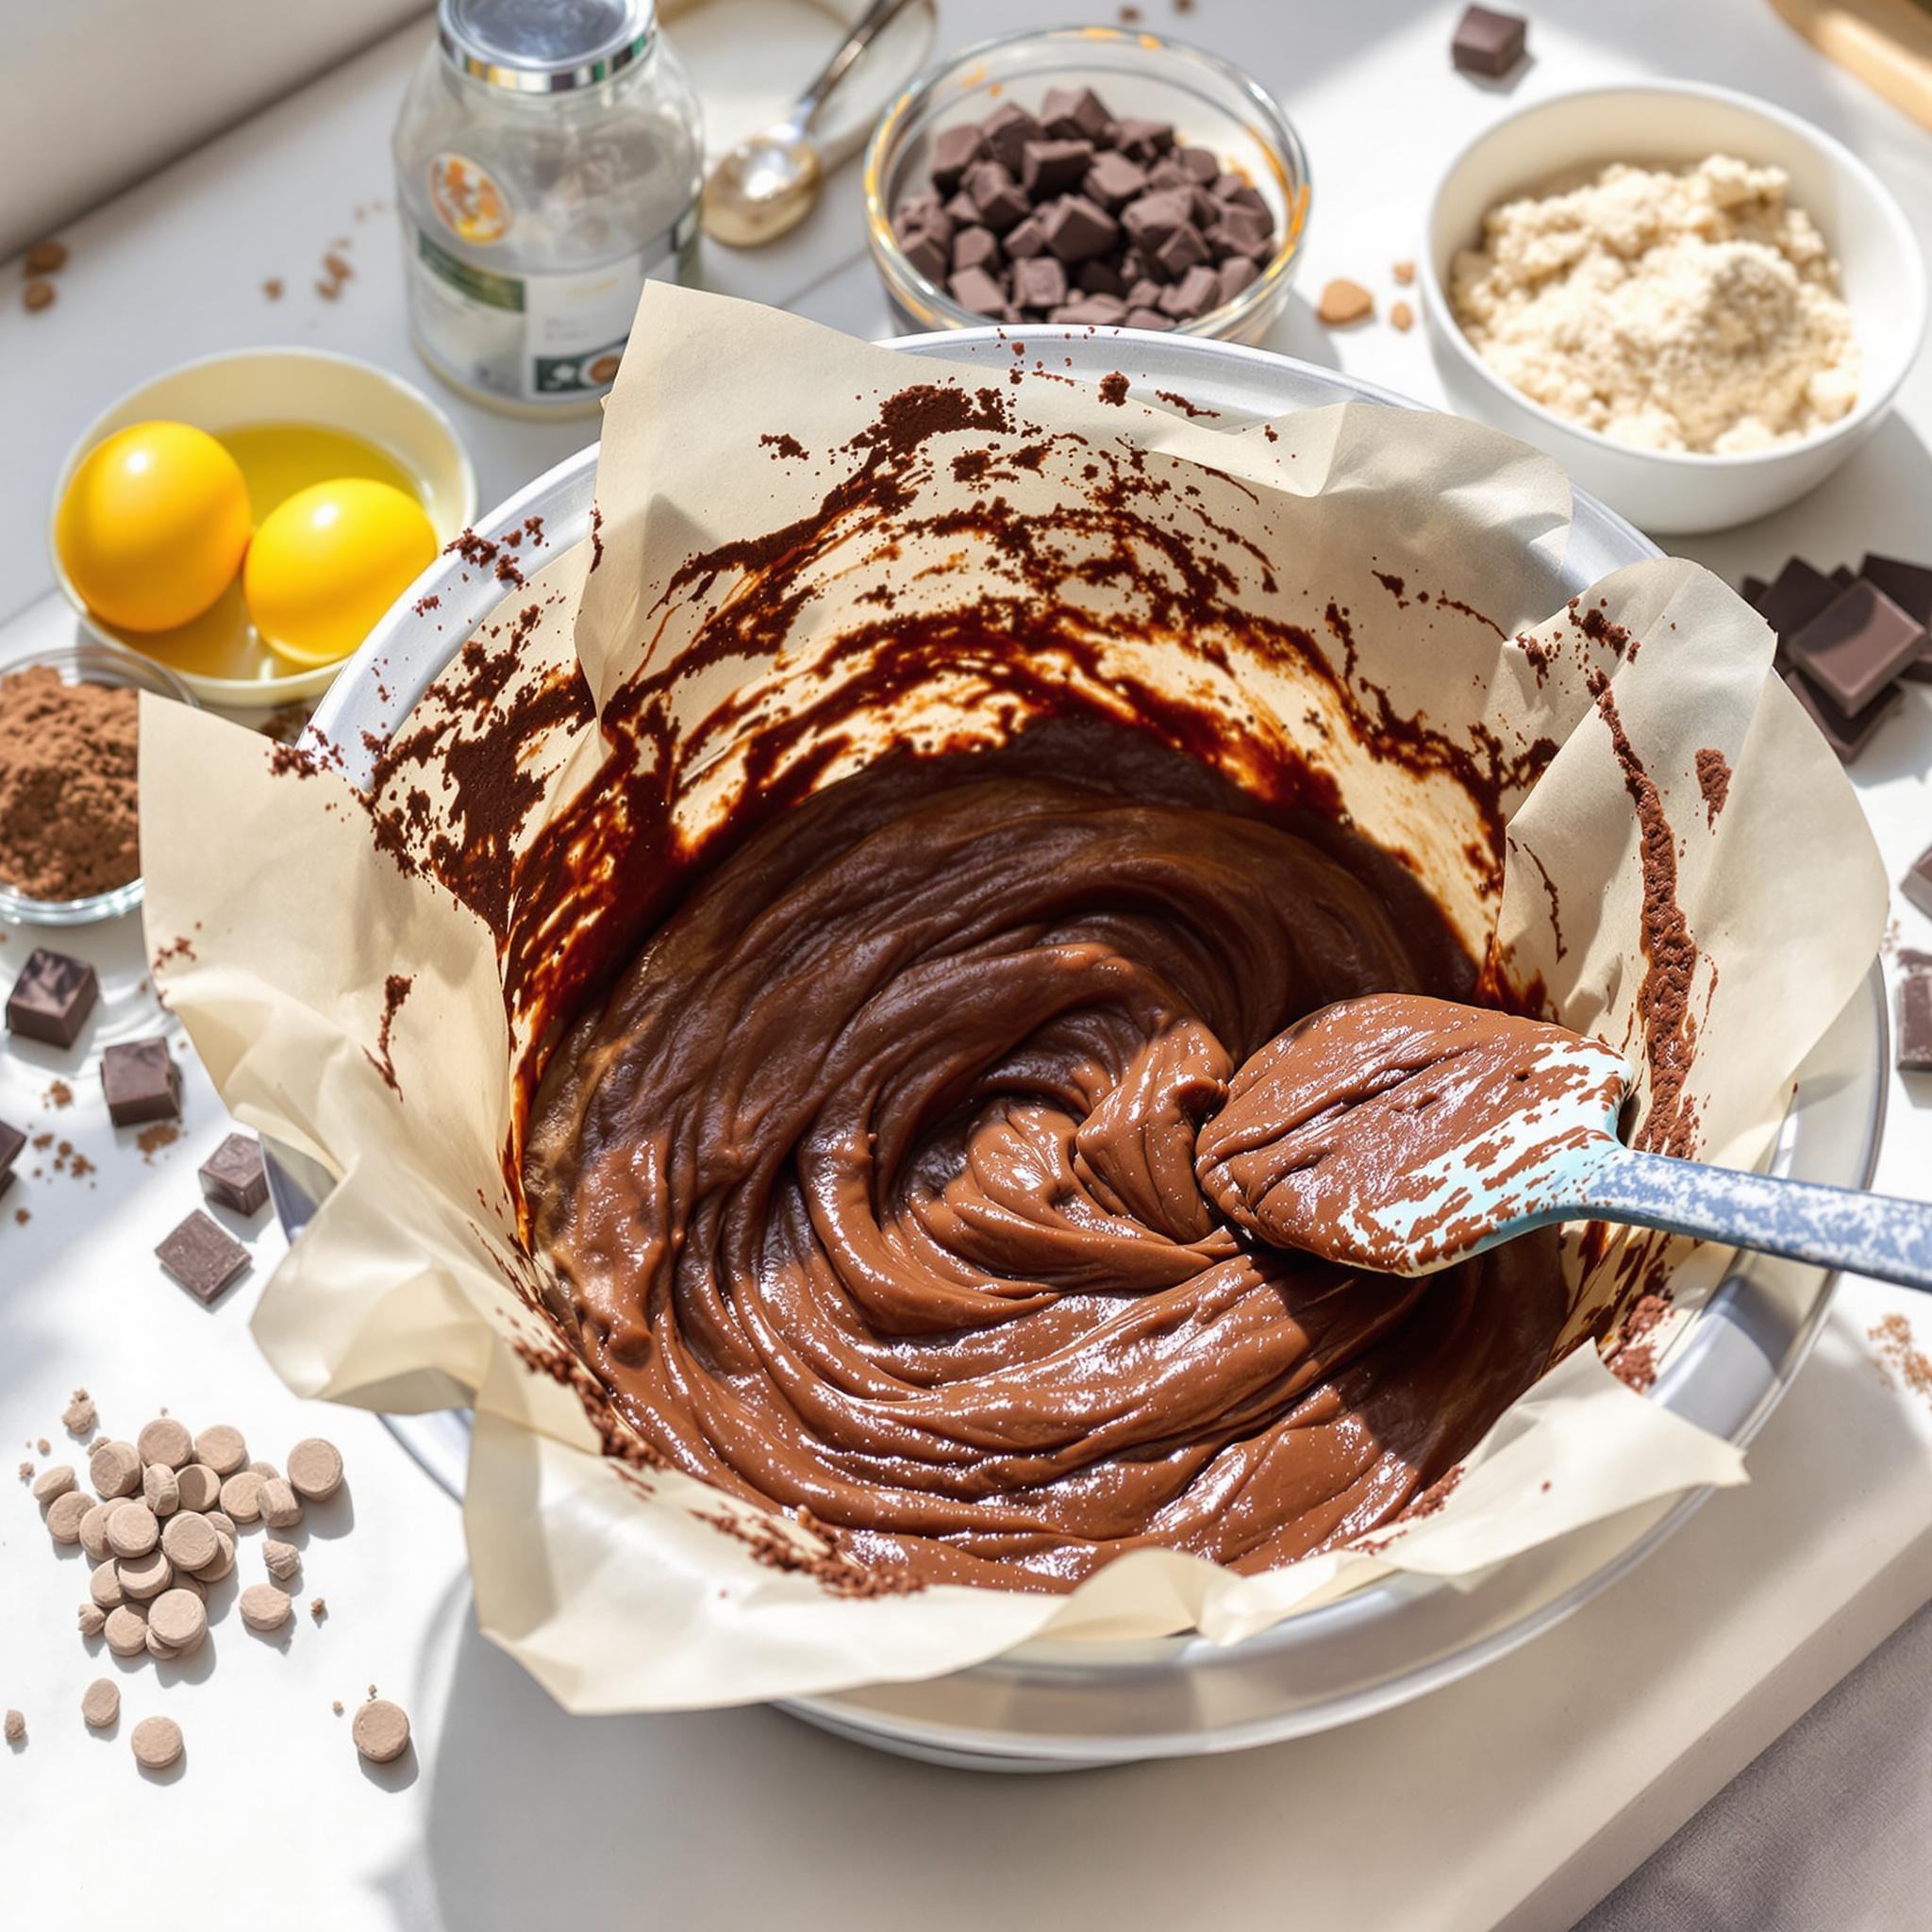
Step 3: Blend Wet Ingredients
In another bowl, whisk together the eggs, maple syrup, melted coconut oil, and vanilla extract. The mixture should look glossy and smell heavenly thanks to the vanilla. Slowly pour the wet ingredients into the dry mixture, stirring gently until fully combined. Be careful not to overmix; we want our brownies to remain soft and tender. Pro tip: Use a spatula to scrape down the sides of the bowl to incorporate every bit of goodness.
Step 4: Fold in Chocolate Chips
Gently fold in the dark chocolate chips, reserving a few to sprinkle on top for extra flair. Folding rather than stirring helps maintain the airy texture of the batter. Picture those melty pockets of chocolate waiting to burst in your mouth—it’s enough to make anyone drool!
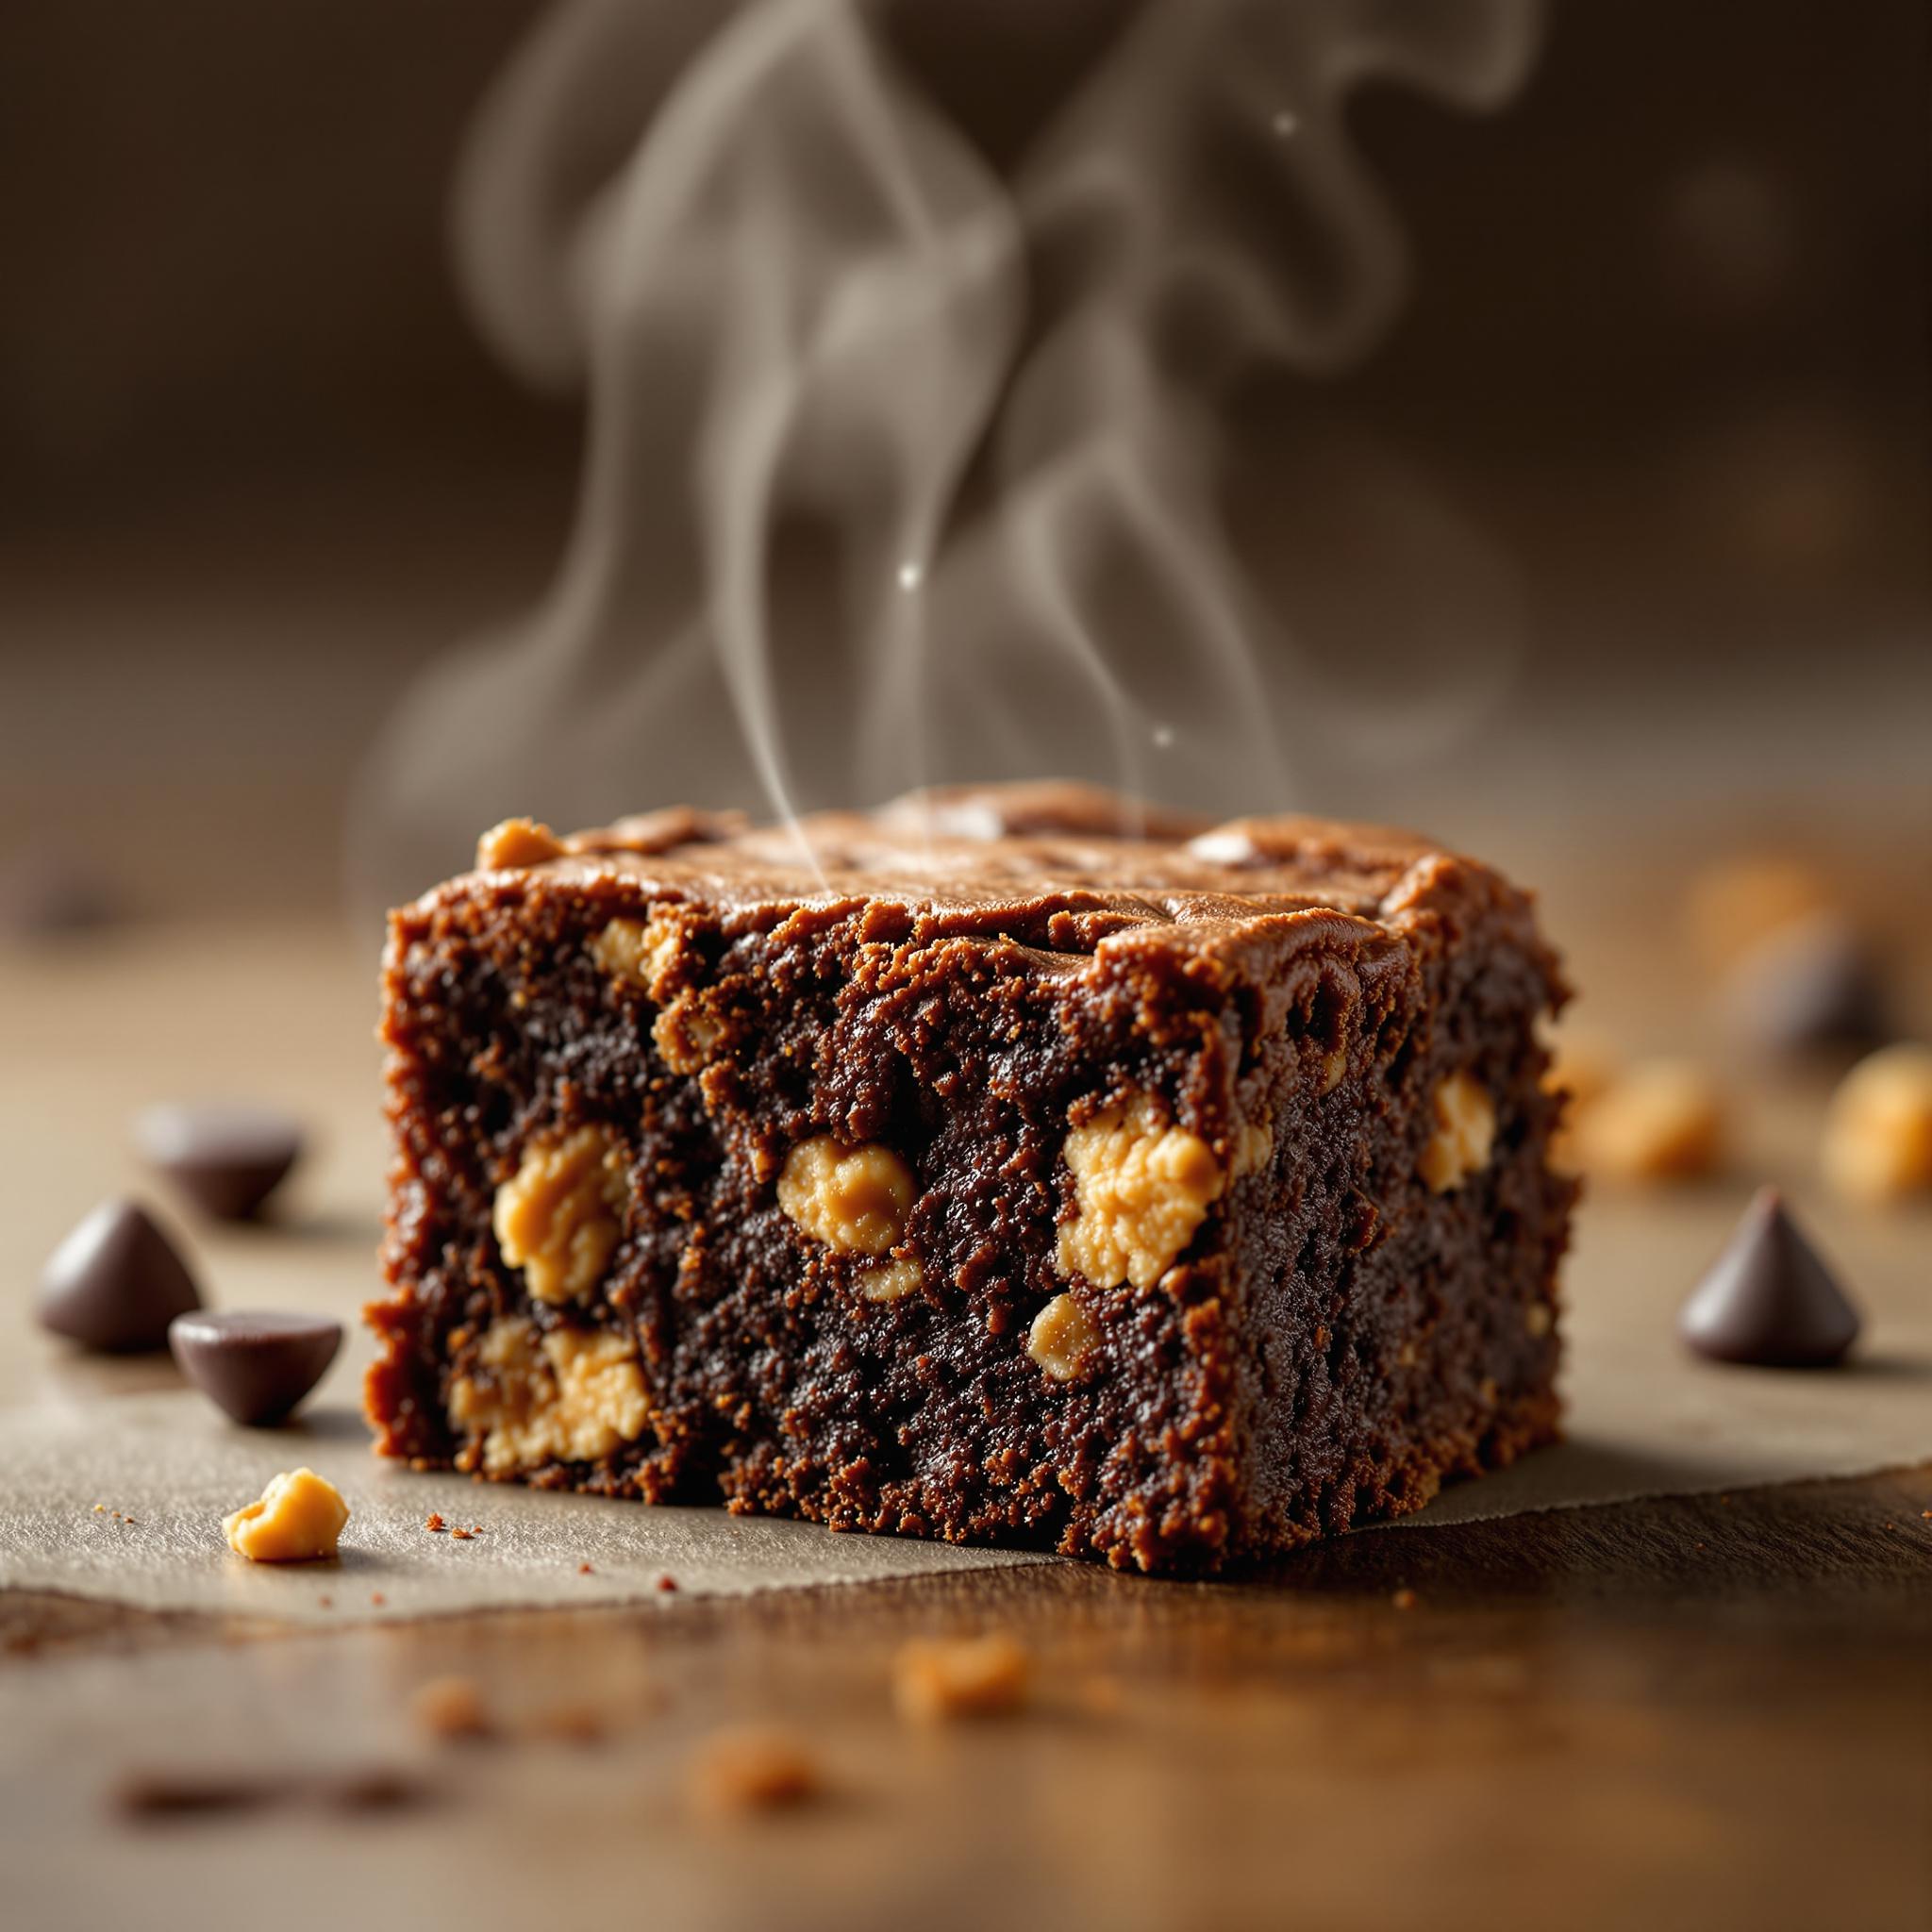
Step 5: Bake to Perfection
Pour the batter into the prepared pan, spreading it evenly with a spatula. Sprinkle the reserved chocolate chips on top for a beautiful finish. Pop the pan into the oven and bake for 20-25 minutes. You’ll know they’re done when a toothpick inserted in the center comes out mostly clean, with a few moist crumbs clinging to it. Let the brownies cool completely before slicing to prevent crumbling.
Chef’s Tip
For an extra layer of flavor, add a pinch of espresso powder to the batter. It enhances the chocolate notes and gives your protein brownies a sophisticated edge. Trust me, it’s a game-changer!
Time Required
- Prep Time: 10 minutes
- Cooking Time: 25 minutes
- Total Time: 35 minutes
Nutritional Information
Each serving contains approximately 150 calories, 8g protein, 10g fat, and 12g carbohydrates. Perfect for guilt-free snacking!
Extra Information
Did you know that dark chocolate contains antioxidants? Adding it to your protein-packed brownies not only boosts flavor but also provides health benefits like improved heart health and reduced inflammation.
Necessary Tools
- Mixing bowls
- Whisk
- Spatula
- 8×8-inch baking pan
- Parchment paper
Storage Instructions
To keep your protein brownies fresh, store them in an airtight container at room temperature for up to three days. If you live in a warm climate, refrigerate them to extend their shelf life. For longer storage, freeze individual slices wrapped in plastic wrap and placed in a freezer-safe bag. When ready to eat, simply thaw at room temperature or microwave briefly for a warm treat.
Another great way to preserve their moisture is to place a slice of bread in the container with the brownies. The bread acts as a natural humidifier, keeping them soft and delicious.
Lastly, always label your containers with the date so you know how long they’ve been stored. Proper organization makes kitchen life easier and more efficient.
Tips and Tricks
For gooier brownies, reduce the baking time by a couple of minutes. Want a firmer texture? Leave them in the oven a little longer. Experiment with different types of protein powders to change the flavor profile. And remember, patience is key—letting the brownies cool completely ensures clean cuts and optimal texture.
Serving Suggestions
- Top with a dollop of Greek yogurt and fresh berries for a breakfast-inspired twist.
- Serve warm with a scoop of vanilla ice cream for a classic dessert experience.
Healthier Alternatives for the Recipe
Here are six ways to tweak this recipe:
- Gluten-Free Option: Replace almond flour with gluten-free oat flour.
- Vegan Version: Use flax eggs and plant-based protein powder.
- Low-Sugar Choice: Substitute maple syrup with monk fruit sweetener.
- Nut-Free Twist: Swap almond flour with sunflower seed flour.
- Keto-Friendly: Use erythritol instead of maple syrup and increase the fat content with more coconut oil.
- Fruit-Infused: Add mashed bananas or applesauce for natural sweetness.
Common Mistakes to Avoid
Mistake 1: Overmixing the Batter
Overmixing can lead to dense, tough brownies instead of light and fluffy ones. To avoid this, stir just until the ingredients are combined. A gentle hand is key here!
Mistake 2: Underbaking
While gooey centers are desirable, underbaked brownies can be too wet and fall apart. Test doneness with a toothpick—if it comes out clean with a few crumbs, they’re ready.
Mistake 3: Skipping the Cooling Step
Cutting into hot brownies results in messy slices. Allow them to cool completely for best results. Pro tip: Chill them in the fridge for 10 minutes for even cleaner cuts.
Frequently Asked Questions
Can I use whey protein instead of plant-based protein?
Absolutely! Whey protein works beautifully in this recipe. Just ensure it’s unflavored or complements the other flavors.
How do I make these vegan?
Swap eggs for flax eggs, use plant-based protein powder, and opt for dairy-free chocolate chips. Easy peasy!
Do I need a stand mixer?
Nope! A simple whisk and spatoola are all you need. Keep it simple and enjoy the process.
Can I double the recipe?
Yes, doubling the recipe is straightforward. Just adjust your baking time slightly if using a larger pan.
Are these kid-friendly?
Kids love them! They won’t even notice the added protein—they’ll just think they’re eating dessert.
What if I don’t have almond flour?
Oat flour or coconut flour are excellent substitutes. Adjust liquid quantities accordingly.
Can I freeze these brownies?
Definitely! Wrap individual slices and freeze for up to three months. Thaw at room temperature when ready to enjoy.
Will they taste “healthy”?
Not at all! These brownies are rich, fudgy, and utterly indulgent. No one will guess they’re packed with protein.
Can I add nuts?
Of course! Walnuts or pecans would pair wonderfully with the chocolatey goodness.
How long do they last?
Stored properly, they’ll stay fresh for up to five days. But trust me—they’ll disappear much faster!
Conclusion
With their irresistible taste and impressive nutritional profile, Protein-Packed Brownies are a win-win for everyone. Whether you’re looking for a quick snack, a post-workout boost, or a crowd-pleasing dessert, this recipe has got you covered. So grab your apron, gather your ingredients, and let’s bake some magic together. Your family and friends will thank you—and so will your taste buds!