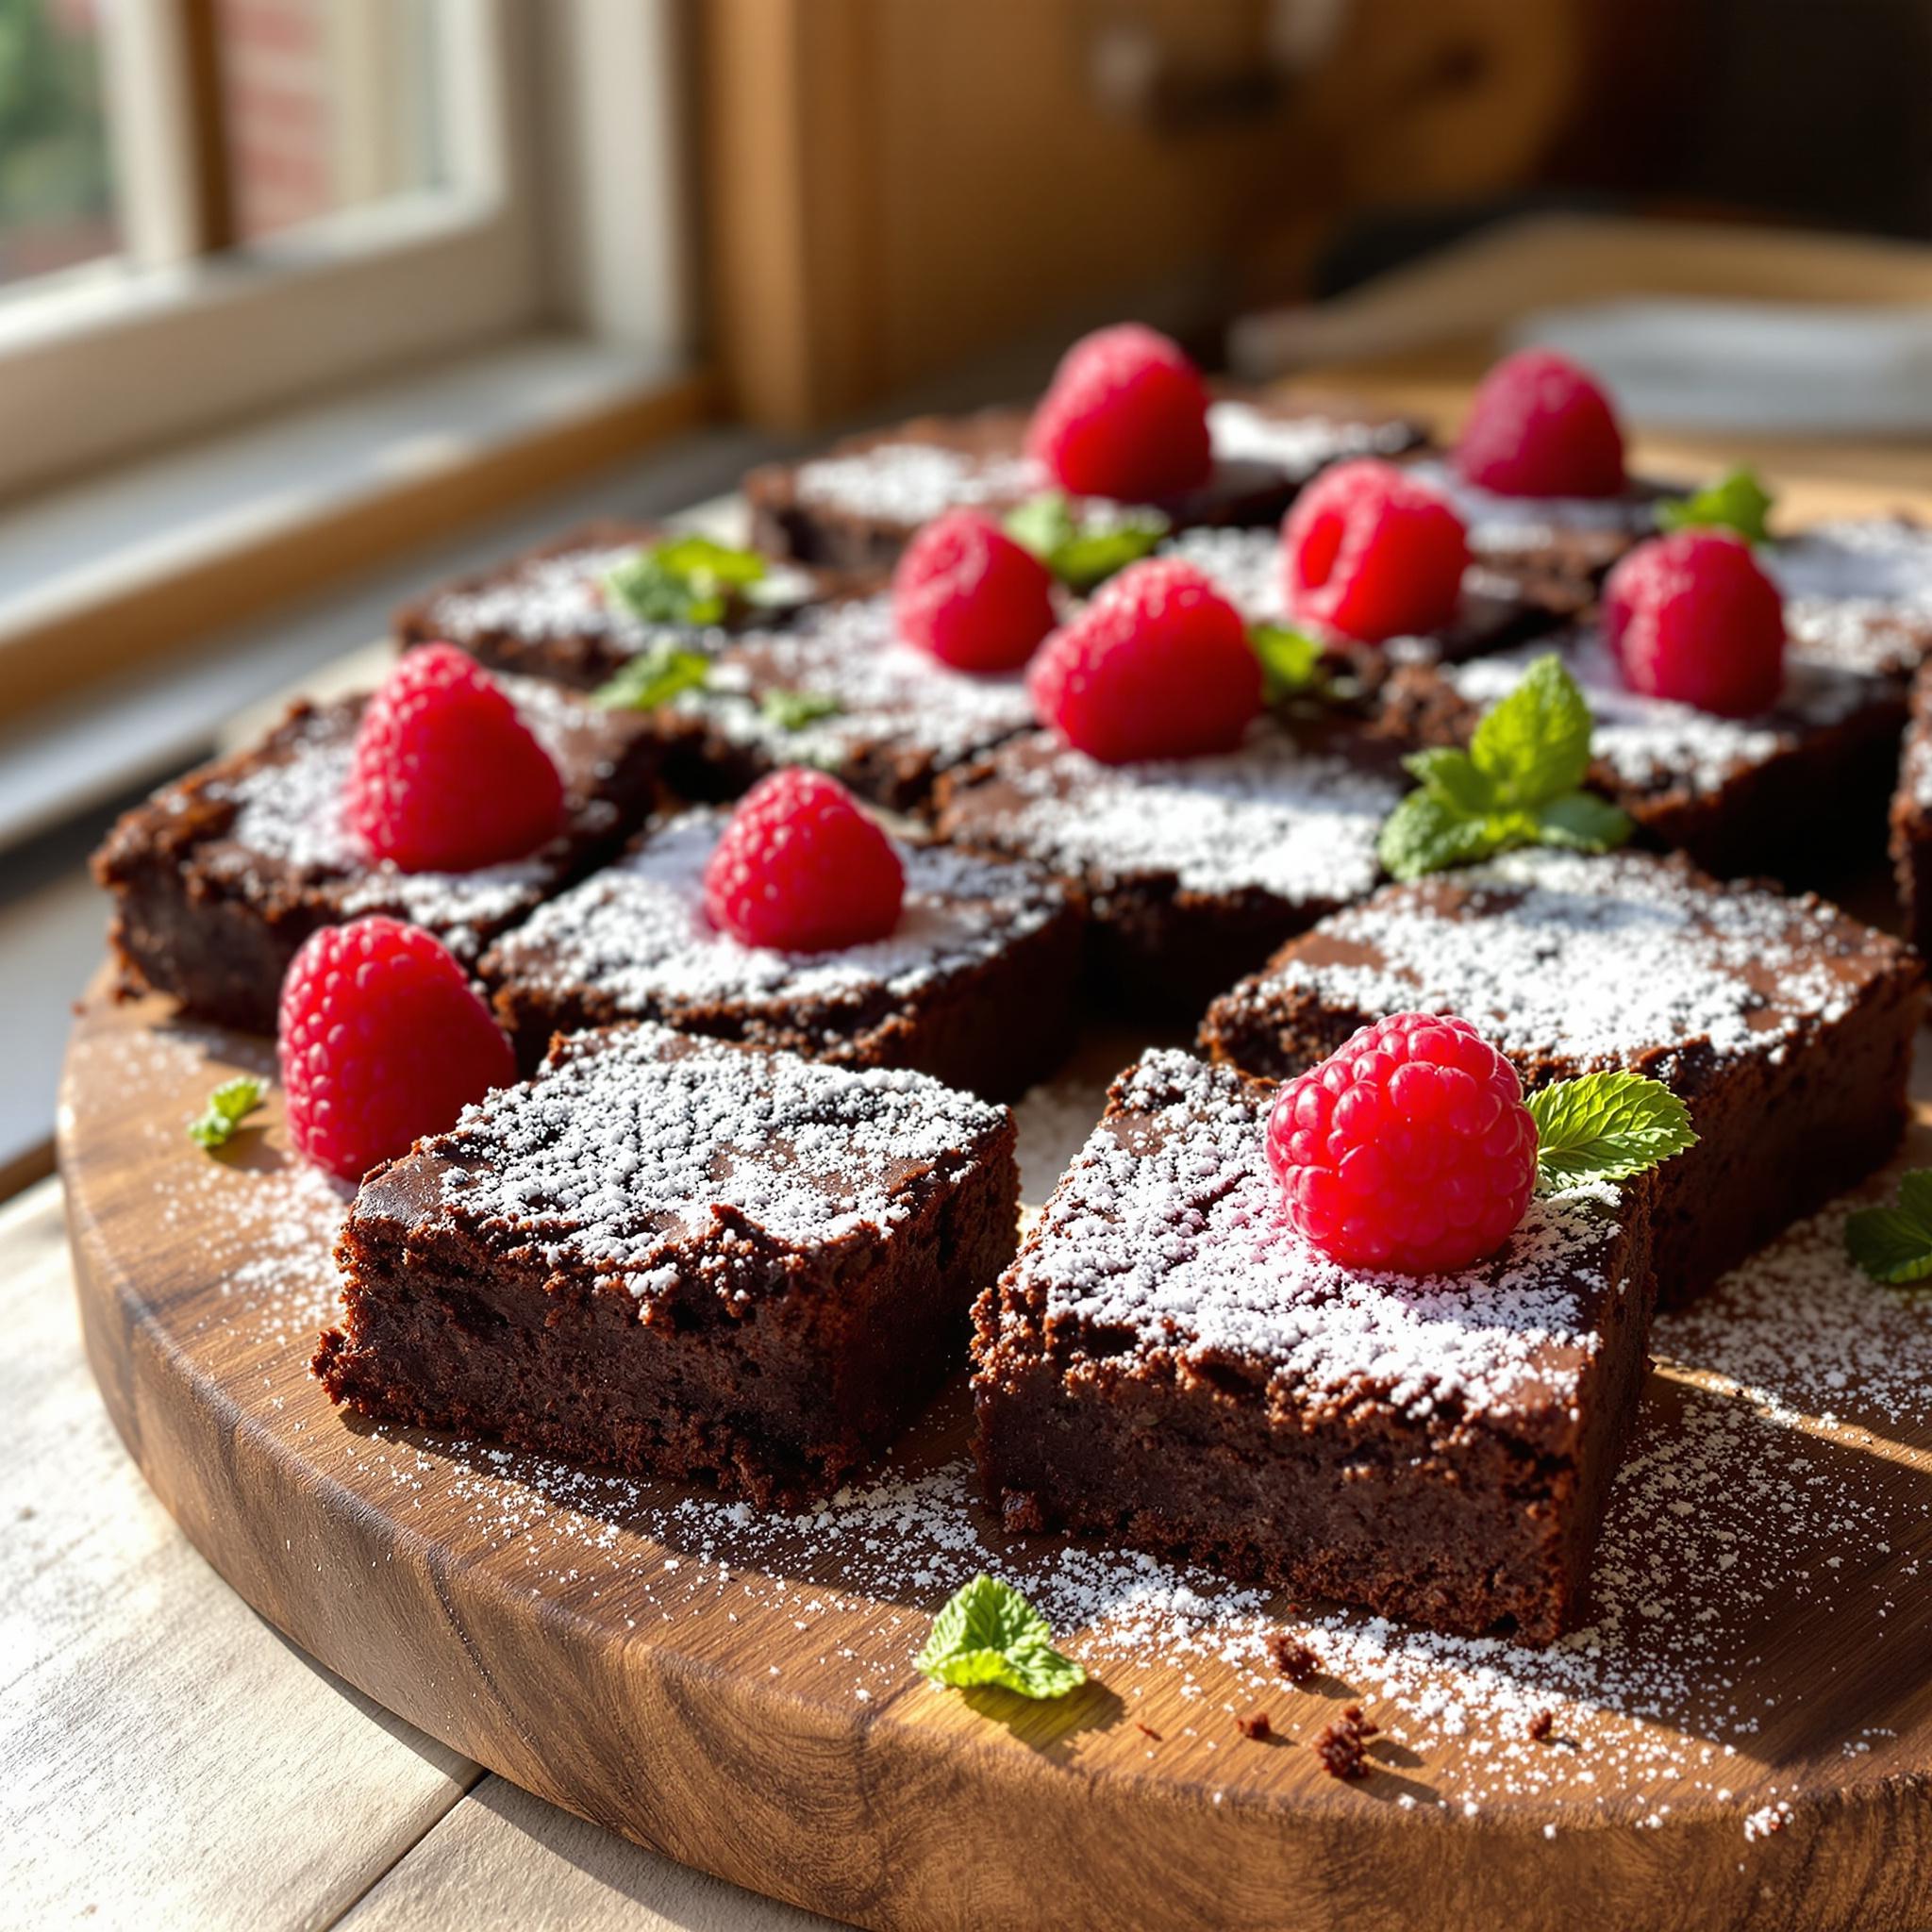
Introduction to Vegan Brownies
There’s something magical about biting into a rich, gooey brownie that melts in your mouth. But what if I told you that you can enjoy all the decadence of brownies without using any animal products? That’s right—these Vegan Brownies are here to change the game! Whether you’re vegan, dairy-free, or just looking for a healthier treat, this recipe is a must-try. I first made these brownies for a family gathering, and they disappeared faster than I could say “chocolate.” Everyone was amazed that they were vegan because they tasted just as indulgent as traditional brownies. Variations like fudgy chocolate squares, plant-based desserts, and eggless brownies have never been so delicious!
The History Behind Vegan Brownies
Brownies have long been a staple in American baking, with their origins dating back to the late 19th century. Traditionally made with butter, eggs, and milk, they were often off-limits for vegans. However, as plant-based diets gained popularity, creative bakers began experimenting with substitutions like flax eggs, almond milk, and coconut oil. The result? A modern twist on a classic dessert that’s just as satisfying. I love how this recipe bridges tradition and innovation, proving that you don’t need animal products to create something truly special.
Why You’ll Love This Vegan Brownies Recipe
What makes these Vegan Brownies stand out is their perfect balance of fudgy texture and rich chocolate flavor. They’re easy to make, require no fancy equipment, and are completely guilt-free. Plus, they’re versatile—you can customize them with nuts, chocolate chips, or even a swirl of peanut butter. Whether you’re a seasoned baker or a beginner, this recipe will quickly become a favorite.
Perfect Occasions to Prepare Vegan Brownies
These brownies are perfect for any occasion! Bring them to a potluck, serve them at a birthday party, or enjoy them as an afternoon snack with a cup of coffee. They’re also a hit during holidays like Valentine’s Day or Christmas when sweet treats are a must. Honestly, there’s no wrong time to bake a batch of these plant-based chocolate delights!
Ingredients for Vegan Brownies
- 1 cup all-purpose flour
- 1/2 cup cocoa powder
- 1/2 teaspoon baking powder
- 1/4 teaspoon salt
- 1/2 cup melted coconut oil
- 1 cup granulated sugar
- 1/4 cup almond milk
- 1 teaspoon vanilla extract
- 1/2 cup vegan chocolate chips
Substitution Options
If you want to experiment, try swapping almond milk with oat milk or soy milk. For a nut-free version, use sunflower seed butter instead of coconut oil. You can also replace granulated sugar with coconut sugar for a lower glycemic index option. These tweaks make the recipe adaptable to different dietary needs without compromising flavor.
Preparation
Step 1: Preheat and Prepare
Start by preheating your oven to 350°F (175°C) and lining an 8×8-inch baking pan with parchment paper. This ensures the brownies won’t stick and makes cleanup a breeze. As the oven heats up, take a moment to gather all your ingredients. The rich aroma of cocoa powder mixed with melted coconut oil is enough to get anyone excited about baking!
Step 2: Mix Dry Ingredients
In a medium bowl, whisk together the flour, cocoa powder, baking powder, and salt. This step is crucial for evenly distributing the dry ingredients, ensuring every bite has the perfect balance of sweetness and chocolatey goodness. Pro tip: Sift the cocoa powder to avoid lumps and achieve a smoother batter.
Step 3: Combine Wet Ingredients
In a separate bowl, mix the melted coconut oil, sugar, almond milk, and vanilla extract until smooth. The combination of creamy coconut oil and fragrant vanilla creates a luscious base that pairs beautifully with the cocoa. Stir gently to prevent splashing but ensure everything is well incorporated.
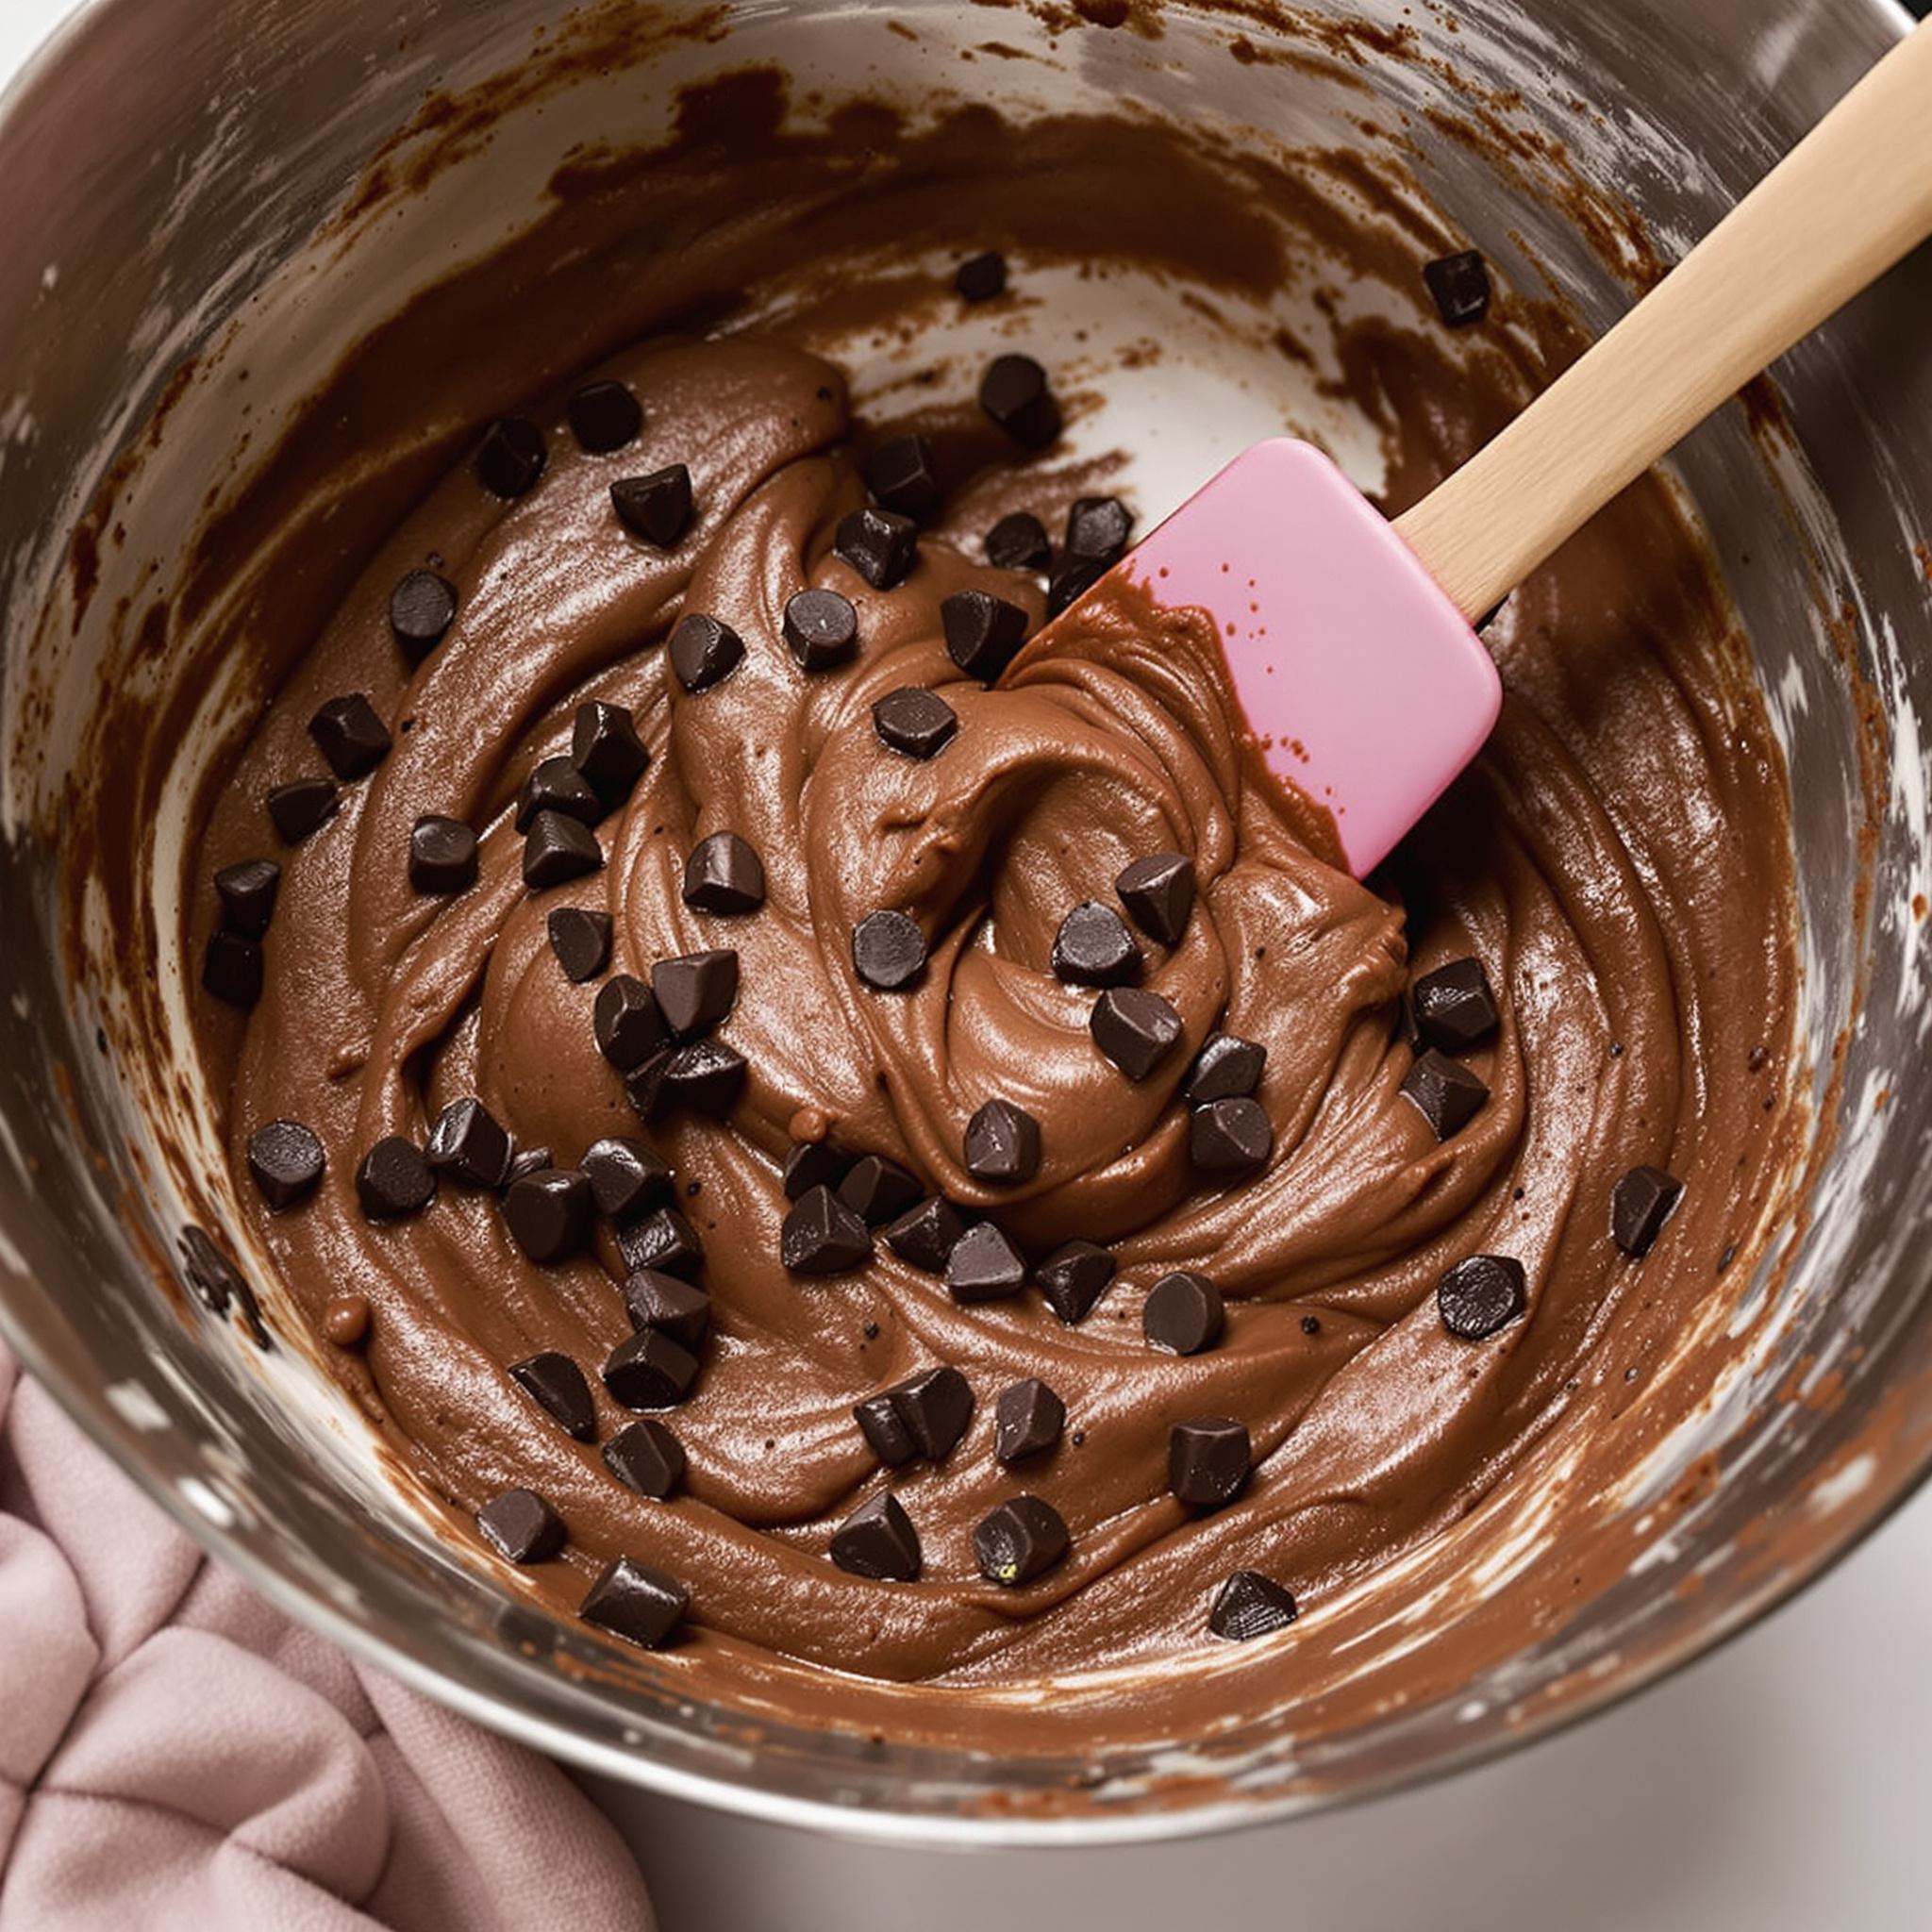
Step 4: Blend Wet and Dry Mixtures
Pour the wet mixture into the bowl with the dry ingredients and stir until just combined. Be careful not to overmix, as this can lead to dense brownies. Fold in the vegan chocolate chips for an extra burst of chocolate in every bite. At this stage, the batter should be thick and glossy, promising a fudgy outcome.
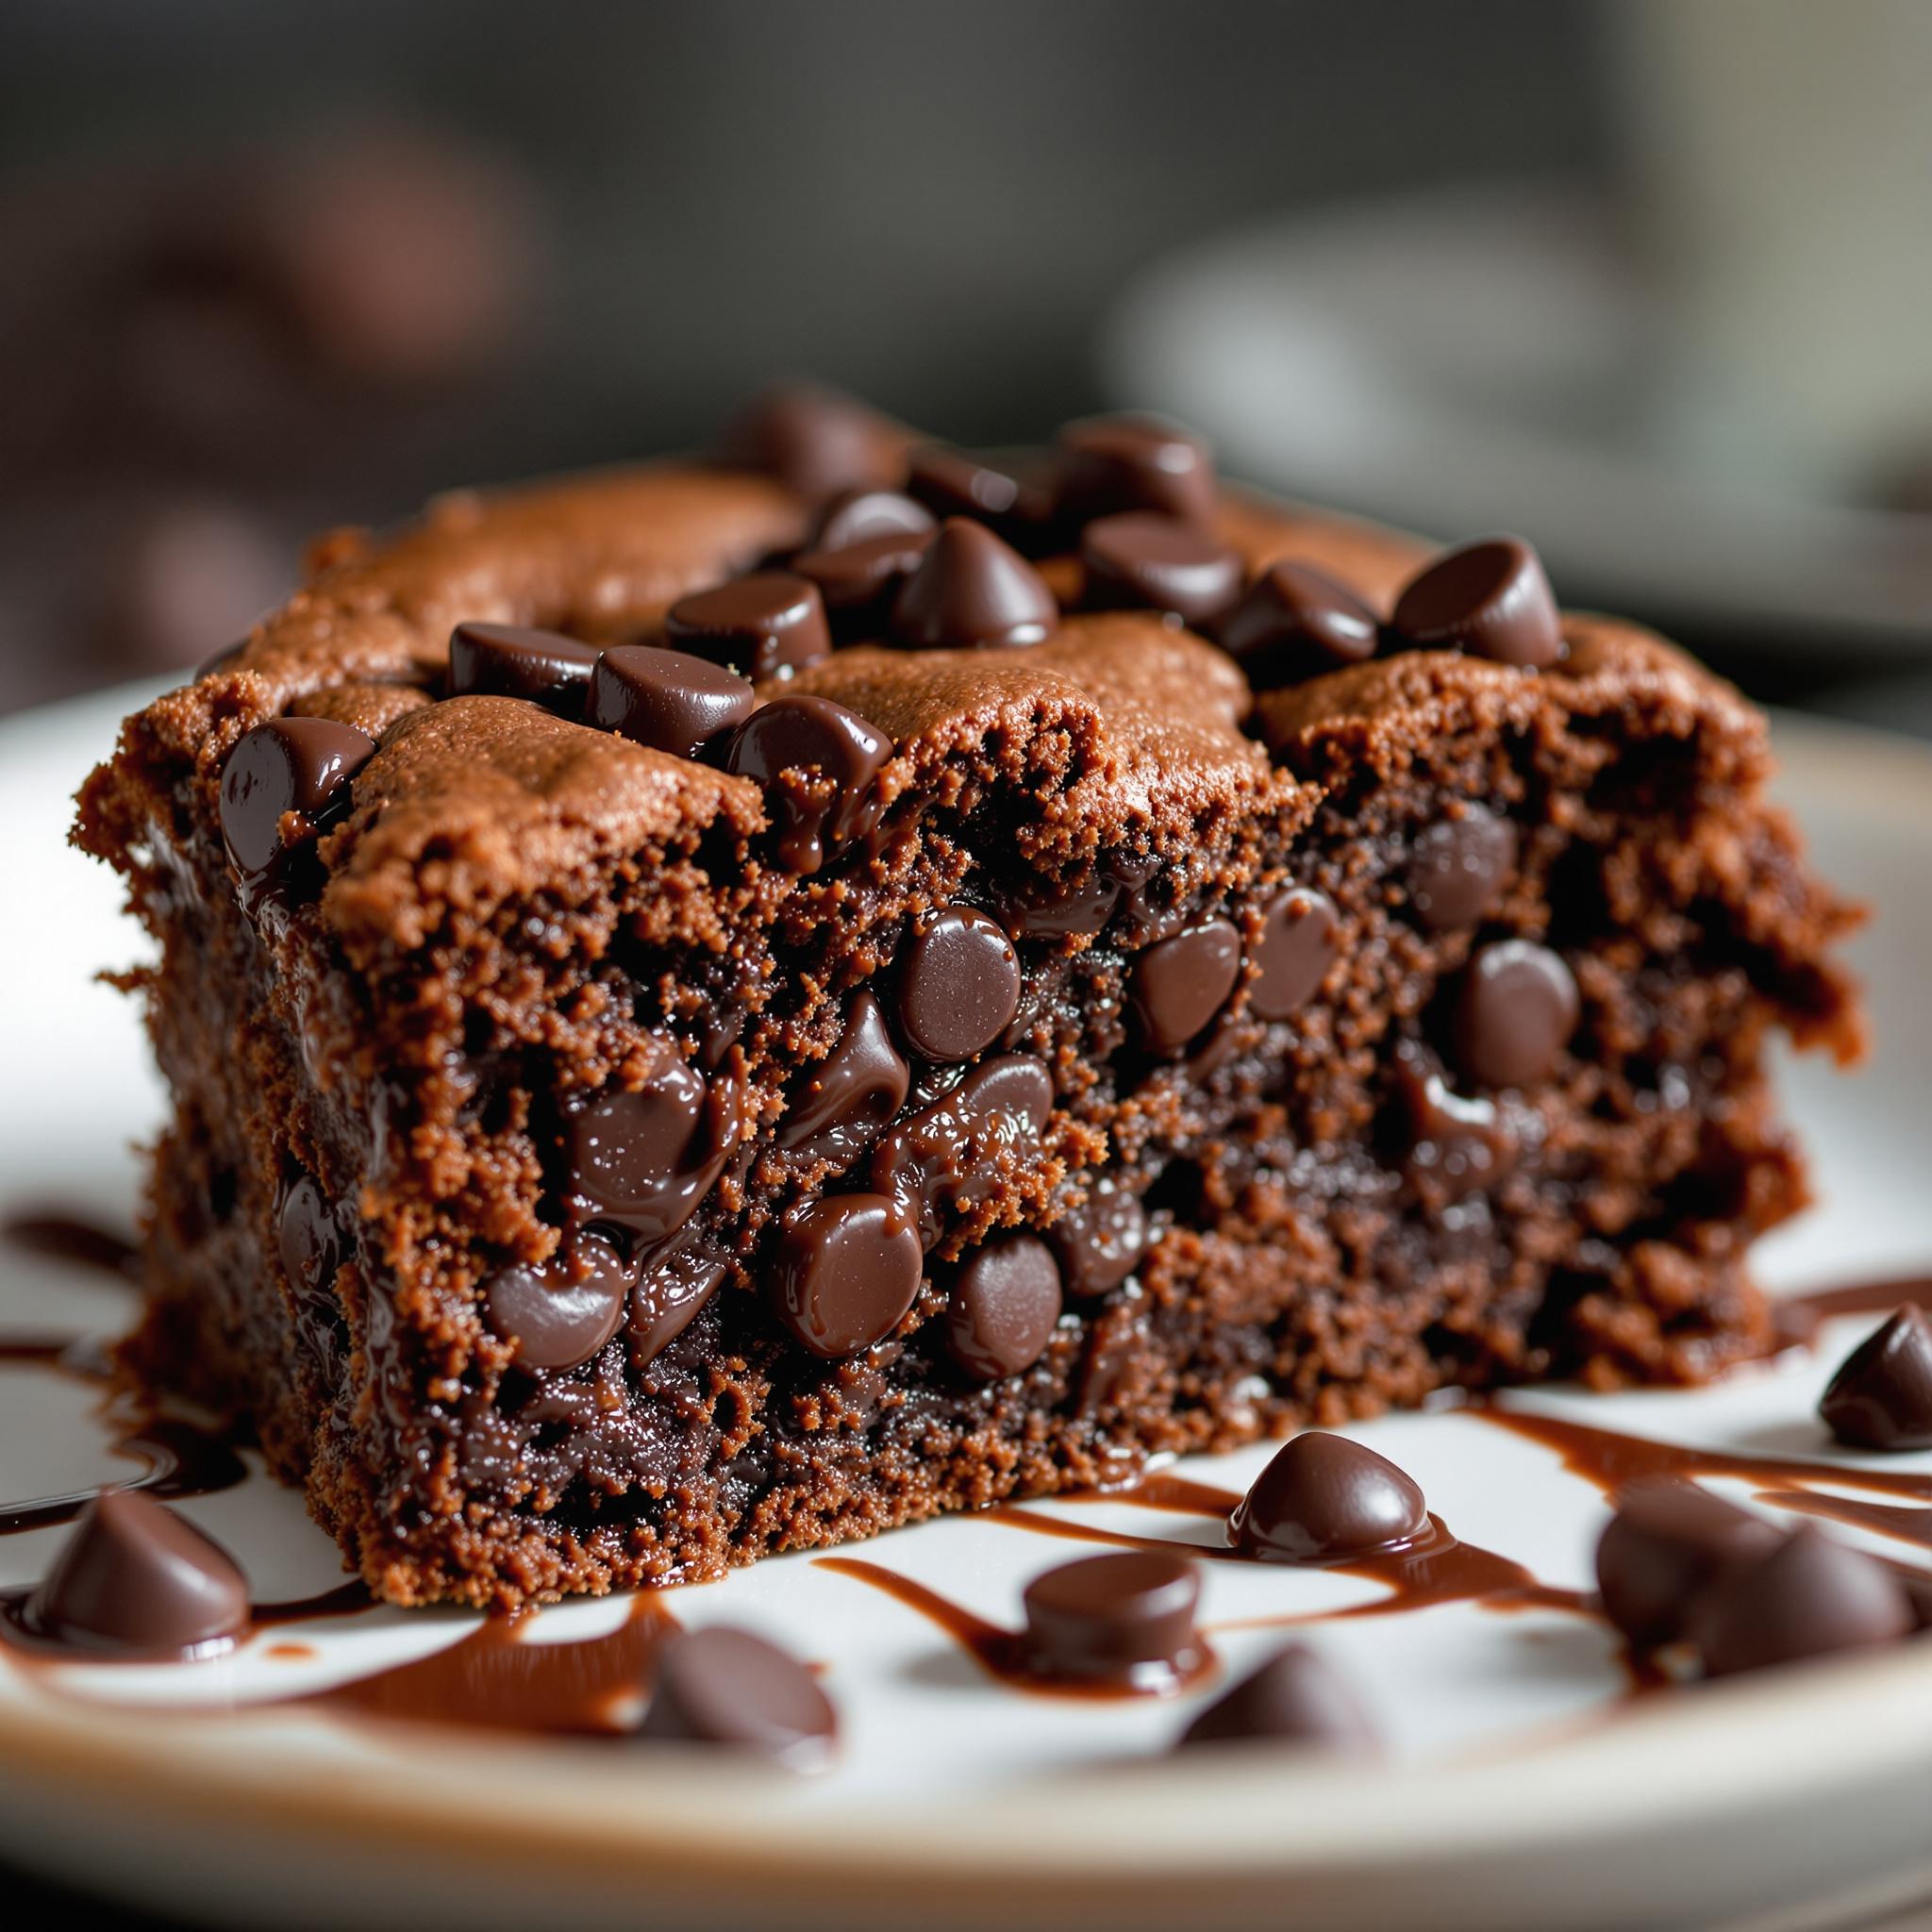
Step 5: Bake to Perfection
Transfer the batter to the prepared baking pan and spread it evenly. Pop it into the oven and bake for 25-30 minutes. To check for doneness, insert a toothpick into the center—it should come out slightly gooey but not wet. Let the brownies cool before slicing to allow them to set properly.
Chef’s Tip
For an extra fudgy texture, refrigerate the brownies for 30 minutes before cutting. This trick helps them firm up and makes slicing easier. Trust me; patience pays off when it comes to these Vegan Brownies!
Time Required
This recipe takes about 10 minutes to prepare, 25-30 minutes to bake, and another 15 minutes to cool. In total, you’ll spend around 50 minutes creating these irresistible treats.
Nutritional Information
Each serving contains approximately 150 calories, 8g of fat, 2g of protein, and 20g of carbohydrates. It’s a relatively indulgent treat, but the plant-based ingredients make it a healthier alternative to traditional brownies.
Extra Information
Did you know that cocoa powder is packed with antioxidants? It’s one of the reasons why dark chocolate is often considered a superfood. So, while these brownies are a treat, they also offer some nutritional benefits!
Necessary Tools
- Mixing bowls
- Whisk
- Measuring cups and spoons
- 8×8-inch baking pan
- Parchment paper
Storage Instructions
To keep your Vegan Brownies fresh, store them in an airtight container at room temperature for up to 3 days. If you live in a warm climate, refrigerating them can extend their shelf life to a week. For longer storage, wrap individual slices in plastic wrap and freeze for up to 3 months.
When reheating frozen brownies, let them thaw overnight in the fridge, then microwave for 10-15 seconds to restore their gooey texture. This method ensures they taste just as good as the day you baked them.
Proper storage is key to maintaining the brownies’ moisture and flavor. Avoid leaving them uncovered, as exposure to air can cause them to dry out.
Tips and Tricks
For an elevated experience, sprinkle sea salt on top of the brownies before baking. The contrast between sweet and salty enhances the overall flavor profile. Another trick is to underbake them slightly for a molten center that oozes chocolate with every bite.
Serving Suggestions
Serve these brownies warm with a scoop of dairy-free vanilla ice cream for a heavenly dessert combo. Alternatively, pair them with a glass of almond milk or a hot cup of coffee for a cozy afternoon treat.
Healthier Alternatives for Vegan Brownies
Looking to make this recipe even healthier? Here are six variations:
- Gluten-Free Option: Use almond flour instead of all-purpose flour for a gluten-free version.
- Low-Sugar Version: Replace granulated sugar with stevia or monk fruit sweetener.
- Protein-Packed Brownies: Add a scoop of vegan protein powder to the batter.
- Fruit-Infused Delight: Swirl raspberry jam into the batter for a fruity twist.
- Nutty Crunch: Fold in chopped walnuts or pecans for added texture.
- Superfood Boost: Mix in chia seeds or hemp hearts for an extra nutritional punch.
Common Mistakes to Avoid
Mistake 1: Overmixing the Batter
Overmixing can lead to dense, cakey brownies instead of the fudgy texture we’re aiming for. To avoid this, stir the batter just until the ingredients are combined. Remember, a few lumps are okay!
Mistake 2: Skipping the Parchment Paper
Without parchment paper, removing the brownies from the pan becomes a sticky mess. Always line your pan to ensure easy removal and clean edges.
Mistake 3: Overbaking
Overbaking dries out the brownies and ruins their gooey center. Keep an eye on the timer and test for doneness with a toothpick. Pro tip: Err on the side of underbaking for maximum fudginess.
Discover more brownie recipes :
Get inspired and find your new favorite brownie recipe :
- Brownie Caramel Cheesecake
- Brownie Cupcakes
- Almond Flour Brownies
- Breakfast Brownies
- Brownie Batter Dip
- Mini Brownie Turkeys
- Best brownies
- Keto Brownies
Frequently Asked Questions
Can I use regular chocolate chips instead of vegan ones?
Absolutely! While vegan chocolate chips ensure the recipe remains plant-based, regular chips work fine if you’re not strictly vegan. Just check the label for dairy content.
Do I need a stand mixer for this recipe?
Nope! A simple whisk and mixing bowls are all you need. This recipe is designed to be beginner-friendly and doesn’t require any fancy gadgets.
How do I know when the brownies are done?
Insert a toothpick into the center—if it comes out with a few moist crumbs, they’re ready. Avoid waiting until the toothpick is completely clean, as this indicates overbaking.
Can I double the recipe?
Yes! Simply double all the ingredients and use a larger baking pan. Adjust the baking time slightly if needed.
Are these brownies kid-friendly?
Definitely! Kids love the rich chocolate flavor, and parents appreciate the healthier twist. Plus, they won’t even notice they’re vegan!
What’s the best way to reheat leftover brownies?
Pop them in the microwave for 10-15 seconds to bring back their gooey texture. You can also warm them in the oven at 300°F for 5 minutes.
Can I add frosting to these brownies?
Of course! A layer of vegan chocolate ganache or buttercream frosting takes them to the next level. Spread it on once the brownies have cooled completely.
Is coconut oil necessary, or can I use another oil?
Coconut oil adds richness, but you can substitute it with vegetable oil or melted vegan butter if preferred.
How do I make these brownies gluten-free?
Swap the all-purpose flour with a gluten-free flour blend. Ensure the blend contains xanthan gum for best results.
Can I freeze the batter for later use?
While freezing the batter isn’t ideal, you can freeze baked brownies. Wrap them tightly in plastic wrap and store them in a freezer-safe bag for up to 3 months.
Conclusion
These Vegan Brownies are proof that you don’t need eggs, butter, or milk to create a show-stopping dessert. With their rich flavor, fudgy texture, and endless customization options, they’re sure to become a staple in your kitchen. Whether you’re baking for yourself, your family, or friends, this recipe is guaranteed to impress. So grab your apron, preheat that oven, and let’s make some magic happen—one gooey, chocolatey square at a time!