Why You’ll Love Mary Berry’s Soda Bread Recipe
There’s something magical about the smell of fresh bread filling your kitchen. For me, baking is more than just a hobby—it’s therapy. One day, while flipping through an old cookbook, I stumbled upon Mary Berry’s soda bread recipe. It was love at first bite. Her version stood out because it was simple, quick, and oh-so-delicious. If you’ve ever felt intimidated by baking, this recipe will change your mind.
In this section, I’ll share why this soda bread is perfect for beginners and busy bakers alike. You’ll learn how to make it with simple ingredients, discover why it’s a healthier choice, and get answers to common questions about the process. Whether you’re new to baking or just looking for a reliable recipe, Mary Berry’s soda bread has got you covered.
Quick and Easy Baking
Soda bread is one of those rare recipes that doesn’t ask much from you. No fancy tools, no hours of waiting for dough to rise—just mix, shape, and bake. The magic ingredient? Baking soda. Unlike yeast-based breads, this recipe skips the long proofing step. That makes it ideal for days when you want homemade bread but don’t have all day to make it.
Here’s what makes Mary Berry’s version stand out:
- No yeast required: This means no waiting around for the dough to rise.
- Simple ingredients: Flour, baking soda, salt, and buttermilk are all you need.
- Beginner-friendly: Even if you’ve never baked bread before, you can nail this.
The first time I made soda bread, I was nervous. Would it turn out dense? Too salty? But within an hour, I had a golden loaf sitting on my counter. The crust was perfectly crisp, and the inside was soft and airy. I couldn’t believe how easy it was. Now, it’s my go-to recipe whenever I crave something warm and comforting.
Healthier Alternative
If you’re trying to eat healthier, soda bread might surprise you. Unlike many store-bought breads filled with preservatives, this recipe lets you control what goes in. Mary Berry’s version is straightforward, but you can tweak it to make it even better for you.
For example:
- Swap white flour for whole wheat to add fiber.
- Add seeds like flax or chia for extra nutrients.
- Use low-fat buttermilk to cut down on calories.
When I made my first healthy soda bread recipe, I added sunflower seeds and rolled oats. Not only did it taste amazing, but it also kept me full longer. Plus, knowing exactly what’s in my food gives me peace of mind. It’s a win-win.
Whole grain options are another reason to love this bread. They give it a nutty flavor and hearty texture. If you’ve been searching for a wholesome bread recipe, Mary Berry’s soda bread is a great place to start. It’s proof that healthy eating doesn’t have to be boring or complicated.
Now that you know why this recipe is worth trying, let’s dive into the details. You’ll learn everything from prepping your ingredients to troubleshooting common issues. By the end, you’ll feel confident enough to make this bread your own.
Step-by-Step Guide to Making Mary Berry’s Soda Bread
Alright, so we’ve covered why this mary berry soda bread recipe is such a winner. Now, let’s roll up our sleeves and get into the nitty-gritty of making it yourself. Trust me, once you’ve nailed this process, you’ll be whipping up loaves faster than you can say “buttermilk.” By the way, if you’re someone who loves experimenting with recipes like Janet’s Rich Banana Bread, you’ll find this just as satisfying—though slightly less sweet. Let’s dive in!
Gathering Your Ingredients
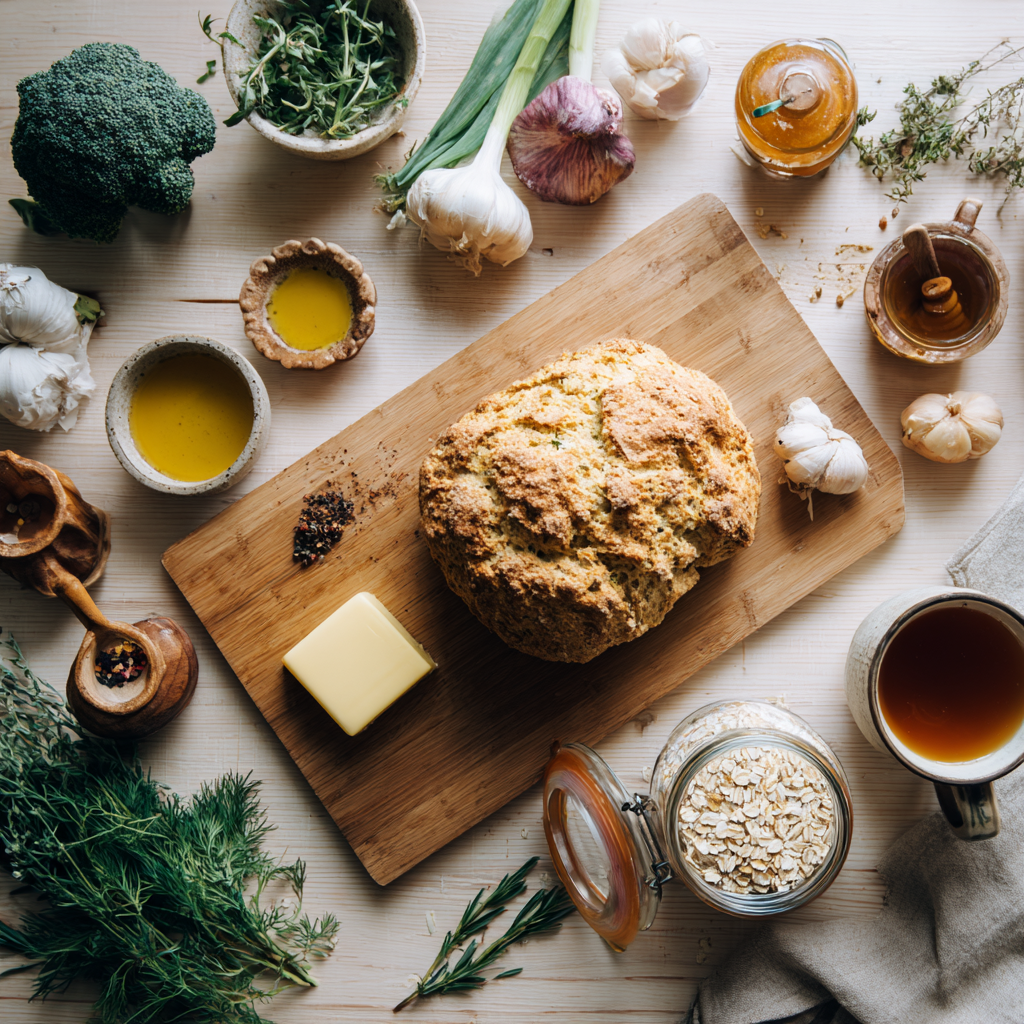
First things first—you need the essentials. And guess what? You probably already have most of them in your pantry. We’re talking about flour (I usually go for all-purpose, but whole wheat works too), baking soda, salt, and buttermilk. These are the kind of essential pantry items that won’t leave you scrambling for a grocery run at midnight.
Here’s a quick rundown:
Flour: Around 4 cups, give or take depending on how sticky your dough gets.
Baking Soda: Just 1 teaspoon—it’s the magic ingredient here.
Salt: A teaspoon will do. Don’t skip it; it balances the flavor.
Buttermilk: About 1 ½ cups. If you don’t have buttermilk, mix regular milk with a splash of lemon juice or vinegar.
Funny enough, I once forgot to buy buttermilk and had to improvise with yogurt thinned out with water. Worked like a charm! Speaking of substitutions, there’s actually quite a bit of wiggle room here. For instance, swapping white flour for whole wheat gives the bread a heartier texture. Or, if you’re feeling adventurous, try adding oats or seeds like flax or sunflower. They pair beautifully with banana bread recipes like Ina Garten’s Banana Bread Recipe, which also leans into wholesome ingredients.
One more thing—if dairy isn’t your jam, almond milk mixed with a little vinegar can stand in for buttermilk. The key is keeping the liquid tangy enough to react with the baking soda. Science, right?
Mixing and Kneading Tips
Now comes the fun part: mixing everything together. Honestly, this step couldn’t be simpler. Start by whisking your dry ingredients—flour, baking soda, and salt—in a big bowl. Then pour in the buttermilk gradually while stirring gently. It’s important not to overmix; otherwise, you’ll end up with tough bread instead of soft, airy goodness.
Here’s where people sometimes trip up: consistency matters. The dough should feel sticky but manageable. Think Play-Doh that hasn’t dried out yet. If it’s way too wet, sprinkle in a bit more flour. Too dry? Add a splash of buttermilk. Long story short, aim for something that holds its shape without falling apart.
By the way, ever wondered how to knead soda bread dough? Unlike traditional yeast breads, soda bread doesn’t require heavy-duty kneading. All you need to do is lightly press and fold the dough a few times until it comes together. Seriously, five minutes max. Once it’s formed into a ball, transfer it to a floured surface and pat it down slightly. That’s it. No wrestling match required.
How do you know when the dough is ready? Easy. It shouldn’t stick to your hands uncontrollably, nor should it crumble apart like sandcastle ruins. Picture cookie dough—not too firm, not too loose. Oh, and don’t stress about perfection. This bread is forgiving, trust me.
Baking to Perfection
Okay, now we bake. Preheat your oven to 425°F (220°C). Funny side note—I accidentally baked mine at 450°F once, and while the crust was darker than expected, it still tasted amazing. Moral of the story? Even mistakes can lead to delicious outcomes.
Before popping the dough in, slash an X on top with a sharp knife. Why? It helps the heat penetrate evenly, ensuring the inside cooks through. Plus, it looks pretty rustic. Transfer the dough onto a baking sheet lined with parchment paper, and slide it into the oven.
Timing-wise, you’re looking at around 30–35 minutes. But here’s the deal: ovens vary, so keep an eye on it. A golden crust indicator is your best friend here. When the loaf turns a rich golden brown and sounds hollow when tapped underneath, it’s done. If you’re unsure, stick a skewer in. If it comes out clean, you’re golden.
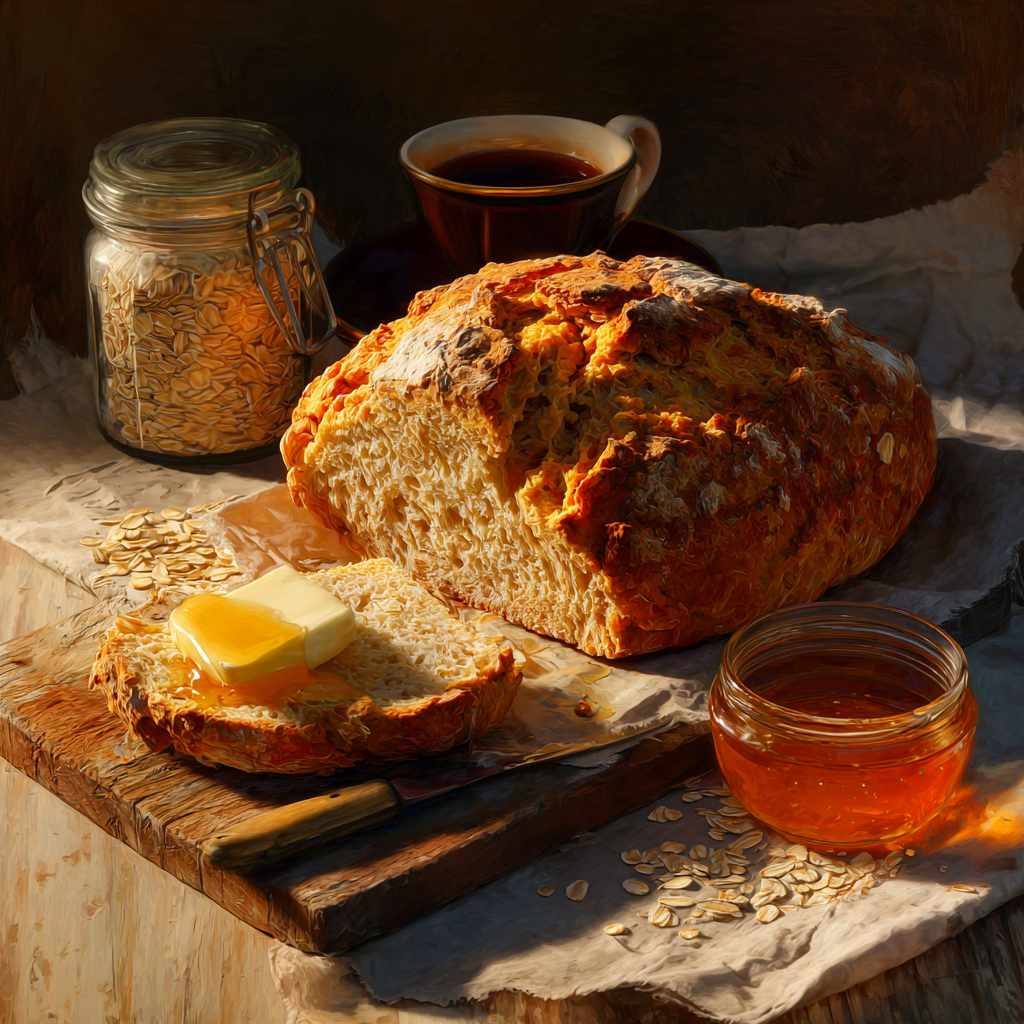
Ever wondered why soda bread has a hard crust? Here’s the science-y bit: the reaction between baking soda and buttermilk creates carbon dioxide bubbles, which expand during baking. As the bread cools, the exterior firms up, giving it that signature crunchy shell. Personally, I love slicing into it while it’s still warm and slathering butter all over. Pure bliss.
Speaking of bliss, this bread pairs beautifully with spreads or jams. One time, I served it alongside Paula Deen’s Banana Bread Recipe, and my guests raved about the combination. Sweet meets savory—it’s a match made in heaven.
Troubleshooting Common Issues
Even seasoned bakers hit snags sometimes, so here’s a heads-up for potential pitfalls. If your bread turns out dense, chances are you overmixed the dough. Remember, gentle hands are key. On the flip side, if it’s too crumbly, it might need a touch more buttermilk next time.
And hey, don’t sweat small cracks or uneven shapes. Soda bread is supposed to look rustic and homemade. Imperfections are part of its charm. In fact, they remind me of Snickerdoodle Banana Bread Recipe, where the lumps and bumps only add character.
Lastly, storage tips. Once cooled, wrap the loaf in a clean kitchen towel or store it in a paper bag. Avoid plastic unless you want a soggy crust. This bread tastes best within a day or two, but honestly, it rarely lasts that long in my house!
There you have it—a foolproof guide to mastering Mary Berry’s soda bread recipe. Whether you stick to the basics or jazz it up with seeds and oats, this bread is bound to become a staple. Happy baking!
Serving Suggestions and Storage Tips for Mary Berry’s Soda Bread
Alright, let’s talk about the best part—eating your freshly baked soda bread. There’s no wrong way to enjoy it, but I’ve got a few ideas that might inspire you to take it to the next level. Whether you’re pairing it with something sweet or savory, this bread is versatile enough to handle it all.
Best Ways to Enjoy Your Soda Bread
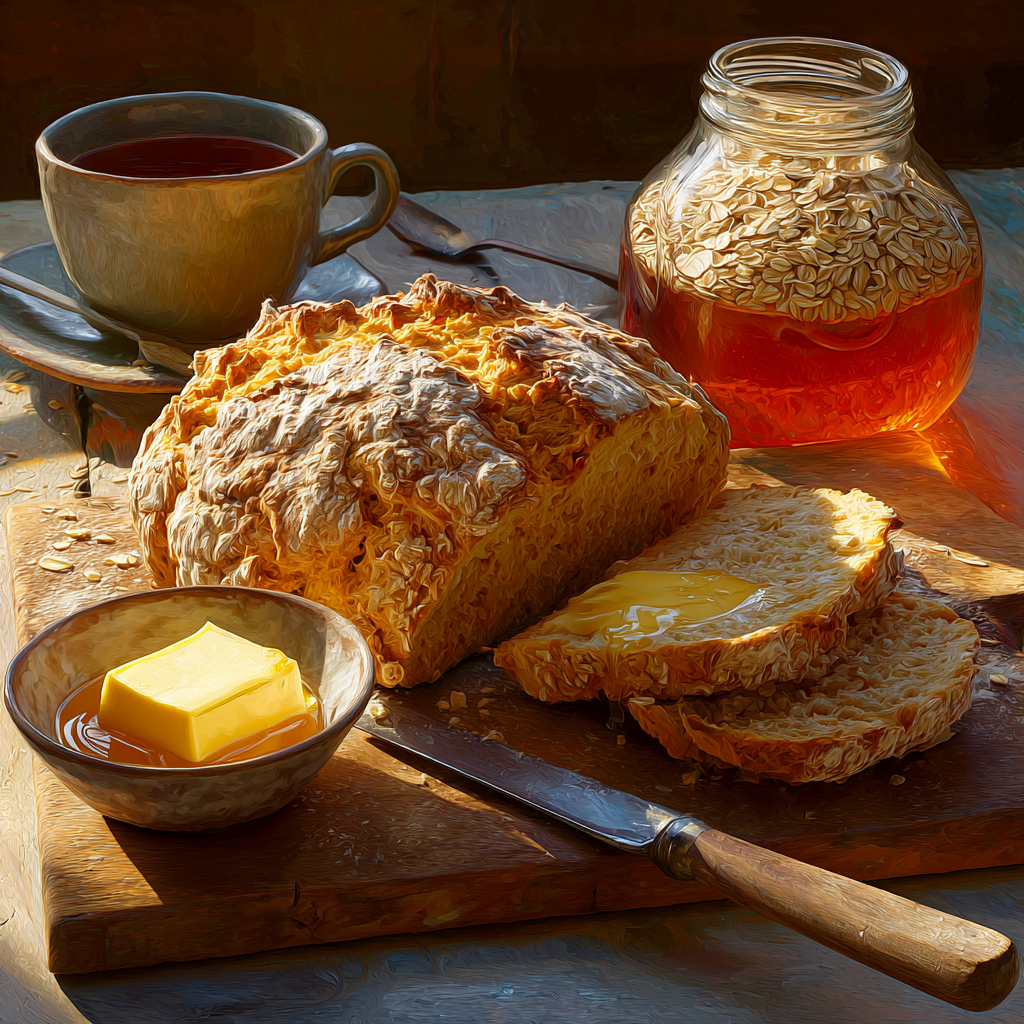
Here’s the thing: soda bread shines brightest when it’s paired with simple, flavorful accompaniments. One of my favorite ways to enjoy it is slathered with butter while it’s still warm. The butter melts into the soft crumb, creating a combo that’s hard to beat. If you’re feeling fancy, try honey or jam for a touch of sweetness. Seriously, soda bread serving ideas don’t get much easier than that.
But let’s not stop there. This bread also works wonders with savory dishes. Picture this: a thick slice of soda bread served alongside a bowl of hearty soup or stew. It’s like they were made for each other. I once paired mine with a creamy tomato basil soup, and it was pure comfort food heaven. Or, if you’re into charcuterie boards, cut the bread into chunks and use it as a base for toppings like cheese, prosciutto, or even caramelized onions. Trust me, your guests will be impressed.
By the way, have you ever thought about pairing with savory dishes like eggs? Toast a slice, then top it with avocado, a poached egg, and a sprinkle of chili flakes. Breakfast just got an upgrade. And here’s a fun idea—I once used soda bread as a substitute for burger buns. Yep, it worked like a charm, especially with a juicy beef patty and some sharp cheddar.
If you’re someone who loves experimenting, try adding mix-ins to your dough (more on that later). But even plain, this bread is a star. Funny enough, I once served it at a dinner party with nothing but olive oil and balsamic vinegar for dipping. People couldn’t stop raving about how good it tasted.
Storing Leftovers Properly
Now, let’s talk about keeping your soda bread fresh because nobody likes stale bread. Here’s the deal: this loaf doesn’t have any preservatives, so it’s best enjoyed within a day or two. That said, there are ways to extend its shelf life without sacrificing quality.
Day 1: Keep it wrapped in a clean kitchen towel or store it in a paper bag. This lets the crust stay crisp while protecting the inside.
Day 2-3: Transfer it to an airtight container if you want to keep it moist. Just know the crust might lose some crunch.
Freezing: Slice the bread before freezing. Wrap individual slices in plastic wrap, then place them in a freezer-safe bag. They’ll last up to three months.
One trick I swear by is reviving stale bread in the oven. Preheat it to 350°F (175°C), pop the slices in for 5–10 minutes, and voilà—they’re almost as good as new. It’s a lifesaver when you forget to eat the whole loaf in time.
Speaking of storage, here’s a tip: avoid plastic bags unless you freeze the bread. They trap moisture, which can make the crust soggy. Instead, opt for breathable options like paper bags or cloth wraps. If you’re looking for advice on how to store homemade bread, these methods are foolproof.
Funny story—I once left a loaf uncovered overnight, thinking it would be fine. Big mistake. The next morning, it was rock-hard. Lesson learned: always cover your bread, folks.
FAQs About Mary Berry Soda Bread Recipe
- Can I freeze soda bread? Absolutely! Slice it first, then wrap each piece tightly before freezing. It’ll stay fresh for up to three months.
- Is it possible to add mix-ins like raisins or herbs? Yes, and it’s delicious. Fold in dried fruit, nuts, or fresh herbs after mixing the dough. Just don’t overdo it—about ½ cup is plenty.
- Why didn’t my soda bread rise properly? This usually happens if the baking soda is old or if the dough was overmixed. Make sure your ingredients are fresh, and handle the dough gently.
- Can I use gluten-free flour? You can, but expect a denser texture. Look for a gluten-free flour blend designed for baking bread.
- How do I know when it’s done? Tap the bottom—it should sound hollow. A skewer inserted into the center should come out clean too.
- What if I don’t have buttermilk? No worries. Mix regular milk with a tablespoon of lemon juice or vinegar, and let it sit for 5–10 minutes.
- Can I make smaller loaves? Definitely. Divide the dough into two smaller rounds and reduce the baking time slightly.
- Why does my bread taste bitter? This could be from too much baking soda. Double-check your measurements next time.
- Should I grease the baking sheet? Not necessary if you’re using parchment paper. Otherwise, a light dusting of flour works fine.
- How long does soda bread last? It’s best within 1–2 days. After that, freeze it to maintain freshness.
While we’re on the topic of bread, you might want to check out our collection of bread recipes. From classic loaves to creative twists, there’s something for everyone. Who knows? You might find your next baking project there.
Final Thoughts
Mary Berry’s soda bread recipe truly is a gem. It’s quick, easy, and endlessly adaptable, making it perfect for beginners and seasoned bakers alike. Whether you stick to the basics or get creative with mix-ins, this bread has the power to bring people together. So go ahead—experiment, tweak, and make it your own. Baking is all about having fun, after all.
And hey, if you try this recipe, I’d love to hear how it turns out. Drop me a comment or share your pics. Happy baking, friends!
mary berry soda bread recipe
Ingredients
Equipment
Method
- Preheat your oven to 425°F (220°C).
- In a large bowl, whisk together the flour, baking soda, and salt.
- Gradually pour in the buttermilk while gently stirring the mixture.
- Mix until the dough comes together; it should be sticky but manageable.
- Lightly press and fold the dough on a floured surface a few times.
- Shape the dough into a ball and pat it down slightly.
- Transfer the dough onto a parchment-lined baking sheet.
- Slash an X on top of the dough with a sharp knife.
- Bake for 30-35 minutes or until the crust is golden brown and sounds hollow when tapped.
- Remove from the oven and cool on a wire rack before slicing.