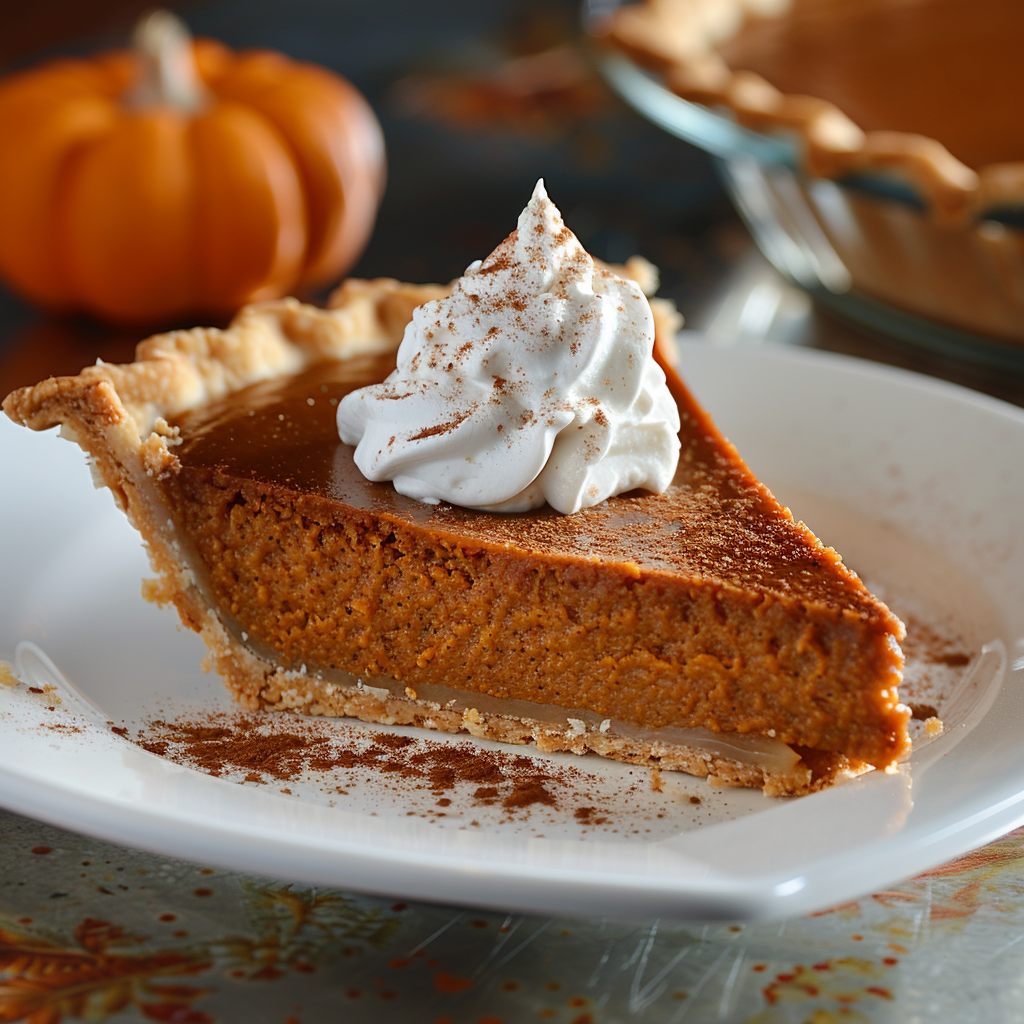
Why This Pumpkin Pie with Gingersnap Crust is a Game-Winner
Picture this: Thanksgiving dinner is over, and everyone’s leaning back in their chairs, loosening belts, and patting full stomachs. Then you bring out dessert. The room lights up. Eyes widen. Mouths water. And the star of the moment? A pumpkin pie with gingersnap crust that smells like fall in a pan. I first made this for my sister’s birthday last November, thinking it would be “just okay.” Let me tell you—it was a showstopper. Even my nephew, who claims he doesn’t like pumpkin pie, asked for seconds. If you’re looking for the best pumpkin pie recipe, this might just be it.
The Story Behind Gingersnap Crust Magic
Gingersnap cookies have been around for centuries, but they didn’t always share the spotlight. In old-school baking, gingerbread pastry crusts were more common. But when creative home bakers started crushing gingersnaps into crusts, something magical happened. Suddenly, desserts with gingersnap crust became a cozy, spiced-up twist on classics like pumpkin pie. I fell in love with this idea after trying a maple pumpkin pie with gingersnap crust at a friend’s house. It inspired me to experiment, and now I can’t imagine going back to plain crusts.
Why You’ll Fall Head Over Heels for This Recipe
This pumpkin pie with gingersnap crust is everything you want in a dessert. The gingersnap crust adds a spicy kick that perfectly complements the creamy pumpkin filling. Plus, it’s easier than making a traditional pie crust from scratch. No rolling dough or worrying about tears here! Whether you’re a seasoned baker or a newbie, this recipe will make you feel like a pro.
Perfect Occasions to Whip Up This Pie
Think holidays: Thanksgiving, Christmas, or even Friendsgiving. But don’t stop there. This pie is perfect for cozy autumn evenings, potlucks, or even a random Tuesday when you need a little comfort. Serve it at your next gathering, and watch how fast it disappears!
Ingredients You’ll Need
- 1 ½ cups finely crushed gingersnap cookies (about 30 cookies)
- 3 tablespoons granulated sugar
- 6 tablespoons unsalted butter, melted
- 1 can (15 oz) Libby’s pumpkin puree
- ¾ cup packed brown sugar
- 1 teaspoon ground cinnamon
- ½ teaspoon ground ginger
- ¼ teaspoon ground cloves
- ½ teaspoon salt
- 2 large eggs
- 1 cup heavy cream
- 1 teaspoon vanilla extract
Substitution Options
- Gingersnap cookies: Swap with graham crackers for a pumpkin pie with graham cracker crust Libbys style.
- Heavy cream: Use coconut cream for a dairy-free option.
- Brown sugar: Substitute with white sugar if needed.
Let’s Get Baking!
Step 1: Make the Gingersnap Crust
Grab your food processor or a zip-top bag and crush those gingersnaps into fine crumbs. Mix them with sugar and melted butter until it looks like wet sand. Press this mixture firmly into your pie dish, making sure it’s even. Pro tip: Use the bottom of a measuring cup to press the crust down for a smooth finish. Bake it for 8 minutes at 350°F to set it. The smell of toasted gingersnaps will make your kitchen feel like a warm hug.
Step 2: Prepare the Pumpkin Filling
In a large bowl, whisk together pumpkin puree, brown sugar, spices, and salt. Crack in the eggs and mix until smooth. Slowly pour in the heavy cream and vanilla, stirring gently to avoid bubbles. The filling should be thick but pourable, with a rich orange hue that screams fall. Chef’s tip: Taste a tiny bit of the filling before pouring it into the crust. Adjust the spices if needed to suit your taste buds.
Step 3: Assemble and Bake
Pour the pumpkin filling into the cooled crust and smooth the top with a spatula. Pop it into the oven at 350°F for 45-50 minutes. The pie is done when the center is set but still slightly jiggly. Don’t rush this step—patience is key to achieving that velvety texture we all love in a pumpkin mousse pie with gingersnap crust.
Timing Breakdown
- Prep time: 15 minutes
- Cooking time: 50 minutes
- Resting time: 2 hours (to cool completely)
- Total time: About 3 hours
Chef’s Secret
Brush the edges of the crust with a little egg white before baking. This creates a golden, shiny finish that makes your pie look bakery-worthy. Trust me, presentation matters!
Did You Know?
Gingersnap cookies date back to medieval Europe, where they were often flavored with honey and spices. Today, they’re a staple in American baking. Fun fact: The “snap” comes from the cookie’s crisp texture when baked long enough!
Necessary Equipment
- 9-inch pie dish
- Food processor or zip-top bag
- Mixing bowls
- Whisk
- Measuring cups and spoons
Storage Tips
Once cooled, cover your pie loosely with plastic wrap or foil. Store it in the fridge for up to 4 days. For longer storage, freeze slices wrapped individually in parchment paper and placed in a freezer-safe bag. To reheat, let it sit at room temperature for 30 minutes before serving.
If you do freeze it, thaw overnight in the fridge. Never microwave frozen pie—it’ll ruin the texture. And remember, cold pie tastes just as good as room-temp pie, so don’t stress too much about timing.
Pro tip: Keep a dollop of whipped cream handy for reheating. It adds freshness and balances the richness of the pie.
Tips and Advice
Use fresh spices for the best flavor. Ground cinnamon, ginger, and cloves lose potency over time. Also, don’t skip the resting time. Cooling allows the filling to set properly. Lastly, invest in a good-quality pie dish. Glass or ceramic dishes distribute heat evenly, ensuring a perfectly baked pie every time.
Presentation Ideas
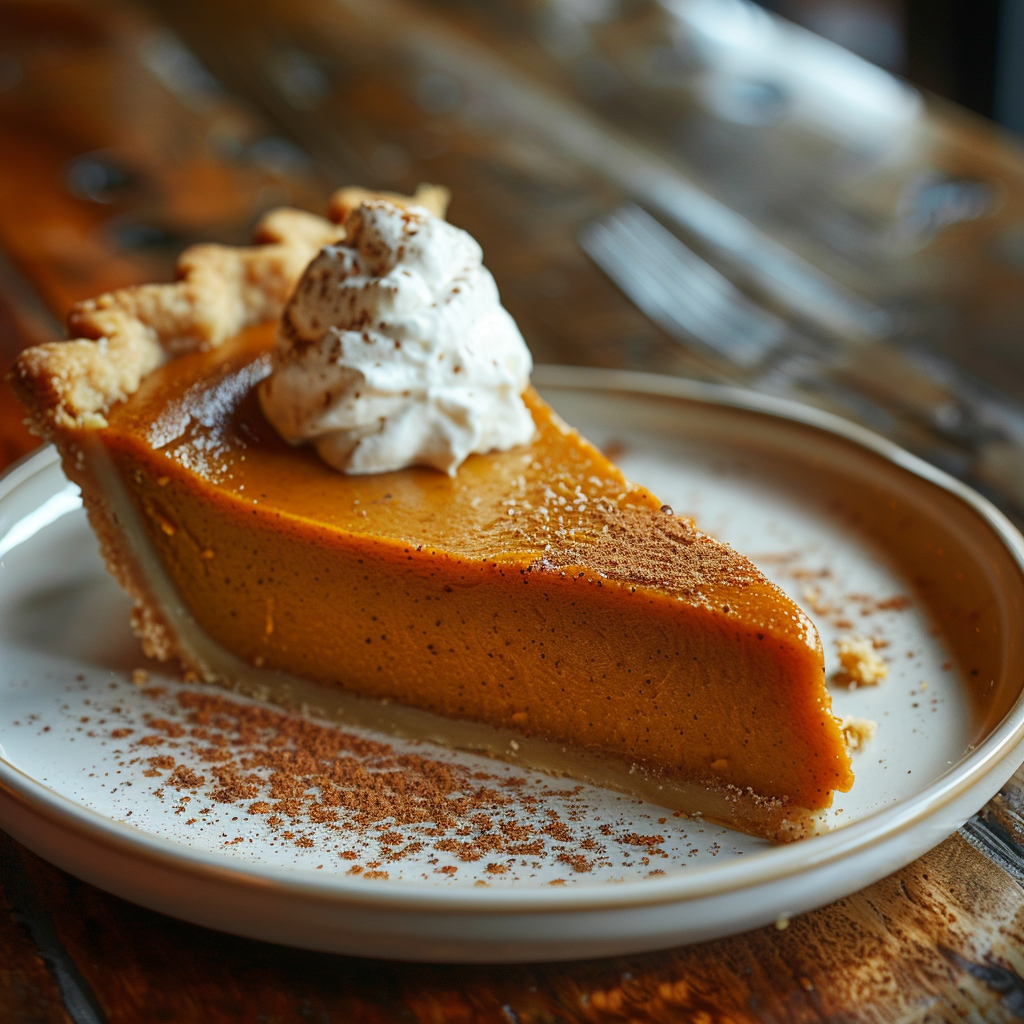
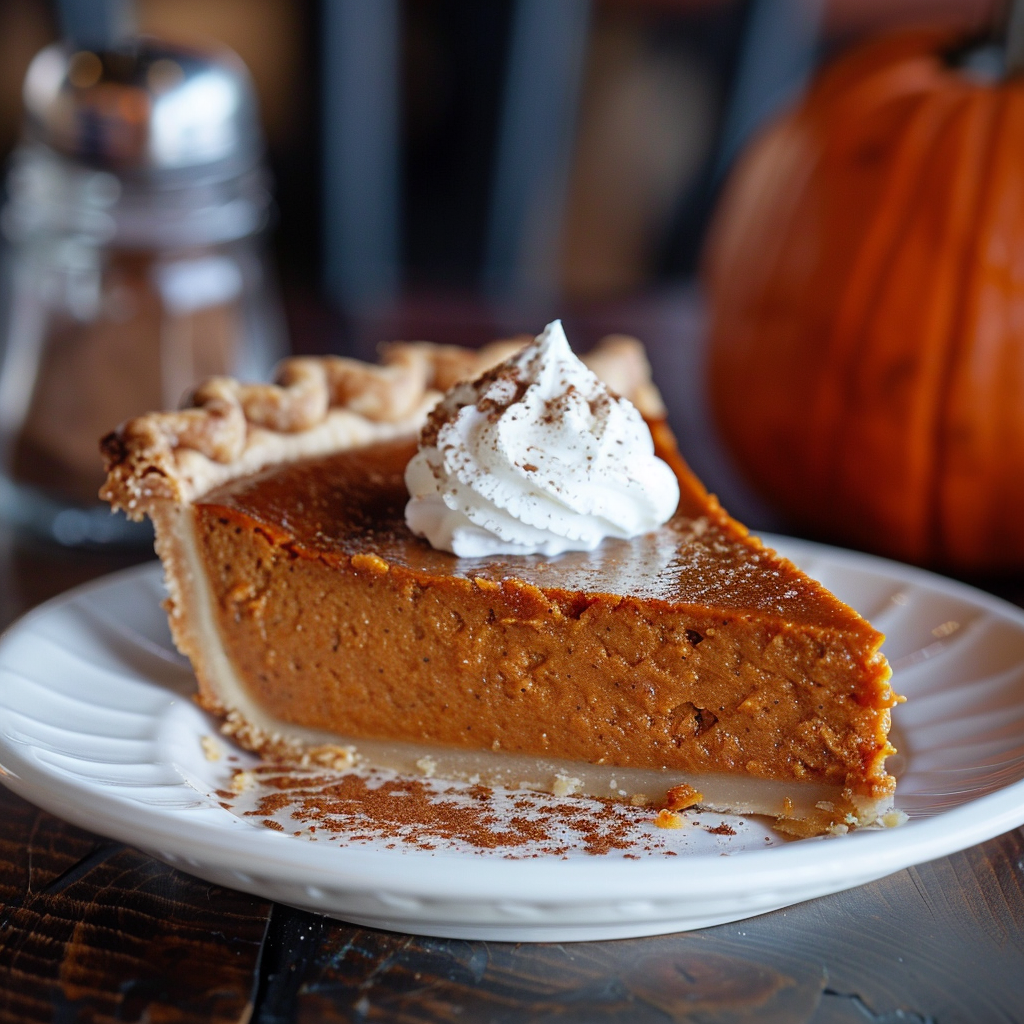
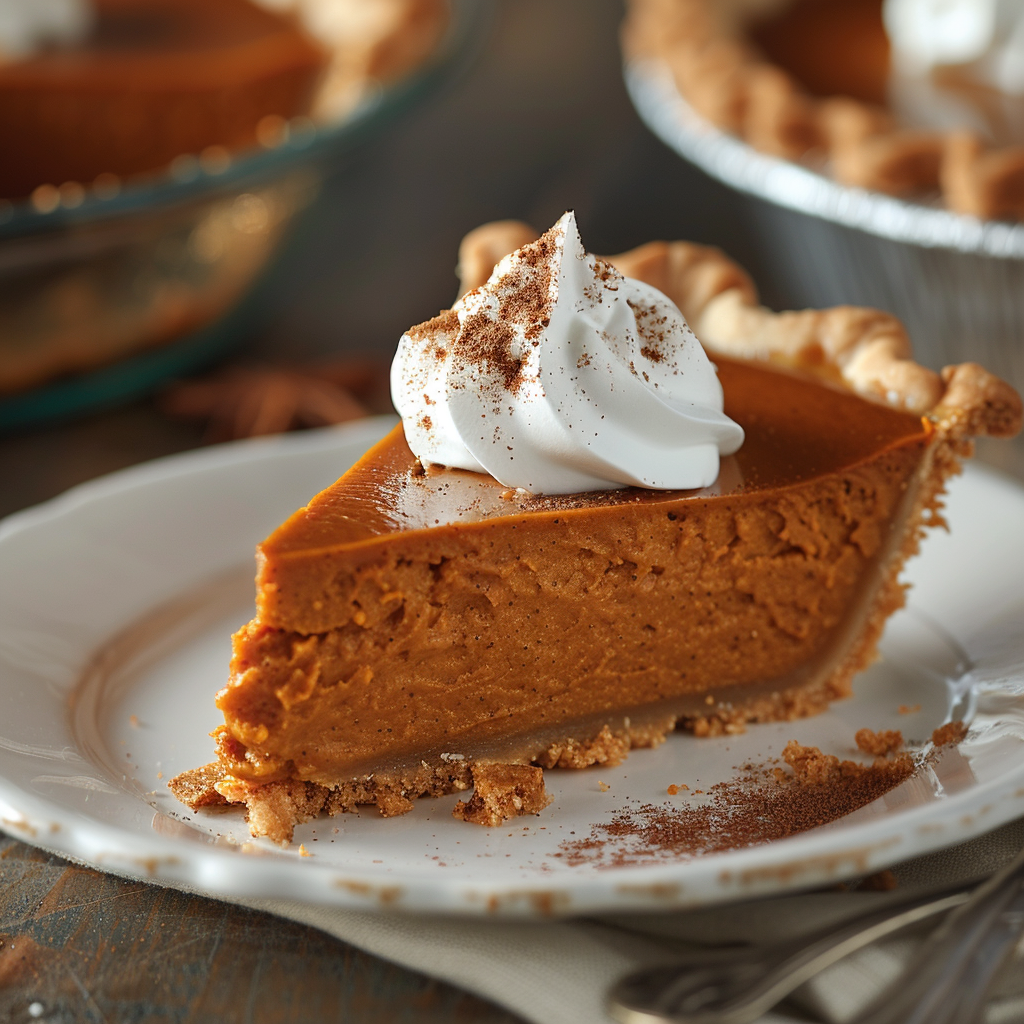
- Serve with a dollop of whipped cream and a sprinkle of cinnamon.
- Add a drizzle of caramel sauce for extra decadence.
- Garnish with candied ginger pieces for a festive touch.
Healthier Alternatives
If you’re looking to lighten up this pumpkin pie dessert, try these variations:
- Lower Sugar: Reduce the sugar in the filling by half and use a sugar substitute like monk fruit.
- Dairy-Free: Swap heavy cream with full-fat coconut milk.
- Gluten-Free: Use gluten-free gingersnap cookies for the crust.
- Vegan: Replace eggs with flax eggs and use plant-based cream.
- Low-Fat: Use Greek yogurt instead of heavy cream.
- Mini Pies: Make individual servings using muffin tins for portion control.
Common Mistakes to Avoid
Mistake 1: Overfilling the Crust
Filling the crust too high can cause spills during baking. Leave about ¼ inch of space at the top to allow the filling to expand without overflowing. Pro tip: Pour slowly and stop when you reach the edge of the crust.
Mistake 2: Skipping the Resting Time
Rushing to slice the pie before it cools results in a messy, runny filling. Always let it rest for at least 2 hours. Patience pays off here!
Mistake 3: Using Stale Spices
Old spices won’t give your pie the vibrant flavor it deserves. Check expiration dates or buy new ones if unsure.
FAQs About Pumpkin Pie with Gingersnap Crust
Can I Use Store-Bought Gingersnap Cookies?
Absolutely! Store-bought cookies work great and save time. Just make sure they’re crunchy, not soft.
What Can I Substitute for Heavy Cream?
Coconut cream or whole milk are excellent substitutes for heavy cream. They’ll still give you a creamy texture.
How Do I Know When the Pie Is Done?
The pie is ready when the edges are firm, and the center has a slight jiggle. Insert a knife near the center; if it comes out clean, it’s done.
Can I Freeze This Pie?
Yes! Wrap slices tightly in plastic wrap and freeze for up to 3 months. Thaw in the fridge overnight before serving.
Is This Recipe Suitable for Vegans?
With a few tweaks, yes. Use vegan gingersnaps, flax eggs, and coconut cream for a plant-based version.
Why Does My Crust Taste Bland?
You might need more butter or sugar. Adjust the ratios to enhance the crust’s flavor.
Can I Add Alcohol to the Filling?
Definitely! A splash of bourbon or rum adds depth to the pumpkin flavor. Try 1-2 tablespoons.
How Long Will the Pie Last?
Stored in the fridge, it stays fresh for up to 4 days. Beyond that, freeze for longer shelf life.
Can I Use Fresh Pumpkin Instead of Canned?
Yes, but roasting and pureeing fresh pumpkin takes extra effort. Stick with canned for convenience unless you’re feeling adventurous.
What Makes This the Best Pumpkin Pie Recipe?
The combination of spiced gingersnap crust and creamy pumpkin filling creates layers of flavor that elevate it above traditional recipes. Plus, it’s easy to make and always impresses guests.
Final Thoughts
There’s nothing quite like a slice of Pumpkin Pie with Gingersnap Crust to bring people together. Whether you’re baking for a holiday feast or just because, this recipe is sure to become a family favorite. So grab your apron, turn on some music, and get ready to create a dessert that’s as memorable as it is delicious. Happy baking!
Pumpkin Pie with Gingersnap Crust
Ingredients
Equipment
Method
- Crush gingersnap cookies into fine crumbs using a food processor or a zip-top bag.
- Mix crushed cookies with granulated sugar and melted butter until it looks like wet sand.
- Press the mixture firmly into a 9-inch pie dish.
- Bake the crust at 350°F for 8 minutes.
- In a large bowl, whisk together pumpkin puree, brown sugar, spices, and salt.
- Add eggs to the mixture and mix until smooth.
- Slowly pour in heavy cream and vanilla, stirring gently.
- Pour the pumpkin filling into the cooled crust and smooth the top with a spatula.
- Bake the pie at 350°F for 45-50 minutes until the center is set but still slightly jiggly.
- Let the pie rest for at least 2 hours to cool completely before serving.