Forget Store-Bought! This is the Best Homemade Vanilla Ice Cream
There’s a magic that happens when you make ice cream at home. It’s not just a dessert; it’s a promise of something wonderful. I remember the first time I churned a batch of this creamy homemade vanilla ice cream for my kids. The way they clustered around the machine, spoons at the ready, taught me a simple truth: nothing beats the real thing. Store-bought versions simply can’t compete with the rich, pure flavor of a recipe made with love in your own kitchen.
A Scoop of History: From Royalty to Your Freezer
Vanilla’s journey to our ice cream bowls is a story of adventure. Hundreds of years ago, the Totonac people of Mexico were the first to cultivate the vanilla orchid. It was a treasured ingredient for Aztec royalty! Today, thanks to careful cultivation and a process called hand-pollination, this precious flavor is available to us all. Our modern ice cream maker does in minutes what once took hours of laborious hand-cranking. Making this classic treat at home connects you to a delicious, global history with every sweet, fragrant spoonful.
Why You’ll Absolutely Love This Homemade Vanilla Ice Cream Recipe
You’re going to adore this recipe because it’s the perfect blank canvas. It’s incredibly creamy, with a deep, true vanilla flavor that shines. Unlike many recipes, it doesn’t require cooking a custard base, which means it’s wonderfully simple and foolproof. You just mix, chill, and churn! The result is a beautifully smooth texture that’s lush and satisfying. It also means you know exactly what’s going into your dessert—no unpronounceable ingredients, just pure, happy goodness.
When to Whip Up a Batch of Homemade Ice Cream
Honestly, any day that ends in “y” is a good day for homemade ice cream! But it truly shines at summer barbecues, perched atop a warm slice of pie. It’s the star of birthday parties when you add fun mix-ins. I love making a batch for a cozy family movie night, or as a special “thank you” for helpful neighbors. It turns an ordinary Tuesday into a mini-celebration.
What You’ll Need for Your Creamy Creation
- 2 cups heavy cream: This is the key to that luxurious, creamy mouthfeel.
- 1 cup whole milk: Balances the richness of the cream for the perfect texture.
- 3/4 cup granulated sugar: Sweetens the mix and helps keep it soft when frozen.
- 1 tablespoon pure vanilla extract: The star! Use the best quality you can for amazing flavor.
- A tiny pinch of salt: This is a secret weapon! It makes the vanilla flavor pop.
No Stress Substitutions
Don’t have an ingredient? No problem! Here are some easy swaps:
- Heavy Cream: You can use half-and-half for a lighter version, but the ice cream won’t be as rich.
- Whole Milk: 2% milk works in a pinch, but again, the texture will be less creamy.
- Granulated Sugar: For a deeper flavor, try using half white sugar and half light brown sugar.
- Vanilla Extract: If you have a vanilla bean, slice it open and scrape the seeds into the cream mixture for an incredible, speckled ice cream.
Let’s Make Some Homemade Vanilla Ice Cream!
Get ready for some easy, fun kitchen magic. Here’s your step-by-step guide to frozen bliss.
Step 1: Prepare the Ice Cream Mixture (The Easy Part!)
Grab a large mixing bowl. Pour in the heavy cream and whole milk. The combination will look beautifully thick and luxurious. Add the granulated sugar, that wonderful tablespoon of vanilla extract, and your pinch of salt. Now, take your whisk and start to mix. You’ll whisk for a good 2-3 minutes, until you can no longer feel the grit of the sugar on the bottom of the bowl. The mixture will become silky and smooth, and your kitchen will start to smell like a vanilla bean dream. Pro tip: Taste it now (I know you want to!). This liquid “base” should taste a little sweeter than you’d think, as freezing dulls sweetness.
Step 2: Chill the Mixture (Patience is a Virtue!)
Cover your bowl tightly with plastic wrap. Slide it into the refrigerator. Let it chill for at least one hour, but if you can leave it for two or three, even better! This step is crucial for making great homemade vanilla ice cream. A very cold base will freeze faster and more evenly in your ice cream machine. This prevents icy crystals and gives you that dreamy, creamy texture we all crave. Use this time to make sure your ice cream maker’s bowl is frozen solid!
Step 3: Churn the Ice Cream (The Magic Show!)
This is the fun part! Take your well-chilled mixture out of the fridge. Give it a quick stir. Set up your ice cream maker according to its instructions. Turn it on, and slowly pour in the vanilla cream. In about 20 to 25 minutes, you will witness pure magic. The liquid will slowly thicken, cling to the dasher, and transform into a soft, billowy cloud of ice cream. It should look like perfect, luxurious soft-serve. Chef’s tip: If you want to add any mix-ins like chocolate chips or crushed cookies, add them in the last 2 minutes of churning.
Step 4: Freeze to Firm Up (The Final Countdown!)
Use a rubber spatula to gently scoop your churned ice cream into a freezer-safe container with a tight lid. A loaf pan works great if you cover the top with plastic wrap and then foil. Press a piece of parchment paper directly onto the surface of the ice cream before sealing the lid. This little trick prevents ice crystals from forming on top! Place it in the coldest part of your freezer and let it set for at least 2-4 hours. This “ripening” time allows the flavors to meld perfectly and the texture to firm up just right.
Step 5: Serve and Savor (The Reward!)
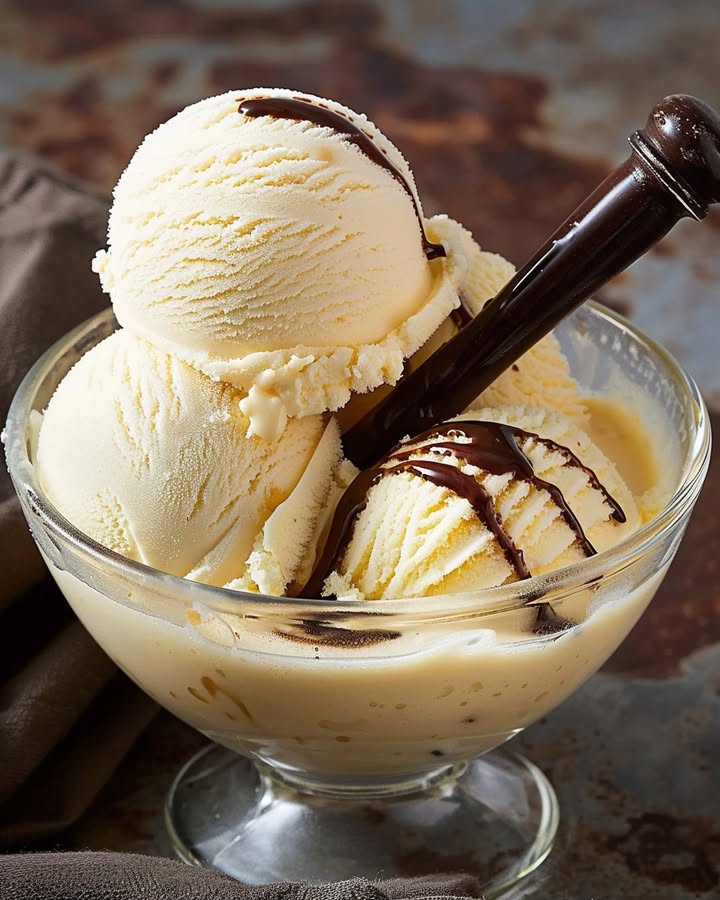
The moment has arrived! Take your container from the freezer. For the easiest scooping, let the ice cream sit on the counter for 5-10 minutes to soften slightly. Then, dip your scoop in warm water, shake it off, and glide it through your homemade vanilla ice cream. Pile the creamy, fragrant scoops into bowls or cones. Top with sprinkles, hot fudge, or fresh berries—or enjoy its pure, simple perfection all on its own.
Timing Your Homemade Vanilla Ice Cream Adventure
This recipe is wonderfully hands-off. Active prep time is just about 10 minutes. The mixture needs to chill for at least 1 hour. The churning takes about 25 minutes. Then, plan for a minimum 2-hour freeze to get that classic firm, scoopable texture. So, from start to serving, your total time is around 3 hours and 35 minutes, but most of that is just waiting while your freezer does the work!
My Secret for the Best Vanilla Flavor
My absolute secret weapon? I use two types of vanilla. I’ll use one teaspoon of a high-quality pure vanilla extract and then scrape the seeds from half a vanilla bean pod into the mix. The extract gives a consistent, rounded flavor, while the tiny black specks from the bean paste give an intense, aromatic punch that says “this is homemade!” If you don’t have a bean, don’t worry—a full tablespoon of great extract works miracles on its own.
A Cool Fact About Vanilla
Did you know vanilla is the second most expensive spice in the world, right after saffron? Those little brown specks in your ice cream are the seeds from the orchid’s bean pod. Each flower must be pollinated by hand and takes months to cure. So when you enjoy your homemade vanilla ice cream, you’re savoring a truly special ingredient!
Tools You’ll Need
- A large mixing bowl
- A sturdy whisk
- Measuring cups and spoons
- Plastic wrap or a lid for the bowl
- An ice cream maker (the essential tool!)
- A rubber spatula
- A freezer-safe airtight container
Storing Your Homemade Vanilla Ice Cream
For the best texture, enjoy your ice cream within the first week. Store it in the back of your freezer where the temperature is most consistent. The parchment paper pressed directly on the surface is your best defense against freezer burn and ice crystals.
If you notice your ice cream has become very hard in the freezer, simply move it to the refrigerator for 15-20 minutes before you plan to serve it. This will soften it up just enough for perfect scooping.
Homemade ice cream doesn’t contain the stabilizers found in commercial brands, so it’s best enjoyed fresh. But let’s be honest—it’s so delicious, it rarely lasts more than a few days anyway!
Tips and Advice for Ice Cream Success
- Always make sure your ice cream maker’s freezer bowl is completely frozen solid for 24 hours before using it.
- Don’t skip the chilling step for the base. A cold base churns faster and creates smaller ice crystals.
- Experiment! Once you master this base, try swirling in homemade raspberry sauce, folding in crumbled brownies, or adding a ribbon of dulce de leche.
Pretty Presentation Ideas
Make your dessert look as good as it tastes! Serve scoops in vintage sundae glasses. Drizzle with warm caramel or chocolate sauce and add a cherry. For a party, make mini ice cream sandwiches using cookies. Create an “ice cream bar” with bowls of toppings like crushed nuts, sprinkles, and whipped cream for everyone to customize their own bowl.
Healthier & Fun Flavor Twists
This classic recipe is a perfect starting point for endless variations.
- Lighter Vanilla: Swap the heavy cream for full-fat coconut milk and use a sugar substitute like monk fruit for a dairy-free, lower-sugar version.
- Chocolate Swirl: As you transfer the churned ice cream to its container, layer it with a thick, cooled homemade chocolate fudge sauce.
- Strawberry Cheesecake: Fold in a swirl of sweetened mashed strawberries and chunks of graham crackers during the last minute of churning.
- Cookies and Cream: Crush about 15 chocolate sandwich cookies (like Oreos) and add them in the last 2 minutes of churning for a family favorite.
- Salted Caramel Pretzel: Swirl in a salty-sweet homemade caramel sauce and add broken pieces of hard pretzels for a crunch.
- Fresh Fruit Sorbet-Inspired: Reduce the cream to 1 cup and add 1 cup of pureed and strained fresh fruit (like peaches or mango) to the base for a fruity vanilla blend.
Common Mistakes to Avoid
Mistake 1: Not Chilling the Base Long Enough
It’s so tempting to pour the mix right into the machine! But a warm or room-temperature base will not churn properly. It can melt the frozen bowl of your ice cream maker, leading to a soupy, icy mess. The mixture must be thoroughly cold—ideally below 40°F. This ensures it starts freezing immediately, creating a smooth texture. Always plan for that full hour (or more) of fridge time. It makes all the difference.
Mistake 2: Using a Not-Fully-Frozen Ice Cream Bowl
Your ice cream maker’s freezer bowl needs to be a solid block of ice. If it’s even slightly liquid inside, it won’t have the freezing power to do its job. I make a habit of storing my bowl in the freezer at all times, so it’s always ready. A good test? Shake the bowl. If you don’t hear any liquid sloshing around inside, you’re good to go. Most machines need a solid 24 hours in the freezer to be ready.
Mistake 3: Over-churning the Ice Cream
More churning does not mean firmer ice cream. Once the mixture reaches a thick, soft-serve consistency and is pulling away from the sides of the bowl, it’s done. If you churn it too long, you’re essentially whipping too much air into it and the friction can start to melt it. This can make it grainy or cause large ice crystals to form later. Follow your machine’s suggested time, typically 20-30 minutes, and trust the process.
Mistake 4: Skipping the “Ripening” Freeze
Soft-serve straight from the machine is a delicious treat. But if you want classic, scoopable ice cream, you must let it harden in the freezer. This “ripening” stage lets the flavors develop and blend together beautifully. The texture also becomes uniformly firm and creamy. Transferring it to a shallow container helps it freeze faster and more evenly than leaving it in the machine’s deep bowl.
Your Homemade Vanilla Ice Cream Questions, Answered
Can I make this homemade vanilla ice cream without an ice cream maker?
Yes, you can! It’s called the “still-freeze” method. After chilling your base, pour it into a shallow dish like a loaf pan. Freeze it for about 45 minutes. As the edges start to freeze, take it out and whisk it vigorously to break up the ice crystals. Do this every 30 minutes for about 2-3 hours until it’s frozen. It will be a bit icier than churned ice cream, but still delicious. A hand mixer can make this process easier.
Why is my homemade ice cream too hard and icy?
An icy texture usually means too much water in the mix or too-slow freezing. This can happen if you used low-fat milk, didn’t dissolve the sugar completely, or your base wasn’t cold enough before churning. Using the full-fat ingredients and ensuring your ice cream maker bowl is rock-solid frozen are the best ways to fight iciness. A little alcohol, like a tablespoon of vodka, can also help keep it softer.
Why did my ice cream not get thick in the machine?
This almost always points to an issue with your ice cream maker’s freezer bowl. If it’s not fully frozen, it can’t freeze the mixture. Make sure it’s been in the freezer for a full 24 hours with no liquid left inside. Also, ensure your mixture was properly chilled. A warm mixture will never thicken up correctly in the machine.
How long does homemade vanilla ice cream last in the freezer?
For the very best texture and flavor, enjoy it within one week. Because it doesn’t have preservatives, it can become icy or develop freezer flavors after that. That said, it’s perfectly safe to eat for a month or more if stored well with parchment paper pressed on the surface in an airtight container. It just won’t be at its creamiest best.
Can I use vanilla flavoring instead of extract?
I strongly recommend using pure vanilla extract. “Vanilla flavoring” or “imitation vanilla” is often made from synthetic chemicals. It can have a harsh, artificial taste. Pure extract, while more expensive, is made from real vanilla beans and provides that warm, complex, true flavor we love. For a special treat, using a real vanilla bean is absolutely worth it.
What’s the best way to scoop hard ice cream?
Don’t fight with it! Simply take the container from the freezer and let it sit on your kitchen counter for 5 to 10 minutes. This slight softening makes scooping a breeze. Running your ice cream scoop under hot water and drying it off before each scoop also helps you glide right through the frozen treat.
Can I reduce the sugar in this recipe?
You can, but you should be careful. Sugar doesn’t just add sweetness; it lowers the freezing point, which helps keep the ice cream soft and prevents it from becoming a solid block of ice. If you reduce it by more than a quarter, your ice cream may become very hard and icy. You could experiment with sugar substitutes made for baking that are designed to behave like sugar.
My ice cream tastes great but has a “gummy” texture. What happened?
A gummy or chewy texture often means the ice cream was over-churned. When you churn beyond the soft-serve stage, you’re incorporating too much air and the fat molecules can start to clump together, creating that strange mouthfeel. Next time, stop the machine as soon as it looks thick and creamy, even if it seems a little softer than you expect.
Is it necessary to use salt in the recipe?
That tiny pinch is a flavor powerhouse, not just an afterthought! Salt enhances and intensifies all the other flavors, especially the vanilla. It balances the sweetness perfectly so your ice cream doesn’t taste flat or one-note. Don’t skip it—you won’t taste “saltiness,” you’ll just taste “better vanilla.”
Can I double this homemade vanilla ice cream recipe?
Check the capacity of your ice cream maker first! Most home models hold between 1.5 and 2 quarts. This recipe makes about 1.5 quarts. Doubling it might overflow your machine. If your machine is large enough, feel free to double it. Just be sure to chill the larger volume of base for longer—maybe 2 hours—to ensure it’s cold throughout before churning.
The Final Scoop
Making homemade vanilla ice cream is more than just following a recipe. It’s about creating a moment of pure, simple joy. The smell of vanilla filling your kitchen, the whir of the machine, the anticipation of that first taste—it’s an experience. So grab your whisk, freeze that bowl, and treat yourself to the incredible satisfaction of a creamy, dreamy bowl of your very own creation. You’ve got this!
Steak Fajita Quesadillas
Ingredients
Equipment
Method
- In a large mixing bowl, combine heavy cream and whole milk until thick and luxurious.
- Add granulated sugar, vanilla extract, and salt; whisk for 2-3 minutes until sugar dissolves.
- Cover the bowl with plastic wrap and chill in the refrigerator for at least one hour (the longer, the better!).
- Once chilled, give the mixture a quick stir and pour it into the ice cream maker.
- Churn the mixture for about 20-25 minutes until it reaches a soft-serve consistency, adding any mix-ins in the last 2 minutes.
- Transfer the churned ice cream to a freezer-safe container, pressing parchment paper on the surface to prevent ice crystals.
- Freeze for 2-4 hours until firm.
- Before serving, let the ice cream sit at room temperature for 5-10 minutes to soften slightly.