Classic Homemade Chocolate Chip Cookies: Your New Go-To Recipe
You know that feeling when your kitchen fills with the warm, buttery smell of baking cookies? It’s pure magic. For me, it’s the sound of my kids running downstairs, asking, “Are they ready yet?” This classic chocolate chip cookie recipe is my secret weapon. I’ve baked hundreds of batches for bake sales, potlucks, and tearful friends. Today, I’m sharing my foolproof version with you. Get ready to make the chewy, chocolatey cookies of your dreams.
A Sweet Slice of Cookie History
The story goes that Ruth Wakefield invented these cookies by accident in the 1930s. She ran out of baker’s chocolate and broke a Nestlé semisweet bar into pieces. She thought they would melt into the dough. They didn’t! Instead, she created a beloved treat. My grandma had her own version, scribbled on a stained index card. My recipe is a blend of that old-fashioned love and modern baking know-how. It’s a tradition worth keeping alive, one delicious batch at a time.
Why You’ll Fall in Love With This Recipe
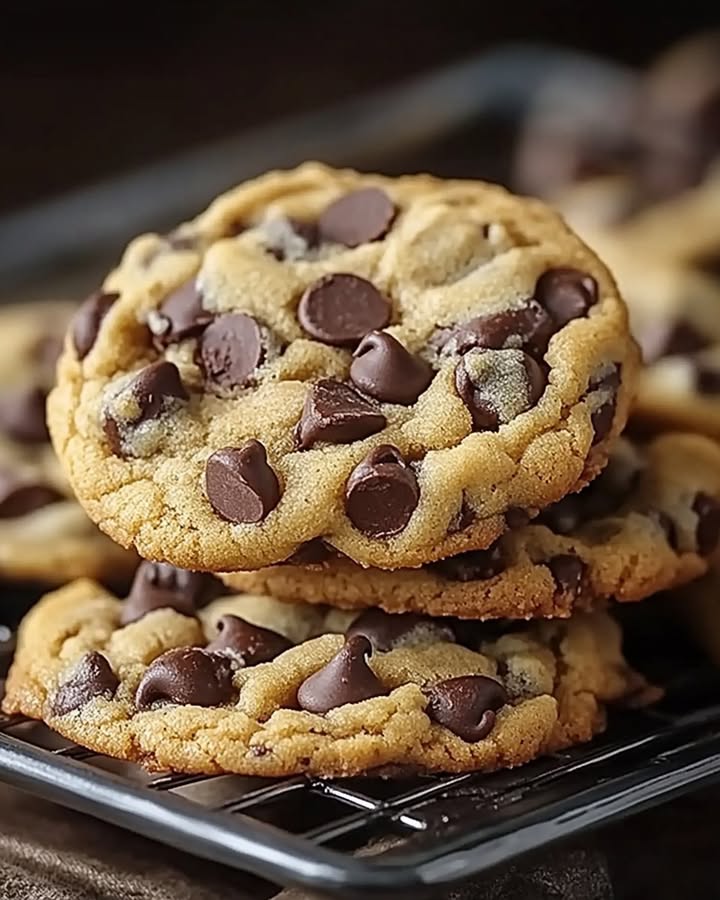
What’s not to love? These cookies are perfectly balanced. They have crisp, golden edges and a soft, chewy center packed with melty chocolate. The recipe is straightforward with no fancy tools needed. The dough comes together in one bowl (mostly!). It’s also incredibly forgiving. You can tweak it to be your own. Most importantly, they make people happy. A plate of warm homemade cookies is a universal sign of love and comfort.
Perfect Occasions for a Batch of Joy
- School Bake Sales: The first treat to disappear every single time.
- Weekend Family Movie Nights: Pair with a cold glass of milk.
- Welcome Wagon for New Neighbors: A delicious icebreaker.
- Potluck Dinners: An easy, crowd-pleasing contribution.
- Just-Because Tuesdays: Sometimes you need a cookie on a Tuesday.
Gathering Your Ingredients
Using quality ingredients makes a world of difference. Here is what you’ll need for about 24 perfect cookies:
- 1 cup (2 sticks) of unsalted butter, softened
- 3/4 cup of granulated sugar
- 3/4 cup of packed brown sugar (light or dark works!)
- 2 large eggs, at room temperature
- 1 teaspoon of pure vanilla extract
- 2 1/4 cups of all-purpose flour (spooned and leveled)
- 1 teaspoon of baking soda
- 1 teaspoon of salt
- 2 cups of semisweet chocolate chips
Easy Ingredient Swaps (No Panic Allowed!)
Ran out of something? No worries. Here are some simple swaps:
- Butter: Salted butter works. Just omit the extra teaspoon of salt in the recipe.
- Chocolate Chips: Use milk chocolate, dark chocolate, or even chopped chocolate bars. A mix is fun!
- Brown Sugar: Out of brown sugar? For each cup, mix 1 cup white sugar with 1 tablespoon of molasses.
- Add-Ins: Stir in 1 cup of chopped nuts like walnuts or pecans for extra crunch.
Let’s Bake! Step-by-Step Instructions
Step 1: Preheat and Prep
First, turn your oven to 350°F (175°C). This gives it time to get perfectly hot. Line your baking sheets with parchment paper. This is my favorite trick. It prevents sticking and makes cleanup a breeze. No parchment? A light greasing works too. Get out your large mixing bowl and a sturdy spoon or hand mixer.
Step 2: Cream the Butter and Sugars
In your large bowl, combine the softened butter with both sugars. “Creaming” means beating them until the mixture turns pale, fluffy, and smooth. This takes about 2-3 minutes with a mixer. You’ll see the color lighten beautifully. This step creams air into the dough, which helps your cookies rise. Pro tip: Your butter is ready when you can press a finger into it easily and leave a dent.
Step 3: Add the Eggs and Vanilla
Now, beat in the eggs one at a time. Make sure the first egg is fully mixed in before adding the second. This helps the batter emulsify and stay smooth. Then, pour in that glorious vanilla extract. The aroma will already start to smell like cookies! Scrape down the sides of the bowl with a spatula to get everything mixed well.
Step 4: Combine the Dry Ingredients
In a separate bowl, whisk together the flour, baking soda, and salt. Whisking ensures the baking soda and salt are evenly distributed. Nobody wants a bite with too much soda! Gradually add this dry mixture to your wet butter mixture. Mix on low speed or by hand until just combined. Stop as soon as you see no more dry flour streaks. Overmixing makes tough cookies.
Step 5: Fold in the Chocolate Chips
This is the best part! Pour in those two cups of shiny chocolate chips. Use your spatula to gently fold them into the dough. Fold until you see gorgeous chocolate chips speckled throughout every bit. Chef’s tip: Save a small handful of chips to press on top of the dough balls before baking. It makes the cookies look bakery-perfect.
Step 6: Scoop the Dough
Using a tablespoon or a small cookie scoop, drop rounded balls of dough onto your prepared sheet. Leave about 2 inches of space between them. They will spread as they bake. You want them to have room to become perfect circles, not one giant cookie sheet! The dough balls should be tall and mounded, not flat.
Step 7: Bake to Golden Perfection
Place the sheet in the center of your preheated oven. Bake for 10-12 minutes. Watch for golden brown edges while the centers still look slightly soft and puffy. They will not look fully done, and that’s the secret! They finish setting as they cool. Ovens vary, so start checking at 9 minutes.
Step 8: The Crucial Cool Down
When the cookies come out, let them sit on the hot baking sheet for 5 minutes. This allows them to firm up just enough to move. Then, use a spatula to transfer them to a wire rack. Let them cool completely. I know it’s hard, but this wait makes the texture ideal—chewy center, crisp edge.
Your Baking Timeline
- Prep Time: 15 minutes
- Cook Time: 10-12 minutes per batch
- Cooling Time: 15-20 minutes
- Total Time: About 45 minutes
- Servings: 24 delicious cookies
- Calories: Approximately 200 per cookie
My Secret Chef’s Weapon
For an unbelievable flavor boost, toast your dry flour. Spread the 2 1/4 cups of flour on a baking sheet. Bake at 350°F for about 5 minutes, just until it smells nutty. Let it cool completely before using. This simple step deepens the flavor and gives your cookies a warm, toasty note that people can’t quite place but absolutely love.
A Fun Cookie Fact
Did you know the chocolate chip cookie is the official state cookie of both Massachusetts and Pennsylvania? It’s true! It’s also one of the most baked goods in American home kitchens. In 1987, Vermont even named chocolate chip as its official state flavor. That’s a lot of love for one little cookie.
Equipment You’ll Need
- Large mixing bowl
- Medium bowl for dry ingredients
- Hand mixer or stand mixer (a strong arm and spoon works too!)
- Measuring cups and spoons
- Baking sheets (2 is best for rotating batches)
- Parchment paper or silicone baking mats
- Wire cooling rack
- Spatula
How to Keep Your Cookies Fresh
Once your cookies are completely cool, store them in an airtight container at room temperature. A cookie jar with a tight seal or a Tupperware container works perfectly. Place a piece of bread in the container. The cookies will draw moisture from the bread, staying soft for days. Replace the bread when it gets hard.
For longer storage, you can freeze the baked cookies. Layer them between sheets of parchment paper in a freezer-safe bag or container. They’ll keep for up to 3 months. Thaw at room temperature or pop a frozen one in the microwave for 15 seconds.
You can also freeze the unbaked dough! Scoop the dough balls onto a sheet and freeze them solid. Then transfer the frozen dough balls to a bag. You can bake them straight from the freezer, adding 1-2 extra minutes to the bake time. Fresh cookies anytime!
My Best Tips for Success
- Use a kitchen scale to measure your flour for absolute accuracy. Too much flour is the #1 reason for dry cookies.
- For ultra-thick, bakery-style cookies, chill the dough for at least 30 minutes (or up to 72 hours!) before baking.
- Rotate your baking sheet halfway through baking for even browning.
- If your cookies spread too much, your butter was likely too warm. Chill the dough before the next batch.
Pretty Presentation Ideas
- Stack them high on a vintage cake stand for a party.
- Pack a few in a cellophane bag tied with ribbon for a sweet gift.
- Serve warm with a small bowl of vanilla ice cream for “make-your-own” cookie sundaes.
- For a holiday spin, use white and dark chocolate chips and festive sprinkles in the dough.
Six Delicious Recipe Variations to Try
Once you master the classic, have fun with these twists!
- Sea Salt Dark Chocolate: Use 70% dark chocolate chips and sprinkle a flaky sea salt like Maldon on each dough ball before baking.
- Oatmeal Chocolate Chip: Replace 1 cup of the flour with 1 cup of old-fashioned rolled oats for a hearty, chewy texture.
- Peanut Butter Chocolate Chip: Replace 1/2 cup of the butter with 1/2 cup of smooth peanut butter. Use Reese’s Pieces for extra fun.
- M&M’s Funfetti: Swap the chocolate chips for M&M’s and add 1/4 cup of rainbow sprinkles to the dough.
- Kitchen Sink Cookies: Add 1/2 cup each of pretzel pieces, potato chips, and butterscotch chips along with the chocolate for a sweet-salty-crunchy masterpiece.
- Buttery Pecan Snowballs Inspired: For a flavor reminiscent of those powdered sugar-dusted Buttery Pecan Snowballs, fold in 1 cup of finely chopped toasted pecans. After baking and cooling, roll the cookies in powdered sugar. It’s a chocolate chip cookie meets a holiday classic!
Common Mistakes to Avoid
Mistake 1: Using Melted or Cold Butter
Butter temperature is crucial. Melted butter makes cookies greasy and flat. Rock-hard cold butter won’t cream properly. Your butter should be softened. It should yield to gentle pressure but still hold its shape. Leave it on the counter for about an hour before you start baking. The perfect texture helps trap air for a lovely rise.
Mistake 2: Overmeasuring the Flour
This is the biggest culprit behind dry, cakey cookies. Scooping flour directly from the bag packs it down, adding too much. Instead, spoon the flour lightly into your measuring cup. Then, level it off with the flat edge of a knife. For real precision, use a kitchen scale. 2 1/4 cups of all-purpose flour equals about 270 grams.
Mistake 3: Overbaking the Cookies
They continue to cook on the hot baking sheet! Take them out when the edges are set and golden brown, but the centers still look soft, puffy, and slightly underdone. They will look wet in the cracks. This is good. They will set up perfectly as they cool, giving you that coveted chewy center. A slightly underbaked cookie is better than an overbaked one.
Mistake 4: Putting Dough on a Hot Pan
If you reuse a baking sheet that’s still hot from the oven, your dough will start to melt and spread before it even hits the heat. Always let your baking sheets cool completely between batches. Run one under cold water and dry it quickly, or simply have two sheets to rotate. Cold dough on a cool sheet is the goal.
Your Chocolate Chip Cookie Questions, Answered
Can I use margarine instead of butter?
I don’t recommend it. Butter is key for flavor and texture. Margarine has more water and less fat. This can change how your cookies spread and taste. They often turn out thinner and have a different, sometimes artificial, flavor. For the best classic cookie, real unsalted butter is the way to go. It’s worth it!
Why did my cookies come out flat?
Flat cookies usually mean your butter was too warm or melted. It could also mean your baking sheet was too hot, as mentioned above. Another reason is old or expired baking soda. Baking soda loses its power over time. Check the date on your box. Finally, make sure you’re not on a greased or buttered pan if you’re not using parchment. Too much grease causes spreading.
How can I make my cookies softer and chewier?
For a softer, chewier cookie, use more brown sugar than white sugar. Brown sugar has molasses, which adds moisture. You can also try using an extra egg yolk for richness. The most effective trick? Chill your dough! At least 30 minutes, but overnight is magic. Chilling solidifies the fat, so the cookies spread less and develop deeper, more complex flavors.
Can I make the dough ahead of time?
Absolutely! In fact, I encourage it. You can cover the dough bowl and refrigerate it for up to 72 hours. This “aging” allows the flour to fully hydrate and the flavors to meld. The result is a richer tasting cookie with better browning. You can also scoop the dough balls first, chill them on a tray, then bag them up. Bake straight from the fridge, adding a minute or two.
My cookies are too cakey. What happened?
A cakey texture often comes from too much flour or too many eggs. Re-check your flour measuring technique. Using cake flour by accident can also cause this, as it has less protein. Make sure you’re using large, not extra-large, eggs. Also, avoid overmixing once you add the dry ingredients. Overmixing develops gluten, which can lead to a tougher, more bread-like texture.
Is it okay to use a mixer the whole time?
Use your mixer for creaming the butter and sugars, and for adding the eggs. Once you add the dry ingredients, switch to mixing by hand with a spatula or wooden spoon. Mix just until the flour disappears. This prevents overmixing, which makes tough cookies. Folding in the chocolate chips by hand is also gentler and prevents breaking them.
Can I use milk chocolate or white chocolate chips?
Yes, you can use any chocolate you love! Milk chocolate chips will make a sweeter cookie. White chocolate chips are delicious, especially with added dried cranberries. Just keep the total volume about the same—around 2 cups. You can also use chopped chocolate bars. The irregular pieces create lovely pools of chocolate. It’s your cookie canvas!
Why do recipes call for both baking soda and salt?
Baking soda is a leavening agent. It helps the cookies rise and spread. Salt is a flavor enhancer. It balances the sweetness and makes the chocolate taste even richer. Don’t skip it! Even in sweet baked goods, salt is a critical ingredient. It makes all the other flavors pop. I use fine sea salt in my dough.
How do I get those pretty, wrinkly cookie tops?
Those lovely wrinkles and cracks happen when the outside sets quickly while the inside is still rising. Two things help: First, make sure your dough isn’t too wet (accurate flour measuring). Second, chill your dough. Cold dough takes longer to melt in the oven, creating more contrast between the set edges and the still-rising center. That’s where the wrinkles come from!
Can I double this recipe?
You sure can! Simply double all the ingredients. Make sure you’re using a bowl large enough to handle the volume. You may need to mix the dry ingredients in a separate, very large bowl. Also, be prepared to bake in multiple batches. Don’t crowd the oven with too many sheets at once, as it affects air circulation and baking time.
Happy Baking!
There you have it—my tried-and-true, family-favorite chocolate chip cookie recipe. Baking is about joy, sharing, and a little bit of delicious mess. Don’t stress about perfection. The real magic is in the making and the sharing. So, preheat that oven, soften that butter, and get ready for your house to smell amazing. I hope this recipe brings you as many sweet memories and happy bellies as it has for me. Now go bake some memories!
Buttery Pecan Snowballs
Ingredients
Equipment
Method
- Preheat your oven to 350°F (175°C) and line your baking sheets with parchment paper.
- In a large bowl, combine softened butter with both sugars and cream until pale and fluffy.
- Beat in the eggs one at a time, adding the vanilla extract and mixing well.
- In a separate bowl, whisk together flour, baking soda, and salt; gradually add to the wet mixture until just combined.
- Fold in the chocolate chips gently.
- Scoop rounded balls of dough onto prepared sheets, leaving space between them.
- Bake in the preheated oven for 10-12 minutes until edges are golden and centers are slightly soft.
- Allow cookies to cool on the baking sheet for 5 minutes before transferring to a wire rack to cool completely.