Why Red Velvet Cupcakes with Cream Cheese Frosting Are a Must-Try
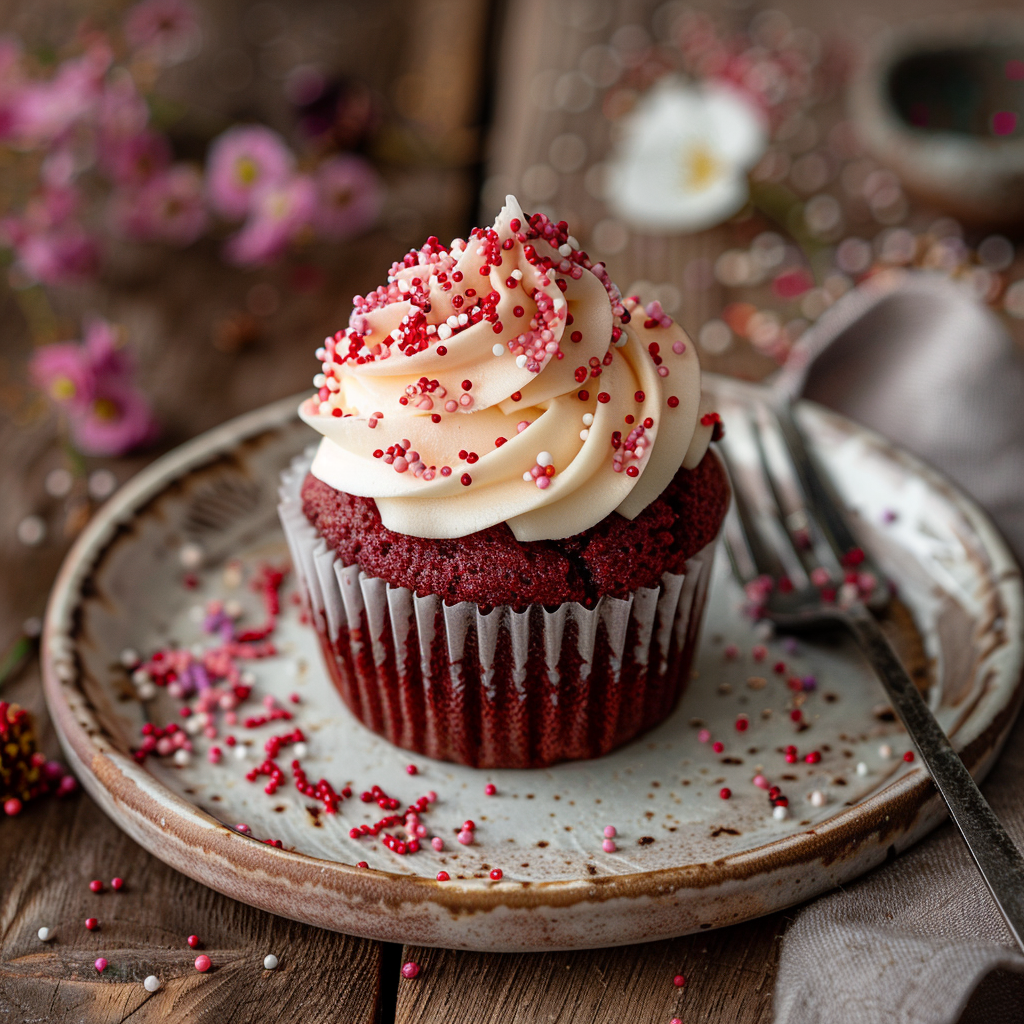
There’s something magical about biting into a Red Velvet Cupcake with Cream Cheese Frosting. The rich, velvety crumb paired with that tangy-sweet frosting is like a party in your mouth. I remember the first time I made these for my daughter’s birthday. She insisted on red cupcakes, and I, being the overachiever mom, decided to go all out. Let’s just say, they were gone before the candles even had a chance to burn down. These cupcakes are not just a treat; they’re a memory maker.
A Little History Behind Red Velvet Cupcakes
You might think Red Velvet Cupcakes are a modern invention, but their roots go way back. They originated during the Great Depression when bakers started experimenting with cocoa and buttermilk to create a unique flavor profile. Over time, the recipe evolved, and now we have variations like moist red velvet cupcakes, red velvet cupcakes without buttermilk, and even shortcuts using cake mix. Paula Deen’s version is famous for its indulgence, while the hummingbird recipe adds a Southern twist with pineapple and pecans.
Why You’ll Love This Recipe
This recipe is special because it strikes the perfect balance between fluffy and moist. The vibrant red color makes them irresistible, and the cream cheese frosting? Oh, it’s the cherry on top—literally! Whether you’re a seasoned baker or a newbie, this recipe is forgiving and fun. Plus, it’s versatile. Want to add a filling? Go for it. Need to skip buttermilk? No problem. These cupcakes are here to make your life easier and tastier.
Perfect Occasions to Bake These Cupcakes
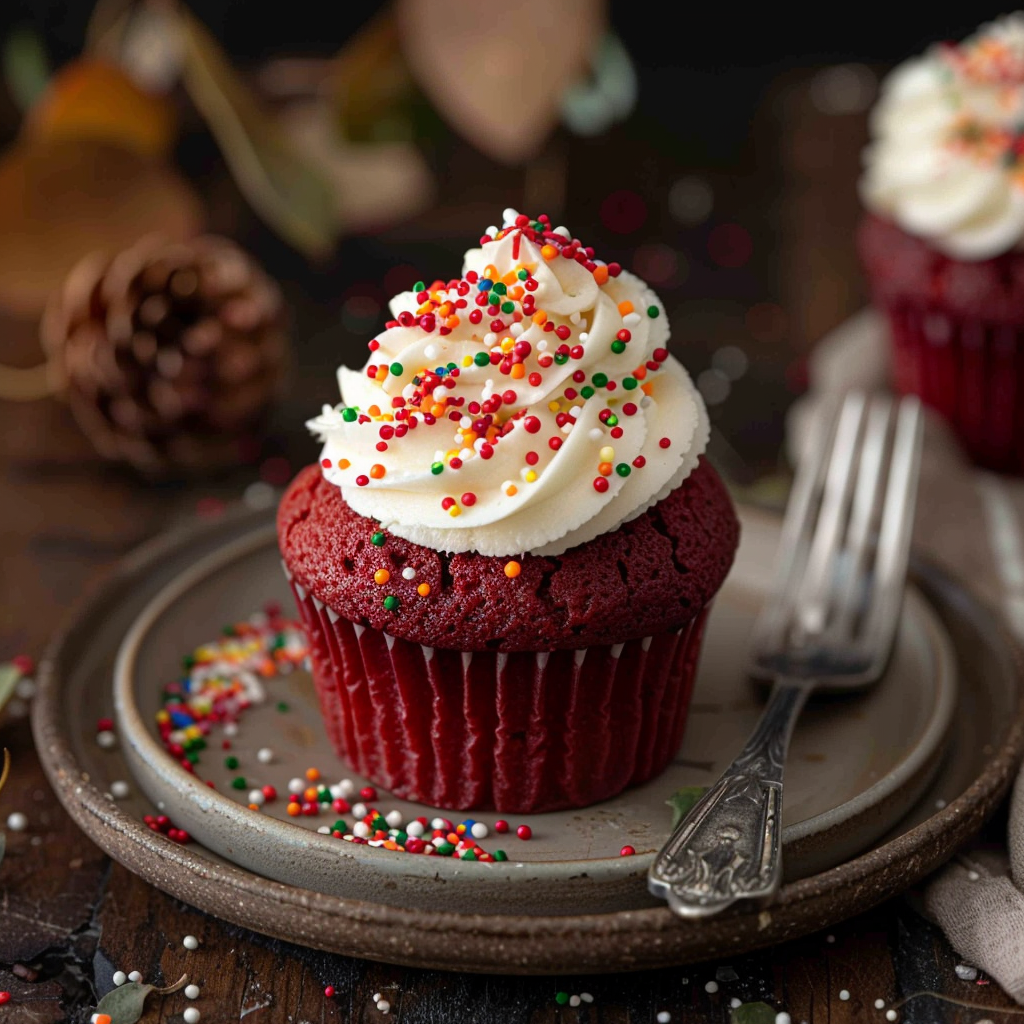
From birthdays to Valentine’s Day, Red Velvet Cupcakes with Cream Cheese Frosting are perfect for any celebration. I’ve served them at baby showers, holiday parties, and even casual coffee mornings. They’re also a hit at bake sales because who can resist that pop of red and creamy swirl on top? Trust me, these cupcakes will steal the show wherever you take them.
Ingredients
- 1 ½ cups all-purpose flour
- 1 teaspoon baking soda
- 1 teaspoon salt
- 1 cup granulated sugar
- ½ cup unsweetened cocoa powder
- 1 cup vegetable oil
- 2 large eggs
- 1 teaspoon vanilla extract
- 1 tablespoon red food coloring (gel works best)
- 1 cup buttermilk (or substitute with sour cream and milk)
- 1 teaspoon white vinegar
Substitution Options
- Buttermilk: Mix 1 cup of milk with 1 tablespoon of lemon juice or vinegar if you don’t have buttermilk.
- Food Coloring: Use beetroot powder for a natural alternative.
- Cake Mix Hack: For a quicker version, use a box of red velvet cake mix and follow the package instructions.
Step 1: Preheat and Prep
Start by preheating your oven to 350°F (175°C). Line a muffin tin with cupcake liners. I always recommend using liners because they make cleanup a breeze. Pro tip: Spray the liners lightly with cooking spray to prevent sticking. Now, grab your mixing bowls and let’s get to work!
Step 2: Mix Dry Ingredients
In a medium bowl, whisk together the flour, baking soda, salt, and cocoa powder. This step ensures everything is evenly distributed so each bite has the same delicious flavor. Cocoa powder gives these cupcakes their signature deep chocolate undertone. Don’t skimp on quality here—it makes a difference!
Step 3: Combine Wet Ingredients
In a large bowl, beat the sugar and oil until smooth. Add the eggs one at a time, then mix in the vanilla extract and red food coloring. Watch as the batter turns a gorgeous shade of crimson. It’s almost too pretty to bake! Chef’s tip: Gel food coloring gives a more vibrant red than liquid.
Step 4: Bring It All Together
Gradually add the dry ingredients to the wet mixture, alternating with the buttermilk. Begin and end with the dry ingredients. This method keeps the batter light and airy. Finally, stir in the vinegar—it reacts with the baking soda to give the cupcakes their soft texture. The smell is intoxicating!
Step 5: Bake to Perfection
Spoon the batter into the prepared liners, filling each about two-thirds full. Pop them into the oven for 18–20 minutes. To check if they’re done, insert a toothpick into the center—it should come out clean. Let the cupcakes cool completely before frosting. Patience is key here!
Timing
- Prep Time: 15 minutes
- Cooking Time: 20 minutes
- Resting Time: 30 minutes (for cooling)
- Total Time: About 1 hour
Chef’s Secret
For extra moist cupcakes, brush the tops with a little simple syrup after baking. This trick locks in moisture and adds a subtle sweetness. Your guests won’t know what hit them!
Extra Info
Did you know that during World War II, bakers used beet juice to dye cakes red due to rationing? That’s how the original “red” velvet came to be. Isn’t history fascinating?
Necessary Equipment
- Muffin tin
- Cupcake liners
- Mixing bowls
- Whisk
- Electric mixer
- Toothpick or cake tester
Storage
Store your Red Velvet Cupcakes with Cream Cheese Frosting in an airtight container at room temperature for up to 2 days. If you live in a warm climate, refrigerate them to keep the frosting firm. Just bring them back to room temperature before serving for the best taste. For longer storage, freeze unfrosted cupcakes in a freezer-safe bag for up to 3 months. Thaw overnight in the fridge before frosting.
If you’re planning ahead, frost only what you need and store the rest separately. This prevents the frosting from getting soggy. And hey, no one likes a sad cupcake!
Lastly, label your containers if freezing. Future-you will thank present-you for remembering what’s inside. Trust me, frozen lasagna looks a lot like frozen cupcakes after a few weeks.
Tips and Advice
1. Always sift your cocoa powder to avoid lumps.
2. Don’t overmix the batter—this can make the cupcakes dense.
3. Use room-temperature eggs for better emulsification.
4. Chill the frosting before piping for cleaner swirls.
5. Experiment with different fillings like cream or jam for a surprise bite.
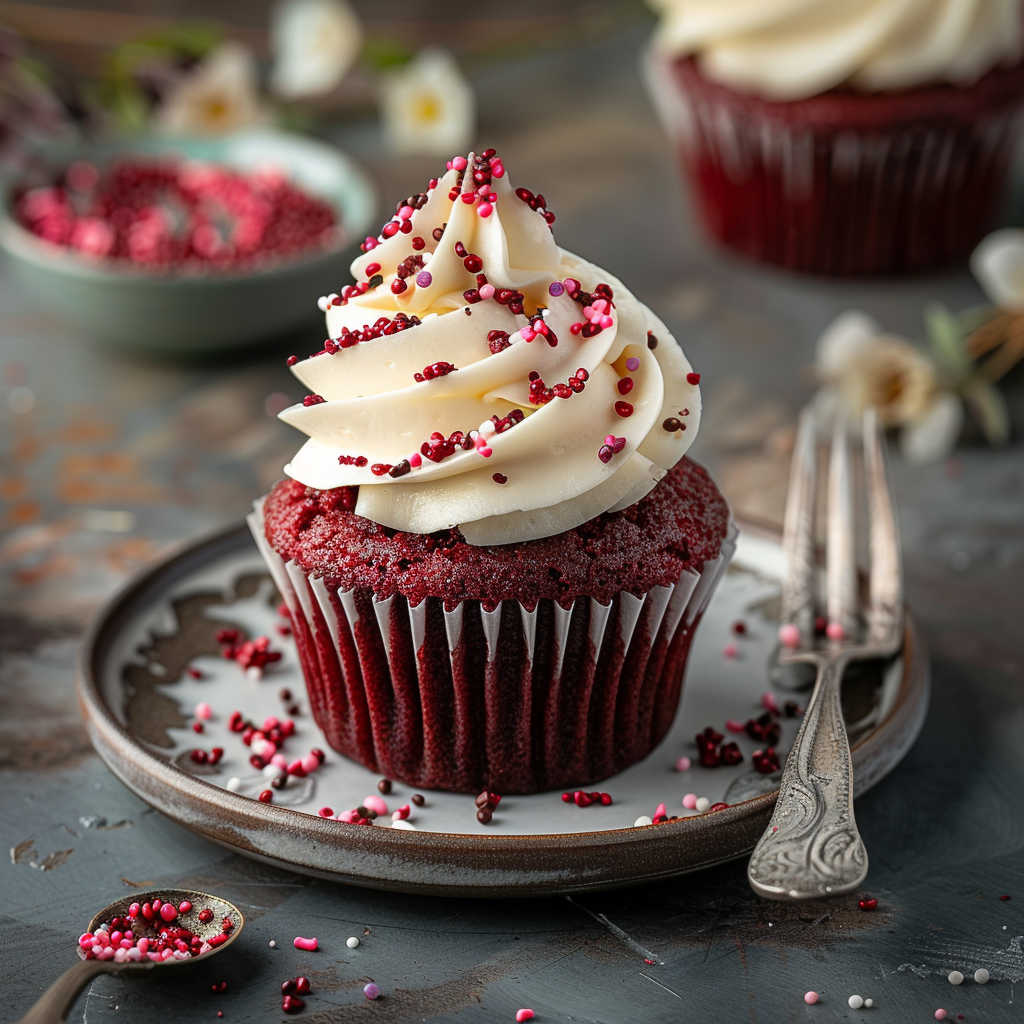
Presentation Tips
- Top with sprinkles or edible glitter for festive flair.
- Pipe the frosting in a spiral motion for a bakery-style look.
- Garnish with fresh berries or chocolate shavings.
- Arrange on a tiered stand for a stunning display.
Healthier Alternative Recipes
Looking to lighten things up? Here are six healthier versions:
- Gluten-Free: Swap regular flour for almond or oat flour.
- Vegan: Use flax eggs and plant-based milk instead of dairy.
- Low-Sugar: Replace sugar with monk fruit or stevia.
- Whole Grain: Use whole wheat pastry flour for added fiber.
- No Food Coloring: Opt for beetroot powder for natural color.
- Reduced Fat: Substitute half the oil with applesauce.
Mistake 1: Overmixing the Batter
Overmixing leads to tough cupcakes. The gluten in the flour develops too much, making the crumb dense. To avoid this, mix just until the ingredients are combined. A few lumps are okay—they’ll disappear during baking.
Mistake 2: Skipping the Vinegar
The vinegar might seem odd, but it’s crucial. It reacts with the baking soda to create air pockets, giving the cupcakes their light texture. Without it, you’ll end up with flat, gummy results. Pro tip: Measure carefully!
Mistake 3: Frosting Warm Cupcakes
Frosting warm cupcakes causes the frosting to melt and slide off. Always let the cupcakes cool completely. If you’re short on time, pop them in the fridge for 10 minutes to speed things up.
FAQ
Can I make Red Velvet Cupcakes without buttermilk?
Absolutely! You can substitute buttermilk with a mix of regular milk and vinegar or lemon juice. Let it sit for 5 minutes to curdle before using.
What’s the difference between red velvet and chocolate cupcakes?
While both contain cocoa, red velvet has less chocolate flavor and relies on buttermilk and vinegar for its unique taste. The color sets it apart too!
How do I get the brightest red color?
Use gel food coloring instead of liquid. It’s more concentrated and won’t thin out your batter. Beetroot powder is a great natural option.
Can I use a cake mix for this recipe?
Yes! Many people love the ease of red velvet cupcakes from cake mix. Just doctor it up with extra vanilla or cream cheese frosting for a homemade touch.
Why is my frosting grainy?
Grainy frosting usually means the butter or cream cheese wasn’t softened enough. Make sure they’re at room temperature before whipping.
How long do these cupcakes last?
They stay fresh for 2–3 days at room temperature or up to a week in the fridge. Store them properly to maintain freshness.
Can I freeze Red Velvet Cupcakes?
Definitely! Freeze unfrosted cupcakes for up to 3 months. Thaw overnight in the fridge before frosting and serving.
What’s a good filling for Red Velvet Cupcakes?
Try a dollop of cream cheese filling, raspberry jam, or even Nutella for a decadent twist.
Why didn’t my cupcakes rise?
This could be due to expired baking soda or skipping the vinegar. Double-check your ingredients and measurements next time.
Is there a UK version of this recipe?
Yes! The red velvet cupcake recipe UK often uses self-raising flour and adjusts measurements slightly. Look for British-specific recipes online.
Final Thoughts
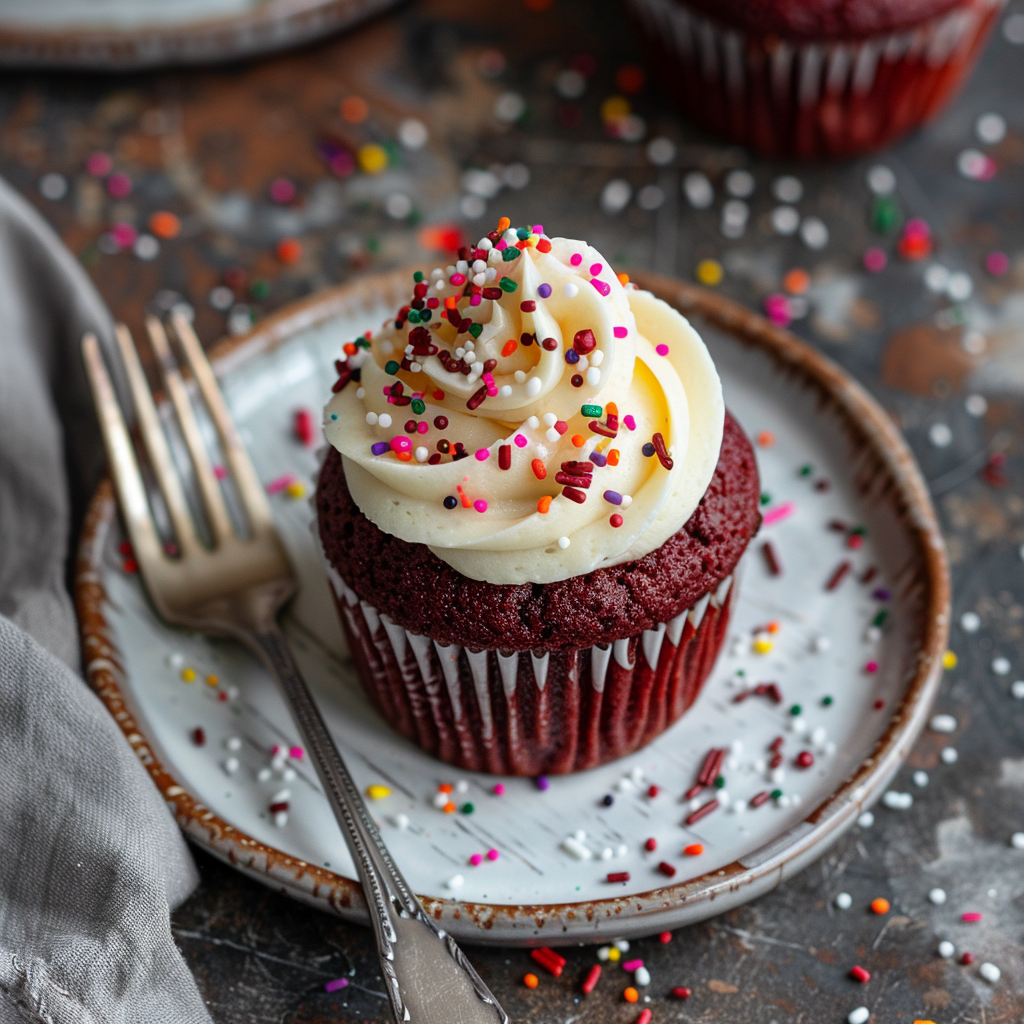
Baking Red Velvet Cupcakes with Cream Cheese Frosting is more than just following a recipe—it’s about creating joy. Whether you’re celebrating a special occasion or simply craving something sweet, these cupcakes deliver. So grab your apron, crank up some music, and let’s bake up a batch of happiness. Your family and friends will thank you!
Red Velvet Cupcakes with Cream Cheese Frosting
Ingredients
Equipment
Method
- Preheat your oven to 350°F (175°C) and line a muffin tin with cupcake liners.
- In a medium bowl, whisk together the flour, baking soda, salt, and cocoa powder.
- In a large bowl, beat the sugar and oil until smooth. Add the eggs one at a time, then mix in the vanilla extract and red food coloring.
- Gradually add the dry ingredients to the wet mixture, alternating with the buttermilk, beginning and ending with the dry ingredients. Stir in the vinegar.
- Spoon the batter into the prepared liners, filling each about two-thirds full. Bake for 18–20 minutes, checking for doneness with a toothpick.
- Let the cupcakes cool completely before frosting.