
Introduction to Easy OREO Truffles
There’s something magical about the combination of creamy, rich chocolate and crunchy cookie bits. That’s exactly what you get with these Easy OREO Truffles. This recipe is a delightful treat that feels indulgent yet is surprisingly simple to make. I first made these truffles for a family gathering, and they disappeared so quickly that I had to double the batch the next time! Whether you’re a seasoned baker or a beginner in the kitchen, this recipe will win hearts and satisfy sweet cravings.
The Sweet History Behind OREO Treats
OREO cookies have been a household favorite since their creation in 1912. These iconic cookies were originally called “Oreo Biscuits” and have evolved into countless dessert creations over the years. From classic milk-dunking to modern recipes like Easy OREO Truffles, these cookies have proven their versatility. My love for OREOs began as a child, but it wasn’t until I discovered how easy it was to transform them into decadent truffles that I truly appreciated their potential.
Why You’ll Love These Easy OREO Truffles
These truffles are a dream come true for anyone who loves chocolate and cookies. They’re incredibly easy to prepare, require no baking, and deliver a luxurious taste that feels gourmet. Plus, the combination of creamy filling and crunchy cookie pieces creates a texture that’s simply irresistible. Whether you’re making them for yourself or sharing them with loved ones, these OREO-based treats are sure to impress.
Perfect Occasions to Prepare Easy OREO Truffles
Looking for a dessert that’s perfect for any occasion? These Easy OREO Truffles are ideal for birthday parties, holiday gatherings, or even as a thoughtful homemade gift. I’ve served them at baby showers, potlucks, and casual movie nights, and they’ve always been a hit. Their bite-sized nature makes them perfect for serving alongside other desserts or as a standalone treat.
Ingredients for Easy OREO Truffles
- 1 package (14.3 oz) OREO cookies
- 8 oz cream cheese, softened
- 16 oz semi-sweet chocolate chips
- 1 tablespoon coconut oil (optional, for smoother melting)
- Sprinkles, crushed nuts, or drizzled chocolate for decoration (optional)
Substitution Options
If you’re looking to customize your Easy OREO Truffles, here are some substitution ideas:
- Use almond extract instead of vanilla for a nutty twist.
- Swap semi-sweet chocolate for white or dark chocolate.
- Replace cream cheese with vegan cream cheese for a dairy-free version.
- Use gluten-free OREO cookies if you need a gluten-free option.
Preparation
Step 1: Crush the Cookies
To begin, place the entire package of OREO cookies into a food processor. Pulse until the cookies are finely crushed, resembling coarse sand. If you don’t have a food processor, you can place the cookies in a zip-top bag and crush them with a rolling pin. The aroma of chocolate wafting through the air is enough to make your mouth water! Pro tip: Be sure to crush the cookies evenly to ensure a smooth texture for your truffle mixture.
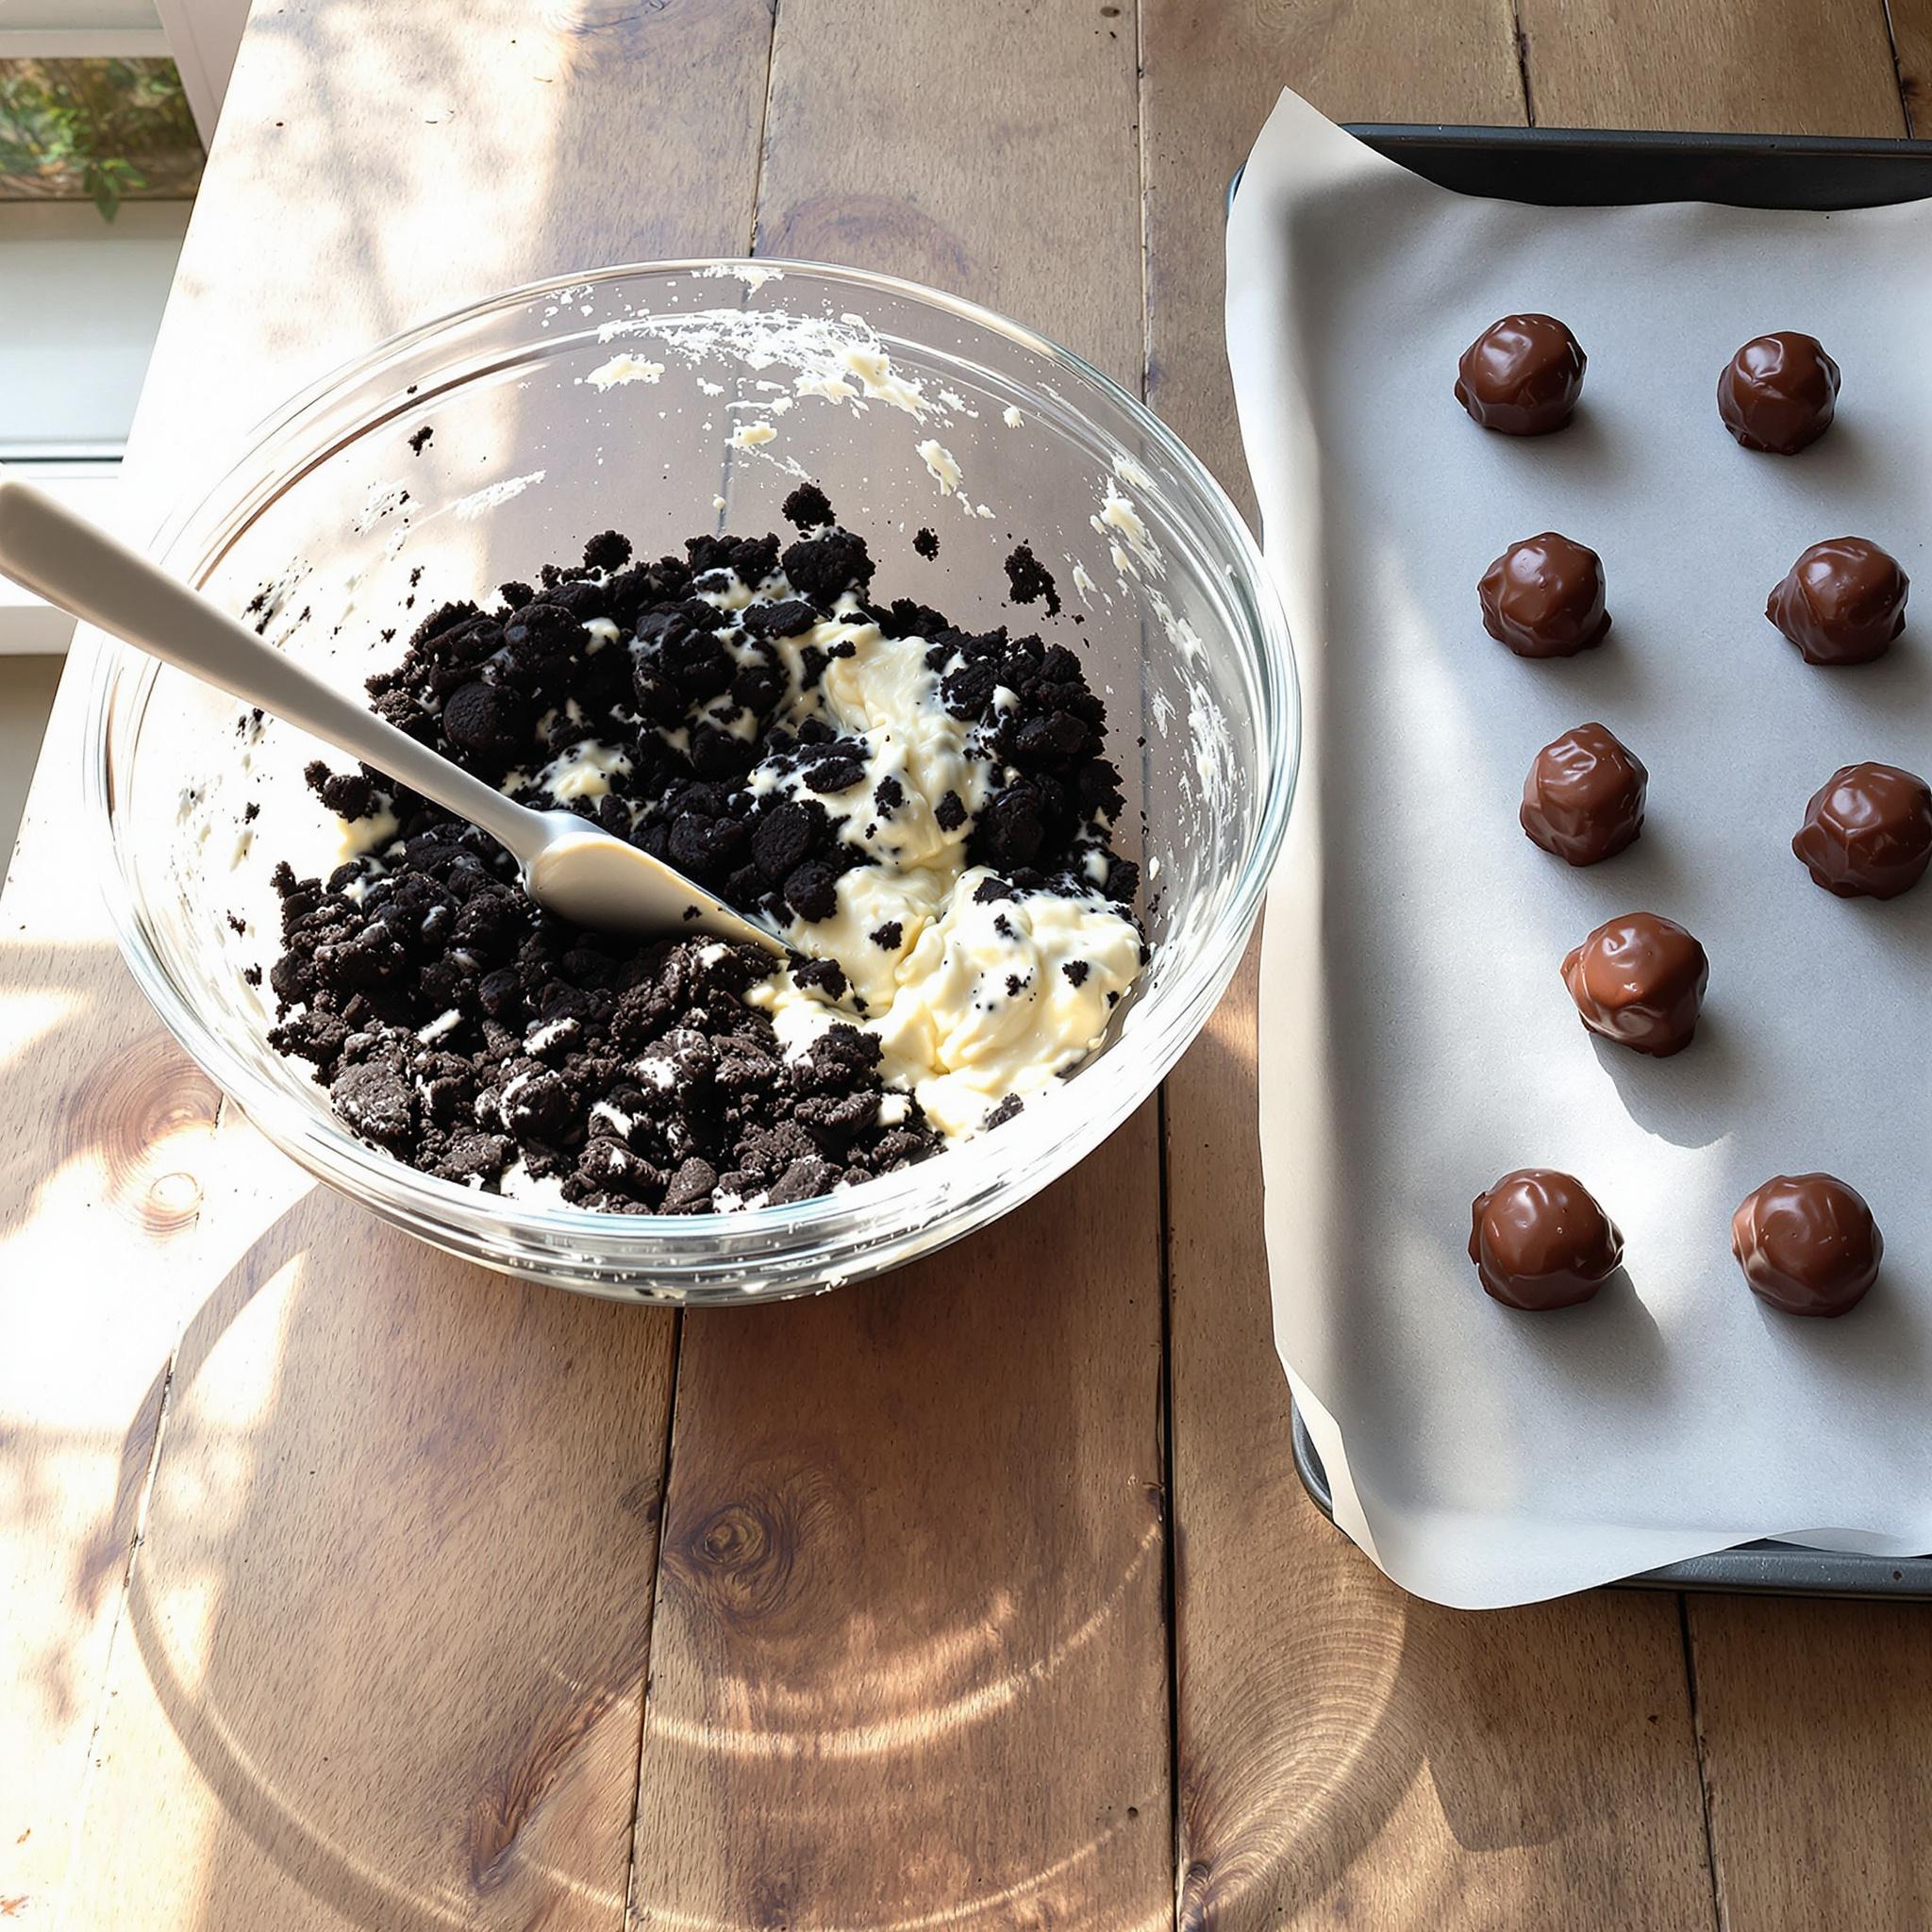
Step 2: Mix with Cream Cheese
In a large mixing bowl, combine the crushed cookies with the softened cream cheese. Use a spatula or your hands to mix until the dough comes together and there are no dry crumbs left. The mixture should be soft and pliable, almost like cookie dough. This step is where the magic happens—watch as the cream cheese binds everything together into a rich, chocolatey ball of goodness.
Step 3: Shape the Truffles
Using a small cookie scoop or your hands, roll the mixture into 1-inch balls. Place them on a baking sheet lined with parchment paper. Don’t worry if they’re not perfectly round—they’ll still taste amazing! As you work, you’ll notice how the texture becomes firmer and easier to handle. Once shaped, chill the truffles in the refrigerator for at least 30 minutes to firm them up before dipping.
Step 4: Melt the Chocolate
In a microwave-safe bowl, melt the chocolate chips with the coconut oil in 30-second intervals, stirring between each interval until smooth. The glossy melted chocolate is a sight to behold, and its rich aroma will fill your kitchen with warmth. Pro tip: Adding coconut oil helps the chocolate coat the truffles more evenly and gives it a shiny finish.
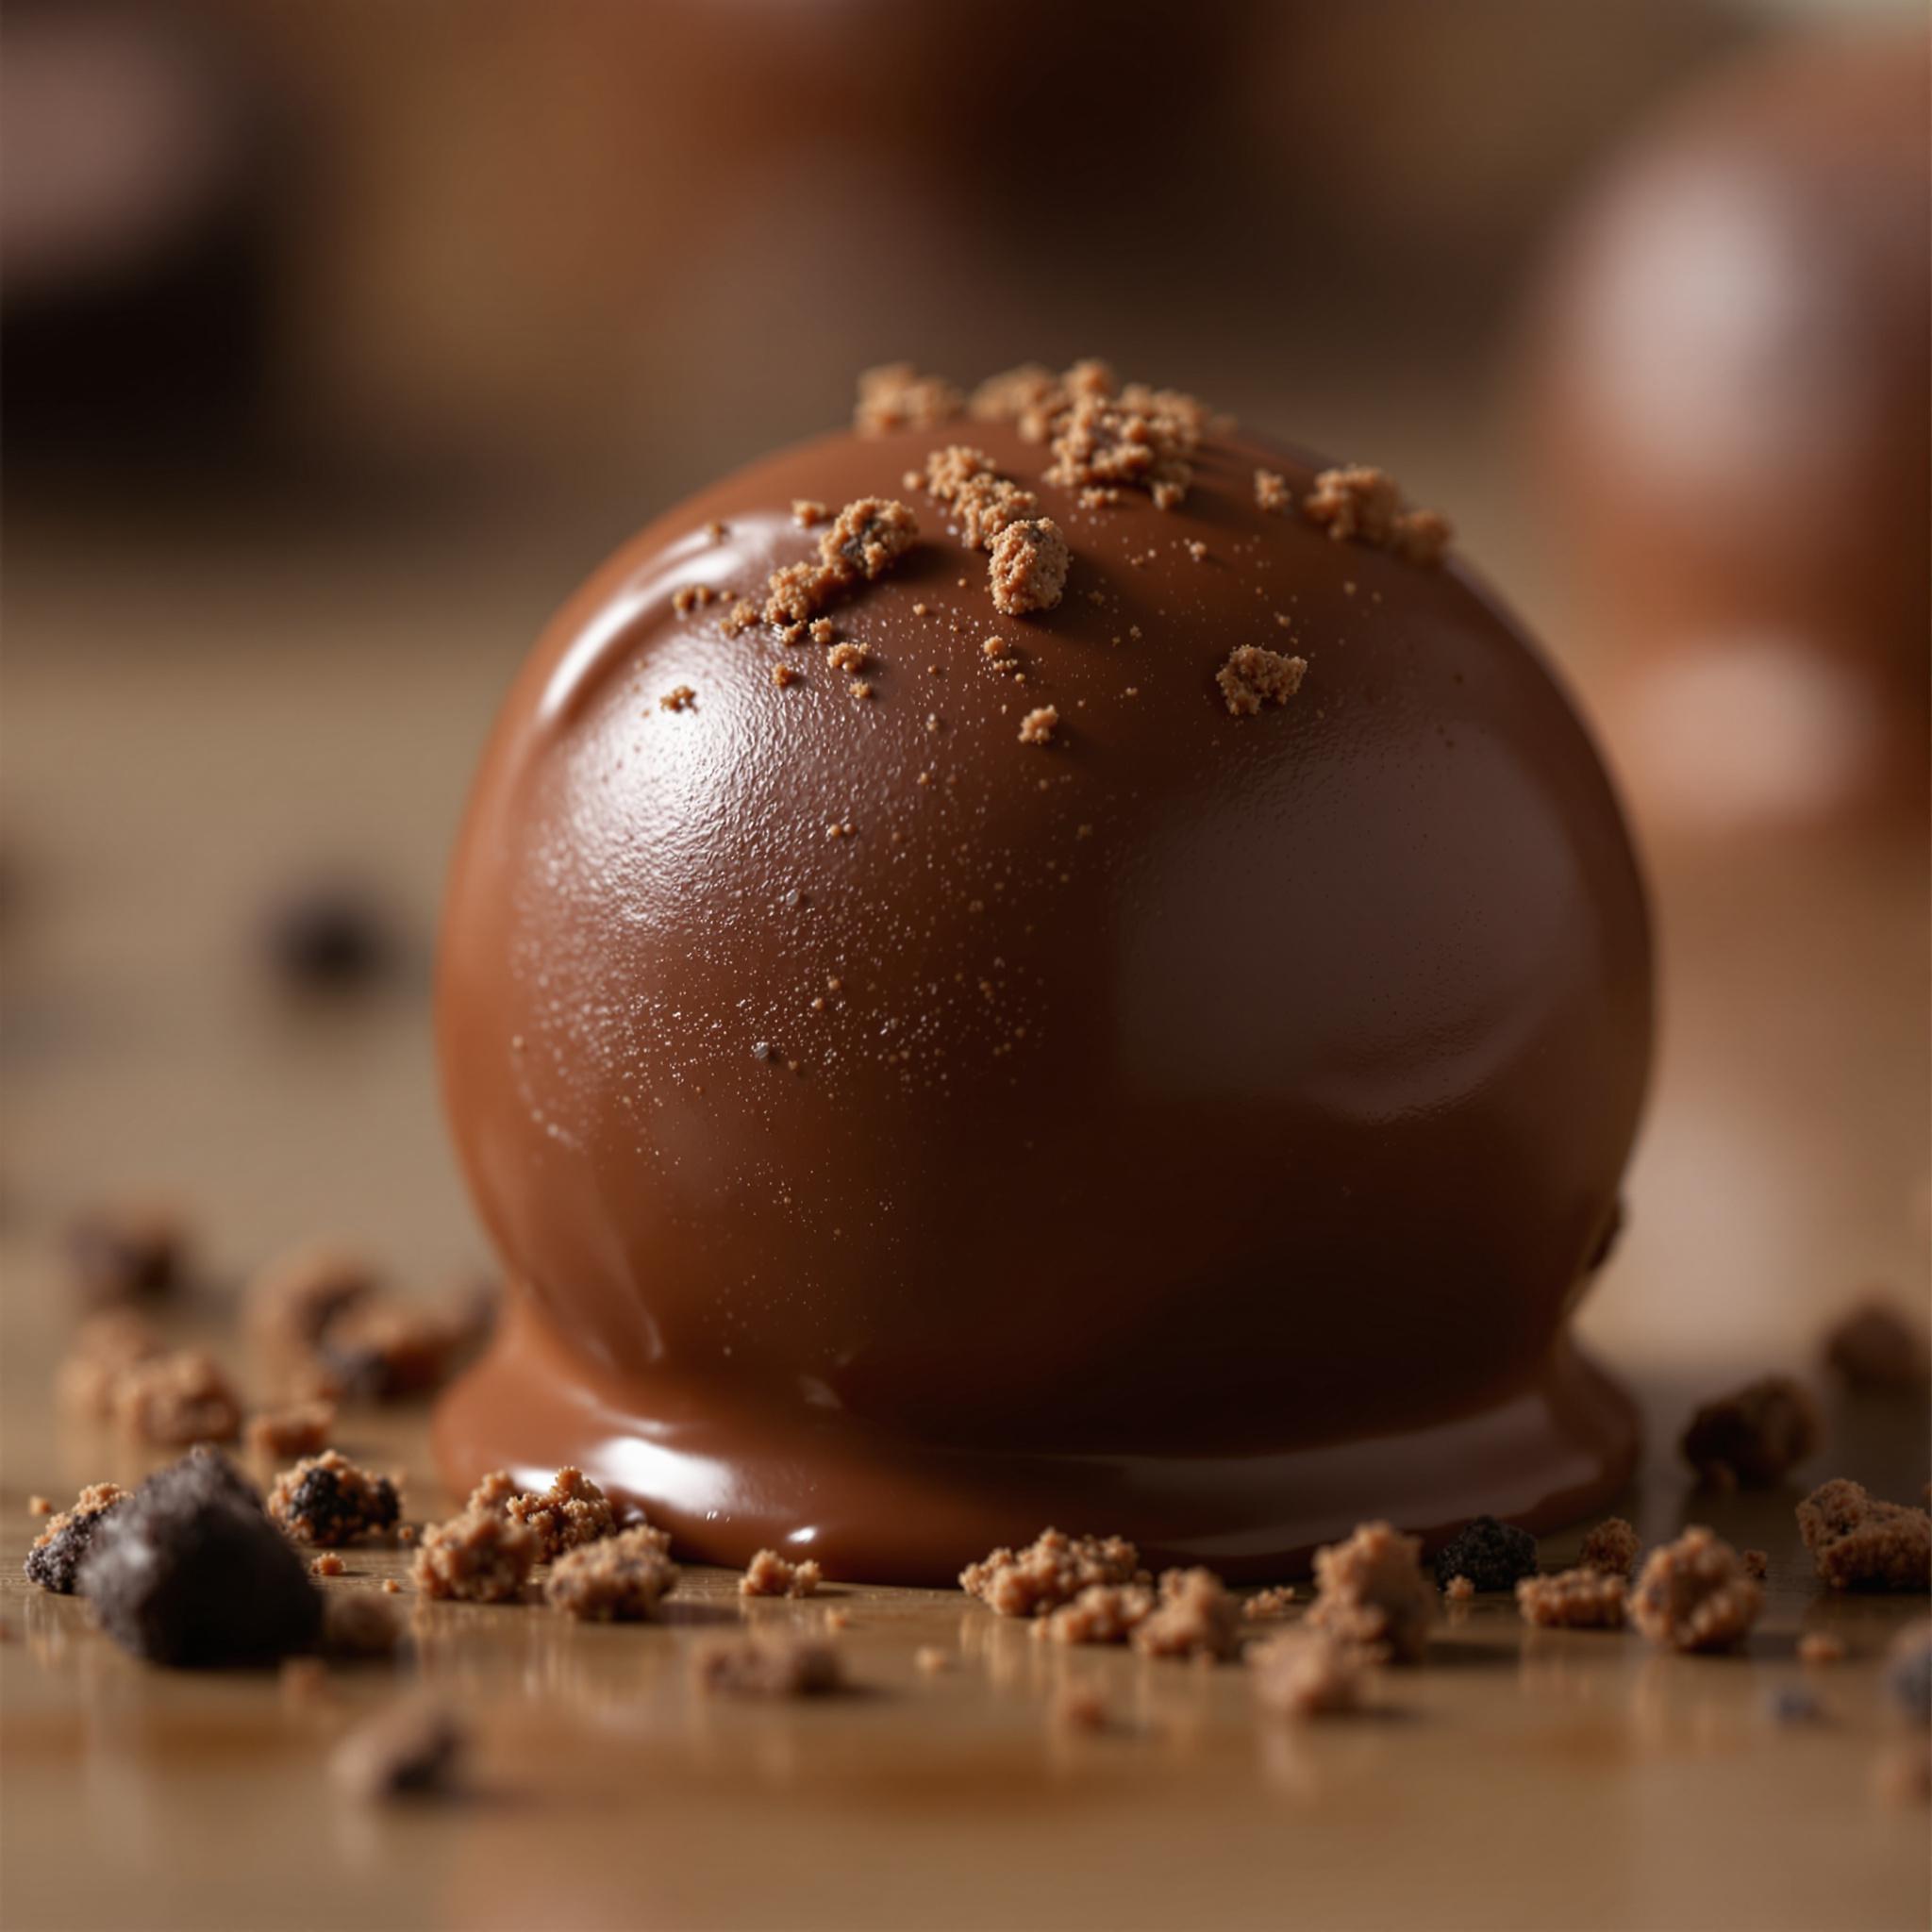
Step 5: Dip and Decorate
Using a fork or dipping tool, carefully dip each chilled truffle into the melted chocolate, ensuring it’s fully coated. Allow any excess chocolate to drip off before placing the truffle back on the parchment paper. While the chocolate is still wet, sprinkle with your choice of toppings like colorful sprinkles or crushed nuts. Let the truffles set in the refrigerator for 15-20 minutes until the chocolate hardens.
Chef’s Tip
For an extra layer of flavor, try rolling some of the truffles in cocoa powder or crushed candy pieces before dipping them in chocolate. This adds a fun twist and makes your Easy OREO Truffles even more unique!
Time Required
Prep Time: 20 minutes | Chilling Time: 45 minutes | Total Time: 1 hour 5 minutes
Nutritional Information
Per serving (1 truffle): Calories: 120 | Fat: 7g | Carbohydrates: 14g | Protein: 1g
Extra Information
Did you know that OREO cookies are one of the best-selling cookies in the world? Their popularity has inspired countless dessert recipes, including these Easy OREO Truffles. It’s no wonder they’re a favorite among bakers and snack lovers alike!
Necessary Tools
- Food processor or zip-top bag and rolling pin
- Mixing bowls
- Baking sheet
- Parchment paper
- Fork or dipping tool
Storage Instructions
Once your Easy OREO Truffles are ready, store them in an airtight container in the refrigerator. This keeps the chocolate coating firm and prevents the truffles from becoming sticky. For best results, layer the truffles between sheets of parchment paper to avoid sticking. They can last up to one week when stored properly.
If you’d like to freeze them, place the truffles in a single layer on a baking sheet and freeze until solid. Then transfer them to a freezer-safe bag or container. Frozen truffles can last up to three months and can be thawed in the refrigerator overnight.
Always bring the truffles to room temperature before serving to enhance their flavors and textures. This ensures that every bite is as delicious as the first!
Tips and Tricks
- Chill the truffle mixture before shaping to make it easier to handle.
- Double-dip the truffles for an extra-thick chocolate coating.
- Experiment with different toppings like sea salt, crushed pretzels, or edible glitter.
Serving Suggestions
Serve these Easy OREO Truffles alongside a glass of cold milk for a nostalgic treat. Alternatively, arrange them on a dessert platter with fresh berries and whipped cream for an elegant presentation. They also pair beautifully with coffee or tea for an afternoon snack.
Healthier Alternatives for the Recipe
Here are six ways to make your Easy OREO Truffles healthier without sacrificing flavor:
- Use Reduced-Fat Cream Cheese: This cuts down on calories while maintaining the creamy texture.
- Opt for Dark Chocolate: Dark chocolate contains less sugar and offers antioxidants.
- Add Greek Yogurt: Substitute half of the cream cheese with plain Greek yogurt for added protein.
- Try Gluten-Free Cookies: Use gluten-free OREOs to cater to dietary restrictions.
- Coconut Sugar Topping: Sprinkle coconut sugar on top for a natural sweetness.
- Go Vegan: Use dairy-free cream cheese and chocolate for a plant-based version.
Common Mistakes to Avoid
Mistake 1: Overmixing the Dough
Overmixing the cookie crumbs and cream cheese can lead to a dense, tough texture. To avoid this, mix just until the ingredients are combined. Remember, the goal is a soft, pliable dough that holds its shape without being overly worked.
Mistake 2: Skipping the Chilling Step
Skipping the chilling step might seem like a time-saver, but it’s essential for firming up the truffles. Without chilling, the truffles may fall apart during dipping. Always chill them for at least 30 minutes for best results.
Mistake 3: Overheating the Chocolate
Overheating chocolate can cause it to seize and become grainy. To prevent this, melt the chocolate in short intervals and stir frequently. Adding a bit of coconut oil also helps maintain a smooth consistency.
Frequently Asked Questions
Can I use homemade cookies instead of store-bought OREOs?
Absolutely! While store-bought OREOs are convenient, you can use homemade chocolate sandwich cookies. Just ensure they’re finely crushed to mimic the texture of OREOs.
How long do these truffles last?
When stored in an airtight container in the refrigerator, these truffles can last up to one week. For longer storage, freeze them for up to three months.
Can I make these truffles ahead of time?
Yes! These truffles are perfect for making ahead. Prepare them up to two days in advance and store them in the refrigerator until ready to serve.
What’s the best way to melt chocolate?
The easiest method is microwaving chocolate in 30-second intervals, stirring between each interval. Alternatively, you can use a double boiler for a gentler approach.
Can I use white chocolate instead of semi-sweet?
Of course! White chocolate pairs beautifully with OREOs and adds a sweeter, creamier flavor profile to the truffles.
Are these truffles kid-friendly?
Definitely! Kids love helping shape the truffles and decorating them with sprinkles. It’s a fun activity that doubles as a tasty reward.
Can I add flavor extracts to the truffle mixture?
Yes! Add a teaspoon of peppermint, almond, or vanilla extract to enhance the flavor of your Easy OREO Truffles.
Do I need to temper the chocolate?
No, tempering isn’t necessary for this recipe. Simply melting the chocolate works perfectly for coating the truffles.
Can I roll the truffles in cocoa powder instead of chocolate?
Yes, rolling the truffles in cocoa powder creates a sophisticated, less sweet alternative to chocolate coating.
What tools do I need to shape the truffles?
A small cookie scoop or clean hands work best for shaping the truffles. If using your hands, lightly dampen them to prevent sticking.
Conclusion
These Easy OREO Truffles are proof that simplicity and indulgence can go hand in hand. With minimal effort, you can create a dessert that looks impressive and tastes divine. Whether you’re whipping them up for a special occasion or just because, these truffles are sure to bring joy to everyone who tries them. So grab your ingredients, channel your inner chef, and let the magic of OREOs take center stage in your kitchen!