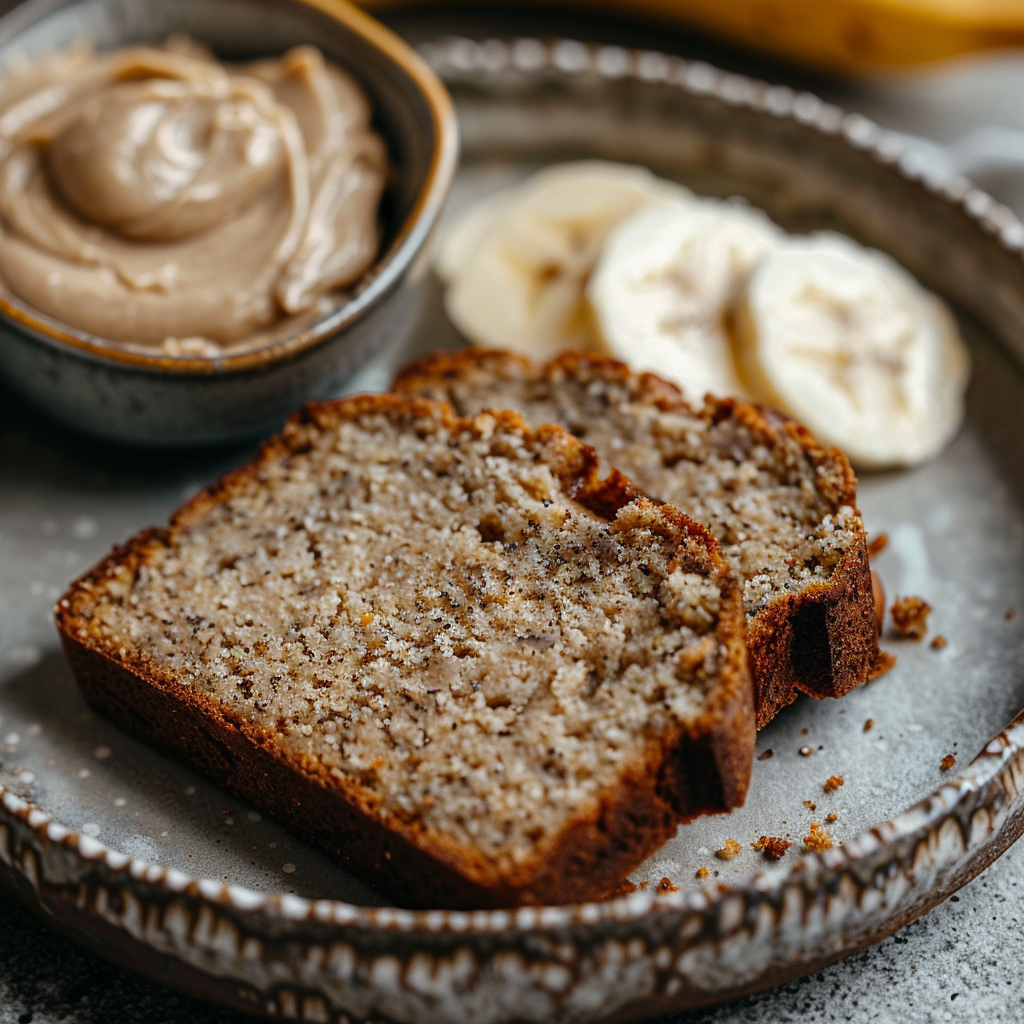
A Sweet Treat That’s Good for You
Let me tell you a little story. A few months ago, my best friend Sarah came over for coffee. She’d been on the Candida diet for weeks and was about to lose her mind over missing baked goods. I decided to whip up something special—something that would make her eyes light up without breaking her dietary rules. Enter this magical Candida Diet Almond Flour Banana Bread. When she took her first bite, she practically cried tears of joy. It’s moist, flavorful, and feels indulgent while still being good for you. If you’re looking for a treat that satisfies your cravings without compromising your health, you’ve come to the right place.
The Story Behind This Healthier Banana Bread
Banana bread has always been one of those comfort foods that remind us of home. Traditionally, it’s made with wheat flour and sugar, which makes it off-limits for many people following specific diets like the Candida diet. But here’s the thing: almond flour has been used in baking for centuries, especially in Mediterranean and Middle Eastern cuisines. It wasn’t until recently that it gained popularity as a gluten-free alternative. The Candida diet focuses on eliminating yeast-promoting ingredients like refined sugar and processed grains, so using almond flour instead of regular flour is a game-changer. I’ve tested this recipe countless times, tweaking it to perfection. Trust me, it’s become a staple in my kitchen.
Why You’ll Love This Recipe
First off, this Candida Diet Almond Flour Banana Bread tastes amazing. Seriously, no one will guess it’s healthy. The almond flour gives it a rich, nutty flavor, while ripe bananas add natural sweetness. Plus, it’s super easy to make—even if you’re not a seasoned baker. No fancy techniques or equipment required. Just mix, pour, and bake. And let’s not forget how versatile it is. Whether you’re craving breakfast, a snack, or dessert, this banana bread fits the bill.
Perfect Occasions to Bake This Banana Bread
This recipe is perfect for brunches, potlucks, or even as a thoughtful gift for friends on a similar diet. I love making it for family gatherings because it’s always a crowd-pleaser. It’s also ideal for cozy Sunday mornings when you want something warm and comforting but still nutritious. Honestly, any time is a good time for this banana bread!
Ingredients
- 2 cups almond flour
- 3 ripe bananas, mashed
- 3 large eggs
- 1/4 cup coconut oil, melted
- 1 teaspoon vanilla extract
- 1 teaspoon baking soda
- 1/2 teaspoon sea salt
- 1/2 teaspoon cinnamon
- Optional: handful of chopped walnuts or pecans
Substitution Options
- Instead of coconut oil, try melted butter or ghee.
- If you don’t have almond flour, use sunflower seed flour (though the taste will vary slightly).
- For a nut-free version, experiment with oat flour (ensure it’s gluten-free).
Preparation
Step 1: Preheat and Prep
Start by preheating your oven to 350°F (175°C). Grab a loaf pan and line it with parchment paper for easy cleanup later. Now, mash those bananas in a big mixing bowl. Make sure they’re nice and ripe—the riper, the better! Their sweetness balances out the lack of added sugar. Pro tip: Use a fork to mash them until smooth; lumps can make the texture uneven.
Step 2: Mix Wet Ingredients
Once your bananas are mashed, crack in the eggs and whisk everything together. Add the melted coconut oil and vanilla extract, stirring until combined. At this point, your kitchen will start smelling incredible. The aroma of bananas mixed with vanilla is pure happiness in the air. Don’t rush this step—mixing well ensures an even distribution of flavors.
Step 3: Combine Dry Ingredients
In another bowl, whisk together the almond flour, baking soda, sea salt, and cinnamon. This dry mixture might look a bit powdery, but trust me, it’ll come together beautifully once mixed with the wet ingredients. If you’re adding nuts, toss them in now for extra crunch.
Step 4: Bring It All Together
Pour the dry ingredients into the wet mixture and stir gently until just combined. Overmixing can lead to dense bread, so be careful. The batter should be thick and sticky, almost like cookie dough. Transfer it to your prepared loaf pan, spreading it evenly with a spatula. Chef’s tip: Sprinkle a little extra cinnamon on top for a pretty finish.
Step 5: Bake to Perfection
Pop the loaf pan into the oven and bake for 45–50 minutes. Keep an eye on it around the 40-minute mark. To check if it’s done, insert a toothpick into the center—it should come out clean. Your house will smell heavenly during this time, so don’t blame me if everyone starts hovering near the kitchen!
Timing
- Prep Time: 10 minutes
- Cooking Time: 45–50 minutes
- Total Time: About 1 hour
Chef’s Secret
Here’s a little secret: Let the banana bread cool completely before slicing. I know it’s tempting to dig in right away, but cooling helps the flavors meld together and makes cutting much easier. Patience pays off!
Extra Info
Did you know that almond flour is packed with protein and healthy fats? Unlike traditional wheat flour, it keeps you fuller longer, making it a great option for snacks. Plus, its mild nuttiness pairs beautifully with bananas, creating a flavor combo that’s hard to resist.
Necessary Equipment
- Mixing bowls
- Loaf pan
- Parchment paper
- Whisk
- Spatula
Storage
To store your Candida Diet Almond Flour Banana Bread, wrap it tightly in plastic wrap or foil and keep it at room temperature for up to 2 days. After that, move it to the fridge to extend its shelf life. Stored properly, it can last up to a week. For longer storage, freeze slices individually in airtight bags. They thaw quickly and are perfect for busy mornings.
If you choose to refrigerate, let the bread come to room temperature before serving. Cold slices won’t have the same soft texture. And remember, never leave it uncovered, as it can dry out.
Freezing is a lifesaver if you’re meal prepping. Pull out a slice whenever you need a quick snack. Just pop it in the microwave for 15–20 seconds to refresh its warmth and moisture.
Tips and Advice
Always use ripe bananas—they’re sweeter and softer, which helps bind the bread together. If your bananas aren’t quite ripe, bake them in their peels at 300°F for 15 minutes to speed up the process. Another tip: Don’t skip the parchment paper. It prevents sticking and makes cleanup a breeze.

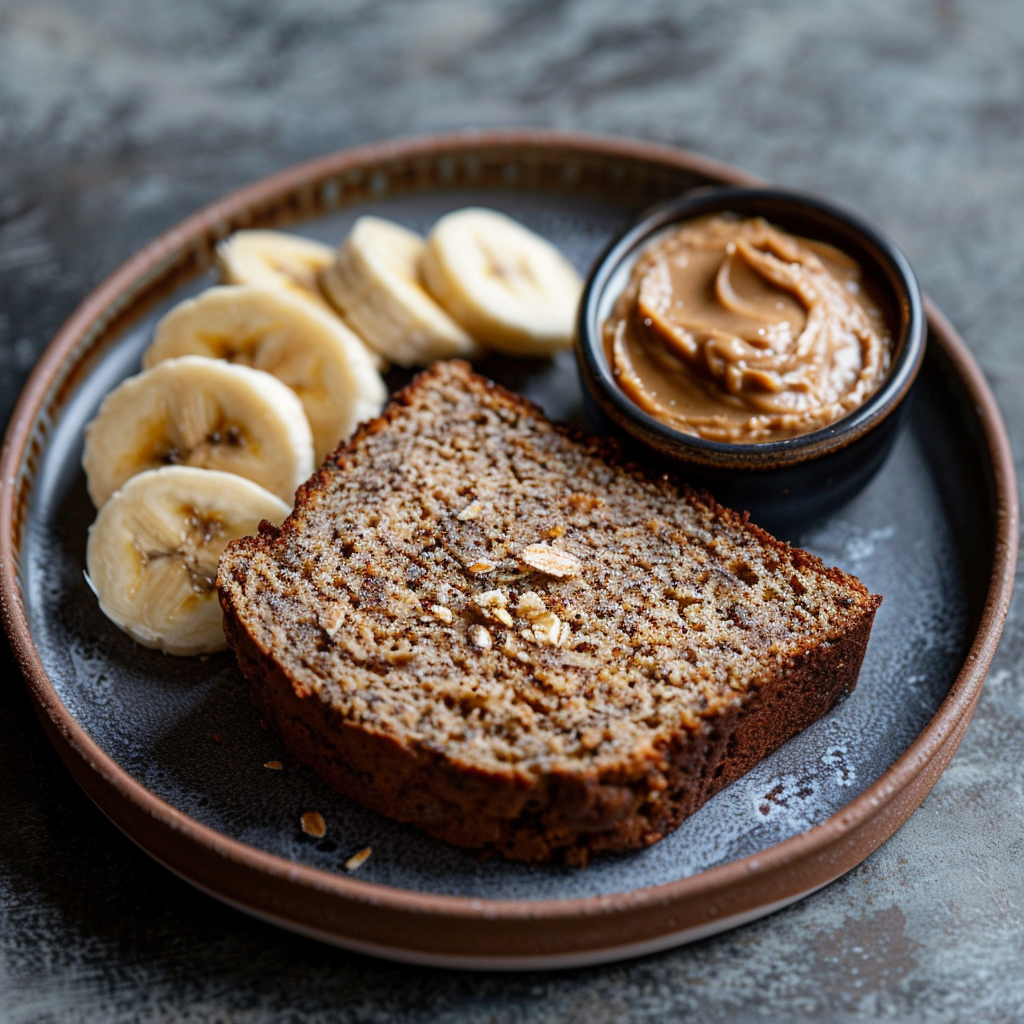
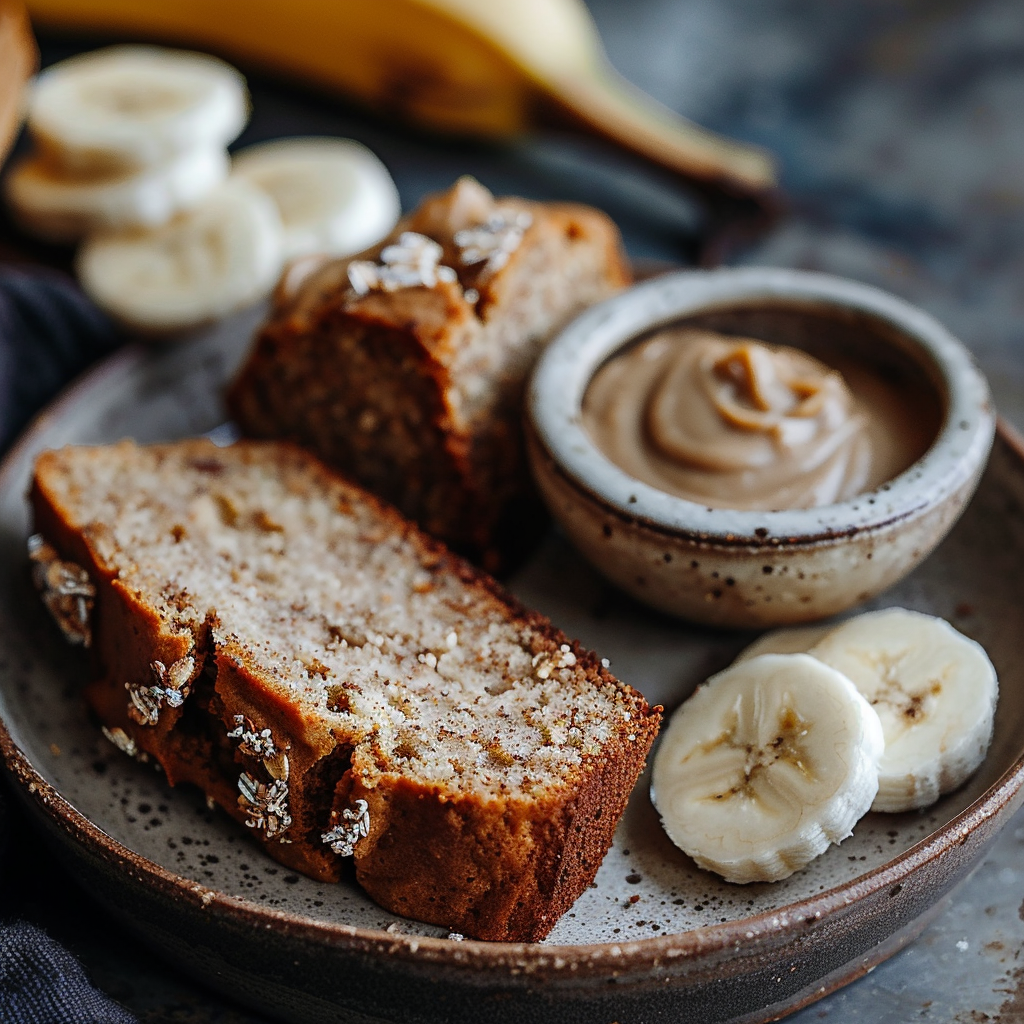
Presentation Tips
- Slice thinly and serve on a wooden board for a rustic look.
- Garnish with fresh banana slices or a sprinkle of cinnamon.
- Serve alongside a dollop of unsweetened whipped cream for extra flair.
Healthier Alternative Recipes
Love experimenting? Here are six variations to try:
- Coconut Flour Version: Substitute almond flour with coconut flour (use half the amount since it absorbs more liquid).
- Chocolate Chip Delight: Fold in sugar-free dark chocolate chips for a decadent twist.
- Blueberry Bliss: Add fresh or frozen blueberries for bursts of fruity goodness.
- Spiced Apple: Swap bananas for grated apples and add ginger and cloves for fall vibes.
- Pumpkin Spice: Replace bananas with pumpkin puree and add pumpkin pie spice.
- Zucchini Surprise: Grate zucchini into the batter for a veggie-packed treat.
Common Mistakes to Avoid
Mistake 1: Using Underripe Bananas
Underripe bananas lack the natural sugars needed to sweeten the bread. They also tend to make the texture less moist. Stick with spotty, overripe bananas for the best results.
Mistake 2: Overmixing the Batter
Overmixing can cause the bread to become dense and tough. Stir only until the ingredients are combined. A few lumps are okay—they’ll disappear in the oven.
Mistake 3: Skipping the Cooling Step
Cutting into the bread too soon can ruin its structure. The steam needs time to redistribute, ensuring a moist interior. Resist the urge to slice immediately.
FAQ
Can I use honey or maple syrup instead of no added sugar?
Absolutely! While this recipe relies on the natural sweetness of bananas, you can drizzle a tiny bit of honey or maple syrup if desired. Just keep it minimal to stay within Candida-friendly guidelines.
Is this recipe gluten-free?
Yes, it is! Almond flour is naturally gluten-free, making this bread safe for those avoiding gluten.
Can I make muffins instead of a loaf?
Of course! Divide the batter into a muffin tin and reduce the baking time to 20–25 minutes. Perfect for grab-and-go snacks.
What if I don’t have almond flour?
You can substitute with other grain-free flours like sunflower seed flour or tiger nut flour. Note that the texture may differ slightly.
How do I prevent the bread from sticking to the pan?
Line your loaf pan with parchment paper or grease it generously with coconut oil. Either method works wonders.
Can I freeze this banana bread?
Definitely! Slice it first, then freeze in individual portions for easy reheating.
Does it taste eggy since there are three eggs?
Nope! The bananas mask any eggy flavor. You’ll only taste the delicious, nutty goodness.
Can I omit the nuts?
Yes, feel free to leave them out if you’re not a fan or need a nut-free option.
Why does my bread sink in the middle?
This usually happens if the batter is overmixed or if the oven door is opened too early. Be patient and avoid peeking until the minimum baking time is reached.
Is this recipe kid-approved?
Oh, absolutely. Kids love the soft texture and subtle sweetness. Mine beg me to make it every weekend!
Wrap-Up
This Candida Diet Almond Flour Banana Bread is more than just a recipe—it’s a testament to how delicious healthy eating can be. With its simple ingredients, easy prep, and mouthwatering flavor, it’s bound to become a favorite in your household. So go ahead, give it a try, and watch as it brings smiles to everyone who tastes it. Happy baking!
Candida Diet Almond Flour Banana Bread
Ingredients
Equipment
Method
- Preheat your oven to 350°F (175°C) and line a loaf pan with parchment paper.
- Mash the ripe bananas in a big mixing bowl until smooth.
- Crack in the eggs and whisk them together with the mashed bananas.
- Add melted coconut oil and vanilla extract, stirring until combined.
- In a separate bowl, whisk together almond flour, baking soda, sea salt, and cinnamon.
- Combine the dry ingredients with the wet banana mixture and stir gently until just combined.
- Transfer the batter to the prepared loaf pan and spread evenly.
- Bake for 45–50 minutes, checking around the 40-minute mark with a toothpick to see if it comes out clean.
- Let the bread cool completely before slicing.