Why Cherry Garcia Ice Cream is a Must-Try Dessert
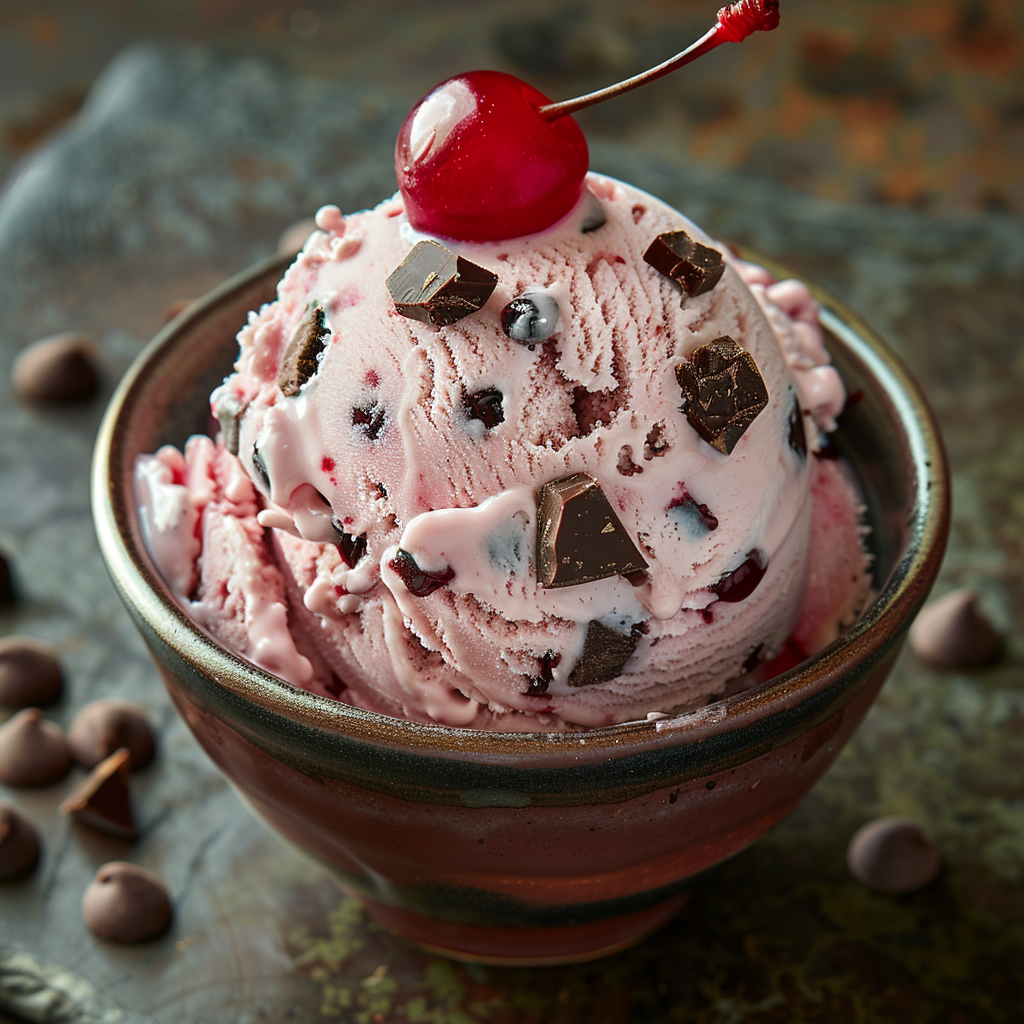
Picture this: It’s a warm summer evening, and you’re craving something sweet, creamy, and just a little indulgent. That’s when I pull out my homemade cherry garcia ice cream. The combination of rich chocolate, sweet cherries, and velvety vanilla ice cream is pure magic. This dessert isn’t just a treat; it’s an experience. Whether you’re a fan of the classic Ben & Jerry’s version or looking to make your own twist, this recipe will have your taste buds dancing.
The Story Behind Cherry Garcia Ice Cream
Have you ever wondered about the story behind cherry garcia history? Legend has it that Ben & Jerry’s created this flavor in the late 1980s as a tribute to the legendary guitarist Jerry Garcia of the Grateful Dead. Fans of the band and ice cream lovers alike went wild for its unique mix of flavors. Over the years, cherry garcia wiki pages have been filled with fun facts about how this iconic dessert became a household name. When I first tried making it at home, I was blown away by how simple yet delicious it turned out. It’s like bringing a piece of rock ‘n’ roll history into your kitchen!
Why You’ll Love This Recipe
This cherry garcia ice cream recipe is special because it’s customizable, easy to make, and oh-so-satisfying. The creamy vanilla base is studded with chunks of dark chocolate and sweet cherries, creating a perfect balance of textures and flavors. Plus, you can tweak it to suit your preferences—make it dairy-free or turn it into a cherry garcia cake for a show-stopping dessert. Whether you’re a seasoned chef or a beginner, this recipe is foolproof and fun to prepare.
Perfect Occasions to Make This Recipe
There’s no wrong time to enjoy cherry garcia ice cream, but some moments call for it more than others. Picture serving it at a summer barbecue, a family movie night, or even as a surprise dessert for your best friend’s birthday. It also makes a fantastic addition to holiday gatherings or as part of a cherry garcia ice cream sandwich for a playful twist. Trust me, once you make it, everyone will be asking for seconds.
Ingredients
- 2 cups heavy cream
- 1 cup whole milk
- 3/4 cup granulated sugar
- 1 tablespoon pure vanilla extract
- 4 large egg yolks
- 1 cup pitted fresh or frozen cherries, chopped
- 1/2 cup dark chocolate chunks
Substitution Options
- For a cherry garcia non dairy version, swap the heavy cream and milk with coconut cream and almond milk.
- Use dried cherries if fresh ones aren’t available.
- Replace dark chocolate with semi-sweet or milk chocolate for a milder flavor.
Preparation Section
Step 1: Prepare the Base
Start by heating the heavy cream and milk in a saucepan over medium heat. Watch closely as the mixture warms up—don’t let it boil! In a separate bowl, whisk together the sugar and egg yolks until they’re light and fluffy. Slowly pour the warm cream mixture into the egg mixture, stirring constantly. This step ensures the eggs don’t scramble, creating a smooth custard base. Pro tip: Use a fine mesh strainer to remove any lumps before chilling.
Step 2: Chill and Churn
Once your custard is ready, cover it and let it chill in the fridge for at least 4 hours. Patience is key here—it’s what makes the texture so creamy. After chilling, pour the mixture into your ice cream maker and churn according to the manufacturer’s instructions. As it thickens, you’ll notice the satisfying swirls forming. This is where the magic happens!
Step 3: Add the Mix-Ins
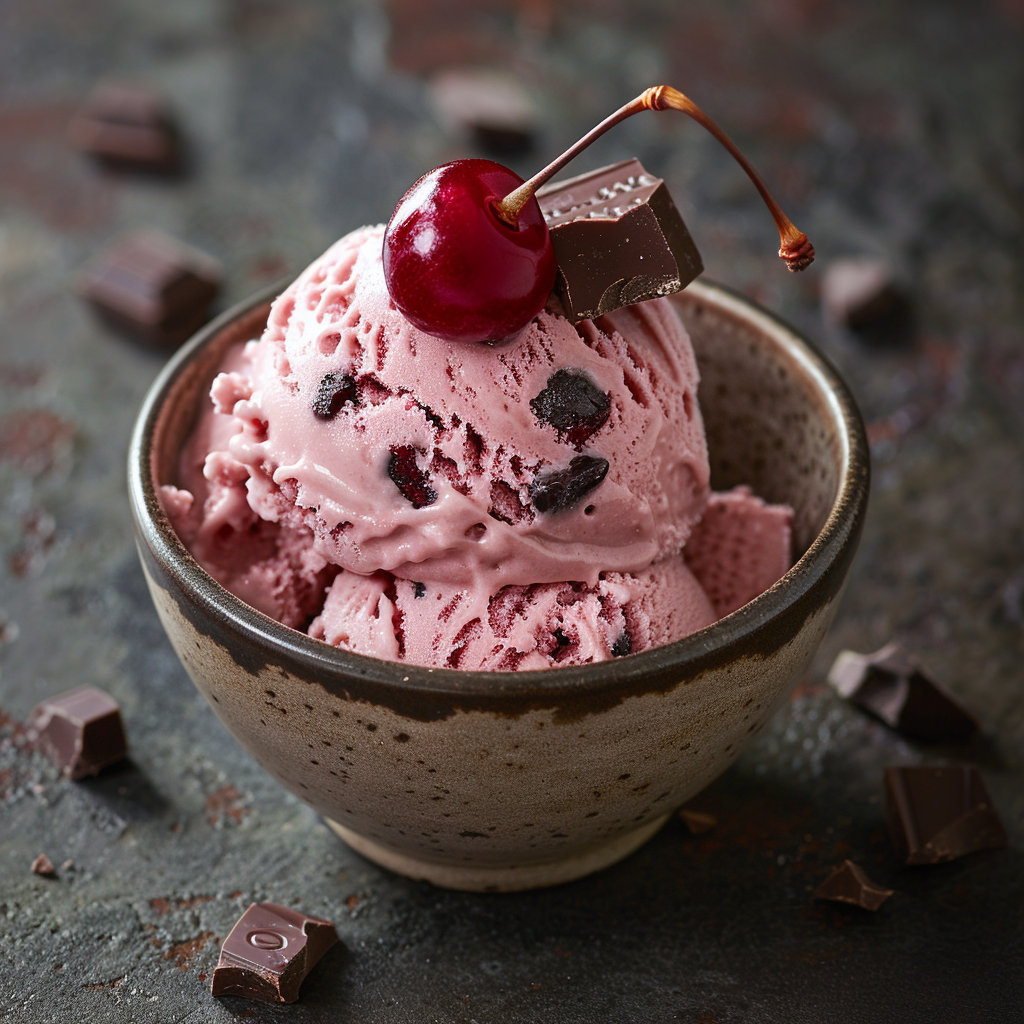
When the ice cream is almost done churning, gently fold in the chopped cherries and dark chocolate chunks. The vibrant red cherries against the creamy white base are a feast for the eyes. Once combined, transfer the ice cream to an airtight container and freeze for another 2 hours to firm up.
Chef’s Tip
To take your cherry garcia froyo to the next level, toast the chocolate chunks lightly before adding them. This enhances their flavor and adds a subtle crunch that pairs beautifully with the soft cherries.
Timing
- Prep Time: 20 minutes
- Cooking Time: 10 minutes
- Chilling Time: 4 hours
- Churning Time: 20 minutes
- Freezing Time: 2 hours
- Total Time: 7 hours
Chef’s Secret
A little pinch of salt in the custard base enhances all the flavors without being noticeable. It’s a trick I learned from a pastry chef friend, and it works wonders!
Extra Info
Did you know that chocolate cherry garcia was one of the first flavors to feature mix-ins? This innovation revolutionized the ice cream industry and inspired countless other creative combinations.
Necessary Equipment
- Ice cream maker
- Saucepan
- Whisk
- Fine mesh strainer
- Airtight container for freezing
Storage
Store your cherry garcia ice cream in an airtight container to prevent freezer burn. Place a layer of plastic wrap directly on the surface before sealing the lid—this keeps it fresh and prevents ice crystals from forming.
If you want to keep it longer, label the container with the date. Properly stored, it can last up to 2 months in the freezer. However, I doubt it’ll stick around that long—it’s just too good!
For optimal texture, let the ice cream sit at room temperature for 5–10 minutes before scooping. This softens it slightly and makes serving easier.
Tips and Advice
Always use high-quality ingredients, especially the chocolate and vanilla extract. These small details make a big difference in flavor. If you’re making a ben and jerrys cherry garcia review-worthy version, ensure the cherries are ripe and juicy. Oh, and don’t rush the chilling process—it’s crucial for achieving that dreamy consistency.
Presentation Tips
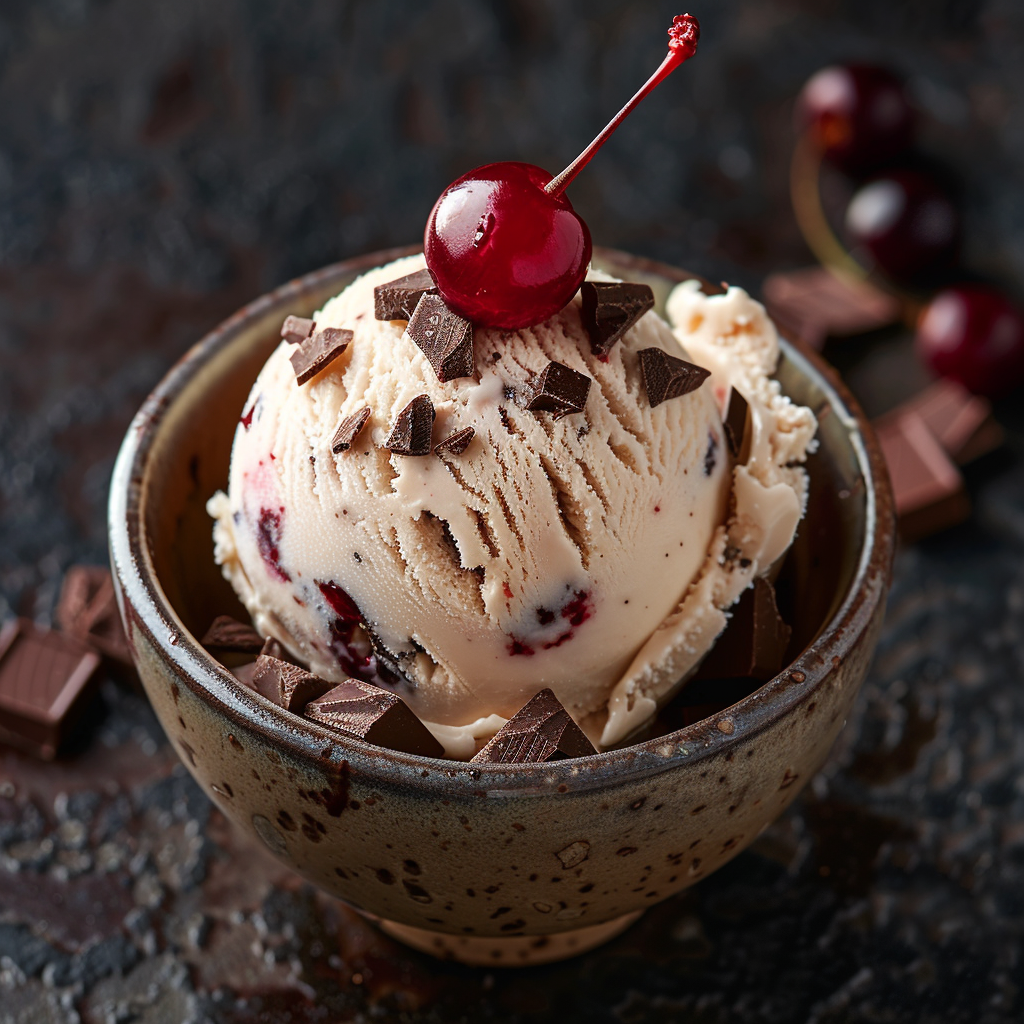
- Serve scoops in colorful bowls for a pop of contrast.
- Garnish with extra chocolate shavings and a cherry on top.
- Create a sundae bar with toppings like nuts, sprinkles, and caramel sauce.
Healthier Alternative Recipes
If you’re looking for lighter options, try these variations:
- Low-Sugar Version: Use a sugar substitute like stevia or monk fruit.
- Vegan Delight: Opt for plant-based milk and cream for a cherry garcia non dairy option.
- Fruit-Focused: Add more cherries and reduce the chocolate for a fruity twist.
- Protein-Packed: Stir in a scoop of protein powder during the mixing stage.
- Lightened-Up: Replace half the cream with Greek yogurt for a tangy kick.
- Frozen Yogurt Style: Make a cherry garcia froyo using your favorite yogurt base.
Common Mistakes to Avoid
Mistake 1: Skipping the Chilling Step
Rushing through the chilling process can lead to icy ice cream. Always allow enough time for the custard to cool completely before churning. Pro tip: Prep the night before for a smoother workflow.
Mistake 2: Overmixing the Ingredients
Overmixing after adding the cherries and chocolate can break down their texture. Fold them in gently to maintain those delightful bursts of flavor in every bite.
Mistake 3: Using Low-Quality Chocolate
Cheap chocolate can ruin the overall taste. Splurge on a good-quality brand—it’s worth it!
FAQ
What Flavor Is the Ice Cream in Cherry Garcia?
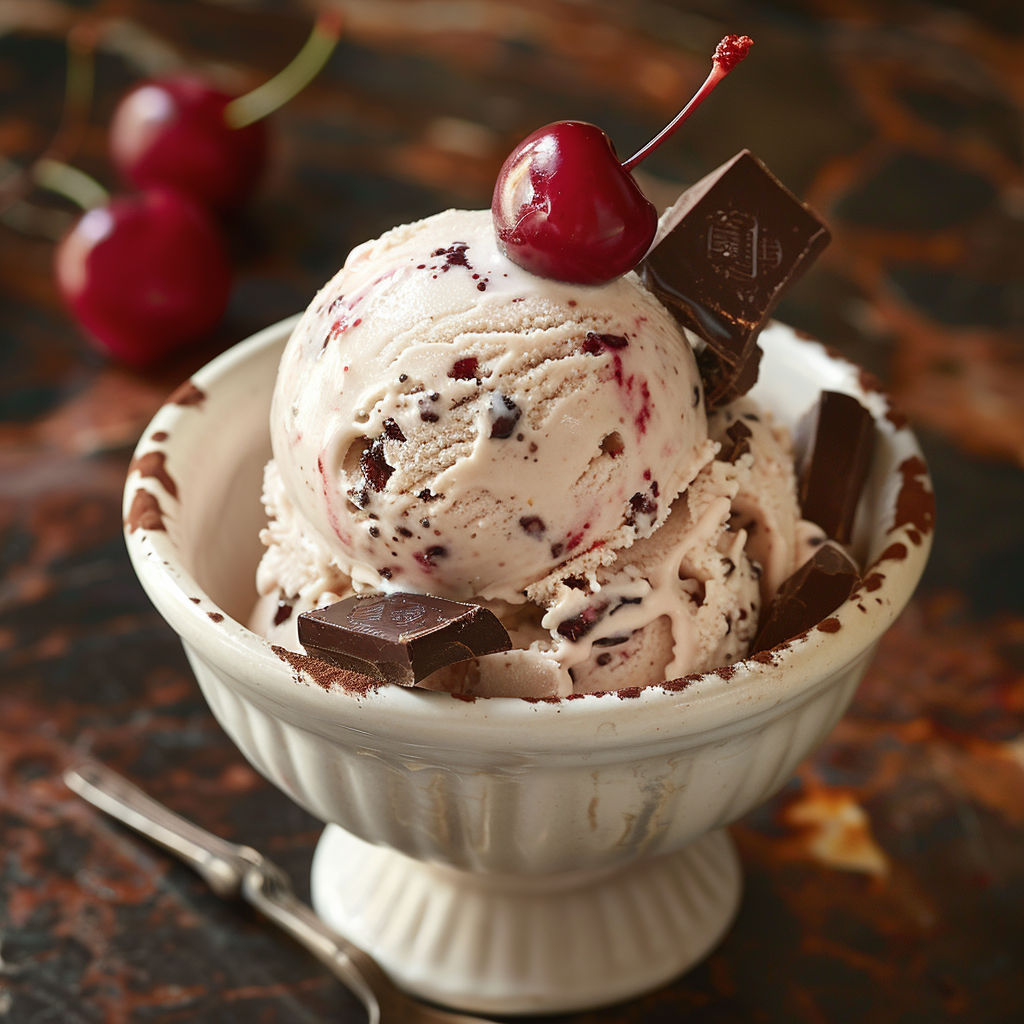
The base flavor of cherry garcia ice cream is creamy vanilla, complemented by sweet cherries and rich chocolate chunks. Together, they create a harmonious blend that’s both indulgent and refreshing.
What Is the Story Behind Cherry Garcia Ice Cream?
This iconic flavor was created by Ben & Jerry’s in honor of Jerry Garcia, the Grateful Dead musician. Its mix-ins were inspired by his love for cherries and chocolate.
Why Is Cherry Garcia Ice Cream So Good?
It’s all about the balance—creamy vanilla, tart cherries, and decadent chocolate create a symphony of flavors and textures that’s hard to resist.
What Is the Unhealthiest Ice Cream?
While many indulgent flavors exist, super premium varieties loaded with candy pieces or caramel swirls often rank among the unhealthiest due to high sugar and fat content.
Can I Make This Without an Ice Cream Maker?
Yes! Pour the mixture into a shallow dish, freeze, and stir every 30 minutes until solid.
How Long Does It Last?
Stored properly, it can last up to 2 months, though it’s unlikely to stay uneaten that long!
Is It Easy to Make Dairy-Free?
Absolutely! Swap dairy ingredients with coconut or almond alternatives for a cherry garcia non dairy version.
Can I Use Frozen Cherries?
Yes, just thaw and drain them first to avoid excess liquid in the mix.
What Are Some Fun Serving Ideas?
Try it as a cherry garcia ice cream sandwich, sundae, or layered dessert.
Why Toast the Chocolate?
Toasting brings out deeper flavors, enhancing the overall taste profile.
Final Thoughts
Making cherry garcia ice cream at home is a rewarding experience that brings joy to everyone who tries it. With its rich history, irresistible flavors, and endless possibilities for customization, it’s no wonder this dessert has captured hearts worldwide. So grab your apron, gather your ingredients, and get ready to create a masterpiece that’ll leave everyone asking for more. Happy scooping!
cherry garcia ice cream
Ingredients
Equipment
Method
- Heat the heavy cream and milk in a saucepan over medium heat, avoiding boiling.
- Whisk together sugar and egg yolks in a separate bowl until light and fluffy.
- Slowly pour the warm cream mixture into the egg mixture, stirring constantly.
- Strain the mixture through a fine mesh strainer, then chill in the fridge for at least 4 hours.
- Pour the chilled mixture into your ice cream maker and churn according to the manufacturer’s instructions.
- When almost done, gently fold in the chopped cherries and dark chocolate chunks.
- Transfer the ice cream to an airtight container and freeze for another 2 hours.