Why Garlic Breadsticks Are a Must-Try
Let me take you back to a chilly Friday night. My family was gathered around the TV, and I wanted to whip up something warm and comforting but not too fussy. That’s when I decided to make Garlic Breadsticks. The aroma of buttery garlic wafting through the house had everyone rushing to the kitchen. My kids couldn’t stop raving about how soft and flavorful they were. Trust me, whether it’s Pizza Hut-style cheesy garlic breadsticks or a no-yeast version, this dish is a crowd-pleaser every time.
A Little Background on Garlic Breadsticks
Garlic breadsticks have humble beginnings. They’re believed to have originated in Italy, where bread dipped in olive oil and garlic was a simple yet satisfying snack. Over time, this concept made its way to America, where it got an upgrade with butter, cheese, and herbs. Fast forward to today, and we see frozen garlic breadsticks at Walmart and even fancy versions served at restaurants. While I love grabbing garlic breadsticks near me for convenience, nothing beats making them at home. It’s cheaper, healthier, and oh-so-rewarding!
Why You’ll Love This Recipe
This garlic breadsticks recipe at home is easy, quick, and utterly delicious. No yeast? No problem! We’ll use a shortcut that still gives you soft, fluffy breadsticks. Plus, you can customize them however you like—extra cheesy, super garlicky, or even low-calorie. If you’ve ever wondered how many calories are in garlic breadsticks, don’t worry; I’ll share tips to lighten them up without losing flavor. Whether you’re craving something indulgent or need a side dish for pasta night, these breadsticks are your answer.
Perfect Occasions to Make Garlic Breadsticks
Imagine serving warm, gooey easy cheesy garlic breadsticks during game night or as a starter at your next dinner party. They’re perfect for holidays, potlucks, or even solo snacking sessions. Once, I brought a batch to a neighborhood gathering, and everyone kept asking, “Where did you get these?” When I told them it was my own creation, they begged for the recipe. Seriously, these breadsticks are a hit wherever they go!
Ingredients
- 2 cups all-purpose flour (plus extra for dusting)
- 1 tablespoon baking powder
- 1 teaspoon salt
- 3/4 cup milk
- 1/4 cup unsalted butter, melted
- 3 cloves garlic, minced
- 1/4 cup fresh parsley, chopped
- 1/2 cup shredded mozzarella cheese (optional)
- 2 tablespoons olive oil
Substitution Options
- For gluten-free breadsticks, swap regular flour with almond flour or a gluten-free blend.
- If you’re out of fresh garlic, use 1 teaspoon of garlic powder instead.
- Vegans can replace butter with plant-based margarine and skip the cheese or use dairy-free alternatives.
Preparation Section
Step 1: Mixing the Dough
In a large bowl, combine the flour, baking powder, and salt. Add the milk and melted butter, stirring until a soft dough forms. Don’t overmix—it should be slightly sticky but manageable. Pro tip: Use a stand mixer if you have one; it makes the process smoother. I remember the first time I made this, I accidentally added too much flour. Lesson learned: less is more when it comes to dough consistency.
Step 2: Shaping the Breadsticks
Lightly flour your work surface and roll out the dough into a rectangle about 1/2 inch thick. Cut it into strips, each about 1 inch wide and 6 inches long. Place them on a baking sheet lined with parchment paper. As you shape them, notice how elastic the dough feels—it’s almost like playdough, which always brings a smile to my face.
Step 3: Adding Flavor
Mix the minced garlic, parsley, and olive oil in a small bowl. Brush this mixture generously over the shaped breadsticks. If you’re feeling indulgent, sprinkle some shredded mozzarella on top. This step transforms plain dough into fragrant, golden beauties. Chef’s tip: Let the garlic sit for 5 minutes before using; it enhances the flavor.
Step 4: Baking
Bake the breadsticks in a preheated oven at 400°F for 12–15 minutes or until golden brown. Keep an eye on them—they bake quickly! As they puff up and turn golden, your kitchen will smell divine. Trust me, the wait is worth it.
Timing
- Prep Time: 15 minutes
- Cooking Time: 12–15 minutes
- Total Time: 30 minutes
Chef’s Secret
To elevate your garlic breadsticks, toast the minced garlic briefly in the olive oil before brushing it onto the dough. This trick adds depth and prevents raw garlic from overpowering the dish.
Extra Info
Did you know garlic has antibacterial properties? That’s why ancient civilizations used it not just for cooking but also for medicinal purposes. Fun fact: Garlic was even given to Olympic athletes in Greece to boost their performance!
Necessary Equipment
- Mixing bowls
- Rolling pin
- Parchment paper
- Baking sheet
- Pastry brush
Storage
To store leftover garlic breadsticks, let them cool completely and place them in an airtight container. They’ll stay fresh for up to 2 days at room temperature. For longer storage, freeze them in a zip-top bag for up to a month. Reheat in the oven at 350°F for 5–7 minutes to restore crispiness.
If you find yourself with stale breadsticks, don’t toss them. Turn them into croutons by slicing them into cubes and baking until crunchy. These make a fantastic topping for soups or salads.
Pro tip: Wrap individual portions in foil before freezing. This way, you can grab just what you need without thawing the entire batch.
Tips and Advice
- Don’t rush the resting time; it helps the flavors meld together.
- Use fine sea salt for better distribution.
- Double the garlic if you’re feeding garlic lovers!
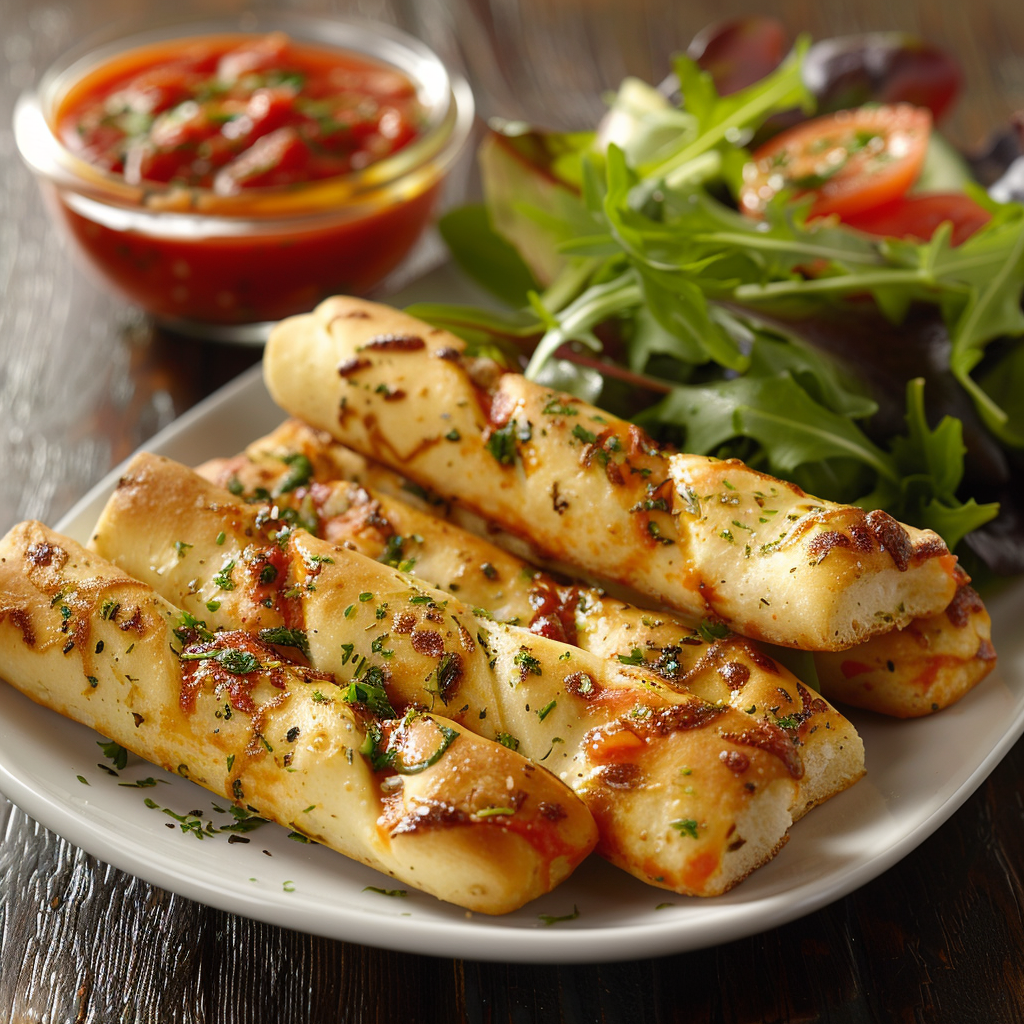
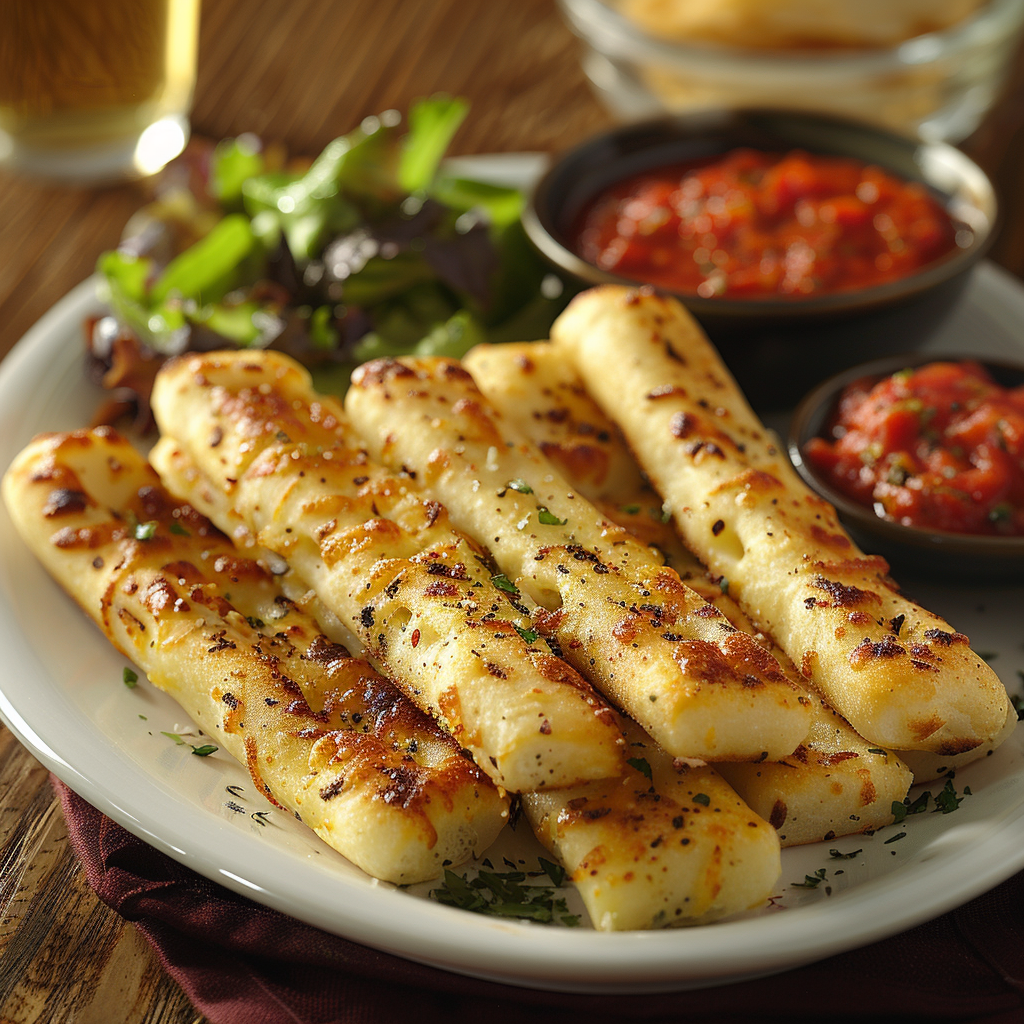
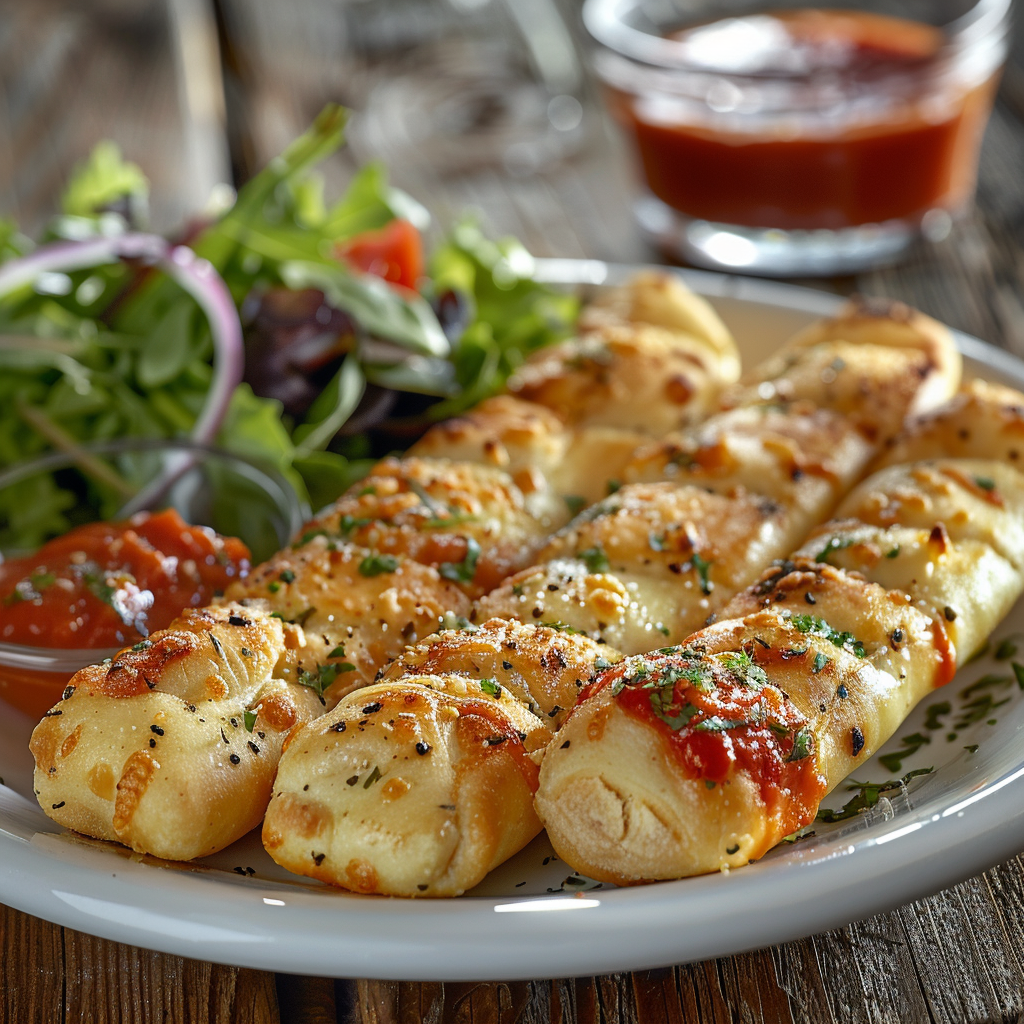
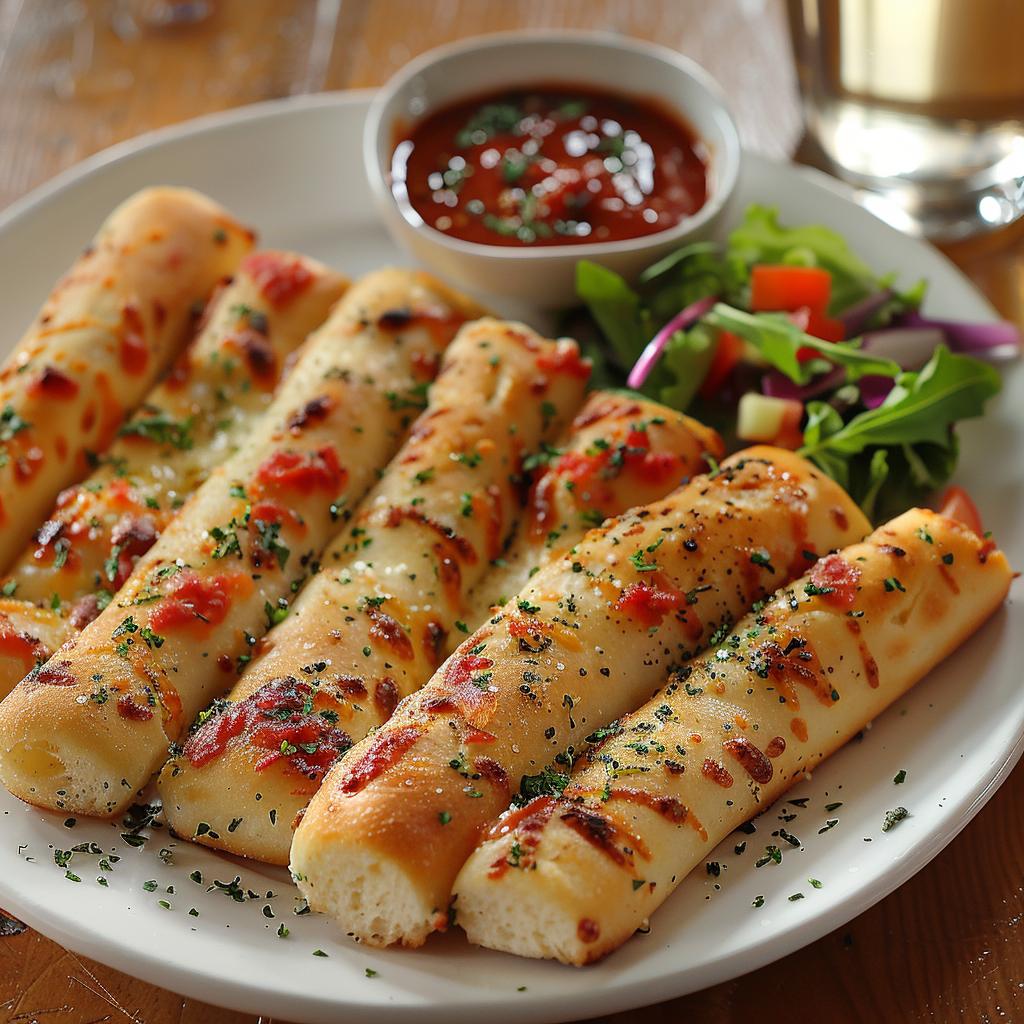
Presentation Tips
- Serve the breadsticks on a wooden board for a rustic look.
- Garnish with extra parsley for a pop of color.
- Pair with marinara sauce or creamy dip for an elegant touch.
Healthier Alternative Recipes
Here are six ways to tweak this recipe:
- Whole Wheat Garlic Breadsticks: Substitute half the flour with whole wheat for added fiber.
- Low-Calorie Version: Reduce the butter and omit the cheese.
- Vegan Garlic Breadsticks: Use plant-based butter and skip the cheese.
- Herbed Breadsticks: Add rosemary or thyme for extra flavor.
- Spicy Twist: Sprinkle red pepper flakes on top before baking.
- Gluten-Free Option: Use almond flour or a gluten-free mix.
Common Mistakes to Avoid
Mistake 1: Overworking the Dough
Over-kneading can make the breadsticks tough instead of soft. Mix just until combined, then stop. Remember, tender dough equals tender breadsticks.
Mistake 2: Skipping the Garlic Infusion
Raw garlic can taste harsh. Sauté it lightly in olive oil to mellow its sharpness. Your taste buds will thank you.
Mistake 3: Burning the Bottom
Keep an eye on the breadsticks while baking. Thin strips cook fast, so set a timer to avoid burnt bottoms. Pro tip: Rotate the tray halfway through for even baking.
FAQ
How do I make garlic bread sticks at home?
Start by mixing flour, baking powder, milk, and butter to form a dough. Roll it out, cut into strips, brush with garlic butter, and bake until golden. Voilà—homemade garlic breadsticks ready to impress!
Are garlic breadsticks high in calories?
Traditional garlic breadsticks range from 100–150 calories per piece depending on size and toppings. To reduce calories, use less butter and skip the cheese.
Can I freeze garlic breadsticks?
Absolutely! Freeze them in a sealed bag for up to a month. Reheat in the oven to revive their texture.
What’s the difference between garlic breadsticks and cheesy garlic bread sticks?
The main difference is the addition of cheese. Cheesy versions often include mozzarella or Parmesan for extra richness.
Do I need yeast to make garlic breadsticks?
Nope! This garlic breadsticks no yeast recipe uses baking powder instead, saving you time and effort.
Where can I buy garlic breadsticks frozen?
You can find frozen garlic breadsticks at stores like Walmart or Costco. But trust me, homemade ones are far superior.
Can I air fry garlic breadsticks?
Yes! Air frying works great for reheating or crisping up leftovers. Just spray with a little oil and cook at 375°F for 3–4 minutes.
What sauces pair well with garlic breadsticks?
Marinara, Alfredo, ranch, or spinach-artichoke dip complement these breadsticks beautifully.
Is there a gluten-free option?
Definitely! Swap regular flour with almond flour or a gluten-free blend.
Why didn’t my breadsticks rise?
Make sure your baking powder is fresh. Old leavening agents won’t give the desired lift.
Final Thoughts
There you have it—a foolproof guide to making mouthwatering Garlic Breadsticks. Whether you’re aiming for a cozy family treat or a show-stopping appetizer, this recipe delivers. So grab your ingredients, channel your inner chef, and enjoy the magic of homemade breadsticks. Happy baking!