Delicious Peanut Butter Bars: A Treat for Every Occasion
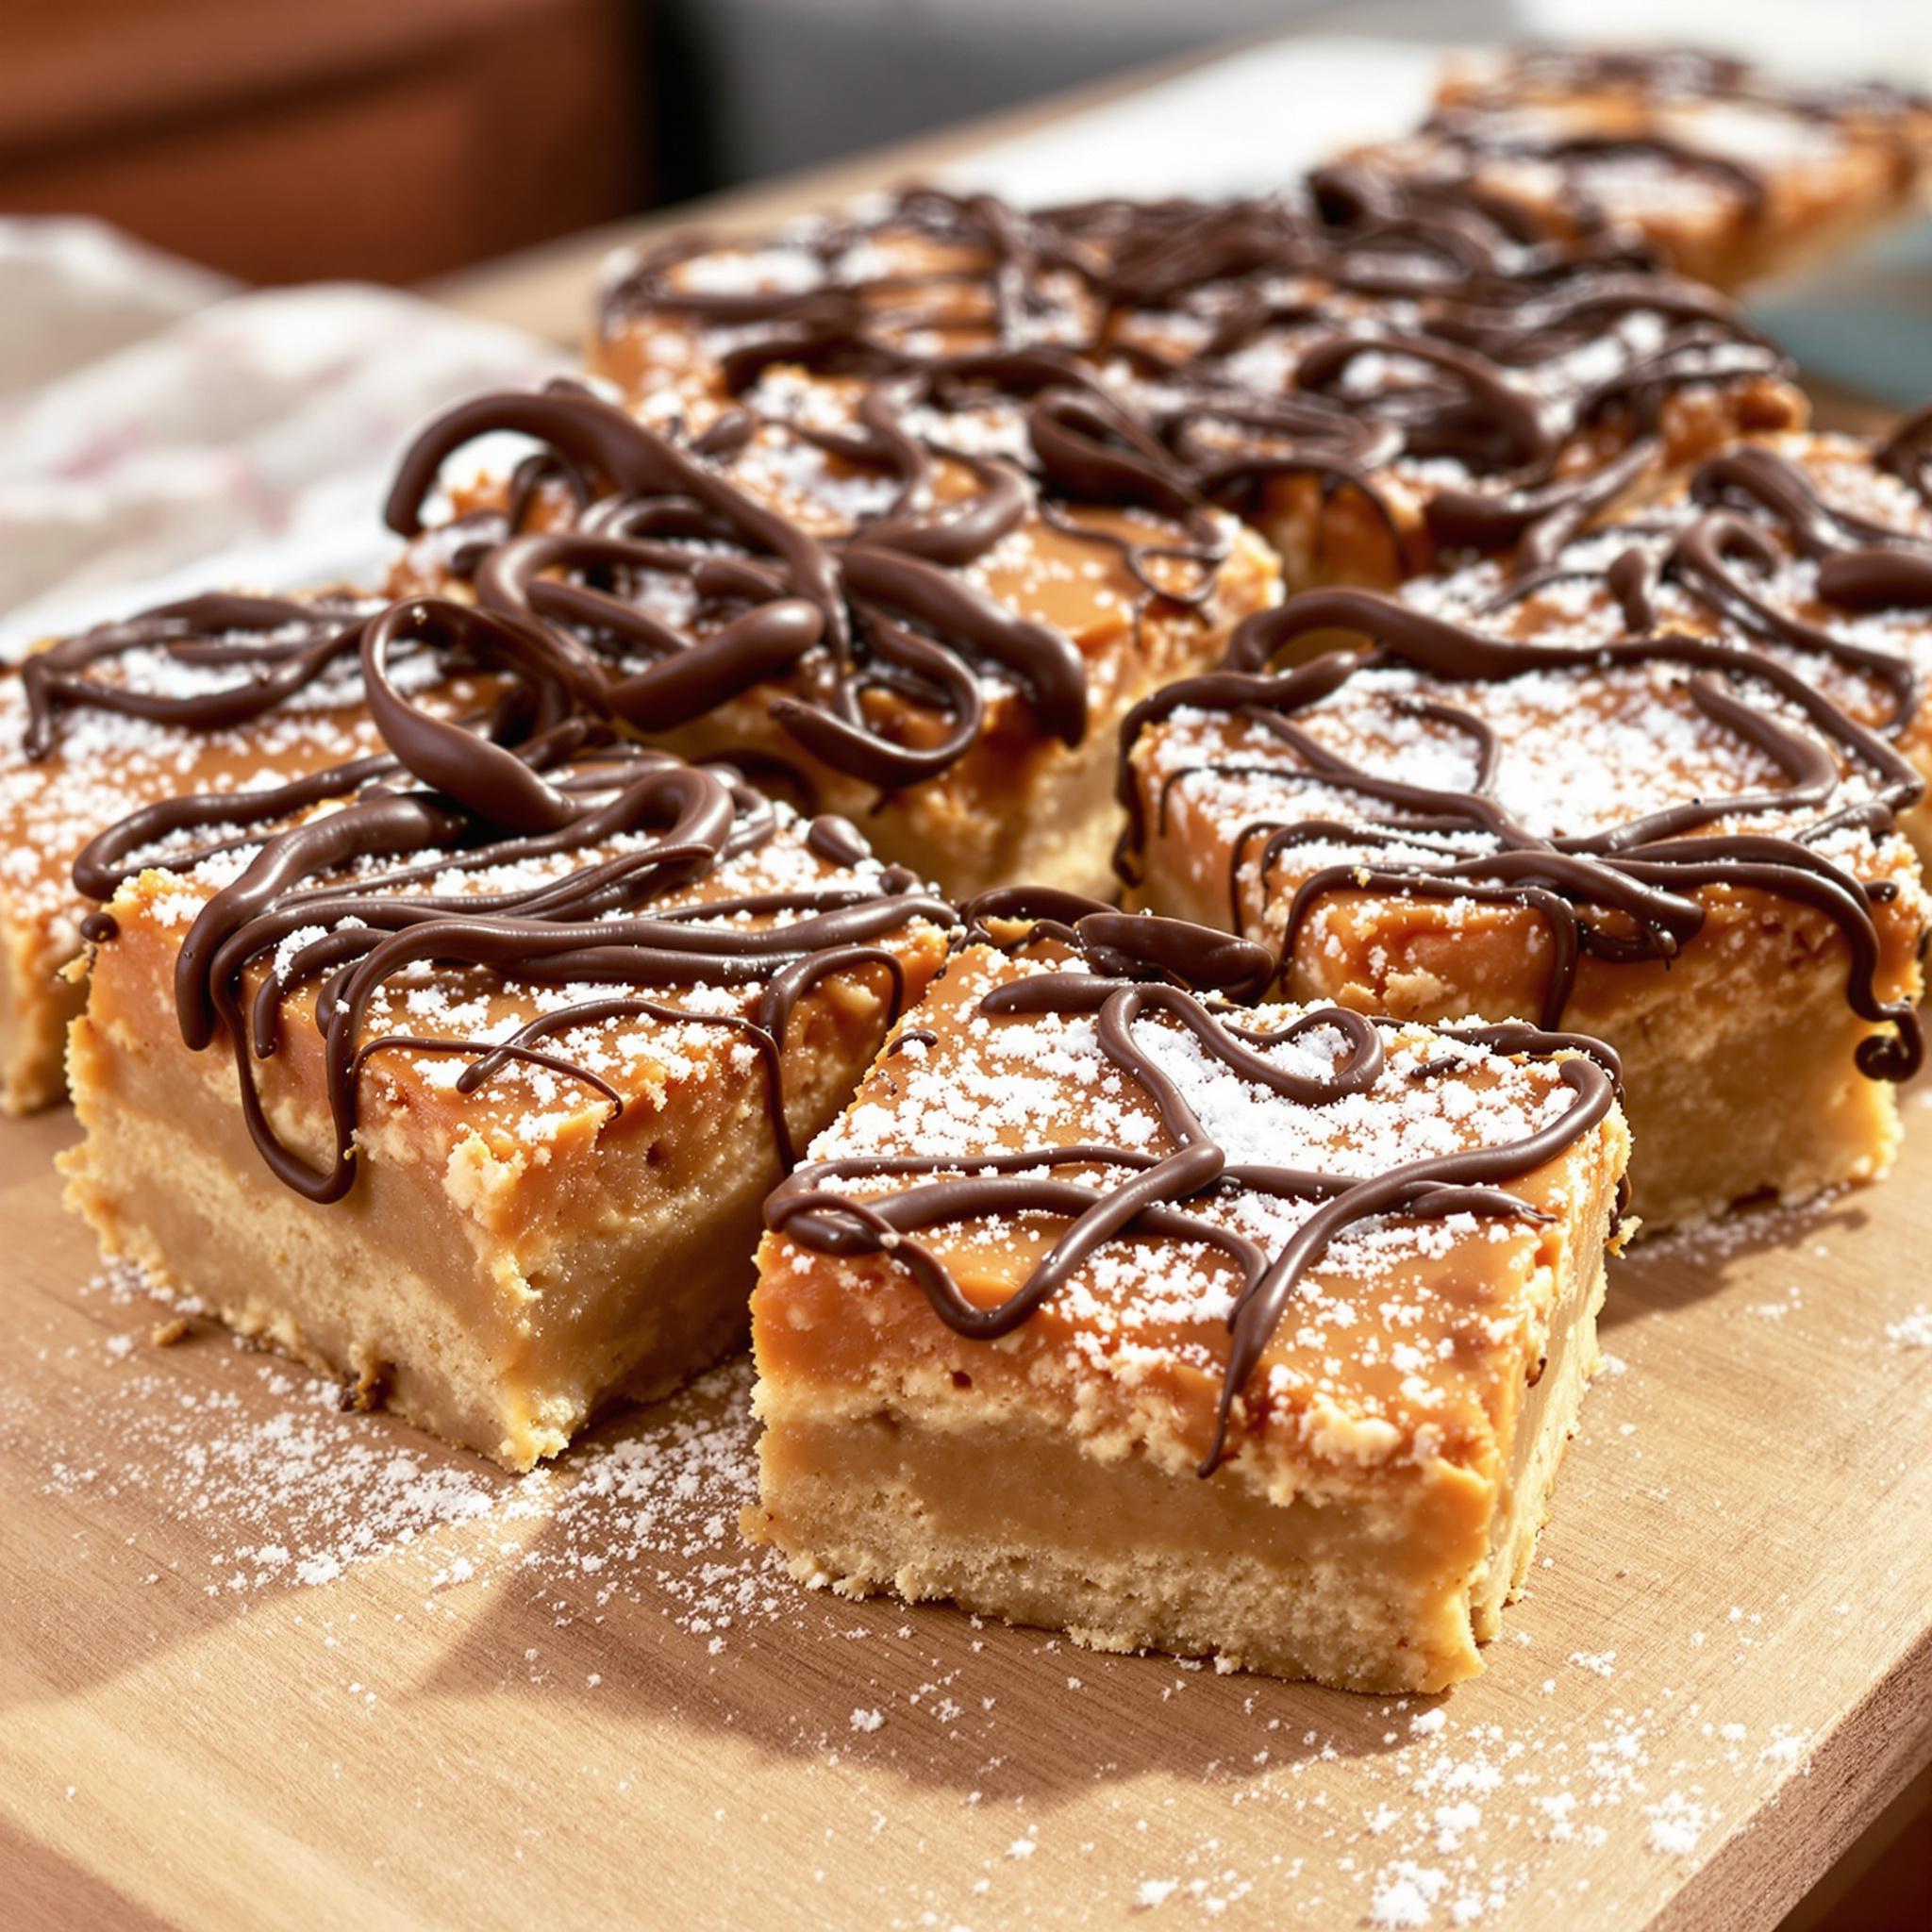
There’s something magical about the combination of rich, creamy peanut butter and sweet, chewy textures that makes Peanut Butter Bars a timeless favorite. Whether you’re baking for family gatherings or just craving a homemade treat, these bars are sure to win hearts. I remember making them for the first time during a cozy weekend at home—my kitchen smelled heavenly, and the final result was so addictive that my family couldn’t stop raving about them!
The Sweet History Behind Peanut Butter Bars
Peanut Butter Bars have their roots in American baking traditions, where peanut butter has long been a pantry staple. This humble ingredient gained popularity in the early 20th century, thanks to its affordability and versatility. Over time, creative bakers began experimenting with peanut butter in desserts, leading to classics like these bars. While some versions are decadently chocolatey, others keep things simple with a focus on the nutty flavor. My recipe strikes a perfect balance between tradition and innovation, ensuring every bite is pure bliss.
Why You’ll Love These Peanut Butter Bars
What sets this Peanut Butter Bars recipe apart is its simplicity and irresistible taste. With just a handful of ingredients, you can whip up a batch in no time. The creamy peanut butter layer pairs beautifully with the crunchy crust, while the chocolate topping adds a touch of indulgence. Plus, it’s a crowd-pleaser—whether you’re serving kids or adults, everyone will ask for seconds!
Perfect Occasions to Make Peanut Butter Bars
These Peanut Butter Bars are perfect for any occasion! Bring them to potlucks, bake sales, or holiday parties, and watch them disappear within minutes. They’re also great for casual get-togethers or as an after-school snack for your little ones. Personally, I love making them during the holidays because they’re easy to prepare yet feel festive enough to share with loved ones.
Ingredients for Peanut Butter Bars
- 1 cup unsalted butter, melted
- 1 cup granulated sugar
- 2 cups all-purpose flour
- 1 cup creamy peanut butter
- 1/2 cup packed brown sugar
- 2 cups semi-sweet chocolate chips
- 1 teaspoon vanilla extract
Substitution Options for Peanut Butter Bars
If you’re looking to tweak the recipe, here are some ideas: Use almond butter or cashew butter instead of peanut butter for a different flavor profile. Swap out semi-sweet chocolate chips for dark chocolate or white chocolate. For a gluten-free version, replace the all-purpose flour with almond flour or oat flour. And if you’d like to reduce the sugar content, opt for coconut sugar or stevia.
Preparation Steps for Peanut Butter Bars
Step 1: Prepare the Crust
Start by preheating your oven to 350°F (175°C) and lining a square baking pan with parchment paper. In a mixing bowl, combine the melted butter, granulated sugar, and flour until a crumbly dough forms. Press this mixture firmly into the bottom of the prepared pan, creating an even layer. Pro tip: Use the back of a spoon or a flat-bottomed glass to press the crust down smoothly—it ensures a sturdy base for your bars.
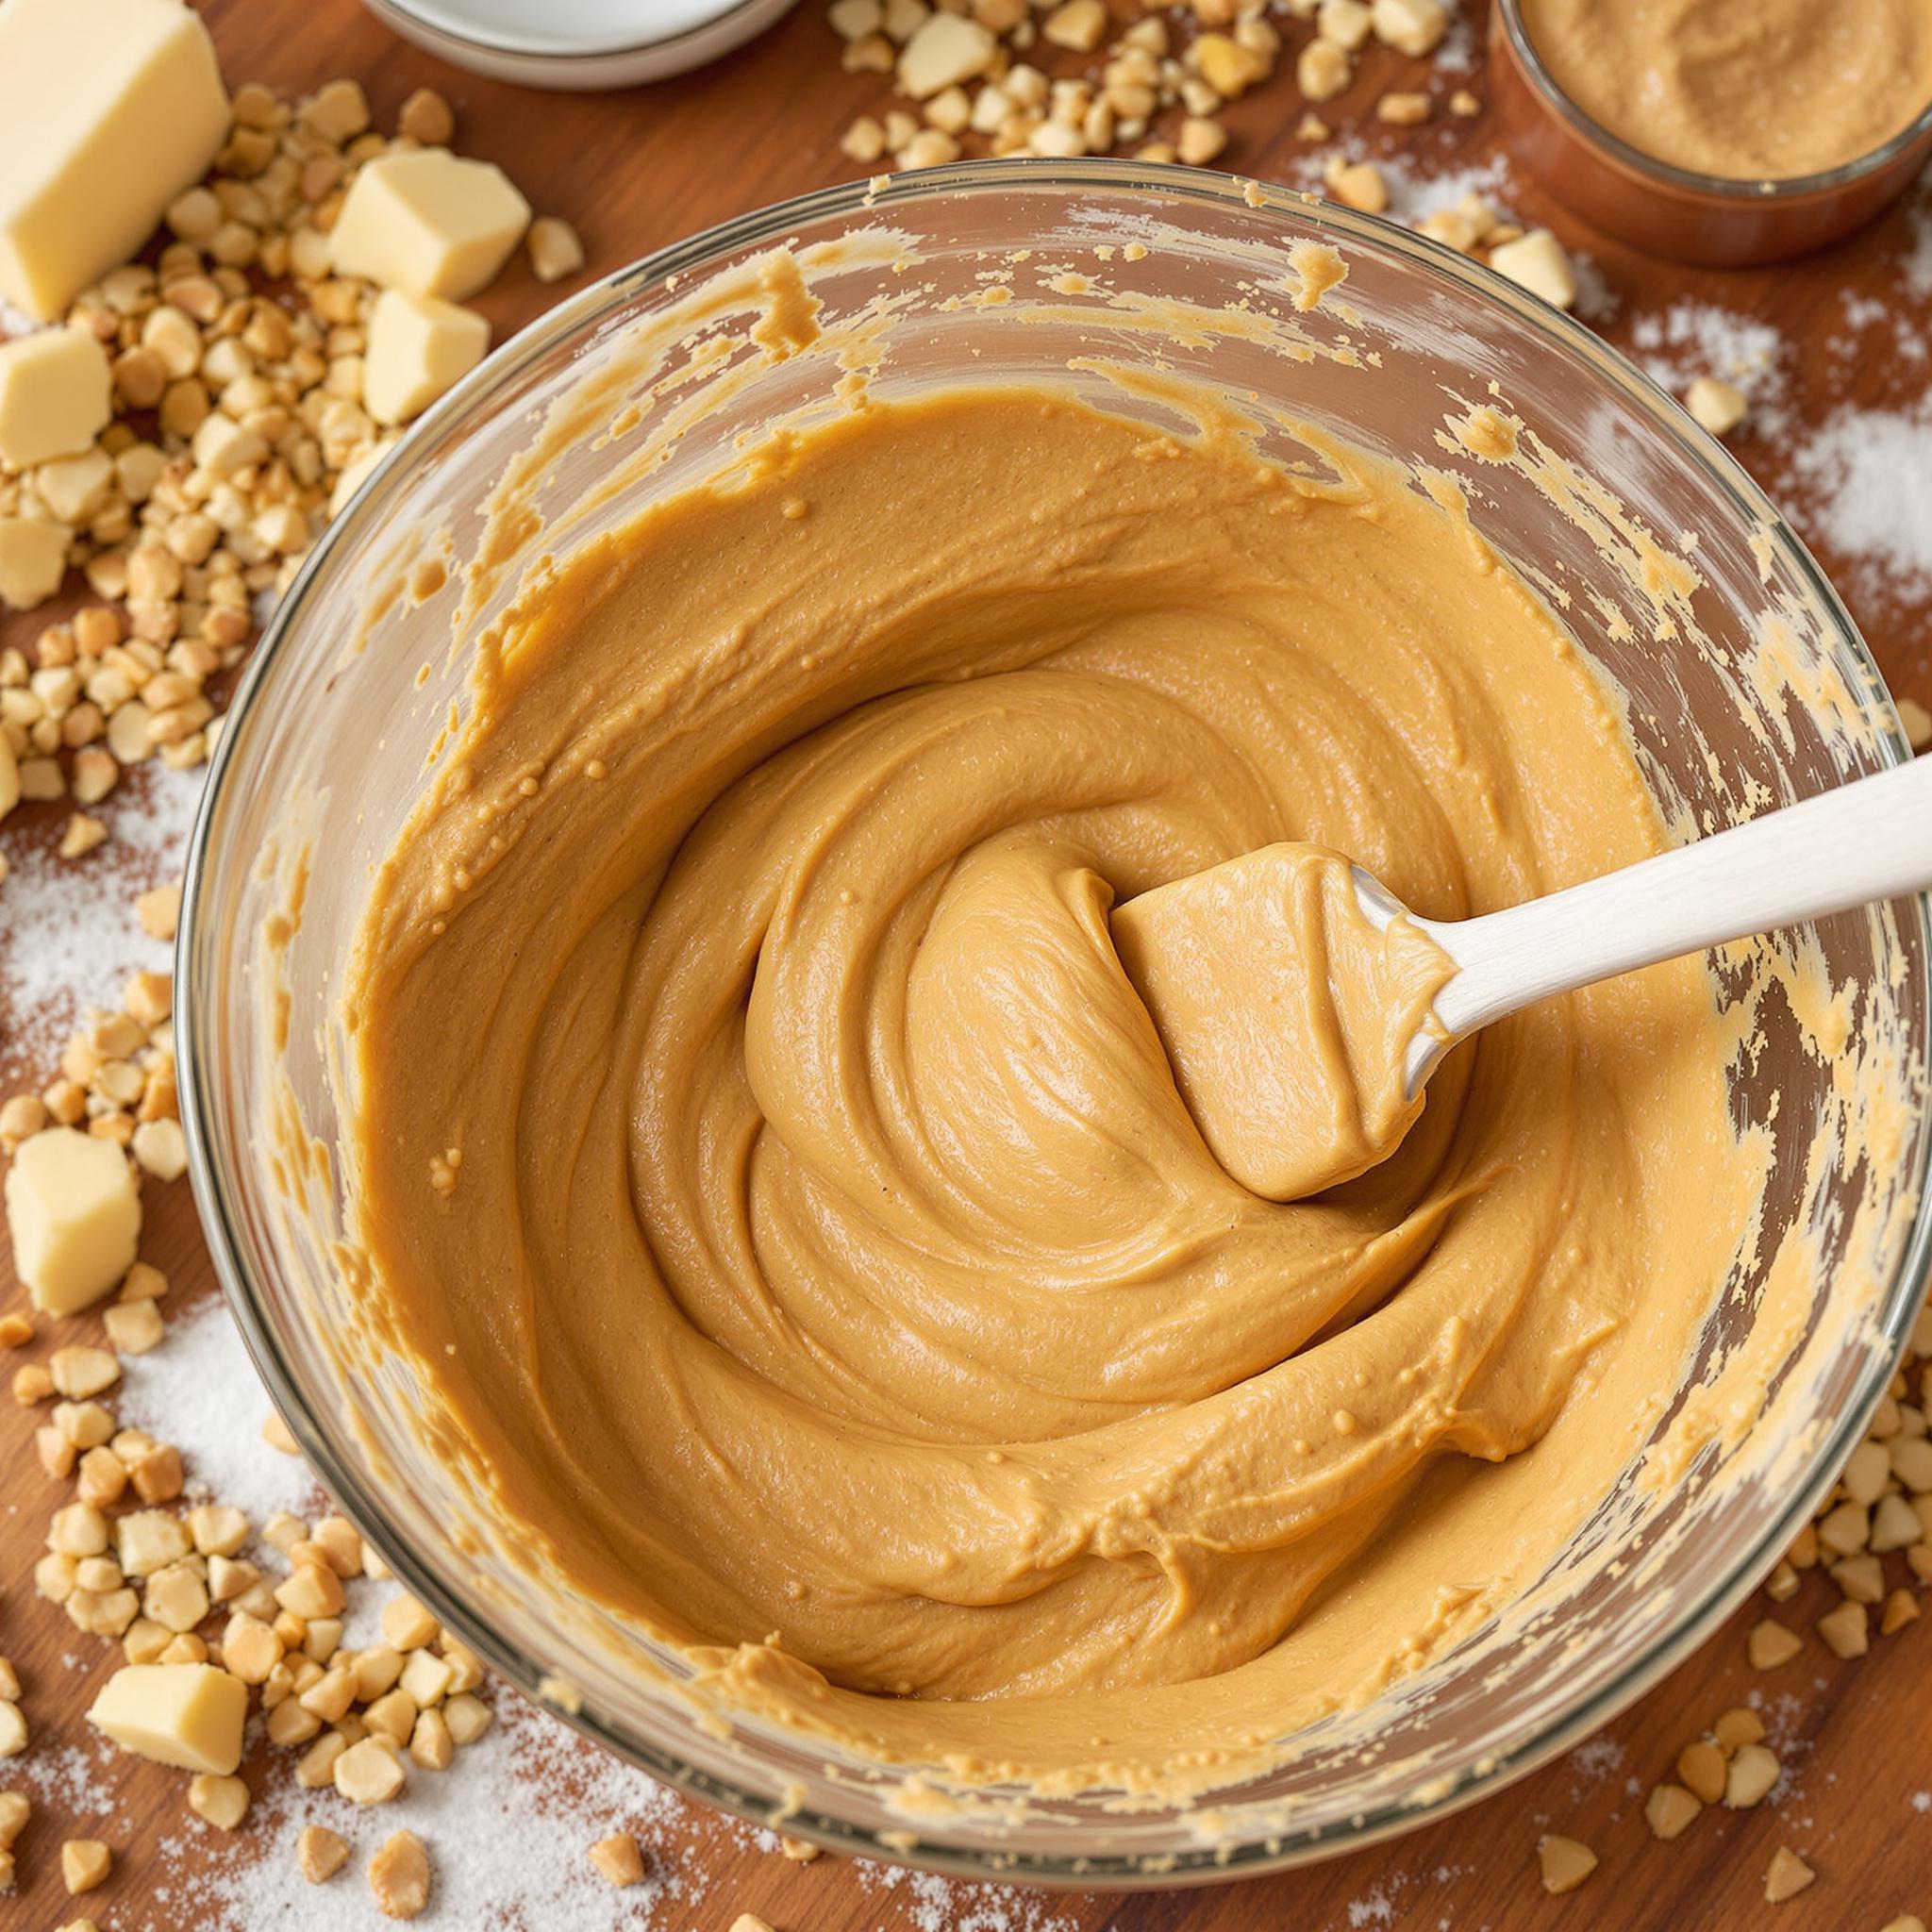
Step 2: Add the Peanut Butter Layer
In another bowl, mix the creamy peanut butter, brown sugar, and vanilla extract until smooth and creamy. Spread this luscious mixture evenly over the cooled crust. The contrast between the golden crust and the rich peanut butter layer is stunning, and the aroma of roasted peanuts fills the air, making it hard to resist sneaking a taste!
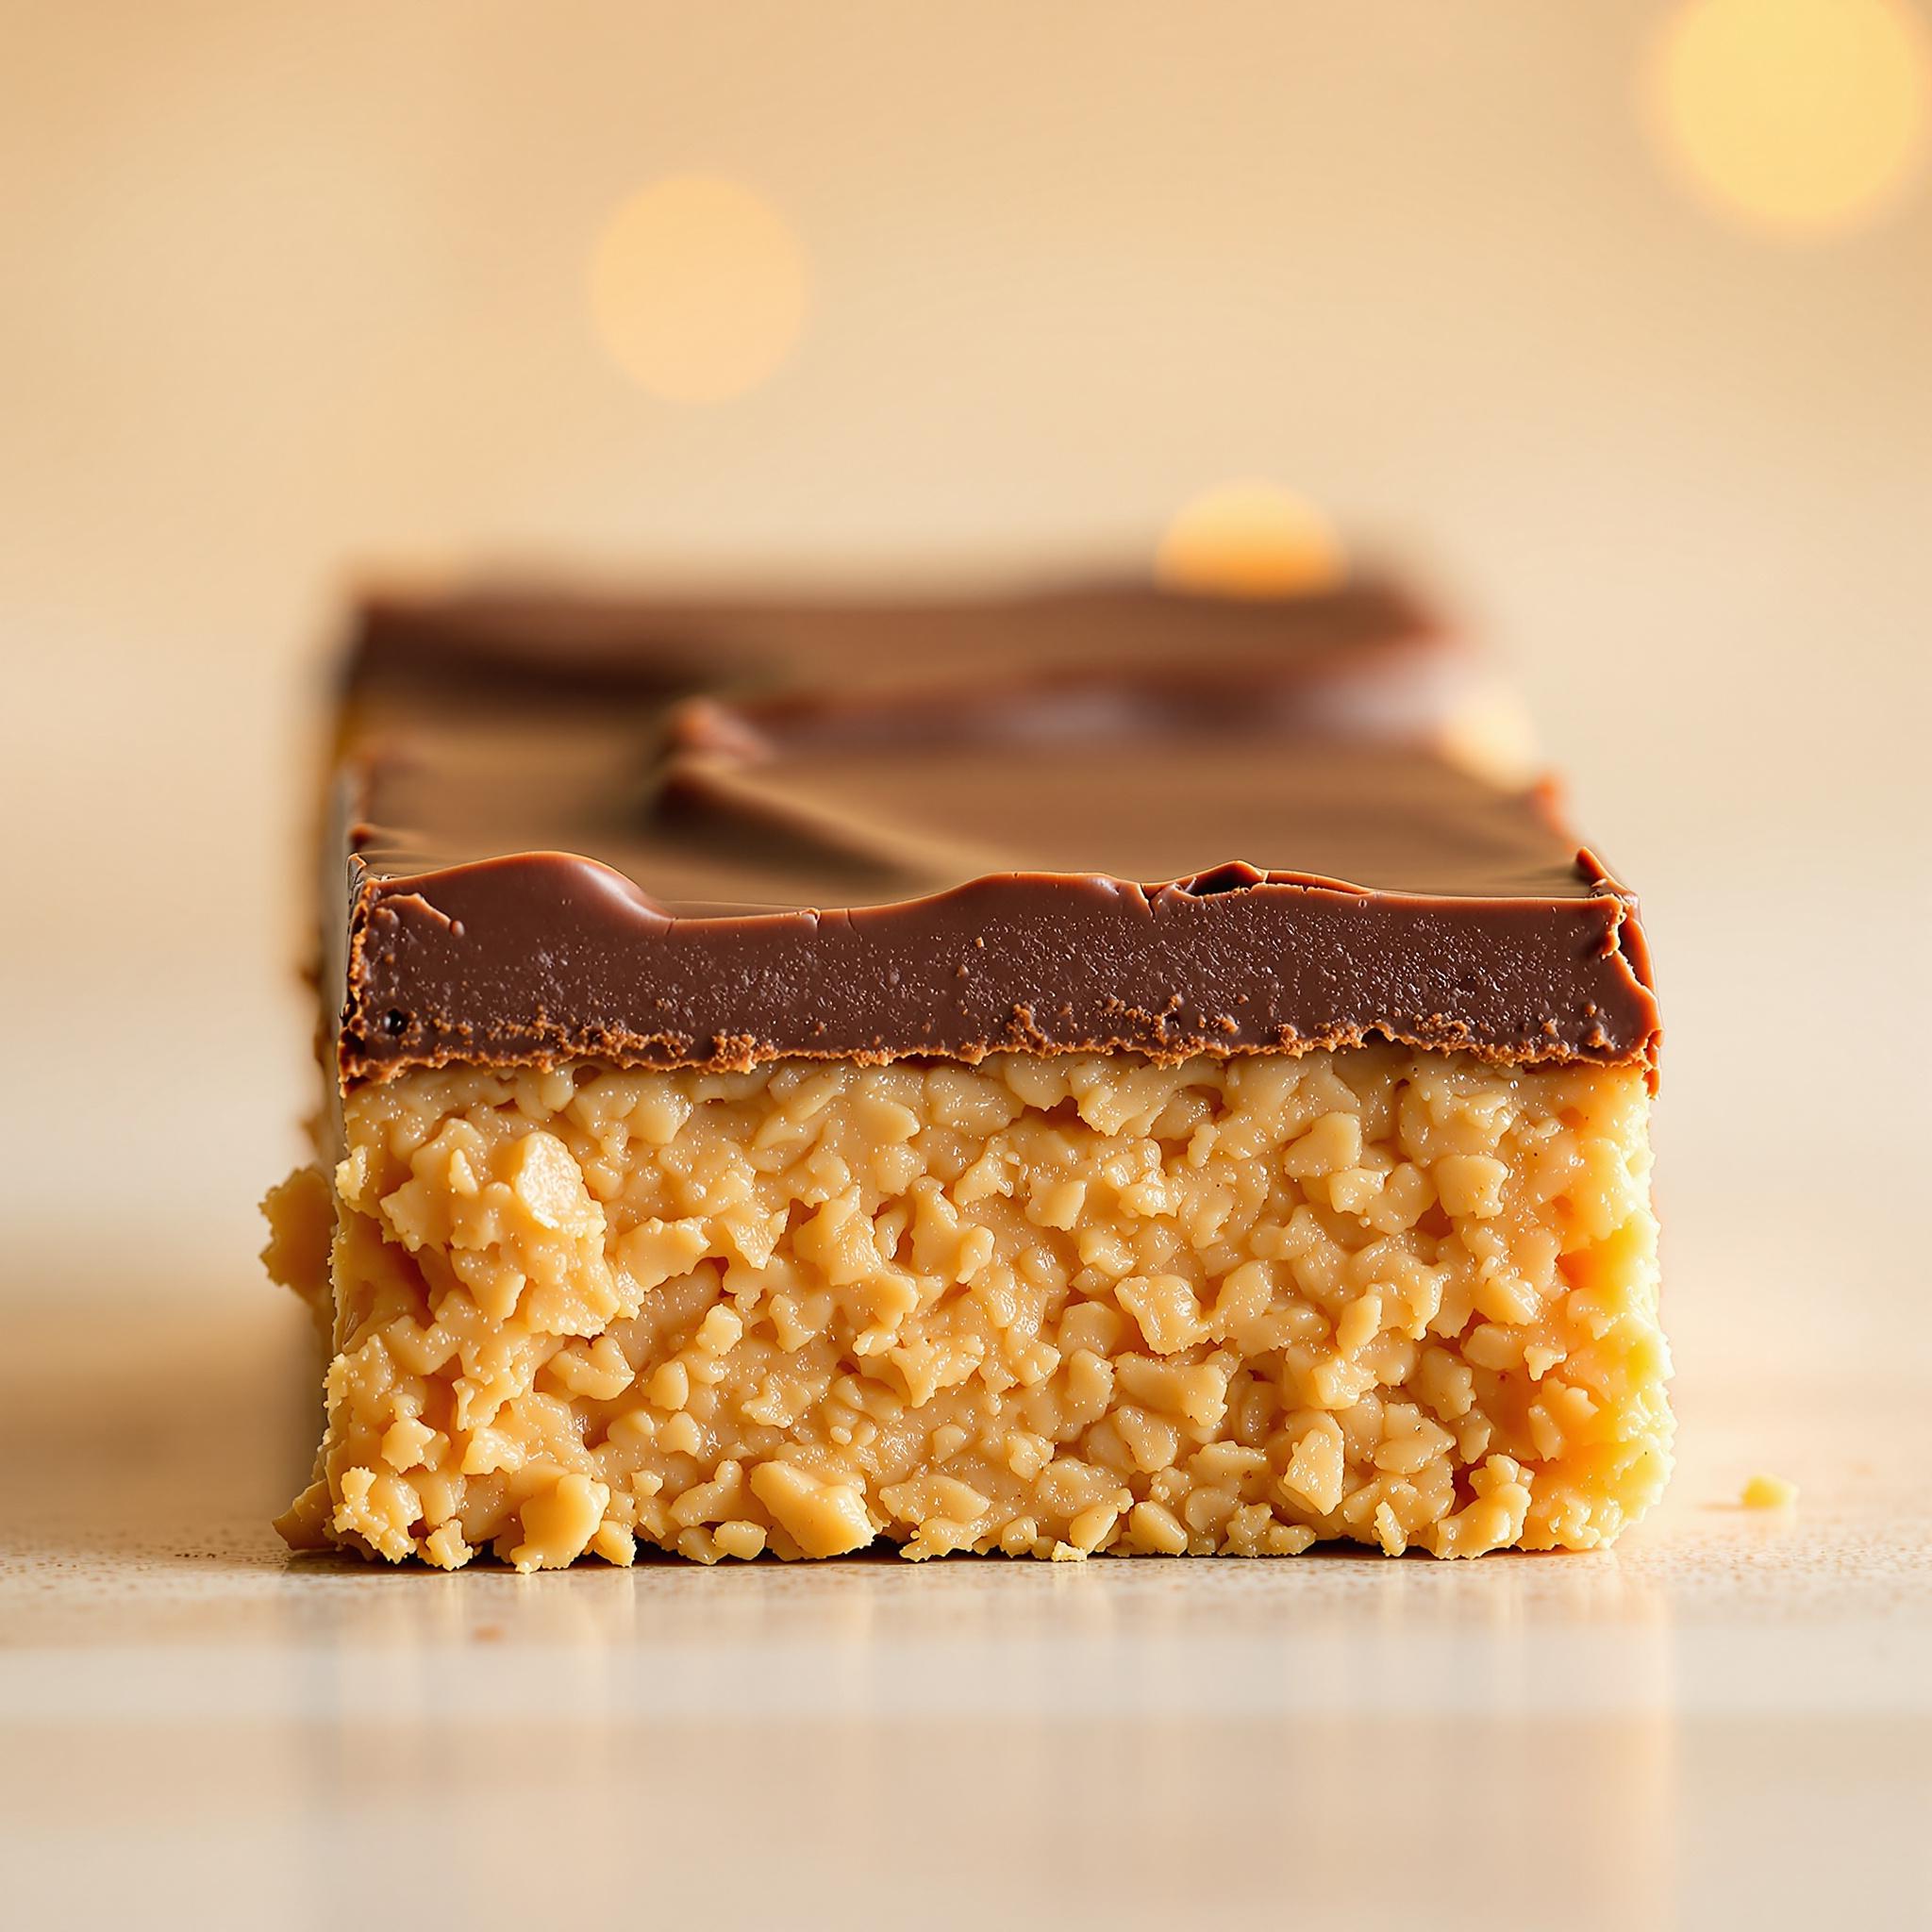
Step 3: Melt the Chocolate Topping
Melt the chocolate chips in a microwave-safe bowl or using a double boiler. Stir frequently to achieve a glossy, velvety consistency. Once melted, pour the chocolate over the peanut butter layer and spread it gently with a spatula. This final step transforms the bars into a decadent masterpiece. Let the bars chill in the refrigerator for at least two hours before slicing them into squares.
Chef’s Tip for Perfect Peanut Butter Bars
To elevate your Peanut Butter Bars, sprinkle a pinch of sea salt on top of the chocolate layer before chilling. The hint of salt enhances the sweetness and creates a delightful balance of flavors. Trust me; this small addition makes a big difference!
Time Required to Make Peanut Butter Bars
This recipe is quick and easy to prepare. The prep time takes about 15 minutes, while the chilling time is approximately 2 hours. There’s no cooking involved beyond melting the chocolate, so the total time from start to finish is around 2 hours and 15 minutes.
Nutritional Information for Peanut Butter Bars
Each serving of Peanut Butter Bars contains approximately 250 calories, with 12g of fat, 4g of protein, and 30g of carbohydrates. While they’re not exactly health food, they’re worth every bite when enjoyed in moderation!
An Interesting Fact About Peanut Butter Bars
Did you know that peanut butter was invented in the late 1800s as a protein-rich food for people who couldn’t chew solid foods? Today, it’s a beloved ingredient in countless recipes, including these scrumptious bars!
Necessary Tools for Making Peanut Butter Bars
- Mixing bowls
- Measuring cups and spoons
- Spatula
- Baking pan
- Parchment paper
- Double boiler or microwave-safe bowl
Storage Instructions for Peanut Butter Bars
To store your Peanut Butter Bars, place them in an airtight container lined with parchment paper. Keep them in the refrigerator for up to one week. If you live in a warm climate, refrigeration is essential to prevent the chocolate from melting.
For longer storage, freeze the bars for up to three months. Simply wrap each piece individually in plastic wrap and place them in a freezer-safe bag. When you’re ready to enjoy them, let them thaw at room temperature for about 30 minutes.
Avoid leaving the bars at room temperature for extended periods, as the chocolate may soften and lose its shape. Proper storage ensures that every bite remains fresh and delicious.
Tips and Tricks for Better Peanut Butter Bars
Here are a few tips to take your Peanut Butter Bars to the next level: First, toast the flour lightly before mixing it into the crust for a nuttier flavor. Second, use high-quality peanut butter for the best results—the natural kind without added sugars works wonders. Lastly, don’t rush the chilling process; allowing the bars to set properly ensures clean cuts and optimal texture.
Serving Suggestions for Peanut Butter Bars
Pair your Peanut Butter Bars with a cold glass of milk or a hot cup of coffee for a comforting treat. They also make a fantastic dessert platter addition alongside other sweets like cookies or brownies. For a fun twist, serve them with a dollop of whipped cream or a scoop of vanilla ice cream.
Healthier Alternatives for Peanut Butter Bars
Looking to make your Peanut Butter Bars healthier? Here are six variations:
- Gluten-Free Version: Replace the all-purpose flour with almond flour or gluten-free flour blend.
- Low-Sugar Option: Use monk fruit sweetener or erythritol instead of granulated sugar.
- Vegan Twist: Substitute butter with coconut oil and use dairy-free chocolate chips.
- Protein-Packed Bars: Add a scoop of protein powder to the peanut butter layer.
- Nut-Free Alternative: Swap peanut butter with sunflower seed butter.
- Fruit Infusion: Mix chopped dried fruits like cranberries or raisins into the peanut butter layer.
Common Mistakes to Avoid When Making Peanut Butter Bars
Mistake 1: Skipping the Chilling Step
One common mistake is cutting the bars too soon after assembling them. Without proper chilling, the layers won’t set, resulting in messy slices. To avoid this, always refrigerate the bars for at least two hours before serving.
Mistake 2: Overmixing the Crust
Overmixing the crust can make it tough instead of crumbly. Mix just until the ingredients come together, and handle the dough gently when pressing it into the pan.
Mistake 3: Using Old Peanut Butter
Using old or separated peanut butter can affect the flavor and texture of your bars. Always check the expiration date and give the jar a good stir before measuring.
Frequently Asked Questions About Peanut Butter Bars
Can I use crunchy peanut butter?
Absolutely! Crunchy peanut butter adds extra texture and makes the bars even more satisfying. Just ensure it’s well mixed before spreading.
How do I prevent the chocolate from cracking?
To avoid cracks, let the bars cool slightly before adding the chocolate layer. Also, chill them gradually rather than freezing immediately.
Can I make these bars ahead of time?
Yes, Peanut Butter Bars can be made up to three days in advance and stored in the fridge. They actually taste better the next day as the flavors meld together.
What if I don’t have a double boiler?
No problem! You can melt the chocolate in the microwave in 30-second intervals, stirring in between, until smooth.
Are these bars kid-friendly?
Definitely! Kids love the combination of peanut butter and chocolate, and they’re simple enough for young bakers to help with.
Can I add nuts to the recipe?
Of course! Chopped peanuts or almonds would complement the peanut butter beautifully and add crunch.
How many servings does this recipe yield?
This recipe typically yields 16 bars, depending on how large you cut them.
Can I omit the chocolate layer?
While the chocolate adds richness, you can skip it if you prefer. Drizzle caramel sauce instead for a unique twist.
Is there a way to make these bars vegan?
Yes, substitute butter with coconut oil and use dairy-free chocolate chips for a plant-based version.
Can I freeze Peanut Butter Bars?
Yes, they freeze beautifully. Wrap each bar individually and store in a freezer-safe container for up to three months.
Conclusion
Peanut Butter Bars are a delightful treat that combines simplicity with incredible flavor. Whether you stick to the classic recipe or experiment with healthier alternatives, these bars are sure to become a staple in your baking repertoire. So grab your ingredients, roll up your sleeves, and get ready to create something truly special!