Why You Should Try Making Red Bean Ice Cream at Home
Let me tell you a little story. Last summer, I stumbled upon a tiny ice cream shop in Annapolis while on a family road trip. Among all the flavors, one caught my eye: red bean ice cream. I had heard of it before but never tried it. One scoop later, I was hooked. The creamy texture paired with the earthy sweetness of red bean paste felt like a warm hug for my taste buds. Since then, I’ve made it my mission to recreate this treat at home. And guess what? It’s easier than you think!
A Little History Behind Red Bean Ice Cream
This delightful dessert has roots in East Asia, where red bean paste is a beloved ingredient. While many associate red bean ice cream korean culture with it, its origins actually trace back to Japan. In both countries, sweetened red bean paste is used in everything from mochi to cakes. Over time, creative chefs decided to blend this classic paste into ice cream, creating a fusion that’s now enjoyed worldwide. My first attempt at making it reminded me why tradition matters—it connects us through flavor.
Why This Recipe Will Win Your Heart
You’ll love this recipe because it’s simple yet unique. The red bean ice cream taste strikes a perfect balance between sweet and nutty, making it stand out from other desserts. Plus, it’s versatile! Serve it plain, wrap it in mochi, or sandwich it between cookies. Whether you’re curious about trying something new or looking to impress your guests, this dish delivers every time.
Perfect Occasions for Red Bean Ice Cream
Think outside the box here. This isn’t just for summer picnics (though it’s great for those too). Picture serving it at a dinner party as a conversation starter or gifting homemade pints during the holidays. Even better, surprise your kids with red bean ice cream sandwiches—they won’t believe their luck!
What You’ll Need
- 1 cup cooked adzuki beans (or canned if you’re short on time)
- ½ cup sugar
- 2 cups heavy cream
- 1 cup whole milk
- 1 teaspoon vanilla extract
- A pinch of salt
Substitution Options
- Swap heavy cream with coconut cream for a dairy-free version.
- Use honey or maple syrup instead of sugar for a natural twist.
- If you can’t find adzuki beans, try using black beans—they work surprisingly well!
Step 1: Prepare the Red Bean Paste
To start, rinse and soak your adzuki beans overnight. Drain them and simmer until tender. Mash the beans with sugar until smooth. Pro tip: Don’t rush this step! A fine paste ensures no lumps in your final product. For an extra-smooth texture, pass the mixture through a sieve.
Step 2: Make the Ice Cream Base
In a saucepan, heat the milk and cream over low heat. Add the red bean paste gradually, whisking constantly so it blends evenly. Stir in the vanilla and salt. Keep stirring until the mixture thickens slightly—it should coat the back of a spoon. Chef’s tip: Let the base cool completely before churning; cold mixtures freeze faster.
Step 3: Churn the Ice Cream
Pour the cooled mixture into your ice cream maker and churn according to the manufacturer’s instructions. As it spins, watch the magic happen—the colors deepen, and the aroma becomes irresistible. Once done, transfer the soft ice cream to a container and freeze for a few hours to firm up.
Timing Breakdown
| Stage | Time |
|---|---|
| Prep Time | 30 minutes |
| Cooking Time | 20 minutes |
| Resting/Freezing Time | 4 hours |
| Total Time | 6 hours |
Chef’s Secret
For a richer flavor, toast the adzoki beans lightly before cooking. This enhances their natural nuttiness and adds depth to the ice cream.
An Interesting Fact About Red Beans
Did you know that adzuki beans are packed with fiber and protein? They’re often called “the weight loss bean” in some cultures because they keep you full longer. No wonder people ask, “Is red bean ice cream healthy?” Well, moderation is key, but yes, it’s got benefits!
Equipment You’ll Need
- Ice cream maker
- Saucepan
- Whisk
- Fine mesh strainer
- Airtight freezer-safe container
Storage Tips
Once frozen, store your red bean ice cream bar in an airtight container. Press plastic wrap directly onto the surface to prevent ice crystals from forming. If stored properly, it can last up to two weeks. Avoid refreezing melted portions, as this affects texture.
For longer storage, divide the ice cream into smaller portions. This way, you only thaw what you need. Label each container with the date to keep track of freshness.
Lastly, always let the ice cream sit at room temperature for a few minutes before scooping. This makes it easier to serve without losing its creamy consistency.
Tips and Advice
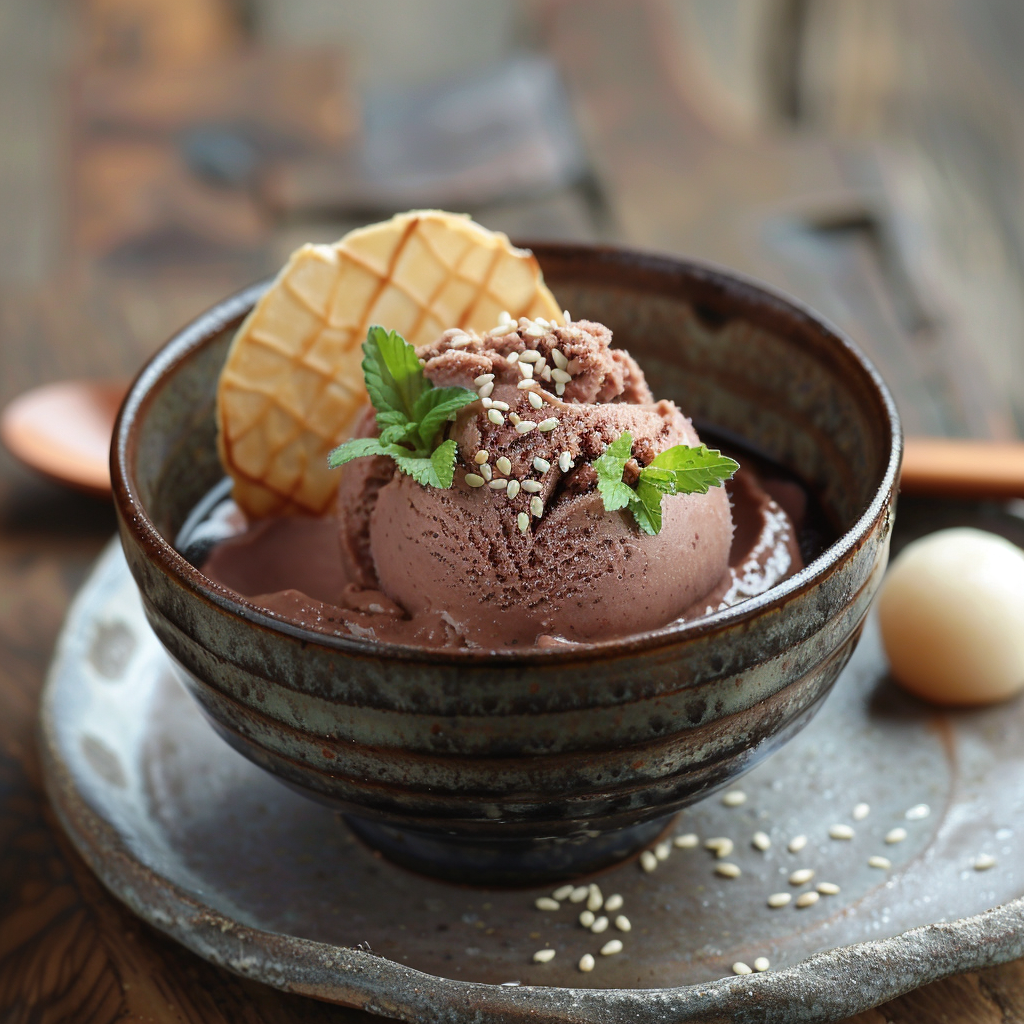
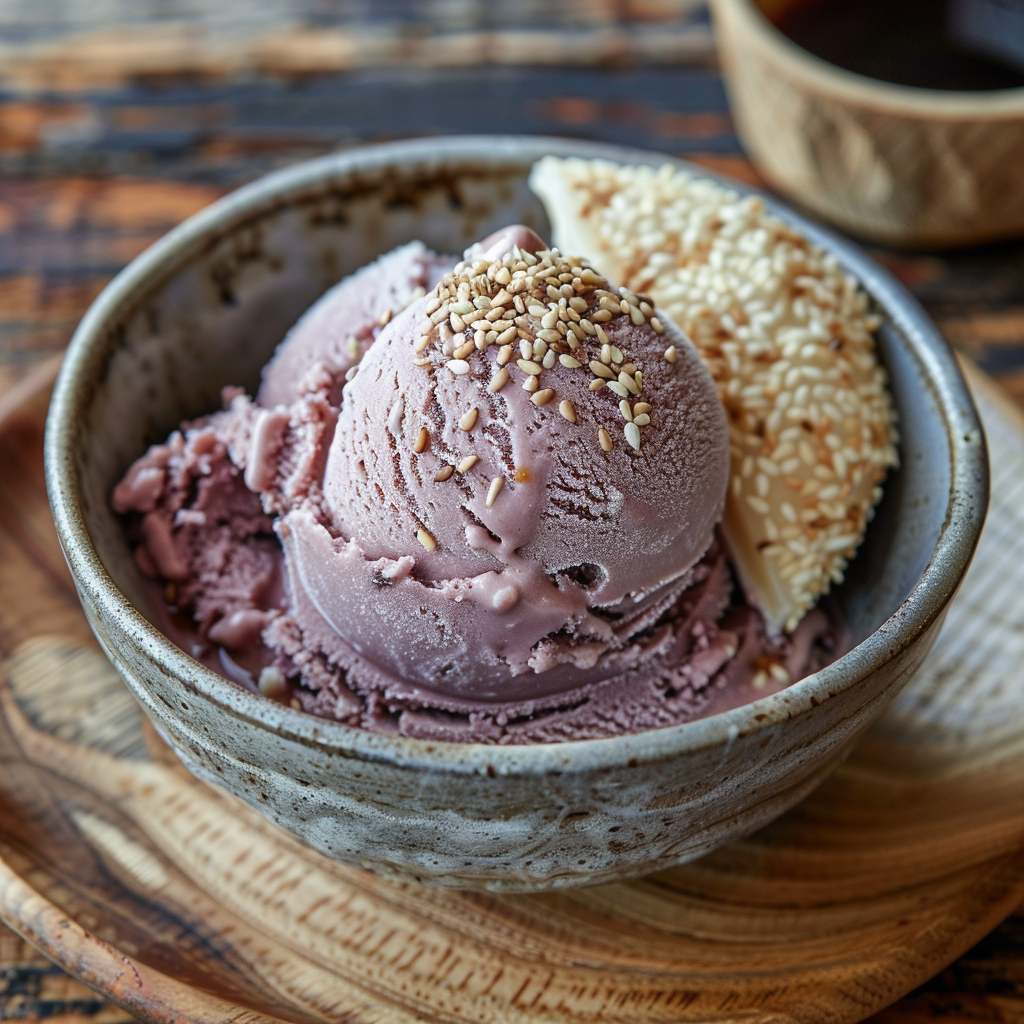
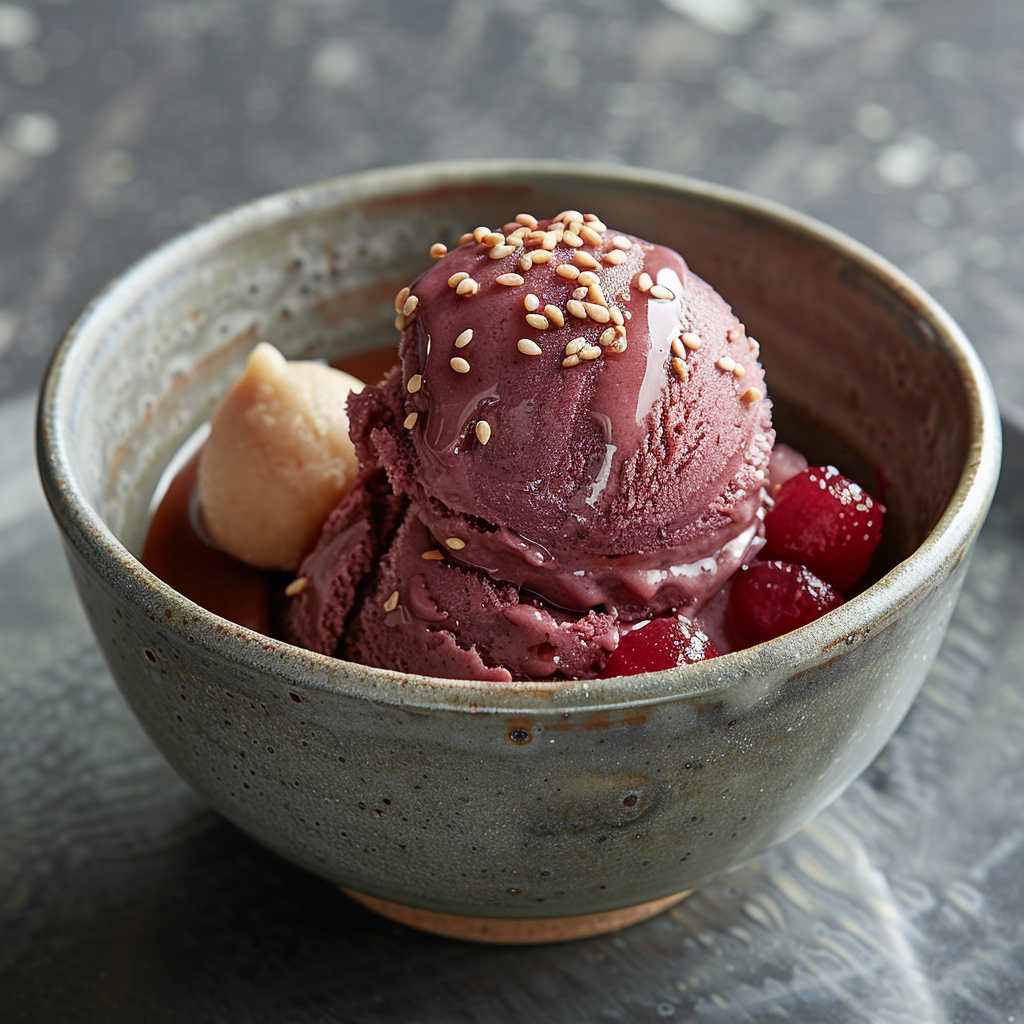
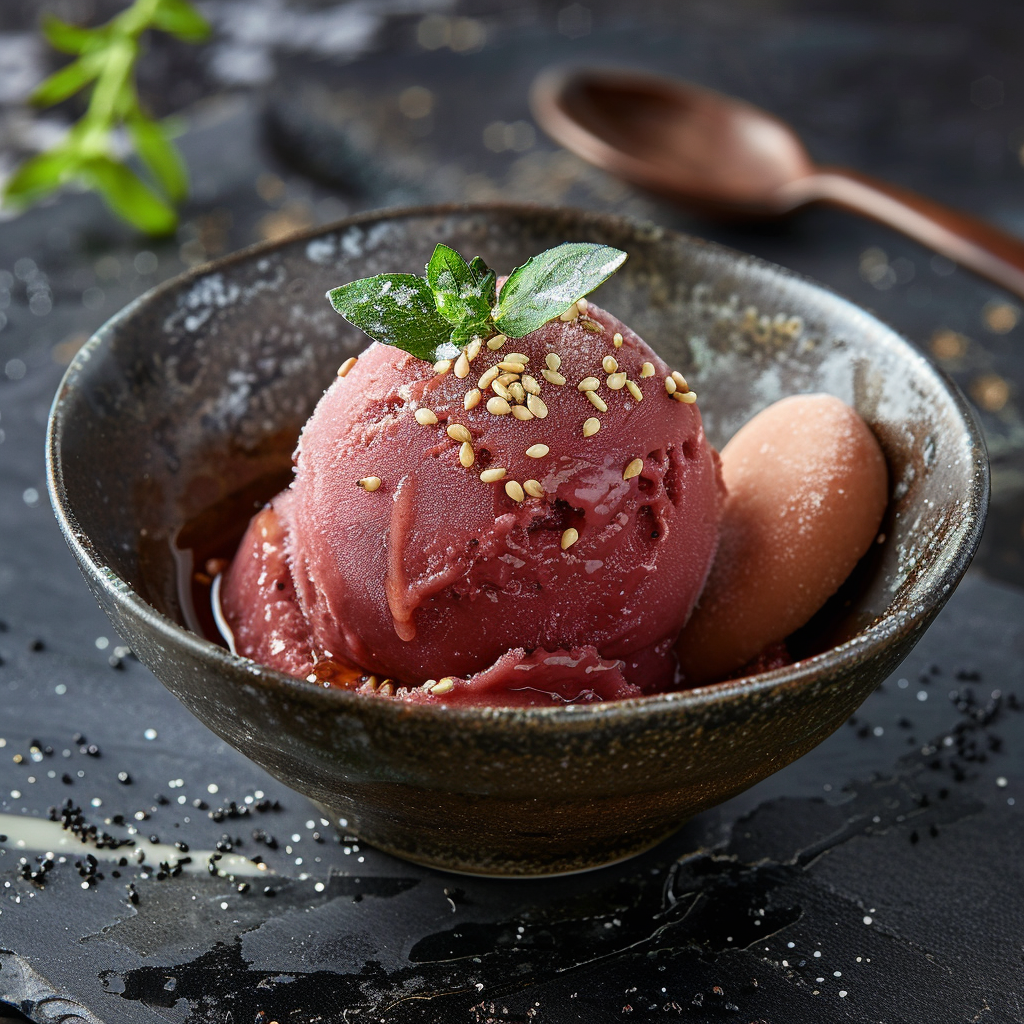
- Experiment with toppings like toasted sesame seeds or crushed nuts for added crunch.
- Pair it with fruits like mango or strawberries for a refreshing contrast.
- Don’t skip chilling the base—it’s crucial for achieving the right consistency.
Presentation Ideas
- Serve it inside hollowed-out red bean ice cream fish pastries for a playful touch.
- Layer it with whipped cream in clear glasses for a fancy parfait.
- Wrap scoops in mochi dough for adorable mini treats.
Healthier Alternatives
If you’re wondering about red bean ice cream calories, here are six variations to lighten things up:
- Coconut Milk Version: Replace dairy with coconut milk for a lighter option.
- Low-Sugar Option: Use stevia or monk fruit instead of regular sugar.
- Frozen Yogurt Style: Swap half the cream with Greek yogurt.
- Vegan Delight: Use cashew cream and plant-based milk.
- Fruit-Infused Twist: Blend in pureed bananas or dates.
- Protein-Packed: Add a scoop of vanilla protein powder to the mix.
Mistake 1: Skipping the Cooling Step
Many beginners pour warm mixtures straight into the ice cream maker. Big mistake! Warm bases don’t freeze properly, leading to icy results. Always chill thoroughly before churning. Pro tip: Place the mixture in the fridge overnight for best results.
Mistake 2: Overloading Toppings
While sprinkles and syrups sound fun, too many toppings can overwhelm the delicate red bean ice cream taste. Stick to a couple of complementary additions, like chocolate drizzle or fresh fruit.
Mistake 3: Not Using Enough Sugar
Sugar isn’t just for sweetness—it helps create a smoother texture by lowering the freezing point. If you reduce sugar drastically, expect grainy ice cream. Balance is key!
FAQs About Red Bean Ice Cream
What is the flavor of red bean ice cream?
The flavor of red bean ice cream is mildly sweet and nutty, almost like roasted chestnuts or caramelized sugar. It’s not overpowering, which makes it universally appealing.
What does red bean flavor taste like?
Imagine a cross between sweet potatoes and caramel. The beans lend a subtle earthiness that pairs beautifully with creamy textures.
Is red bean ice cream healthier?
Compared to super sugary options, yes! Adzuki beans are nutrient-dense, offering fiber and antioxidants. Just be mindful of portion sizes.
Is red bean Japanese or Korean?
It’s originally Japanese, but Koreans have embraced it too. Both cuisines celebrate red bean paste in various desserts.
Where to buy red bean ice cream near me?
Check local Asian markets or specialty grocers. Many carry brands like Baskin-Robbins or Häagen-Dazs versions.
How many calories are in red bean ice cream?
On average, a half-cup serving contains around 200-250 calories, depending on the recipe.
Can I make red bean ice cream without an ice cream maker?
Absolutely! Pour the mixture into a shallow dish, freeze, and stir every 30 minutes until set.
Final Thoughts
Red bean ice cream is more than just a dessert—it’s a celebration of flavors and traditions. Whether you’re craving something nostalgic or adventurous, this recipe has got you covered. So grab those beans, fire up your ice cream maker, and let’s get churning! Trust me, once you taste it, you’ll understand why it’s worth the effort.
Red Bean Ice Cream
Ingredients
Equipment
Method
- Rinse and soak adzuki beans overnight.
- Drain and simmer beans until tender, then mash with sugar until smooth.
- In a saucepan, heat milk and cream over low heat.
- Gradually add red bean paste, whisking constantly until well blended.
- Stir in vanilla and salt, and continue stirring until mixture thickens slightly.
- Let the mixture cool completely before churning.
- Pour cooled mixture into ice cream maker and churn according to manufacturer's instructions.
- Transfer soft ice cream to a container and freeze for a few hours to firm up.