Why This Treat is a Game-Changer
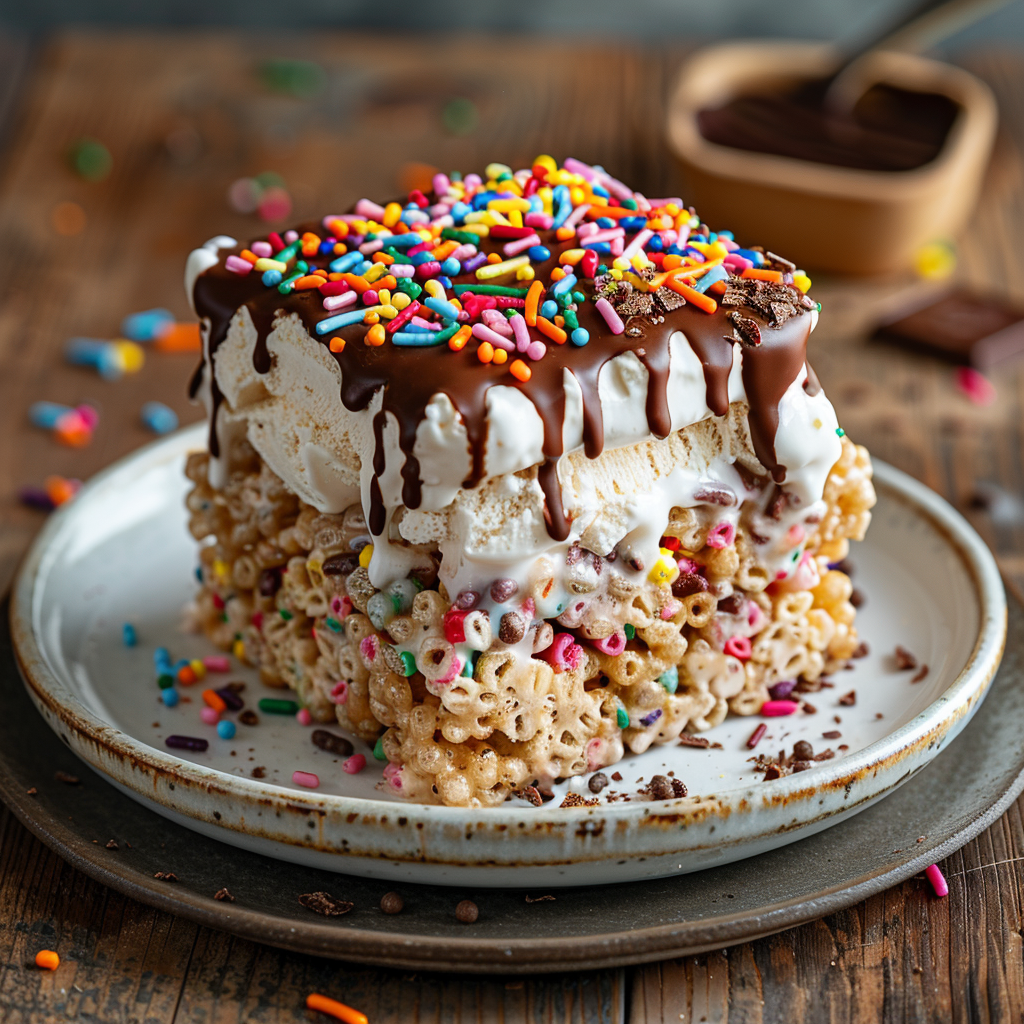
Picture this: it’s a hot summer afternoon, and the kids are begging for something sweet. I wanted to make something that felt like magic but didn’t require hours in the kitchen. That’s when I stumbled upon the rice krispie treat ice cream sandwich. It’s gooey, crunchy, cold, and oh-so-delicious. When I served these at my nephew’s birthday party, they vanished faster than I could say “dessert.” Trust me, once you try this recipe, you’ll see why it’s become a family favorite.
A Little History Behind the Magic
Rice Krispie treats have been around since the 1930s, thanks to a clever mom experimenting with cereal and marshmallows. Fast forward to today, and people are taking this classic to new heights. The rice krispie ice cream sandwich combines nostalgia with innovation. It’s like a warm hug from your childhood but with a cool, creamy twist. I first tried one at a local bakery, and let me tell you, it was love at first bite. Naturally, I had to recreate it at home!
Why You’ll Fall Head Over Heels for This Recipe
This dessert is all about balance. The chewy, marshmallowy goodness of the Rice Krispie treats pairs perfectly with the creamy coldness of the ice cream. Plus, it’s so easy to make that even beginners can pull it off. Whether you’re a fan of chocolate, vanilla, or something fruity, this recipe lets you customize it to your taste. And hey, who doesn’t love a dessert that feels fancy but takes minutes to assemble?
Perfect Occasions for This Sweet Sensation
Think backyard BBQs, pool parties, or even movie nights under the stars. These rice krispie treat ice cream sandwiches are perfect for any occasion where you want to impress without breaking a sweat. They’re also great for school events or potlucks because they’re portable and mess-free. Just wrap them individually, and you’re good to go!
What You’ll Need
- 6 cups of Rice Krispie cereal
- 3 tablespoons of unsalted butter
- 10 ounces of mini marshmallows
- 1 teaspoon of vanilla extract
- 1 pint of your favorite ice cream (softened)
- Nonstick cooking spray
Substitution Options
- Use brown rice cereal for a gluten-free option.
- Swap out regular marshmallows for flavored ones like strawberry or chocolate.
- Try almond or coconut extract instead of vanilla for a unique twist.
- Experiment with dairy-free ice cream if you’re catering to dietary restrictions.
How to Make Your Masterpiece
Step 1: Prep the Rice Krispie Base
Start by greasing a baking pan with nonstick spray. Melt the butter in a large pot over low heat, then add the marshmallows. Stir until they’re completely melted and smooth. Add the vanilla extract for that extra pop of flavor. Now, fold in the Rice Krispie cereal gently—you don’t want to crush those crispy bits! Spread the mixture evenly into your prepared pan. Pro tip: Wet your fingers slightly to press the mixture down without sticking.
Step 2: Chill and Cut
Let the Rice Krispie layer cool completely. This step is crucial because warm treats will melt the ice cream too soon. Once cooled, cut the slab into squares or rectangles—whatever size you prefer. Think about how big you want each rice krispie treat ice cream sandwich to be. Smaller portions are great for kids, while bigger ones satisfy serious sweet cravings.
Step 3: Add the Ice Cream Filling
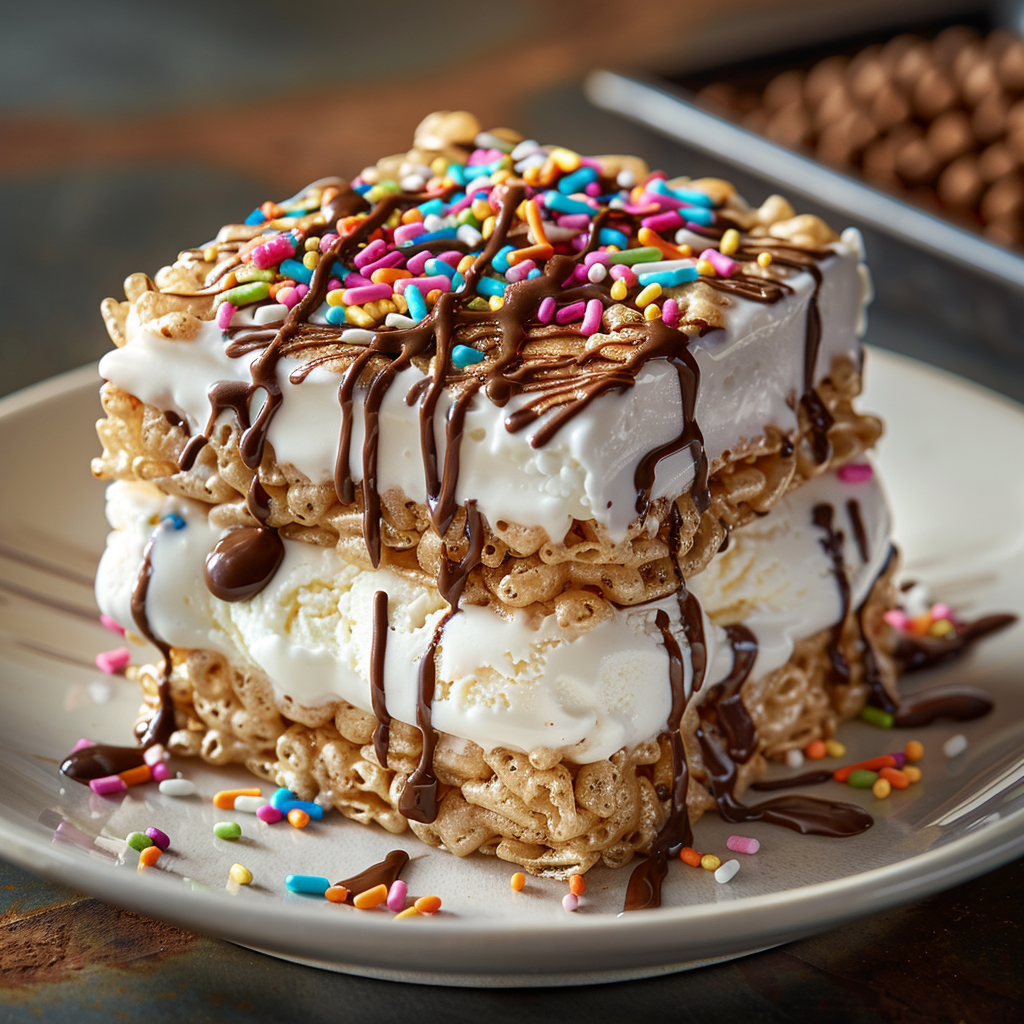
Take your softened ice cream and spread a generous scoop onto half of the Rice Krispie squares. Top each one with another square, pressing gently to seal the edges. Place them back in the freezer to firm up. Chef’s tip: Roll the edges in sprinkles or crushed nuts for added flair and texture.
Timing Breakdown
- Prep Time: 15 minutes
- Cooking Time: 5 minutes
- Resting/Chilling Time: 30 minutes
- Total Time: 50 minutes
Chef’s Secret
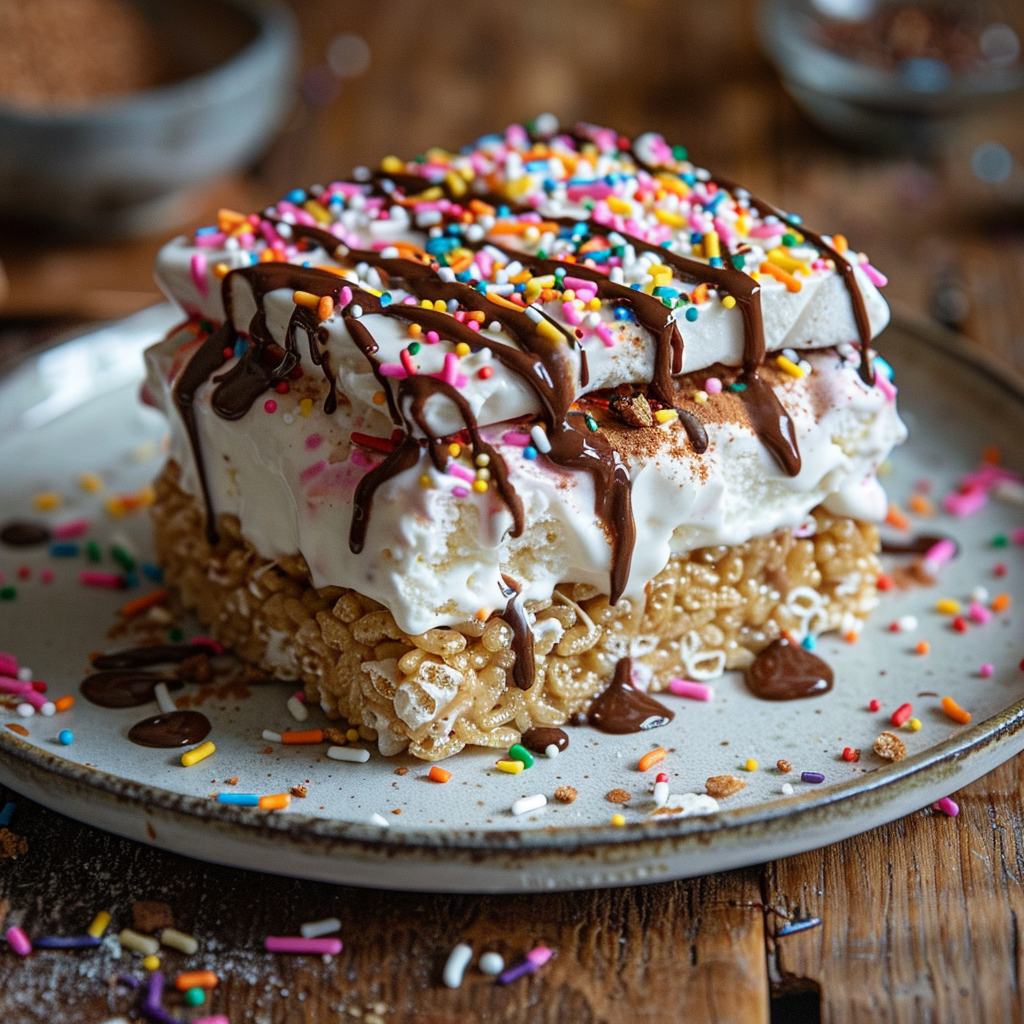
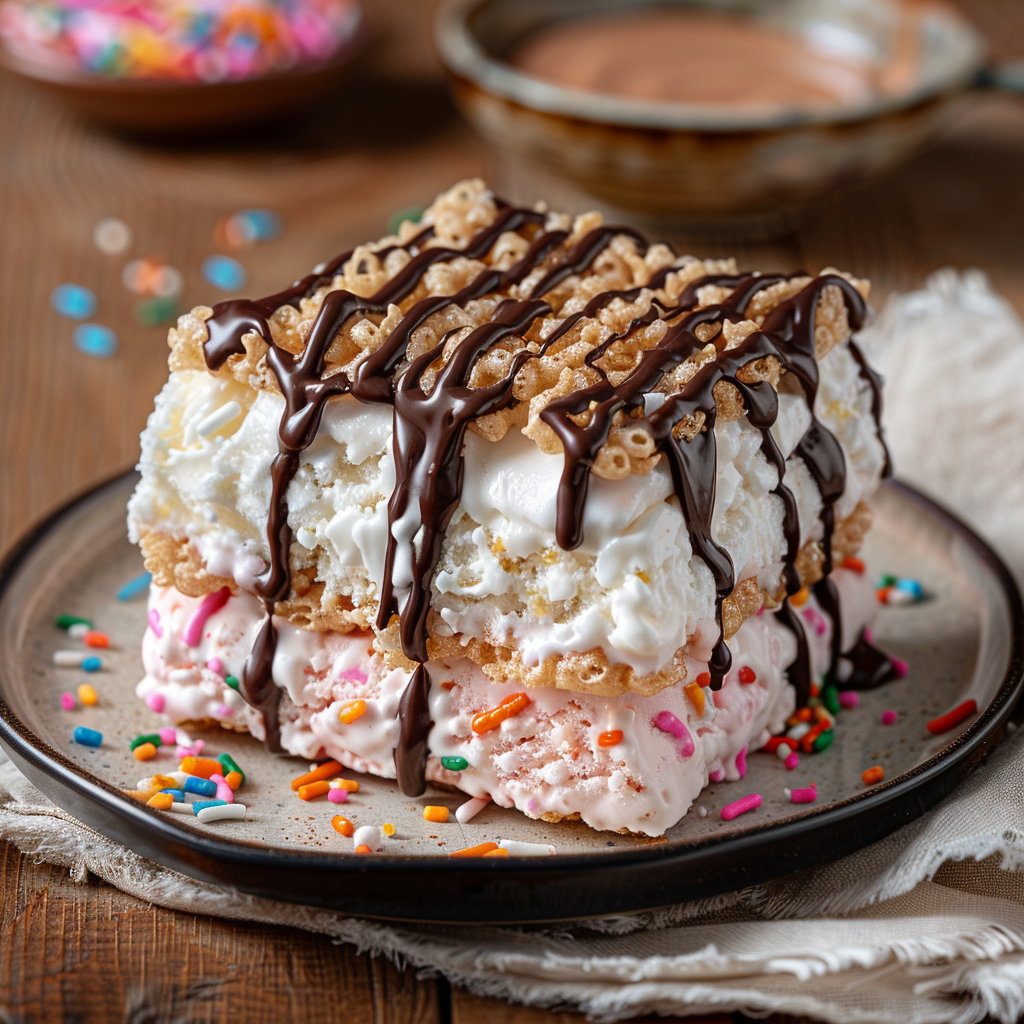
For an extra indulgent touch, drizzle melted chocolate or caramel over the finished sandwiches before freezing. Not only does it look gorgeous, but it also adds another layer of flavor that’ll knock everyone’s socks off.
Fun Fact About the Ingredients
Did you know that Rice Krispies were originally marketed as “The Talking Cereal”? Their snap, crackle, and pop sound made them a hit in the 1920s. It’s no wonder they’ve stood the test of time—they’re just plain fun to eat!
Necessary Equipment
- A large pot for melting marshmallows
- A spatula for mixing
- A baking pan (8×8 inches works well)
- A sharp knife for cutting
- A freezer-safe container for storing
Storage Tips
Once assembled, keep your rice krispie treat ice cream sandwiches in the freezer. Wrap each one individually in plastic wrap or parchment paper to prevent freezer burn. This way, you can grab one whenever a craving strikes.
If you plan to store them for more than a week, consider placing them in an airtight container. This keeps them fresh and prevents any unwanted odors from seeping in. Lastly, always label the container with the date—it’s easy to forget how long things have been sitting in there!
Pro tip: Don’t stack them directly on top of each other unless they’re wrapped separately. Otherwise, they might stick together and lose their shape.
Tips and Advice
When making the Rice Krispie base, avoid over-stirring once the cereal is added. You want those crispy clusters to stay intact. Also, make sure your ice cream is soft enough to spread easily but not so melty that it loses its structure. If you’re serving these at a party, take them out of the freezer about 5 minutes beforehand for the perfect texture.
Presentation Ideas
- Serve them on a platter with colorful napkins for a festive vibe.
- Add a dollop of whipped cream on top for extra decadence.
- Garnish with fresh fruit slices for a pop of color.
- Place them in mini cupcake liners for a cute, individual touch.
Healthier Alternatives
Here are six ways to lighten up your rice krispie treat ice cream sandwich:
- Use less sugar: Cut the marshmallow amount in half and add a bit of honey for sweetness.
- Go dairy-free: Opt for coconut oil instead of butter and use almond milk-based ice cream.
- Add protein: Mix in some protein powder to the Rice Krispie mixture for a muscle-building boost.
- Swap the cereal: Use puffed quinoa or millet for a healthier grain option.
- Choose dark chocolate: Dip the edges in dark chocolate for antioxidants.
- Fruit boost: Blend frozen bananas into the ice cream for natural sweetness.
Common Mistakes to Avoid
Mistake 1: Overcooking the Marshmallows
Burning the marshmallows is a rookie mistake that ruins the flavor. Keep the heat low and stir constantly. If they start to turn golden brown, you’ve gone too far. Pro tip: Remove the pot from the heat just before the marshmallows are fully melted—the residual heat will finish the job.
Mistake 2: Skipping the Cooling Step
Patience pays off here. Placing ice cream on a warm Rice Krispie base will create a soupy mess. Let the treats cool completely before assembling. Trust me; it’s worth the wait.
Mistake 3: Using Stiff Ice Cream
Rock-hard ice cream is tough to spread and can break your treats. Take it out of the freezer 10–15 minutes before using. Softened ice cream spreads evenly and makes assembly a breeze.
FAQ
Where can I get the Rice Krispie Treat ice cream sandwich?
You might find pre-made versions at specialty bakeries or grocery stores, but nothing beats homemade. Making it yourself allows you to control the ingredients and flavors.
What is a rice krispie ice cream sandwich?
It’s a delightful dessert combining chewy Rice Krispie treats with creamy ice cream. Imagine biting into crunchy, gooey goodness followed by a refreshing chill.
Is it true that Walmart ice cream sandwiches don’t melt?
No, that’s a myth. While some commercial ice creams contain stabilizers, they still melt eventually. Homemade versions, however, give you full control over the ingredients.
Why do so many bodybuilders eat rice krispies?
Rice Krispies are low in fat and high in carbs, making them a quick energy source. Many bodybuilders pair them with protein shakes or powders for a balanced snack.
Can I freeze these treats overnight?
Absolutely! Freezing overnight ensures they’re solid and ready to serve the next day.
How do I prevent the ice cream from sliding out?
Press the layers firmly together after adding the ice cream. Rolling the edges in sprinkles or nuts helps hold everything in place.
What’s the best ice cream flavor to use?
Vanilla is classic, but chocolate, strawberry, or even coffee flavors work beautifully depending on your mood.
Can I make these ahead of time?
Yes, they’re perfect for making in advance. Just store them properly in the freezer until needed.
Do I need special tools to make this recipe?
Nope! A pot, spatula, and baking pan are all you need. Simple tools for a spectacular result.
Are these kid-friendly?
Definitely! Kids love helping assemble these treats, and they’re always a hit at parties.
Final Thoughts
The rice krispie treat ice cream sandwich is more than just a dessert—it’s a celebration of textures, flavors, and creativity. Whether you’re whipping these up for a crowd or sneaking one late at night, they’re guaranteed to bring smiles. So grab your ingredients, channel your inner chef, and get ready to wow everyone with this irresistible treat. Happy baking!