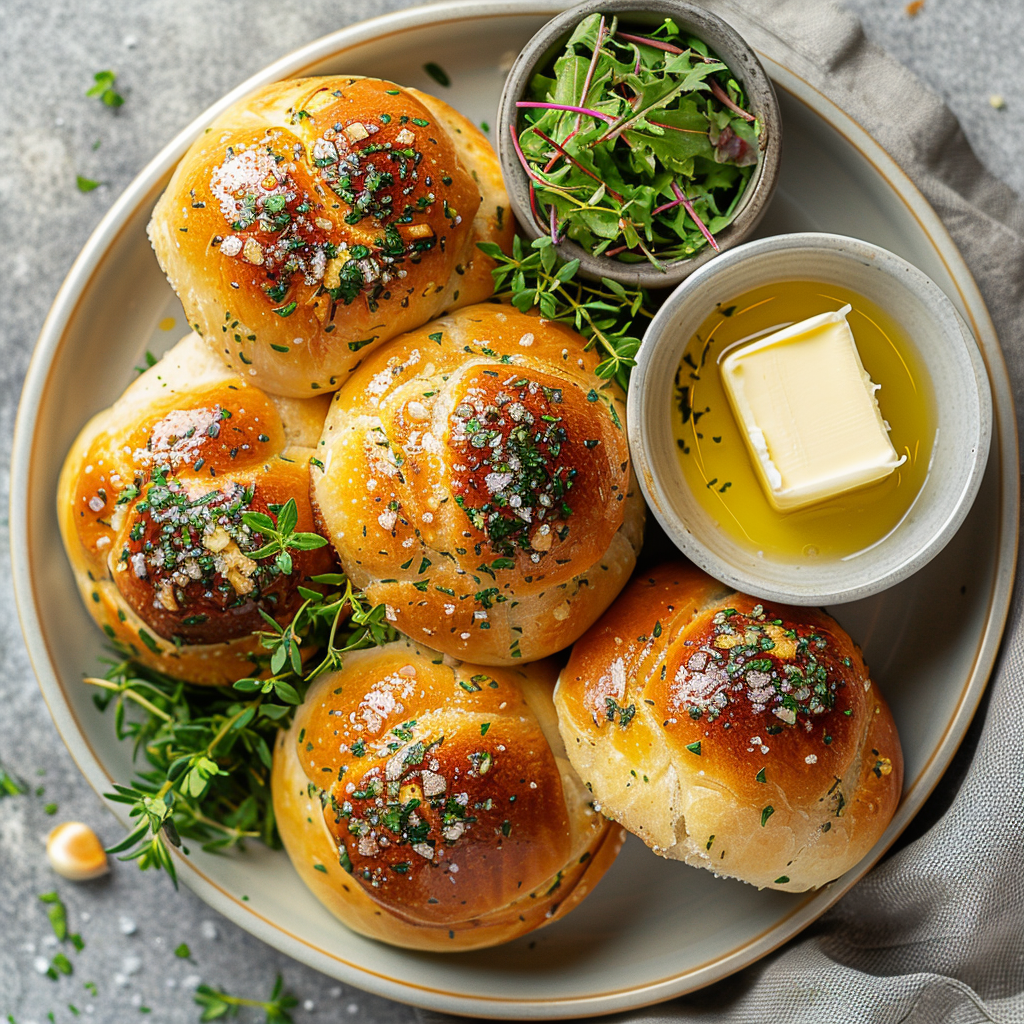
Warm, Soft Garlic and Herb Dinner Rolls: The Perfect Comfort Food
There’s something magical about the smell of fresh bread wafting through the house. It’s like a warm hug for your soul. I remember one Thanksgiving when my dinner rolls stole the show. Everyone kept asking, “What’s your secret?” Well, the secret is in this recipe for Soft Garlic and Herb Dinner Rolls. These little golden pillows are soft, fluffy, and bursting with flavor. Whether you’re hosting a holiday feast or just craving comfort food, these rolls will make your table unforgettable.
A Little History of Dinner Rolls
Dinner rolls have been a staple at family gatherings for centuries. They trace their roots back to European traditions where bread was a symbol of hospitality. My grandma used to bake them every Sunday, and her kitchen always smelled like heaven. Over time, people started adding herbs and garlic to give plain rolls an extra kick. Now, we have modern versions like these Soft Garlic and Herb Dinner Rolls that combine tradition with bold flavors. Trust me, once you try them, you’ll see why they’ve stood the test of time.
Why You’ll Love This Recipe
These rolls are more than just bread—they’re an experience. Imagine biting into a soft, pillowy roll infused with fragrant garlic and herbs. The texture is light yet satisfying, and the flavors are rich without being overwhelming. Plus, the recipe is surprisingly simple. Even if you’re new to baking, you can nail this one. I tested it three times (yes, three!) because my family couldn’t get enough. Spoiler alert: they turned out perfect every time.
Perfect Occasions to Make These Rolls
Whether it’s a holiday dinner, a cozy family brunch, or even a casual potluck, these rolls fit right in. I love serving them alongside soups, stews, or roasted meats. They’re also fantastic as sliders for mini sandwiches. Honestly, though, you don’t need a special occasion. Sometimes, baking these Soft Garlic and Herb Dinner Rolls on a random Tuesday night is all it takes to turn an ordinary day into something special.
Ingredients
- 4 cups all-purpose flour
- 1 packet (2 ¼ teaspoons) active dry yeast
- 1 cup warm milk (about 110°F)
- ½ cup unsalted butter, melted
- ¼ cup granulated sugar
- 2 large eggs
- 1 teaspoon salt
- 3 cloves garlic, minced
- 2 tablespoons fresh parsley, chopped
- 1 teaspoon dried thyme
- Additional melted butter for brushing
Substitution Options
- Use almond milk instead of regular milk for a dairy-free option.
- Swap fresh herbs for dried ones if you’re short on time.
- Replace granulated sugar with honey for a hint of sweetness.
- Vegan? Use flax eggs (1 tablespoon ground flaxseed + 2.5 tablespoons water per egg).
Step 1: Activate the Yeast
In a small bowl, mix the warm milk, sugar, and yeast. Let it sit for about 5–10 minutes until it becomes frothy. This step is crucial because it ensures your dough will rise properly. Pro tip: If the mixture doesn’t foam, your yeast might be expired. Always check the expiration date before starting!
Step 2: Mix the Dough
In a large mixing bowl, combine the flour, salt, melted butter, eggs, garlic, parsley, and thyme. Add the activated yeast mixture and stir until a sticky dough forms. The dough should feel soft and slightly tacky. Don’t worry if it looks messy—this is normal!
Step 3: Knead the Dough
Turn the dough onto a lightly floured surface and knead for about 8–10 minutes. You want the dough to become smooth and elastic. As you work, imagine all your stress melting away. Isn’t kneading therapeutic?
Step 4: Let the Dough Rise
Place the dough in a greased bowl, cover it with a clean kitchen towel, and let it rise in a warm spot for 1–2 hours. It should double in size. Patience is key here—don’t rush the process. A well-rested dough makes soft and fluffy rolls.
Step 5: Shape the Rolls
Punch down the risen dough and divide it into equal portions. Roll each piece into a ball and place them in a greased baking pan. Arrange them snugly so they bake together into beautiful, pull-apart rolls.
Step 6: Bake to Golden Perfection
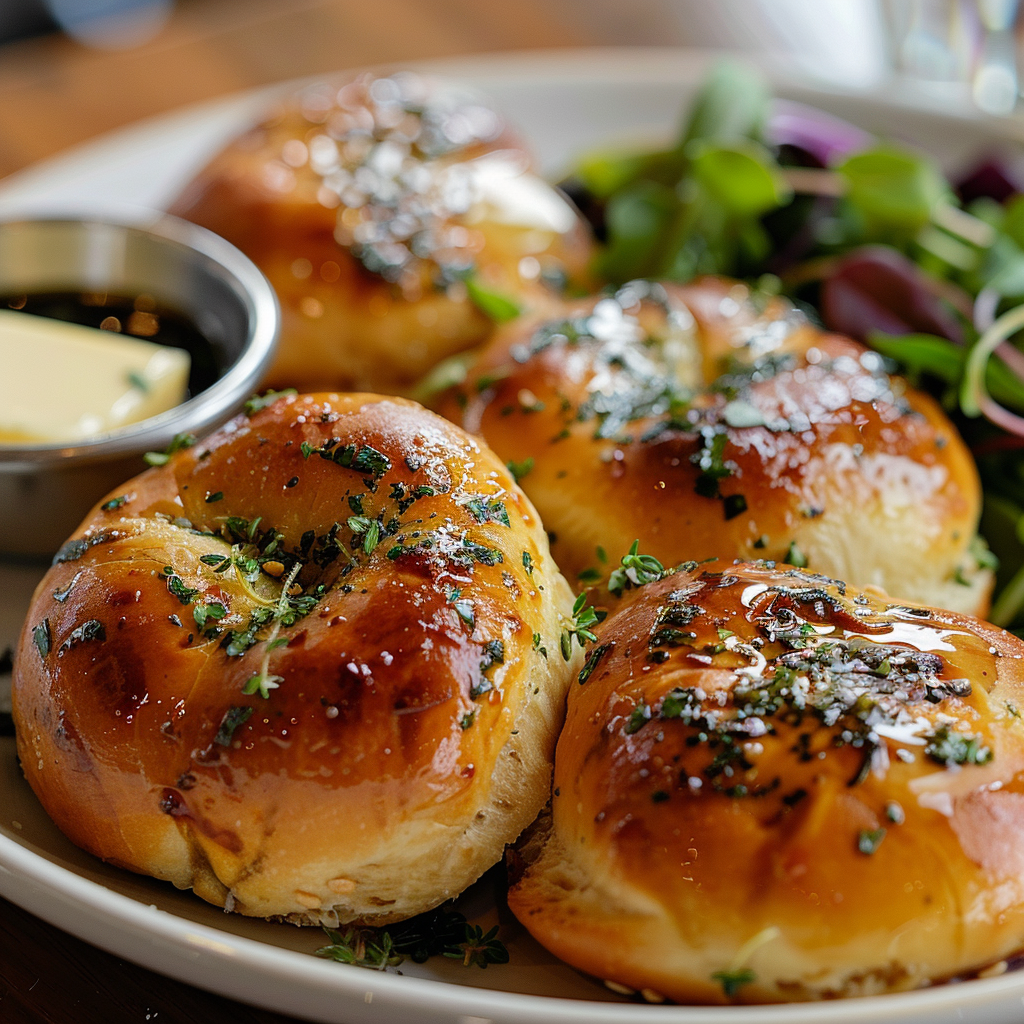
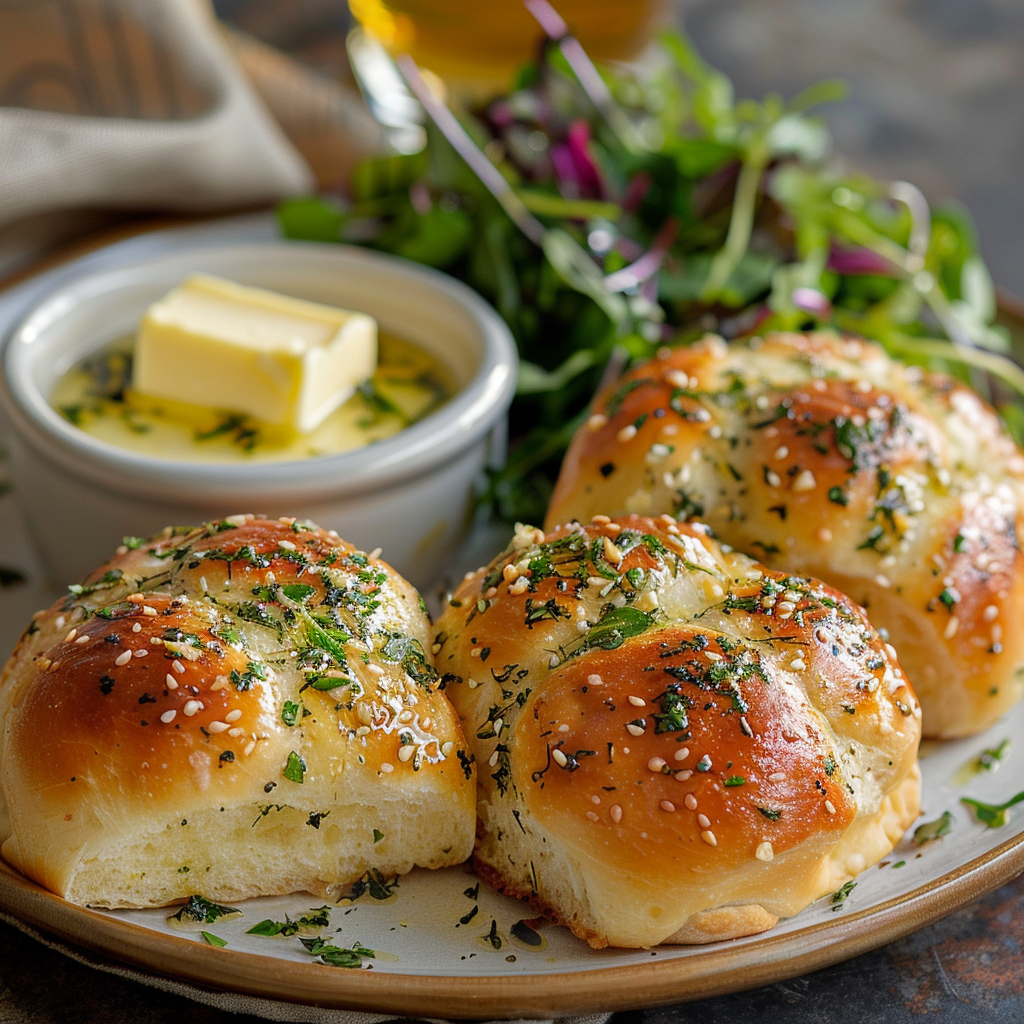
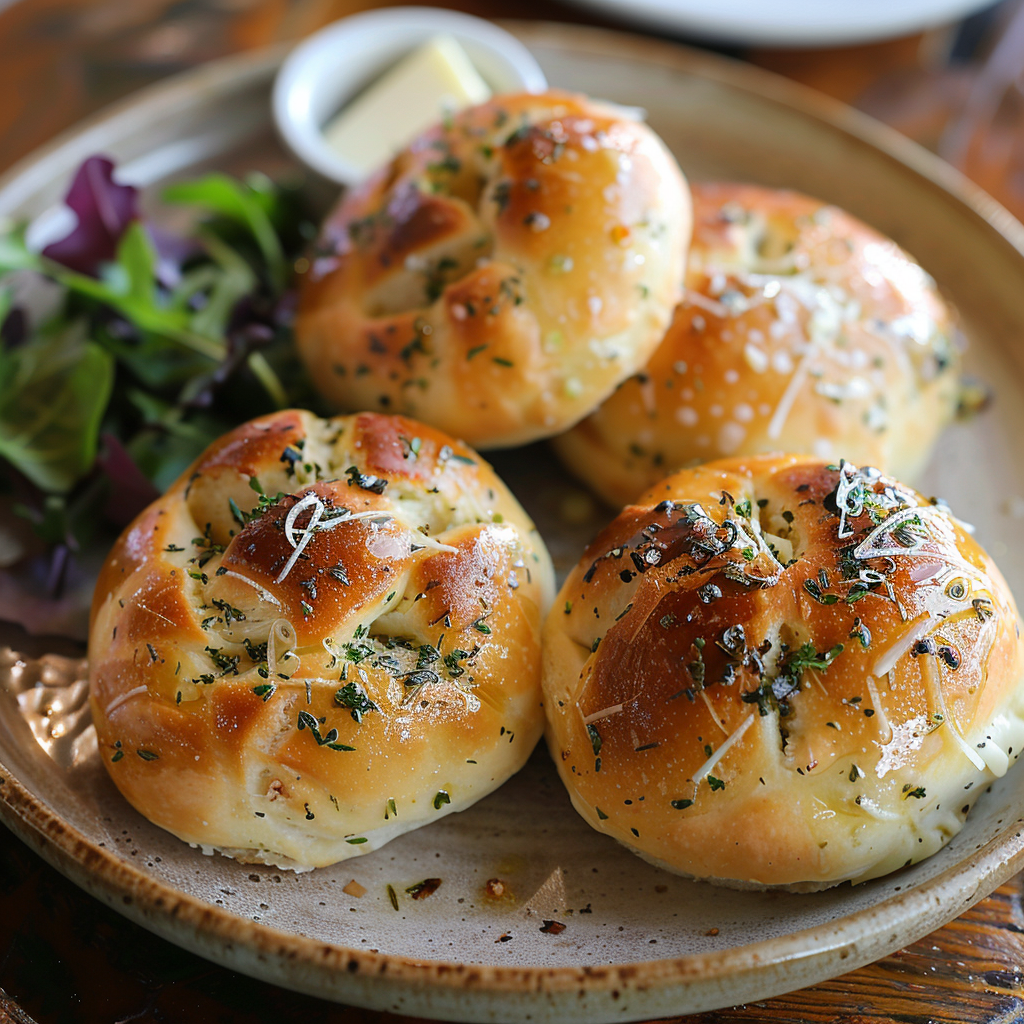
Preheat your oven to 375°F (190°C). Bake the rolls for 15–20 minutes until golden brown. The aroma filling your kitchen will drive everyone wild. Once done, brush them with melted butter for that irresistible shine.
Chef’s Tip
To enhance the garlic flavor, roast the minced garlic in butter before adding it to the dough. Roasting mellows out the sharpness while intensifying its savory notes.
Timing Breakdown
- Prep Time: 20 minutes
- Rising Time: 1–2 hours
- Cooking Time: 15–20 minutes
- Total Time: Approximately 2–3 hours
An Interesting Tidbit
Did you know that garlic has been used for thousands of years not only as a seasoning but also for medicinal purposes? Ancient Egyptians even buried their loved ones with cloves of garlic for protection in the afterlife. Now that’s dedication!
Necessary Equipment
- Large mixing bowl
- Measuring cups and spoons
- Kitchen towel
- Baking pan
- Parchment paper
- Oven
Storage Tips
Store leftover rolls in an airtight container at room temperature for up to 2 days. For longer storage, freeze them in a resealable bag. To reheat, wrap them in foil and warm them in the oven for 5–10 minutes.
If you live in a humid climate, avoid leaving the rolls uncovered, as they may lose their softness. On the flip side, too much moisture can make them soggy, so balance is key.
For best results, never refrigerate bread products—it dries them out faster than you’d think.
Tips and Advice
- Use a kitchen scale to measure flour accurately. Too much flour can make the rolls dense.
- Let the dough rise in a draft-free area to ensure proper fermentation.
- Brush the tops with garlic-infused butter for an extra layer of flavor.
Presentation Ideas
- Serve the rolls warm in a rustic basket lined with a cloth napkin.
- Garnish with additional chopped parsley for a pop of color.
- Pair them with a side of herbed butter or creamy cheese dip.
Healthier Alternatives
Here are six ways to tweak this recipe for a healthier twist:
- Whole Wheat Rolls: Substitute half the all-purpose flour with whole wheat flour for added fiber.
- Low-Sugar Option: Reduce the sugar by half or replace it with a natural sweetener like stevia.
- Vegan Rolls: Use plant-based milk and butter along with flax eggs.
- Gluten-Free Rolls: Swap the flour with a gluten-free blend designed for baking.
- Herb-Infused Oil: Replace some of the butter with olive oil infused with rosemary or basil.
- Protein-Packed Rolls: Add a scoop of protein powder to the dough for an energy boost.
Mistake 1: Using Cold Milk
Yeast needs warmth to activate, so using cold milk won’t do the trick. Always heat the milk to around 110°F (just warm, not hot). Pro tip: Use a thermometer to get the temperature just right.
Mistake 2: Skipping the Kneading
Kneading develops gluten, which gives the rolls their structure. Skipping this step results in flat, dense rolls. Set a timer and enjoy the process—it’s worth it!
Mistake 3: Overbaking
Bread continues to cook slightly after removing it from the oven. Take the rolls out when they’re golden brown to prevent them from drying out.
FAQs
What makes dinner rolls soft and fluffy?
The secret lies in proper kneading and letting the dough rise adequately. Using the right amount of yeast and ensuring the milk isn’t too hot or cold also helps achieve that pillowy texture.
What is the secret to soft buns?
Soft buns require a combination of factors: good-quality yeast, enough rising time, and gentle handling during shaping. Brushing the tops with melted butter adds extra softness.
What’s the secret to flavorful garlic rolls?
Fresh garlic and herbs make all the difference. For deeper flavor, roast the garlic before adding it to the dough.
What can I make with garlic and herb soft cheese?
You can spread it on crackers, use it as a dip, or dollop it onto baked potatoes. It’s also amazing stuffed inside chicken breasts or mixed into mashed potatoes.
Can I freeze these rolls?
Absolutely! Freeze them in a sealed bag for up to 3 months. Reheat in the oven for best results.
How do I know when the dough has risen enough?
The dough should double in size. Gently press it with your finger—if the indentation stays, it’s ready.
Why didn’t my rolls rise?
This could be due to old yeast, incorrect milk temperature, or insufficient rising time. Double-check these factors next time.
Can I use instant yeast instead of active dry yeast?
Yes, you can! Just skip the activation step and add it directly to the dry ingredients.
Do I have to use fresh herbs?
No, dried herbs work fine. Use 1/3 the amount since they’re more concentrated.
How long do these rolls stay fresh?
They’ll stay soft for 1–2 days at room temperature. Beyond that, freezing is your best bet.
Final Thoughts
There’s nothing quite like homemade Soft Garlic and Herb Dinner Rolls. They’re easy to make, endlessly customizable, and guaranteed to impress anyone who tries them. Whether you’re feeding a crowd or treating yourself, these rolls are sure to become a favorite. So grab your apron, crank up the oven, and let’s bake something delicious today!
Soft Garlic and Herb Dinner Rolls
Ingredients
Equipment
Method
- In a small bowl, mix the warm milk, sugar, and yeast. Let sit for 5–10 minutes until frothy.
- In a large mixing bowl, combine flour, salt, melted butter, eggs, garlic, parsley, thyme, and the activated yeast mixture; stir until a sticky dough forms.
- Turn the dough onto a lightly floured surface and knead for 8–10 minutes until smooth and elastic.
- Place the dough in a greased bowl, cover with a kitchen towel, and let it rise in a warm place for 1–2 hours, until doubled in size.
- Punch down the risen dough and divide it into equal portions. Roll each piece into a ball and place in a greased baking pan.
- Preheat your oven to 375°F (190°C) and bake the rolls for 15–20 minutes until golden brown. Brush with melted butter before serving.