Introduction
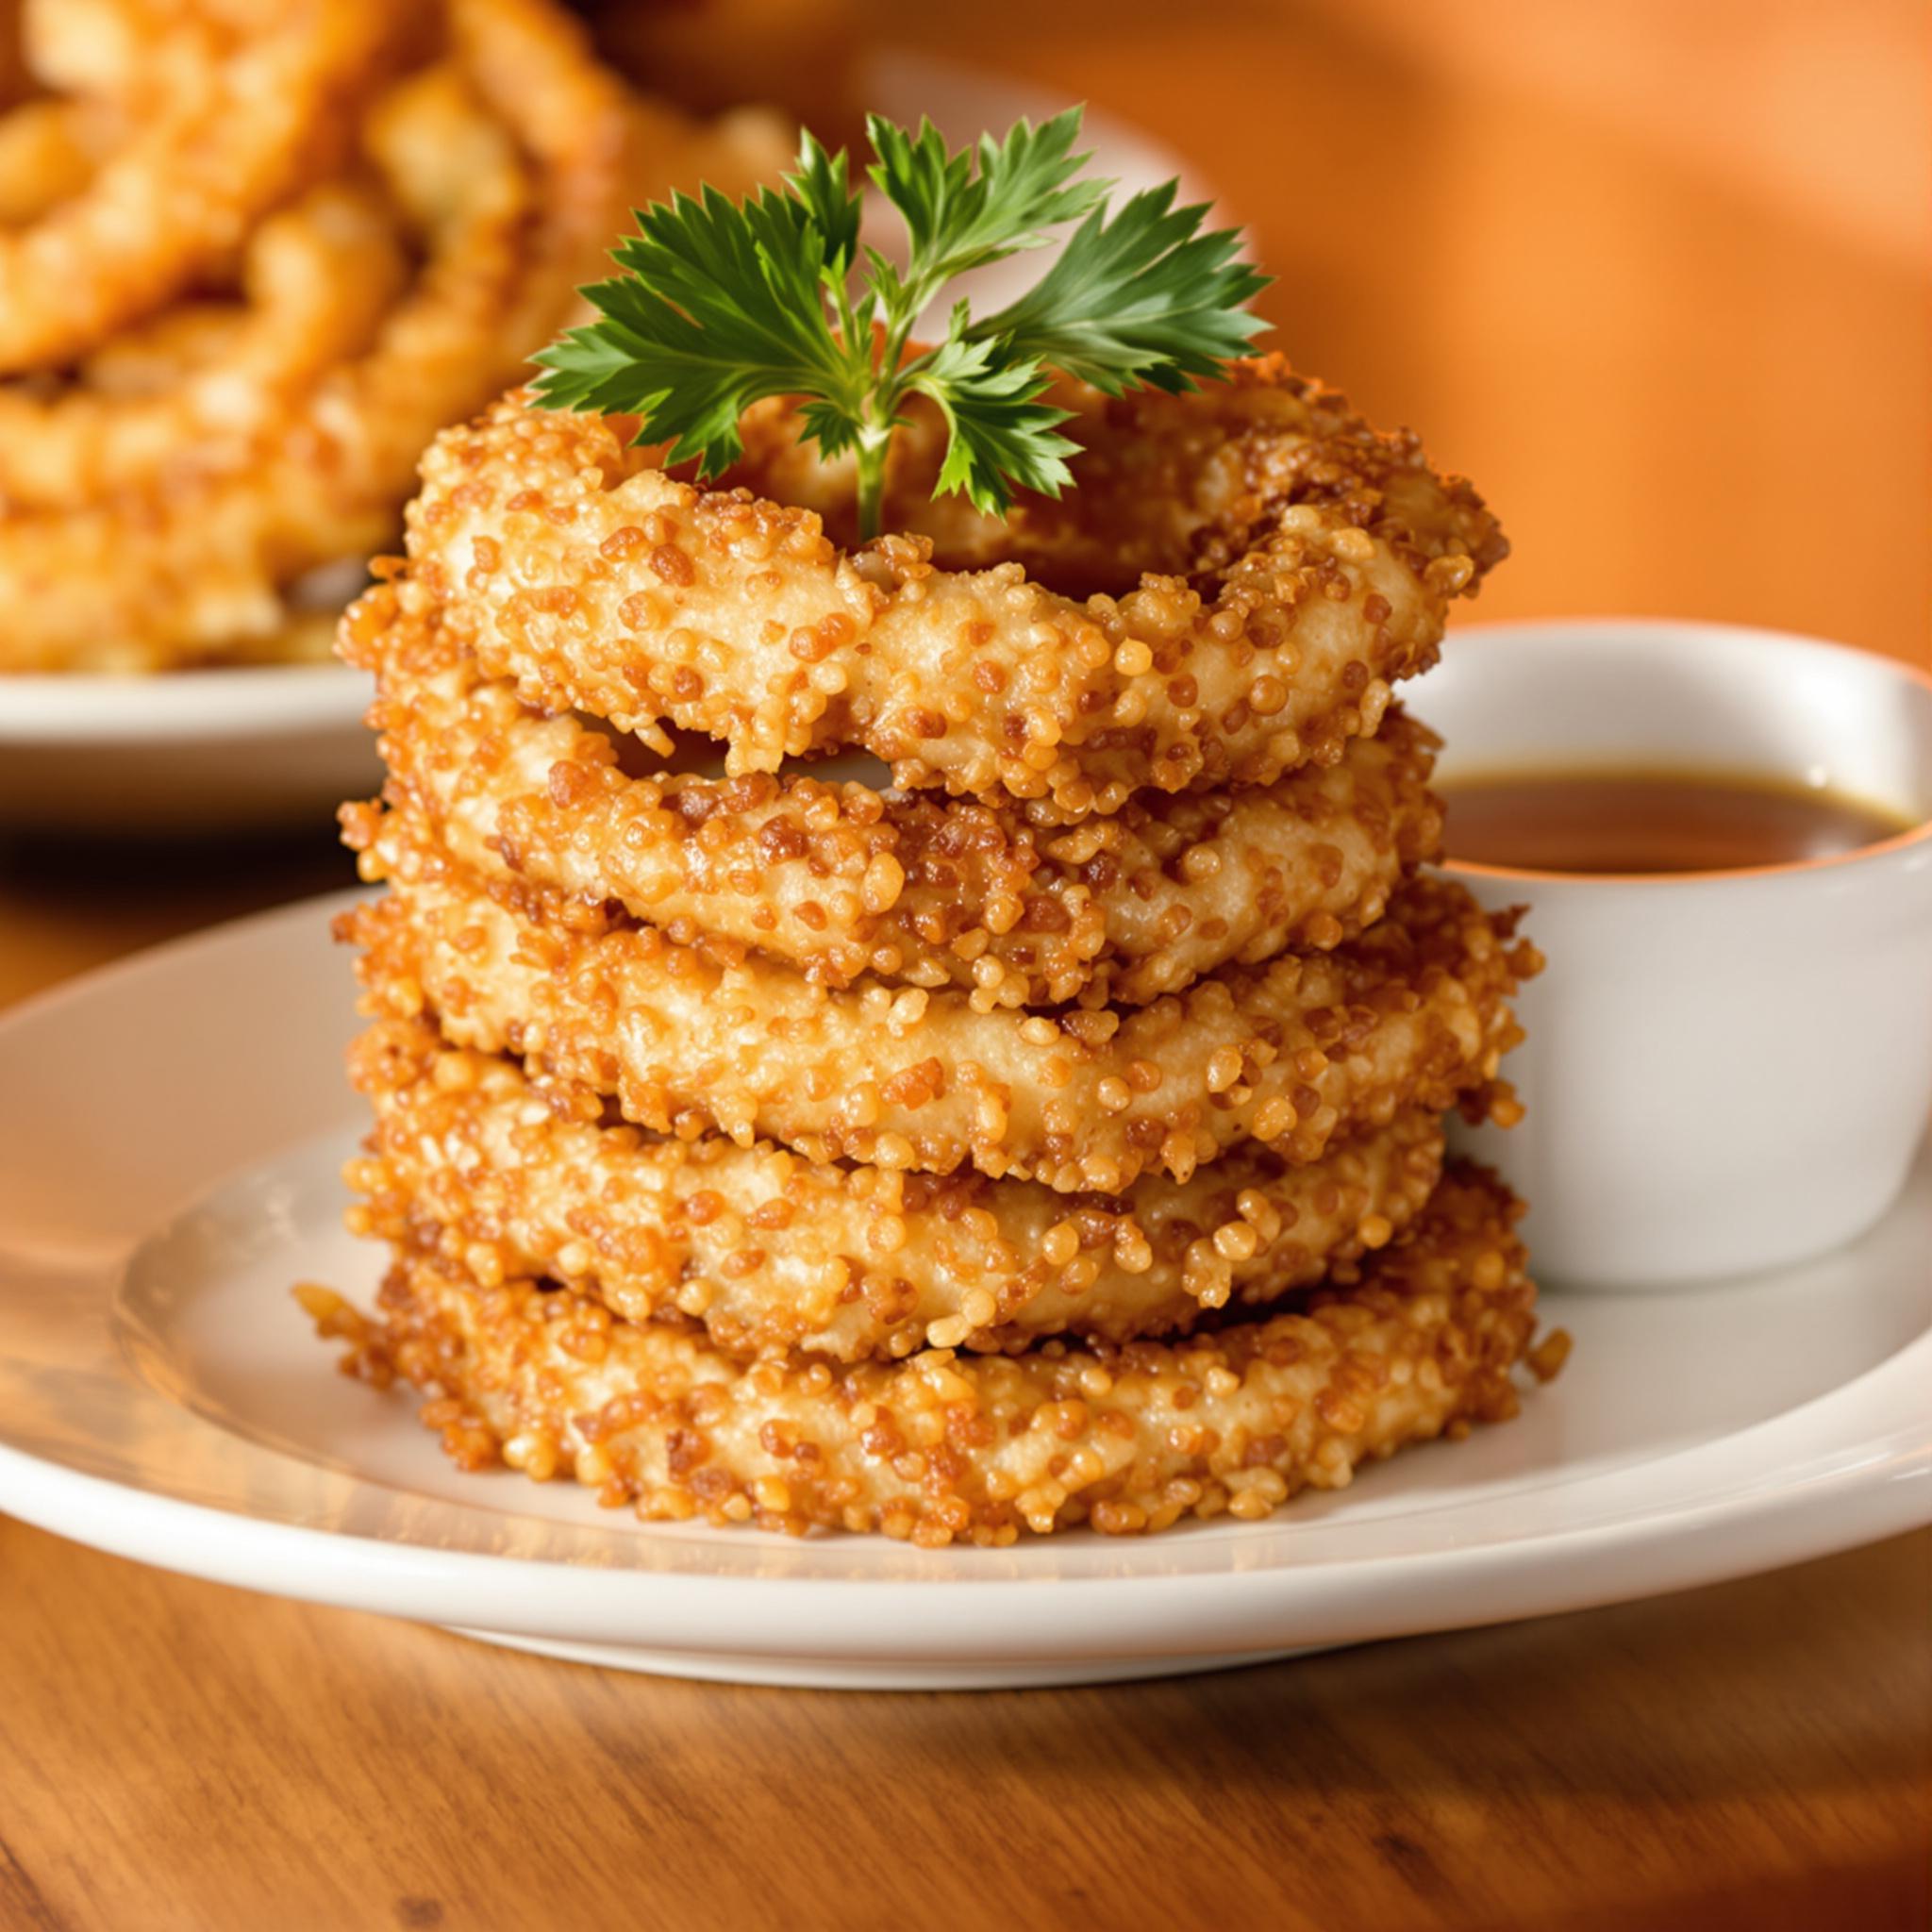
There’s nothing better than biting into a crispy, golden onion ring. Old Fashioned Onion Rings remind me of cozy family dinners and backyard hangouts. They’re simple to make but full of flavor. I still remember the first time I made them—my kitchen smelled incredible, and my friends couldn’t stop talking about how good they were. This recipe is easy and works every time.
The Story Behind Old Fashioned Onion Rings
Onion rings have been a snack favorite for decades. They became popular in the early 1900s when fried foods started taking off in America. Over time, they became a diner and barbecue staple. These days, people love adding their own twists, but this version sticks to the basics. It’s all about that crunch and the sweet, mild onion taste.
Why You’ll Love This Recipe
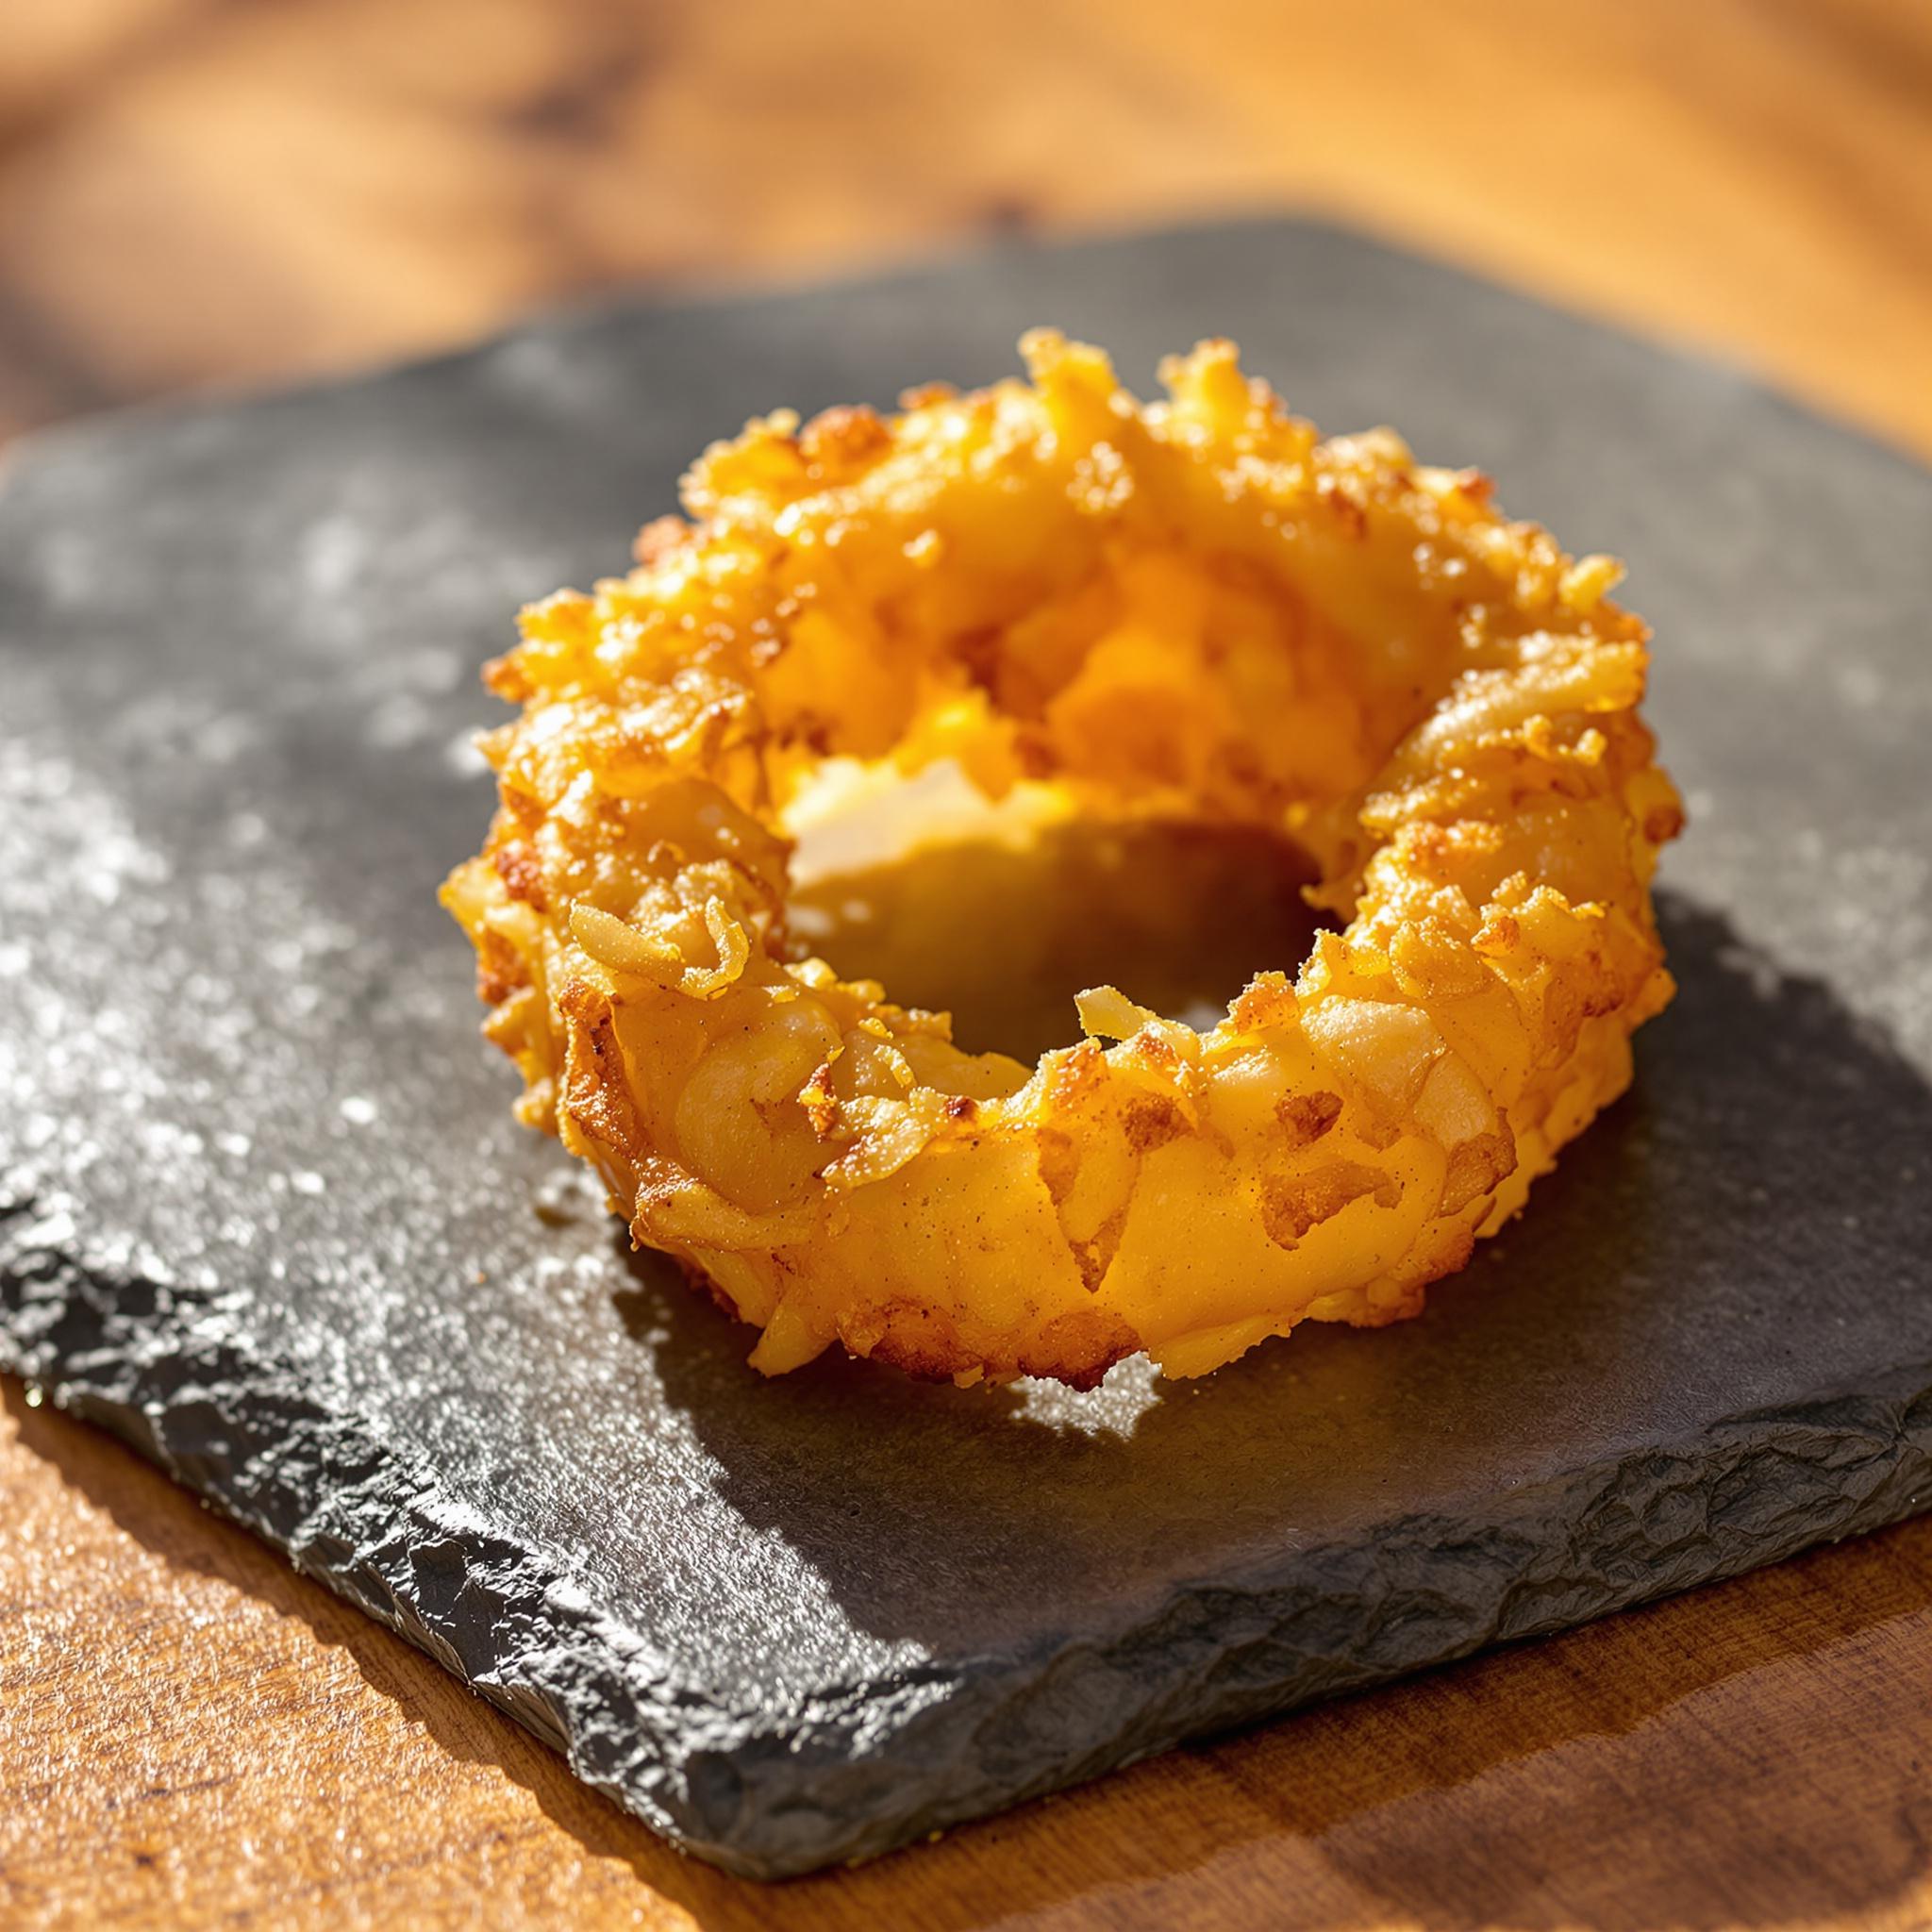
This dish is easy to make and tastes like it came from a restaurant. The batter is light and crispy, while the onions stay soft inside. Even if you’re new to cooking, you can nail this recipe. Plus, it uses ingredients you probably already have at home.
Perfect Occasions to Prepare Old Fashioned Onion Rings
These onion rings are great for game nights, picnics, or as a side with burgers and steaks. They’re also perfect for impressing guests at casual get-togethers. Serve them hot, and they’ll disappear fast.
Ingredients
- 2 large onions
- 1 cup all-purpose flour
- ½ cup cornmeal
- 1 teaspoon baking powder
- 1 teaspoon salt
- ½ teaspoon pepper
- 1 cup buttermilk
- 1 egg
- Oil for frying (vegetable or canola works well)
Substitution Options
No buttermilk? Mix regular milk with a tablespoon of vinegar or lemon juice. Swap cornmeal for breadcrumbs if needed. For gluten-free, use almond flour instead of all-purpose flour.
Step 1: Slice and Separate the Onions
Slice the onions into thick rings, about ¼-inch thick so they hold together while frying. Separate the rings carefully. The translucent layers look juicy and fresh.
Step 2: Mix the Dry Ingredients
In a bowl, combine flour, cornmeal, baking powder, salt, and pepper. Stir until evenly mixed. This creates the crispy coating everyone loves. Sifting the dry mix makes the batter smoother.
Step 3: Prepare the Wet Mixture
Whisk an egg with buttermilk in another bowl. The mix should look creamy and slightly frothy. Dip each onion ring into the wet mix, making sure it’s fully coated. The buttermilk adds a tangy kick that pairs well with the onions.
Step 4: Coat the Rings
Dredge the dipped rings through the flour mix. Press gently so the coating sticks. You’ll see the texture change as the dry mix clings to the wet surface, forming a rough layer ready for frying.
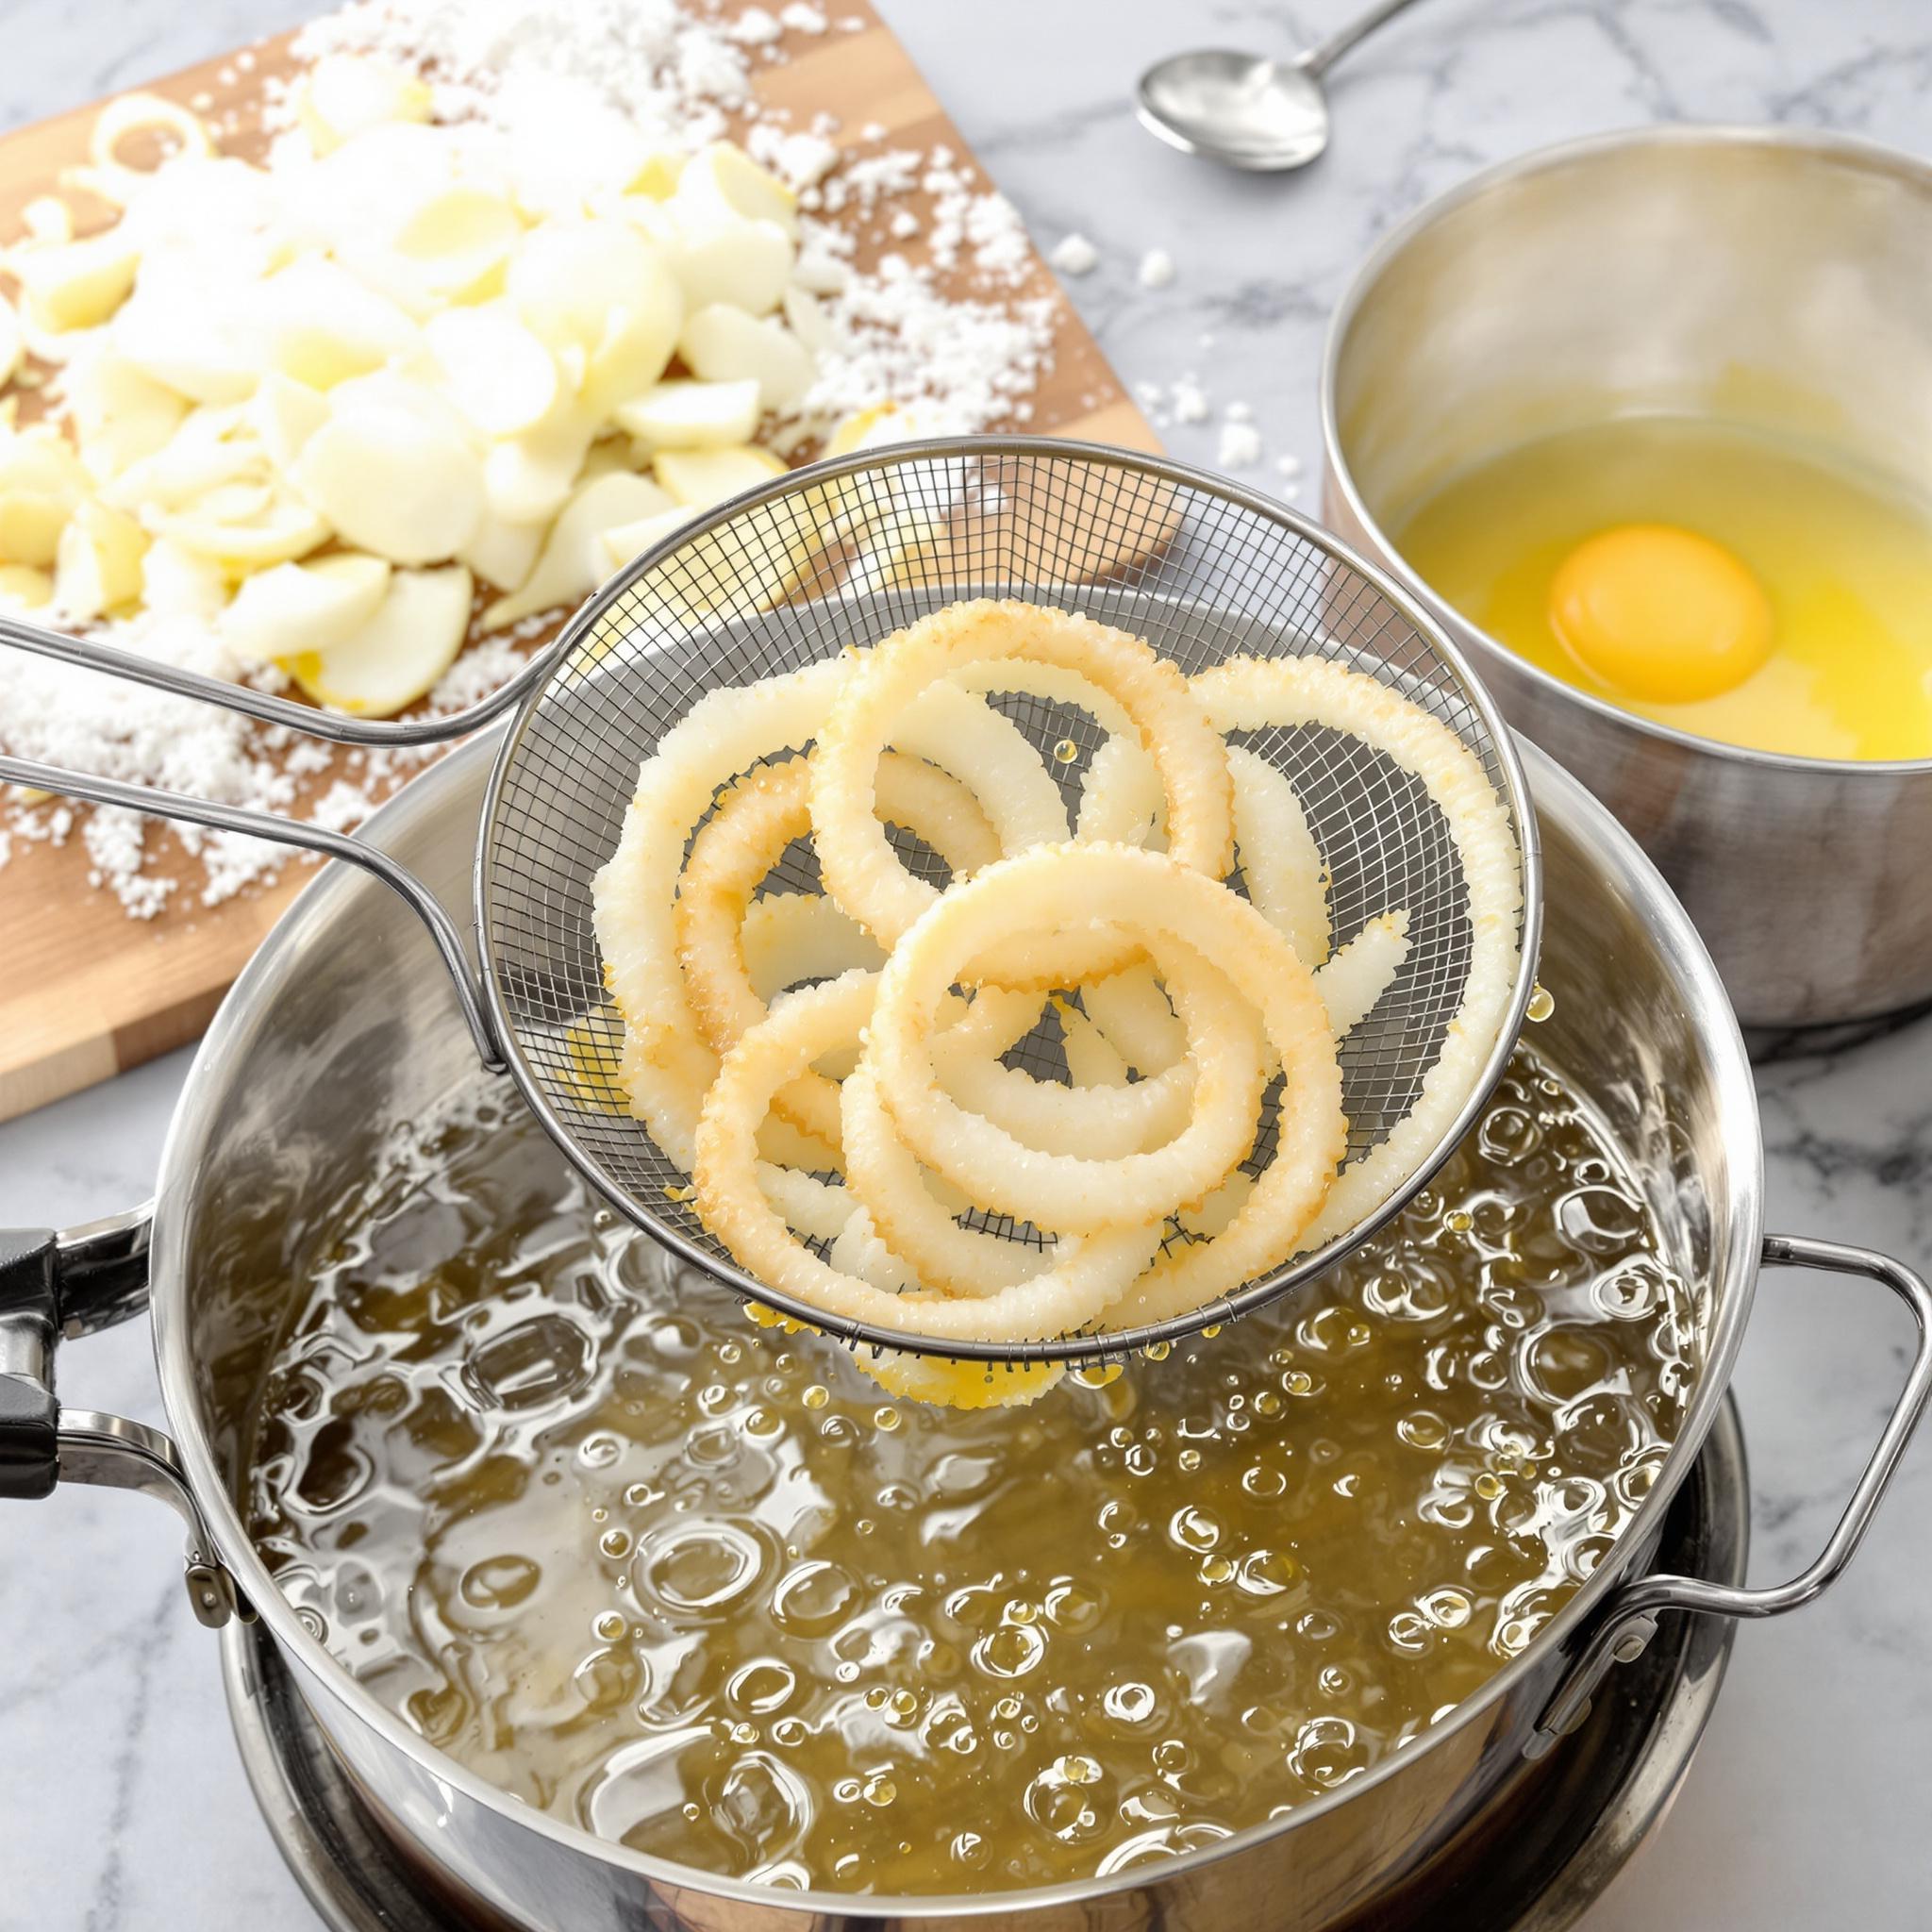
Step 5: Fry Until Golden Brown
Heat oil in a deep pan over medium heat. Fry the rings in batches until golden brown. Each piece sizzles as it hits the oil, filling your kitchen with a delicious smell. Drain on paper towels to soak up extra grease.
Chef’s Tip
For extra crispiness, chill the coated rings in the fridge for 10 minutes before frying. This helps the coating stick better and stay crunchier.
Time
- Prep Time: 15 minutes
- Cooking Time: 10 minutes
- Total Time: 25 minutes
Nutritional Information
Each serving has about:
- Calories: 250
- Protein: 5g
- Fat: 12g
- Carbohydrates: 30g
Extra Information
Did you know? Onions are packed with antioxidants and have anti-inflammatory benefits. Enjoying them fried once in a while is fine—in moderation, of course.
Necessary Tools
- Knife and cutting board
- Two mixing bowls
- Whisk
- Deep frying pan
- Paper towels
Storage Instructions
Store leftover onion rings in an airtight container in the fridge for up to two days. Reheat them in the oven at 350°F for 5-10 minutes to keep them crispy. Avoid microwaving, as it makes them soggy. If freezing, place them on a baking sheet first, then transfer to a freezer bag once solid.
Freezing keeps them good for a month. Thaw overnight in the fridge before reheating. Proper storage keeps the flavors intact and prevents spoilage.
Tips and Tricks
Use a thermometer to keep the oil around 350°F. Too low, and they’ll absorb oil; too high, and they’ll burn. Pat the rings dry before frying to avoid splatters. Double-coating them makes them even crunchier.
Serving Suggestions
Serve your onion rings with ranch dressing or spicy aioli for dipping. Pair them with grilled chicken or steak for a hearty meal. They’re also a fun appetizer for parties.
Healthier Alternatives for the Recipe
Here are six ways to lighten up this classic:
- Baked Version: Arrange the coated rings on a greased baking sheet and bake at 400°F for 15-20 minutes.
- Air Fryer Method: Spray the rings lightly with oil and air fry at 375°F for 8-10 minutes.
- Gluten-Free Flour: Swap all-purpose flour with almond or rice flour.
- Low-Fat Coating: Use crushed cornflakes mixed with spices instead of flour.
- Egg Substitute: Replace eggs with unsweetened applesauce for binding.
- Vegan Option: Use plant-based milk and skip the egg entirely.
Common Mistakes to Avoid
Mistake 1: Overcrowding the Pan
Frying too many rings at once cools the oil, making them greasy. Fry in small batches. A slotted spoon helps manage things easily.
Mistake 2: Skipping the Drying Step
Wet rings cause splatters and uneven cooking. Always pat them dry before frying. This keeps your workspace clean and frying safe.
Mistake 3: Not Testing Oil Temperature
Cool oil makes soggy rings, while hot oil burns them quickly. Use a thermometer for consistent results. Or, drop a bit of batter into the oil—if it sizzles right away, it’s ready.
Frequently Asked Questions
Can I use other types of onions?
Yes, yellow onions are best for sweetness, but red or white onions work too. Adjust seasoning as needed.
How do I prevent the coating from falling off?
Make sure the rings are dry before dipping. Chill them briefly after coating to help the batter stick.
What oil is best for frying?
Vegetable or canola oil works great because it has a neutral flavor and high smoke point. Avoid olive oil—it burns easily.
Can I make these ahead of time?
You can prep the rings earlier and store them in the fridge. Fry just before serving to keep them fresh and crispy.
Are these suitable for kids?
Absolutely! Kids love the crunch and mild taste. Cut smaller rings for little hands.
How do I reheat leftovers?
Reheat in the oven at 350°F for 5-10 minutes. Avoid microwaving, as it makes them soft.
Can I freeze uncooked rings?
Yes, freeze them individually on a tray, then store in bags. Fry directly from frozen, adding a minute or two to cooking time.
What if I don’t have buttermilk?
Mix milk with vinegar or lemon juice. Let it sit for 5 minutes to curdle before using.
Do I need a deep fryer?
No, a deep pan works fine. Just make sure there’s enough oil to submerge the rings halfway.
Can I add spices to the batter?
Definitely! Try paprika, garlic powder, or cayenne for extra flavor. Customize to your taste.
Conclusion
Old Fashioned Onion Rings are a timeless treat loved by all ages. With their crispy outside and tender onion center, they’re hard to resist. Whether you’re hosting a party or craving comfort food, this recipe delivers. Follow the steps, avoid common mistakes, and enjoy the crunch. Happy cooking!
Old Fashioned Onion Rings
Ingredients
Equipment
Method
- Slice the onions into thick rings, about ¼-inch thick, and separate.
- In a bowl, mix flour, cornmeal, baking powder, salt, and pepper.
- In a separate bowl, whisk an egg with buttermilk until creamy.
- Dip each onion ring into the wet mixture and coat in the dry mixture.
- Heat oil in a deep pan and fry the rings until golden brown.