Why Everyone Loves Paula Deen’s Banana Bread
There’s something magical about the smell of banana bread baking in the oven. It feels like home, doesn’t it? For me, it brings back memories of lazy Sunday mornings and family gatherings where everyone always wanted seconds. One recipe that never fails to deliver is Paula Deen’s banana bread. It’s rich, comforting, and oh-so-moist—everything a good banana bread should be.
If you’ve ever searched for the perfect paula deen banana bread recipe, you’re not alone. This classic recipe has captured the hearts of home bakers across the USA. Whether you’re a seasoned baker or just starting out, this recipe is approachable, reliable, and downright delicious. Today, I’ll share why this banana bread stands out, tips to make it your own, and answers to some common questions bakers often have.
The Magic of Her Recipe
Paula Deen has a way of making recipes feel warm and inviting. Her style is simple but effective, focusing on flavors that comfort and satisfy. When it comes to her banana bread recipe, the magic lies in its balance. The texture is perfectly moist, thanks to ripe bananas and just the right amount of butter. The flavor is rich yet not overpowering, making it a crowd-pleaser every time.
What sets this recipe apart from others? First, it’s easy to follow. You don’t need fancy tools or hard-to-find ingredients. Second, the results are consistent. Every loaf turns out soft, flavorful, and golden brown. That’s why so many people search for an easy banana bread recipe and end up sticking with Paula Deen’s version.
Later on, I’ll also touch on related keywords like moist banana bread and how to tweak the recipe to suit your taste. These little tips can take your baking to the next level.
Perfect for Any Occasion
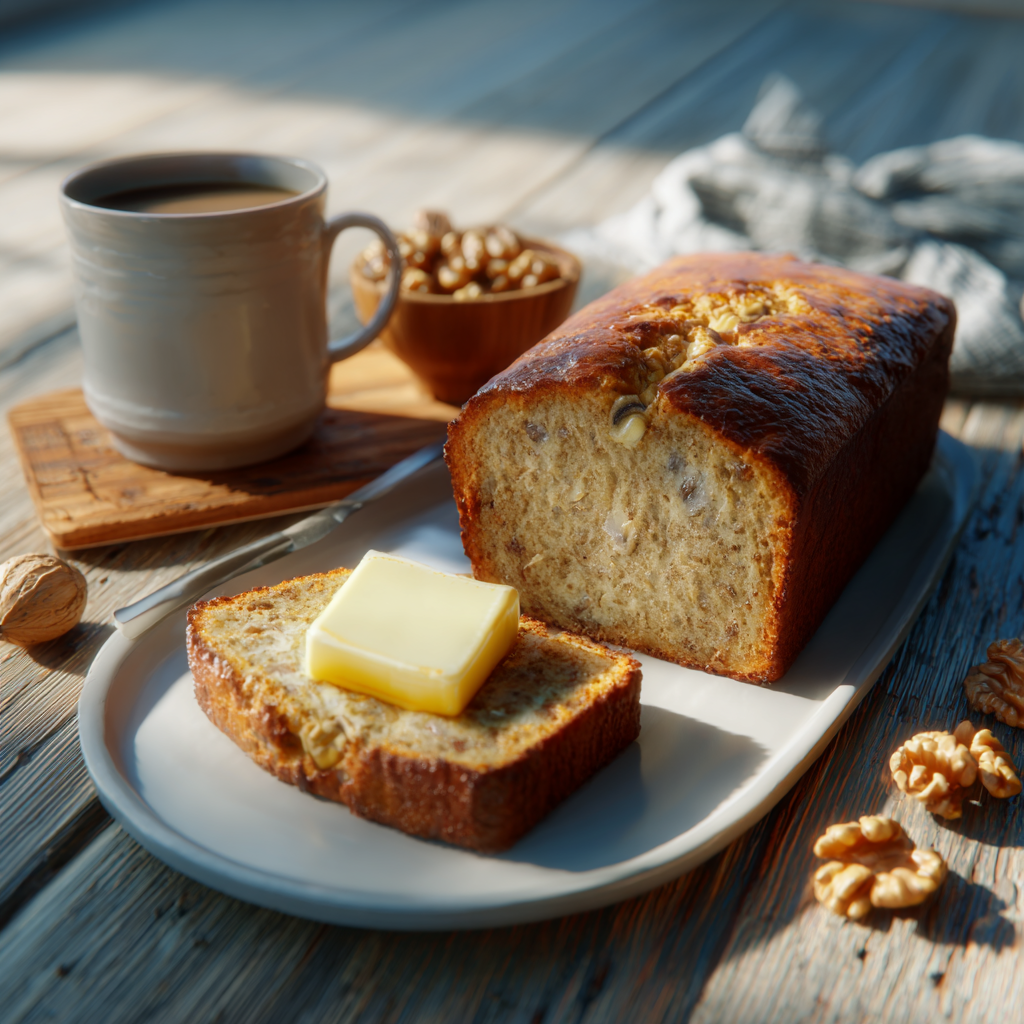
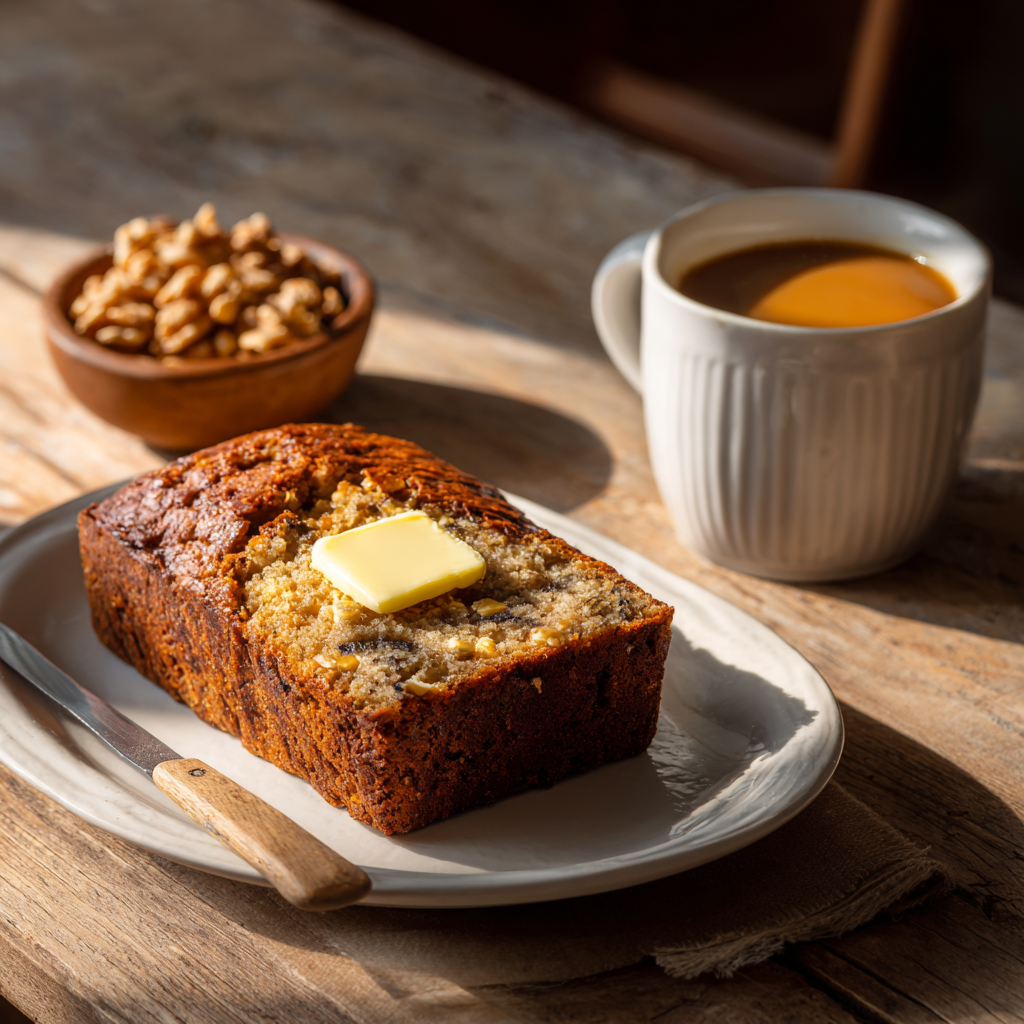
Banana bread isn’t just for breakfast—it’s versatile enough to fit into any part of your day. Serve it warm with a pat of butter for breakfast, slice it up as a snack, or even dress it up with a dollop of whipped cream for dessert. No matter how you serve it, it’s sure to be a hit.
I remember one family gathering where I brought a loaf of Paula Deen’s banana bread. My aunt, who’s notoriously picky about desserts, couldn’t stop raving about it. She kept asking, “What’s the secret?” The truth is, there’s no big secret—just a well-crafted recipe that lets the ingredients shine.
So, why is Paula Deen’s banana bread so popular? It’s more than just the taste. It’s the nostalgia it brings, the simplicity of the process, and the joy of sharing something homemade with loved ones. Whether you’re baking for yourself or for a crowd, this recipe delivers every time.
In the next section, I’ll dive deeper into the steps, offering tips and tricks to ensure your banana bread turns out perfect. From choosing the right bananas to storing leftovers, you’ll learn everything you need to know to master this classic treat.
Step-by-Step Instructions for Paula Deen’s Banana Bread
Alright, let’s roll up our sleeves and get into the fun part—making the bread itself. If you’ve ever wondered how to nail that paula deen banana bread recipe, you’re about to find out. It’s not rocket science, but a few insider tips can make all the difference. Ready? Let’s dive in.
Ingredients You’ll Need
First things first, gather your ingredients. For this recipe, you’ll need:
- 2 cups of all-purpose flour (I like using unbleached, but either works)
- 1 teaspoon of baking soda
- A pinch of salt (about ½ teaspoon)
- ¾ cup of sugar (brown sugar adds extra moisture if you want to experiment)
- ½ cup of butter, melted (unsalted is my go-to)
- 3 large ripe bananas, mashed (the riper, the better—trust me)
- 2 large eggs, beaten
- 1 teaspoon of vanilla extract (pure vanilla makes a noticeable difference)
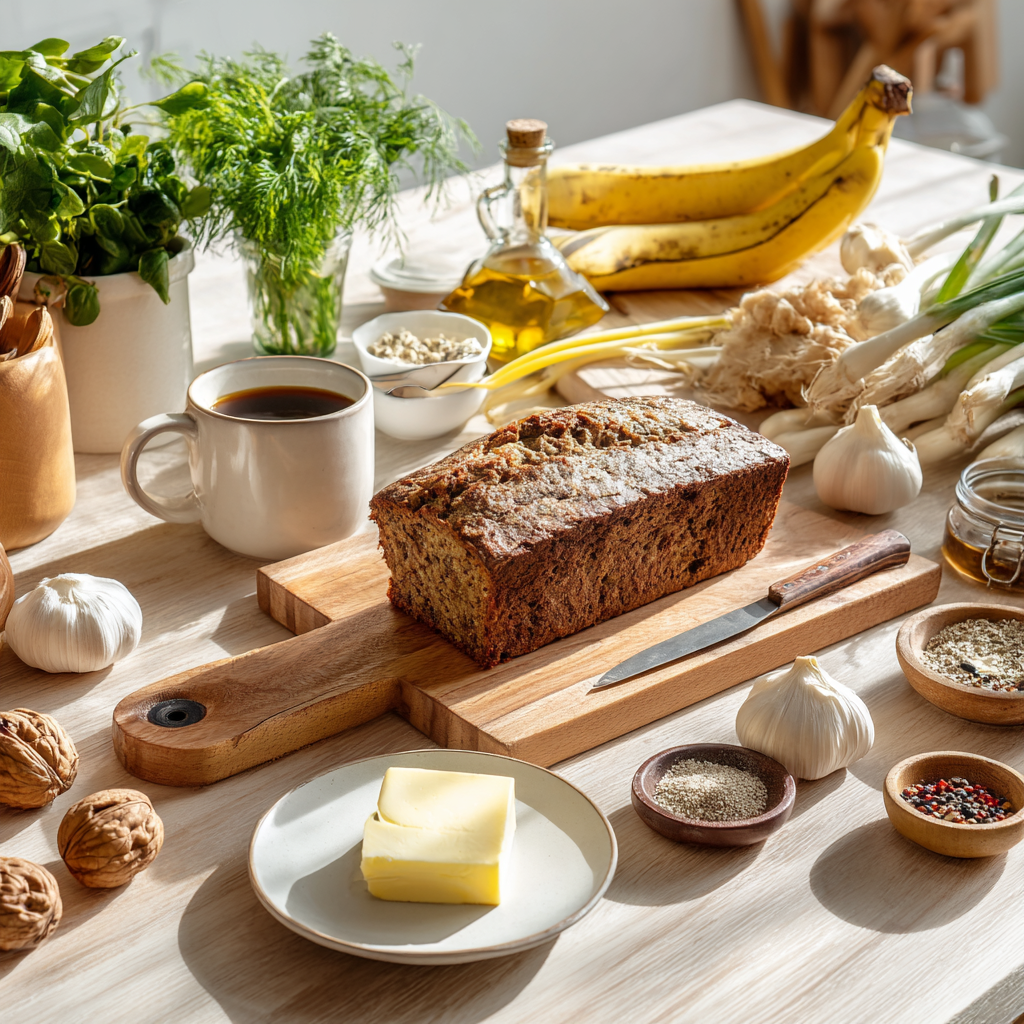
Here’s the thing: the bananas are the star of the show. They should be speckled with brown spots because that’s when they’re at their sweetest. Don’t even think about using green ones unless you want bland bread. This is where the phrase best ingredients for banana bread comes into play—quality matters!
Funny enough, I once tried making this with bananas that were just borderline ripe. The texture was fine, but it lacked that deep, caramelized sweetness. Lesson learned. Always wait for those bananas to get nice and spotty.
Mixing and Preparing the Batter
Now, let’s talk about the mixing process. It’s super straightforward, but there are a few tricks to ensure your batter turns out perfect. Start by preheating your oven to 350°F (175°C). Grab a loaf pan—I like lining mine with parchment paper for easy cleanup—and set it aside.
In a large bowl, whisk together the dry ingredients: flour, baking soda, and salt. In another bowl, mix the wet ingredients: melted butter, sugar, eggs, vanilla, and those glorious mashed bananas. Combine the two, but don’t overmix. A few lumps are totally fine. Overmixing can lead to dense bread, and nobody wants that.
By the way, if you’ve ever Googled “how do you make banana bread from scratch,” this is it. No shortcuts, no boxed mixes—just good old-fashioned baking. And honestly, it’s so worth it. The smell alone will have your neighbors wondering what’s going on in your kitchen.
I remember one time, I forgot to melt the butter beforehand. I ended up microwaving it quickly, but it was still too hot when I added it to the mix. Rookie mistake! The eggs started to cook slightly, and while the bread still tasted okay, the texture wasn’t as smooth. Moral of the story? Patience is key.
Baking Tips for Success
Once your batter’s ready, pour it into your prepared loaf pan and pop it in the oven. Here’s where precision matters. Bake at 350°F for about 60 minutes, but keep an eye on it. Every oven runs a little differently, so timing can vary.
To check for doneness, grab a toothpick or a thin knife. Insert it into the center of the loaf—if it comes out clean or with just a few crumbs clinging to it, you’re golden. If it’s gooey, give it another 5 minutes. This is how you achieve that perfectly baked banana bread everyone raves about.
Pro tip: If the top starts browning too quickly, loosely cover it with aluminum foil. It’s like giving your bread a little sun hat to protect it from overheating. Works every time.
While the bread bakes, take a moment to appreciate the aroma wafting through your home. It’s like a warm hug, isn’t it? I swear, nothing beats the smell of homemade banana bread. Not even Downeast Maine Pumpkin Bread, as amazing as that recipe is.
Customizing Your Banana Bread
Okay, here’s where you can really make this recipe your own. Want to jazz it up? Go for it! This is your chance to experiment with a customizable banana bread recipe.
Some of my favorite add-ins include:
- Chocolate chips (semi-sweet or dark chocolate both work beautifully)
- Chopped walnuts or pecans for a bit of crunch
- A swirl of cinnamon sugar for a cozy twist
- Even a handful of shredded coconut if you’re feeling tropical
If you’re looking for something a little healthier, try substituting half the flour with whole wheat or almond flour. Or cut back on the sugar and drizzle a glaze on top instead. Low-sugar adaptations are totally doable without sacrificing flavor. For more ideas, check out Janet’s Rich Banana Bread. She’s got some creative spins that might inspire you.
What can I add to banana bread to make it special? Honestly, the sky’s the limit. Once, I folded in some chopped candied ginger—it was unexpected but delicious. Another time, I topped it with a cream cheese frosting similar to Snickerdoodle Banana Bread Recipe. Both were hits at family gatherings.
Presentation Ideas
Let’s talk presentation because we eat with our eyes first, right? Slice your banana bread thick and serve it warm with a pat of butter melting into each piece. Or go fancy and pair it with a dollop of whipped cream or a scoop of vanilla ice cream. It’s simple yet irresistible.
If you’re gifting the bread, wrap it in parchment paper and tie it with twine for a rustic touch. Add a handwritten note with serving suggestions or storage tips. People love personalized touches like that. Just imagine their faces lighting up when they unwrap it.
Speaking of gifting, I once made mini loaves of this banana bread for a holiday party. I wrapped them individually and tucked in a sprig of rosemary for decoration. Everyone thought they were store-bought until I confessed otherwise. That’s the power of a well-made treat.
Oh, and if you’re curious about other recipes, Ina Garten’s banana bread recipe is another classic worth trying. Her version has a slightly different flair, but it’s equally delightful.
So there you have it—a complete guide to mastering Paula Deen’s banana bread. Whether you stick to the original or get creative with variations, this recipe is sure to become a staple in your kitchen. Now go ahead, bake a loaf, and share the love.
Troubleshooting Common Issues with Paula Deen’s Banana Bread
Let’s face it—sometimes things don’t go as planned in the kitchen. Even if you follow the paula deen banana bread recipe to a T, unexpected hiccups can happen. Don’t sweat it; we’ve all been there. Here’s how to troubleshoot some of the most common banana bread woes and turn your next loaf into perfection.
Why Did My Banana Bread Sink?
A sunken loaf is one of those baking disasters that feels personal. I mean, you put so much effort into measuring, mixing, and waiting—only for the center to cave in. Ugh. But here’s the thing: it’s fixable. Let me break it down for you.
First off, why does this even happen? Well, it could be due to underbaking. If you take the bread out too early, the structure hasn’t fully set, and the middle collapses once it cools. Another culprit? Too much leavening agent, like baking soda. If you accidentally double the amount, the bread rises too fast and then crashes. It’s like a baking rollercoaster nobody asked for.
So, how do you fix sunken banana bread next time? Start by checking your oven temperature with a thermometer. Ovens can lie, trust me—I learned that the hard way when my cookies turned into hockey pucks. Also, resist the urge to peek too often while it’s baking. Opening the oven door lets heat escape, which can mess with the rise. And finally, measure your ingredients carefully. Baking is science, after all.
Funny enough, I once had a loaf sink because I got distracted by a phone call. By the time I realized it, the bread was over-proofed (yes, batter can over-proof!). Lesson learned: stay focused. Your future self—and your taste buds—will thank you.
How Can I Make It Less Dense?
Density is great for planets but not so much for banana bread. If your loaf turned out more like a brick than a fluffy treat, don’t worry. There are ways to lighten it up.
One reason for dense banana bread is overmixing. I mentioned earlier that lumps are okay, right? Overmixing develops gluten, which makes the bread tough instead of tender. So, mix just until everything comes together. Another possibility is using too little leavening or old baking soda that’s lost its oomph. Always check the expiration date before you bake.
To get fluffier results, try beating the eggs separately and folding them in gently. This adds air to the batter without overworking it. You can also sift the flour—it sounds fancy, but it really does make a difference. Sifting incorporates air and ensures no clumps sneak into your batter.
Here’s a fun fact: I once swapped plain yogurt for melted butter in a desperate attempt to use up leftovers. The result? Surprisingly light and moist banana bread. Sometimes, experimenting pays off in unexpected ways.
FAQs About Paula Deen’s Banana Bread Recipe
Before we wrap this up, let’s tackle some lingering questions folks often have about making this classic treat. These answers should clear up any confusion and give you the confidence to bake like a pro.
- Can I freeze Paula Deen’s banana bread?
Absolutely! Wrap the cooled loaf tightly in plastic wrap, then aluminum foil, and pop it in the freezer. It’ll keep for up to three months. Just thaw it at room temperature when you’re ready to enjoy. Bonus: frozen banana bread makes a great last-minute gift. - What type of pan should I use for banana bread?
A standard 9×5-inch loaf pan works perfectly. If you’re feeling adventurous, try mini loaf pans for bite-sized loaves or a bundt pan for a fancy twist. Just adjust the baking time accordingly. - How ripe should bananas be for banana bread?
The riper, the better. Look for bananas covered in brown spots—they’re sweeter and mash easier. Green bananas won’t give you the same depth of flavor. Pro tip: if your bananas aren’t ripe enough, toss them in the oven for 10 minutes to speed up the process. - Can I reduce sugar in this recipe?
Yes, you can cut back on sugar, but keep in mind it affects both sweetness and texture. Try reducing it by a quarter cup first. For an alternative, consider adding mashed dates or honey for natural sweetness. Balance is key. - Should I use oil or butter?
Butter gives the bread a richer flavor, but oil makes it extra moist. If you want the best of both worlds, use half butter and half oil. Trust me, it’s a game-changer. - Can I make this recipe gluten-free?
Definitely! Swap the all-purpose flour for a gluten-free blend. I’ve had success with almond flour and oat flour mixes, though they might yield slightly denser results. Experiment to find what works for you. - How long does banana bread last?
Stored properly in an airtight container, it lasts about 4-5 days at room temperature. If you live in a humid area, refrigerate it to prevent mold. Just warm slices briefly before serving. - What’s the best way to store leftovers?
Wrap the bread tightly in plastic wrap or place it in a resealable bag. For longer storage, freeze individual slices wrapped in parchment paper. They defrost quickly and are perfect for lunchboxes. - Can I add fruit to the batter?
Sure thing! Blueberries, raspberries, or even diced apples work beautifully. Just toss them in a bit of flour first to keep them from sinking to the bottom. - Why is my banana bread too dark on top?
This usually happens if your oven runs hot or the bread bakes too long. Cover the loaf with foil halfway through baking to protect it. Oh, and avoid placing the rack too close to the heating element.
By the way, if you’re looking for more inspiration, head over to our bread recipes category. From savory options to sweet treats, there’s something for everyone. Who knows? You might discover your next favorite recipe.
Final Thoughts on Perfecting Your Loaf
Baking banana bread is part art, part science, and entirely rewarding. Whether you stick to Paula Deen’s classic version or jazz it up with your own spin, the joy lies in sharing it with others—or savoring it yourself. Remember, every mistake is just a stepping stone to becoming a better baker. So grab those bananas, preheat your oven, and let’s get baking!
Let me know how your loaf turns out—I’d love to hear your stories!
Paula Deen Banana Bread Recipe
Ingredients
Equipment
Method
- Preheat your oven to 350°F (175°C) and prepare a loaf pan (line with parchment paper for easy cleanup).
- In a large bowl, whisk together the flour, baking soda, and salt.
- In another bowl, mix the melted butter, sugar, eggs, vanilla extract, and mashed bananas.
- Combine the wet and dry ingredients, mixing just until combined (a few lumps are okay).
- Pour the batter into the prepared loaf pan.
- Bake for about 60 minutes, checking for doneness with a toothpick (should come out clean or with a few crumbs).
- If the top browns too quickly, loosely cover it with aluminum foil.
- Let cool slightly before slicing and serving.