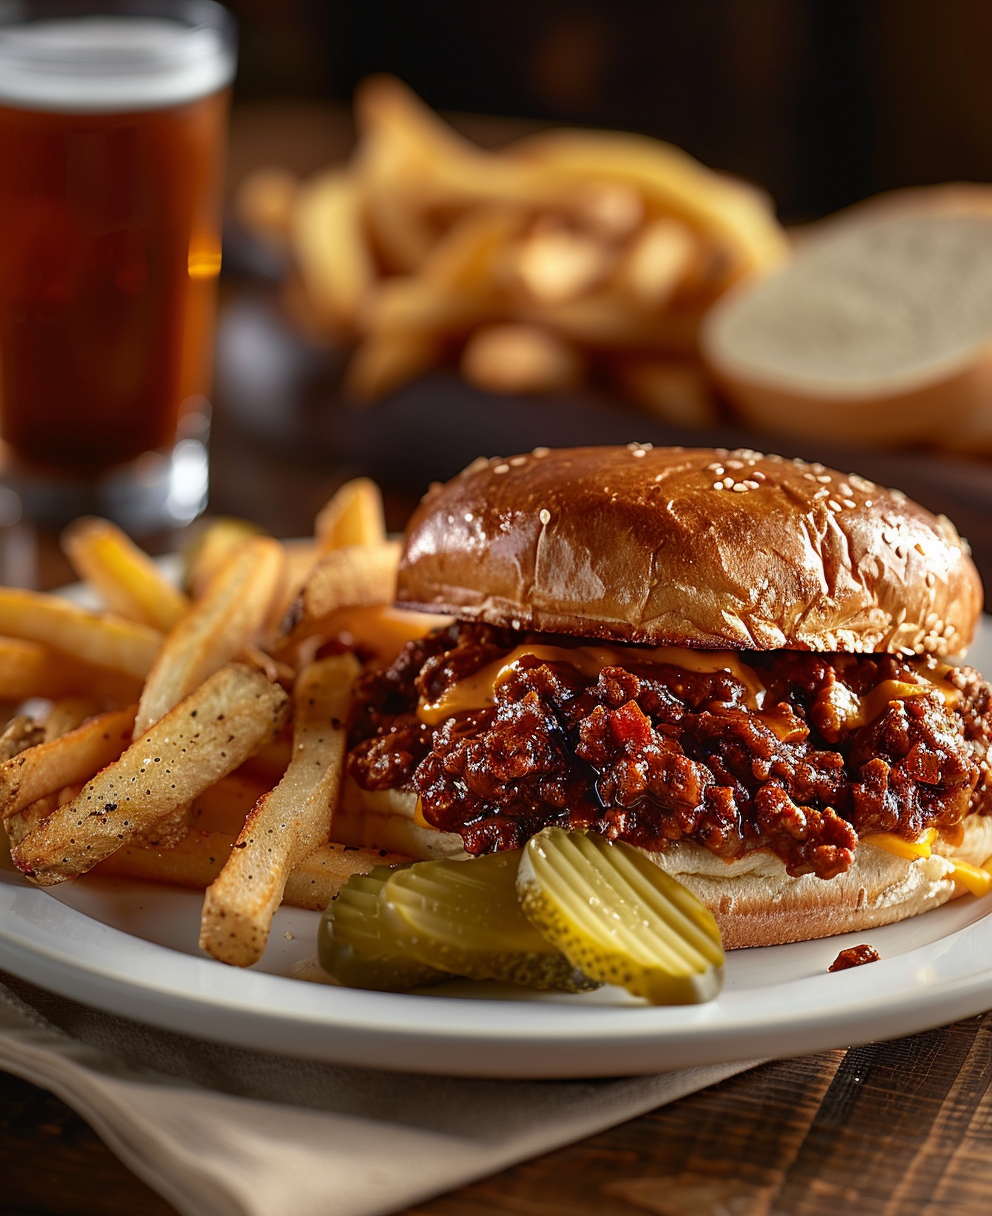
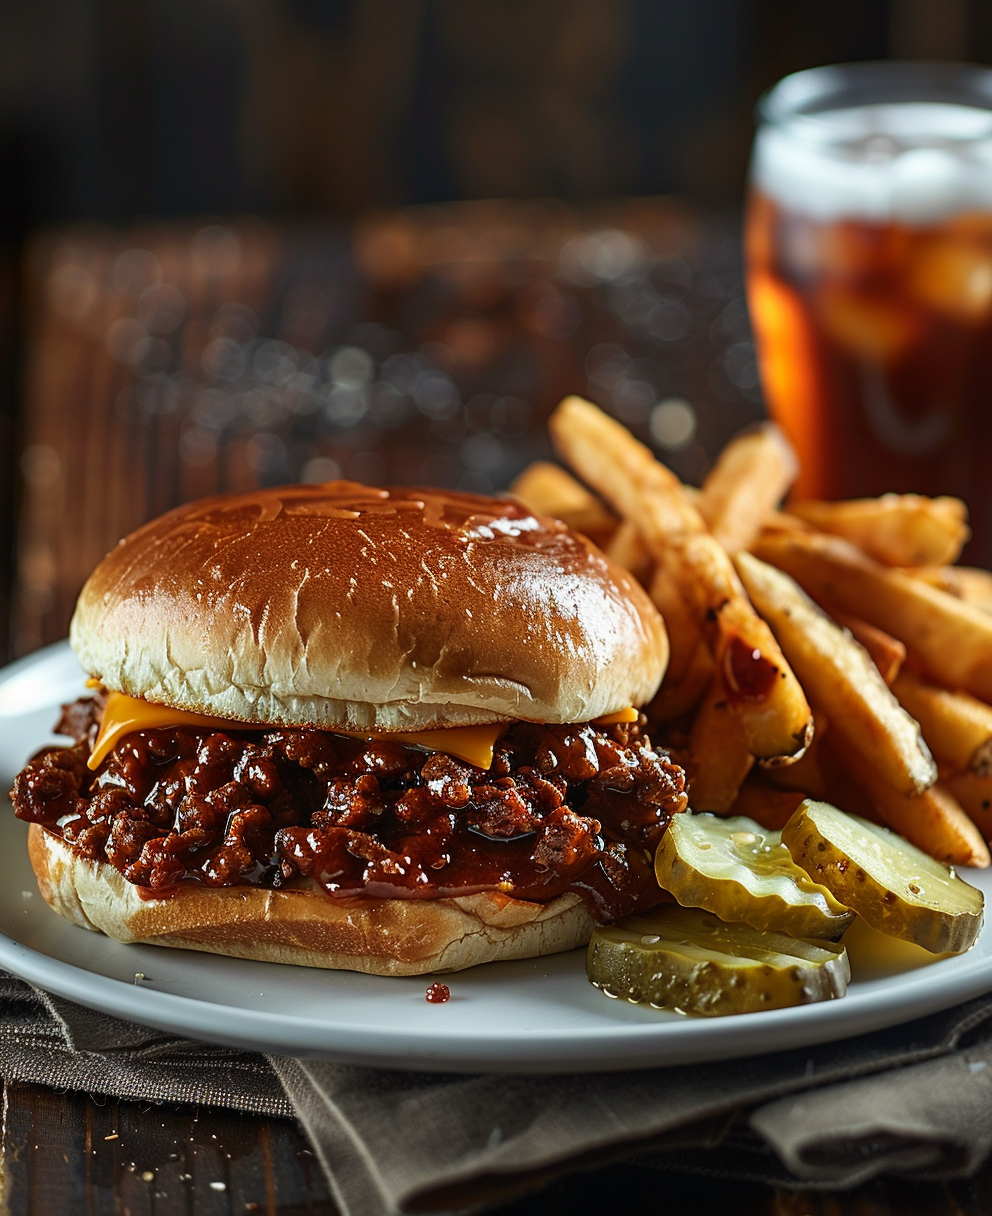
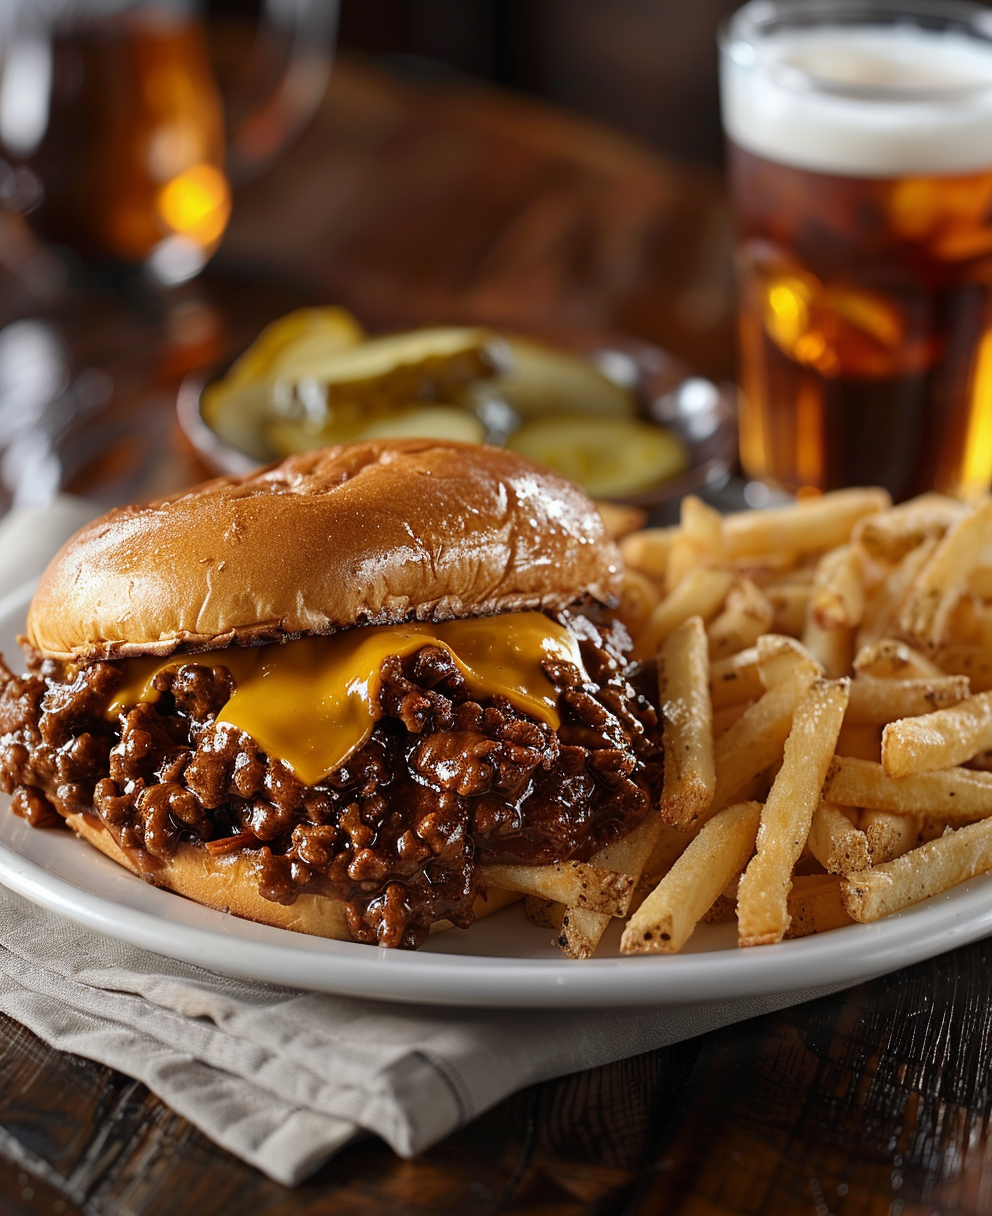
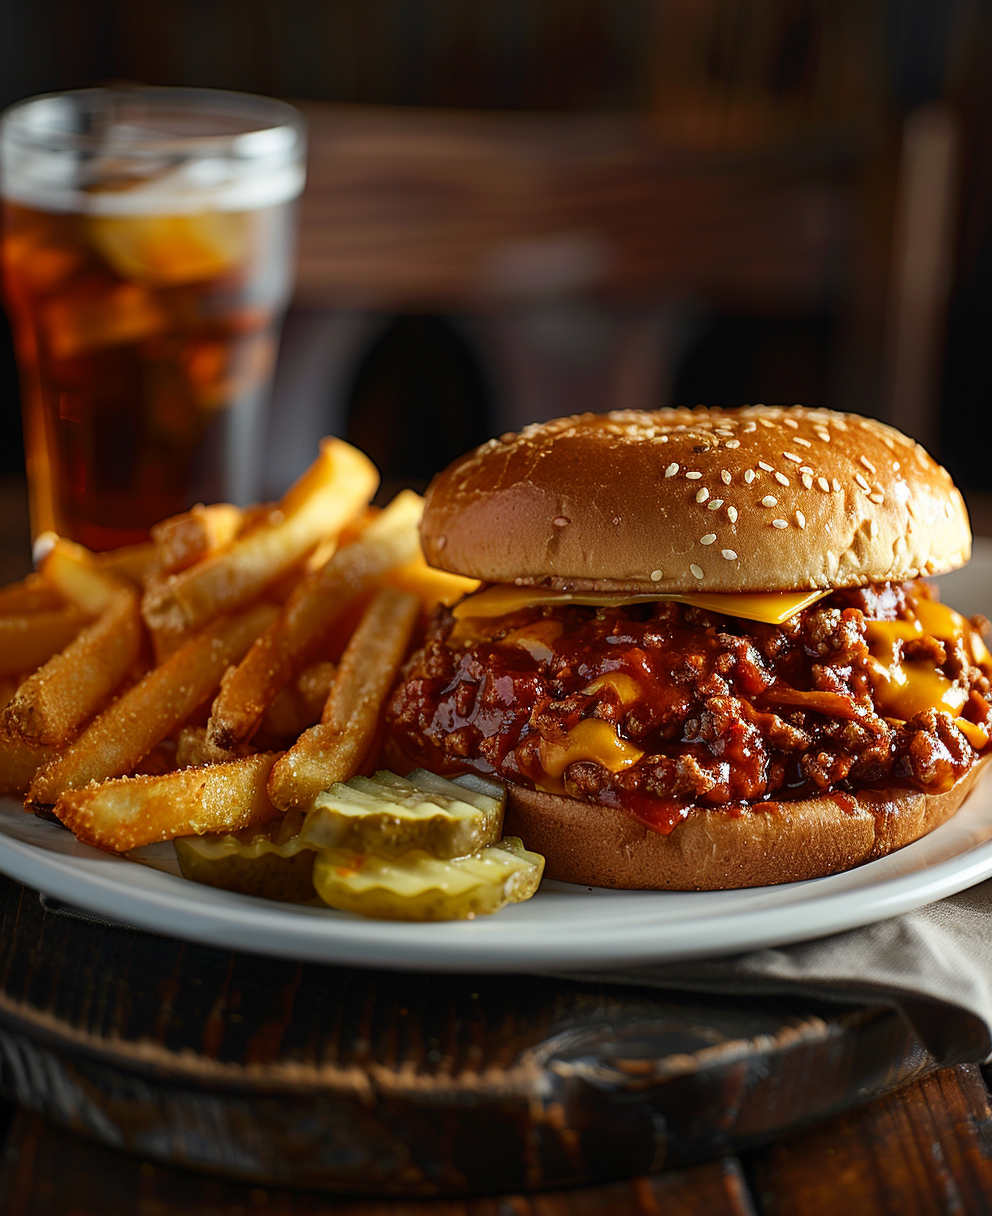
Why This Sloppy Joe Grilled Cheese Will Rock Your World
Picture this: it’s a chilly Friday evening, and I’m craving something warm, gooey, and utterly satisfying. That’s when I decided to whip up a sloppy joe grilled cheese. It was love at first bite! The rich, tangy beef mixture paired with melted cheese sandwiched between crispy bread is pure comfort food magic. What makes this dish extra special? It’s versatile, easy to make, and perfect for feeding a crowd or just treating yourself.
A Little Background on the Sloppy Joe Grilled Cheese
The sloppy joe has been a staple in American kitchens since the 1930s, thanks to its humble beginnings as a loose meat sandwich. Over time, creative cooks started combining it with other classics like grilled cheese. I remember my grandma making sloppy joes for family dinners—messy but unforgettable. One day, I thought, “Why not take it up a notch?” And that’s how my sloppy joe grilled cheese casserole idea was born. Now, whether you’re making it on a sheet pan or turning it into tacos, this dish is a guaranteed crowd-pleaser.
Why You’ll Love This Recipe
This sloppy joe grilled cheese recipe hits all the right notes. First, it’s packed with bold flavors—savory ground beef, sweet tomato sauce, and melty cheese that oozes out with every bite. Second, it’s simple enough for busy weeknights yet impressive enough for gatherings. Plus, cleanup is minimal if you use one skillet or a sheet pan. Trust me; once you try this, you’ll wonder how you ever lived without it!
Perfect Occasions for This Dish
Whether you’re hosting a game night, planning a quick lunch, or feeding hungry kids after school, this dish fits the bill. I’ve served sloppy joe grilled cheese tacos at barbecues and even turned them into a casserole for potlucks. Everyone raves about it! It’s also great for cozy movie nights or lazy Sundays when you want something indulgent but don’t feel like slaving over the stove.
What You’ll Need
- 1 lb ground beef
- 1 cup marinara or sloppy joe sauce
- 8 slices of your favorite bread
- 2 cups shredded cheddar cheese
- 1 tbsp olive oil
- Salt and pepper to taste
Substitution Options
- Swap ground beef with turkey or chicken for a leaner option.
- Use gluten-free bread if you’re catering to dietary needs.
- Try different cheeses like mozzarella, pepper jack, or provolone for variety.
- Vegans can substitute plant-based meat and dairy alternatives.
How to Make Sloppy Joe Grilled Cheese
Step 1: Cook the Ground Beef
Heat olive oil in a skillet over medium heat. Add the ground beef and break it apart with a wooden spoon. Season with salt and pepper. As the beef browns, imagine the rich aroma filling your kitchen—it’s almost hypnotic. Once fully cooked, drain any excess fat. Pro tip: Use a splatter guard to keep your stovetop clean.
Step 2: Prepare the Sauce
Stir in the marinara or sloppy joe sauce, letting it simmer for 5 minutes. Watch as the sauce thickens and coats the beef beautifully. If you prefer homemade sauce, mix ketchup, brown sugar, Worcestershire sauce, and a dash of garlic powder. Chef’s tip: A splash of apple cider vinegar adds brightness to the dish.
Step 3: Assemble the Sandwiches
Lay out four slices of bread and top each with shredded cheese. Spoon the beef mixture evenly onto two slices, then cover with the remaining bread. Press gently to seal. Picture golden-brown sandwiches waiting to happen—it’s worth the anticipation.
Step 4: Grill Until Golden
Heat a nonstick skillet over medium-low heat. Place the sandwiches in the pan and cook until the bread turns golden and crispy. Flip carefully to avoid spillage. The smell of toasted bread mingling with melted cheese is irresistible. For an easier method, bake them on a sheet pan at 375°F for 10–12 minutes.
Timing Breakdown
- Prep Time: 10 minutes
- Cooking Time: 15 minutes
- Total Time: 25 minutes
Chef’s Secret
To elevate your sloppy joe grilled cheese, spread a thin layer of mayonnaise on the outside of the bread before grilling. It creates a perfectly crispy crust without burning.
An Interesting Tidbit
Did you know that sloppy joes were originally called “loose meat sandwiches”? They became popular during the Great Depression because they stretched ground meat further by adding breadcrumbs and spices. Talk about resourceful cooking!
Necessary Equipment
- Skillet or sheet pan
- Wooden spoon
- Spatula
- Cheese grater (if shredding fresh cheese)
Storage Tips
If you have leftovers, store them in an airtight container in the fridge for up to three days. Reheat in the oven or toaster oven to retain crispiness. Avoid microwaving, as it can make the bread soggy. For longer storage, freeze individual portions wrapped in foil. Simply reheat in the oven straight from frozen.
When reheating, sprinkle a little water on the bread to revive its texture. Another trick? Place a damp paper towel over the sandwich while warming it in the oven.
Lastly, never refrigerate uncooked sandwiches, as the moisture from the filling can make the bread soggy overnight.
Tips and Advice
For best results, use high-quality ingredients. Freshly grated cheese melts better than pre-shredded varieties. Also, don’t overload the sandwiches—too much filling makes them hard to flip. Lastly, experiment with toppings like caramelized onions or pickles for added flair.
Presentation Ideas
- Serve with a side of coleslaw for crunch.
- Garnish with chopped parsley for color contrast.
- Cut sandwiches diagonally for a fancy touch.
Healthier Alternatives
Option 1: Turkey Sloppy Joe Grilled Cheese
Replace ground beef with lean ground turkey for fewer calories.
Option 2: Whole Wheat Bread Version
Opt for whole wheat bread to add fiber and nutrients.
Option 3: Low-Fat Cheese Option
Use reduced-fat cheese while maintaining flavor.
Option 4: Veggie-Packed Filling
Mix in finely diced bell peppers and carrots for extra veggies.
Option 5: Air Fryer Method
Cook sandwiches in an air fryer for less oil but maximum crispiness.
Option 6: Plant-Based Delight
Try vegan meat and cheese for a cruelty-free twist.
Common Mistakes to Avoid
Mistake 1: Using Too Much Sauce
Overloading the beef with sauce can make the sandwich soggy. Stick to just enough to coat the meat. Pro tip: Simmer the sauce longer to reduce liquid content.
Mistake 2: Skipping the Cheese Layer
Some folks forget to add cheese directly to the bread. This step ensures gooey goodness in every bite. Always start with a solid layer of cheese.
Mistake 3: Burning the Bread
High heat can burn the bread before the cheese melts. Keep the temperature low and patient. A lid helps trap heat for faster melting.
Frequently Asked Questions
Can I make this ahead of time?
Absolutely! Prepare the beef mixture in advance and refrigerate it. When ready to serve, assemble and grill the sandwiches fresh.
Is this recipe kid-friendly?
Yes! Kids adore the combination of cheesy goodness and savory meat. Let them help assemble the sandwiches for fun.
Can I use a different type of bread?
Of course! Sourdough, rye, or ciabatta work well. Just ensure the bread holds up to the fillings.
What sides pair well with this dish?
Classic sides include potato chips, fries, or a simple green salad. For a healthier option, try roasted vegetables.
How do I prevent the sandwich from falling apart?
Press down lightly when assembling and flipping. Using sturdy bread also helps maintain structure.
Final Thoughts
There you have it—a scrumptious sloppy joe grilled cheese recipe that’s bound to become a household favorite. Whether you’re making it for a casual dinner or a festive gathering, this dish delivers big on flavor and fun. So grab your skillet, gather your ingredients, and get ready to create some delicious memories. Happy cooking!

Sloppy Joe Grilled Cheese
Ingredients
Equipment
Method
- Heat olive oil in a skillet over medium heat. Add the ground beef and break it apart with a wooden spoon. Season with salt and pepper.
- Cook the beef until fully browned, then drain any excess fat.
- Stir in the marinara or sloppy joe sauce and let it simmer for 5 minutes.
- Assemble the sandwiches by laying out four slices of bread and topping each with shredded cheese.
- Spoon the beef mixture evenly onto two slices, then cover with the remaining bread and press gently to seal.
- Heat a nonstick skillet over medium-low heat. Place the sandwiches in the pan and cook until golden and crispy, flipping carefully.
- For an easier method, bake them on a sheet pan at 375°F for 10–12 minutes.


