Why You’ll Love This Easy No Knead Artisan Bread
Let me tell you a little story. Last Sunday, I was hosting a brunch for my friends and family. Everyone was buzzing around the kitchen, but I had one trick up my sleeve—a loaf of Easy No Knead Artisan Bread. The moment it came out of the oven, the house filled with this warm, comforting aroma that made everyone stop mid-sentence. It was golden, crusty, and ridiculously easy to make. Best part? I didn’t have to knead it or stress over complicated steps. If I can do it, so can you!
A Little History Behind This Rustic Bread Recipe
This no knead artisan bread isn’t just a modern miracle—it has roots in traditional baking methods where time does most of the work. Back in the day, bakers relied on long fermentation to develop flavor and texture. Today’s quick versions, like this 1 hour crusty bread recipe, are perfect for busy folks who crave that same rustic charm without spending all day in the kitchen. I love how it bridges old-world techniques with modern convenience.
Why This Quick No Knead Bread Is a Game-Changer
If you’re looking for a soft artisan bread recipe that doesn’t skimp on flavor, this is it. The crust is perfectly crisp while the inside stays soft and airy. Plus, there’s no fancy equipment needed—just a bowl, some basic ingredients, and your trusty oven. Whether you’re a seasoned baker or a newbie, this easy bread recipe will make you feel like a pro.
Perfect Occasions for This Rustic Bread
This bread shines at any gathering—think cozy dinners, holiday feasts, or even a simple Sunday breakfast. Serve it alongside soups, stews, or as the star of a cheese board. It’s also great for sandwiches because the texture holds up so well. Honestly, once you try this quick no knead bread, you’ll find yourself making excuses to bake it every chance you get.
Ingredients You’ll Need
- 3 cups all-purpose flour
- 1 ½ teaspoons salt
- ¼ teaspoon instant yeast
- 1 ½ cups lukewarm water
- 1 tablespoon olive oil (optional)
Substitution Options
- Flour: Swap all-purpose flour with whole wheat or bread flour for a nuttier taste.
- Yeast: Active dry yeast works too; just dissolve it in the water first.
- Olive Oil: Use melted butter if you want a richer flavor.
Step-by-Step Preparation
Step 1: Mix Your Dough
In a large mixing bowl, combine the flour, salt, and yeast. Pour in the lukewarm water and mix until everything comes together into a shaggy dough. Don’t worry about perfection here—it’s supposed to look messy! Pro tip: If your dough feels too sticky, add a sprinkle of flour. Too dry? Add a splash more water.
Step 2: Let It Rest
Cover the bowl with plastic wrap or a clean kitchen towel and let it rest on the counter for 12–18 hours. Yes, you read that right! This slow rise gives the bread its signature flavor and airy texture. Overnight is perfect since you can wake up to freshly baked goodness in the morning.
Step 3: Shape Your Loaf
Once the dough has doubled in size, gently turn it out onto a floured surface. Shape it into a round loaf by folding the edges toward the center. Don’t overwork it—you want those precious air bubbles intact. Place the shaped dough on parchment paper for easy transfer later.
Step 4: Preheat and Bake
Preheat your oven to 450°F (230°C) with a Dutch oven inside. Carefully place the dough into the hot pot, cover it, and bake for 30 minutes. Then, uncover and bake for another 10–15 minutes until the crust turns a beautiful golden brown. The smell alone will drive everyone crazy!
Chef’s Tip for Success
To enhance the crust, toss a few ice cubes into the bottom of your oven before baking. The steam creates a crispier exterior, giving you bakery-level results every time.
Timing Breakdown
- Prep Time: 5 minutes
- Resting Time: 12–18 hours
- Baking Time: 40–45 minutes
- Total Time: Approximately 13–19 hours
An Interesting Fact About Artisan Bread
Did you know that the term “artisan” originally referred to skilled craftsmen who created goods by hand? While machines now handle much of our food production, recipes like this no knead artisan bread variations remind us of simpler times when hands-on care mattered most.
Necessary Equipment
- Mixing bowl
- Dutch oven or heavy pot with a lid
- Parchment paper
- Kitchen towel or plastic wrap
Storage Tips
After cooling completely, store your bread in a paper bag to keep the crust crispy. Plastic bags trap moisture, which can soften the crust faster than you’d like. For longer storage, wrap it tightly in foil and freeze for up to three months. To reheat, pop it in a 350°F oven for 10 minutes.
If you live in a humid area, consider keeping your bread in a bread box. It helps maintain freshness without sacrificing the crust’s crunch.
Finally, never refrigerate bread—it speeds up staling. Trust me, nobody likes a sad loaf!
Tips and Advice
One key tip is to use a kitchen scale for measuring ingredients. Baking is a science, and precision matters. Also, don’t skip the resting step. Patience pays off big time with this artisan no sugar bread.
Presentation Ideas
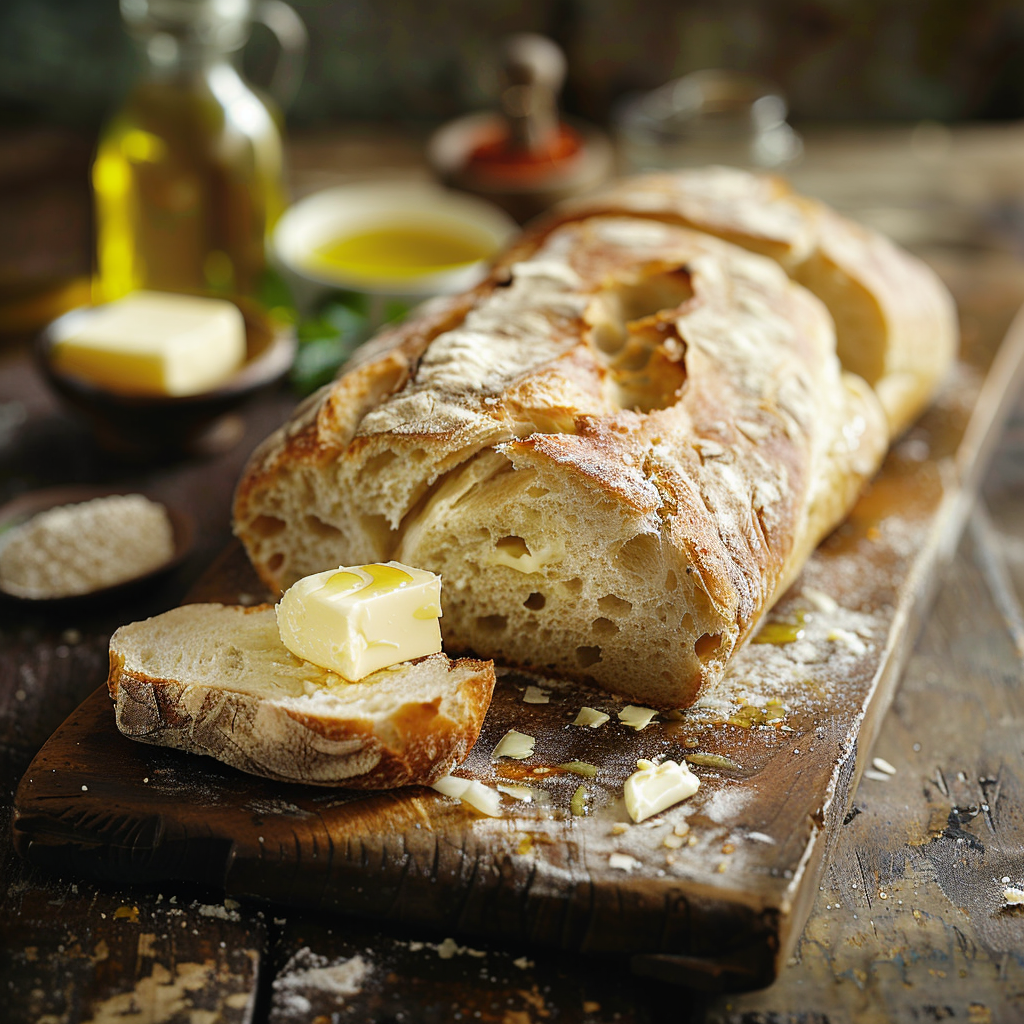
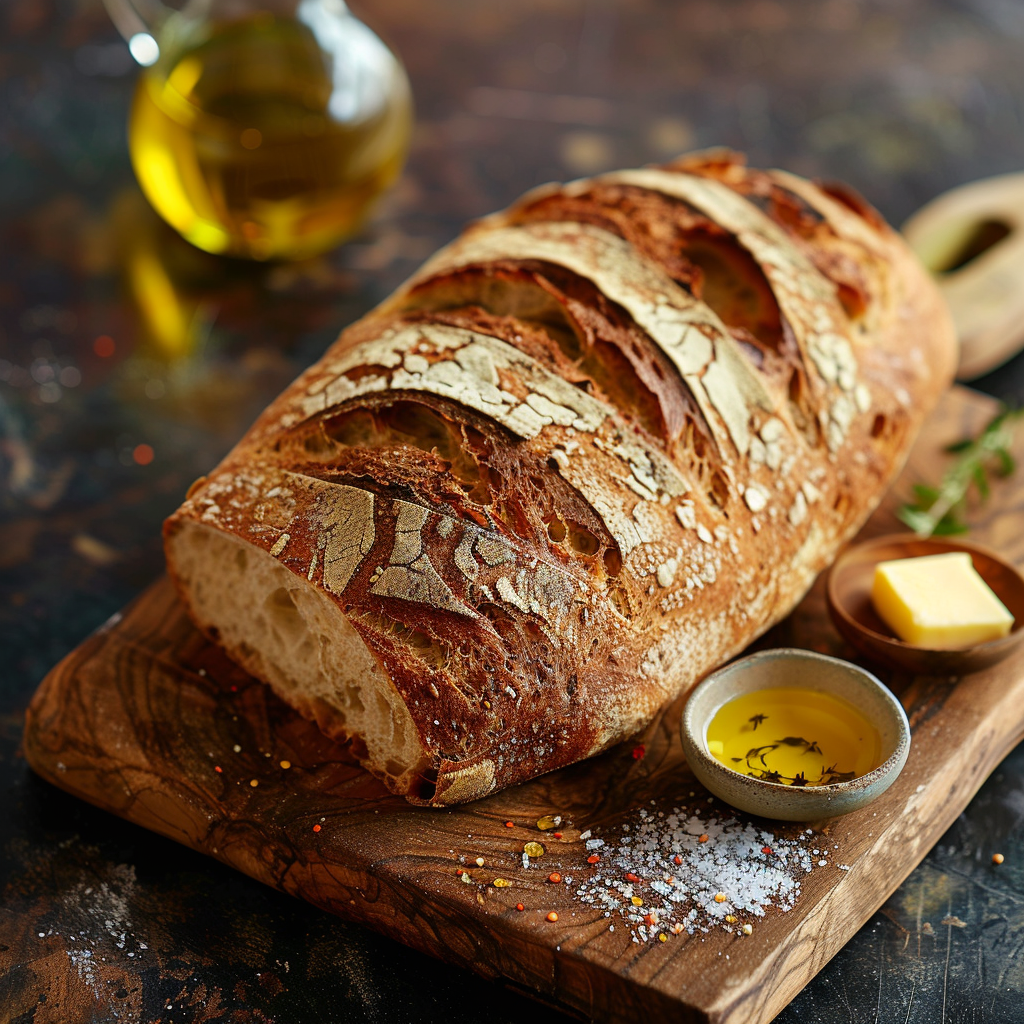
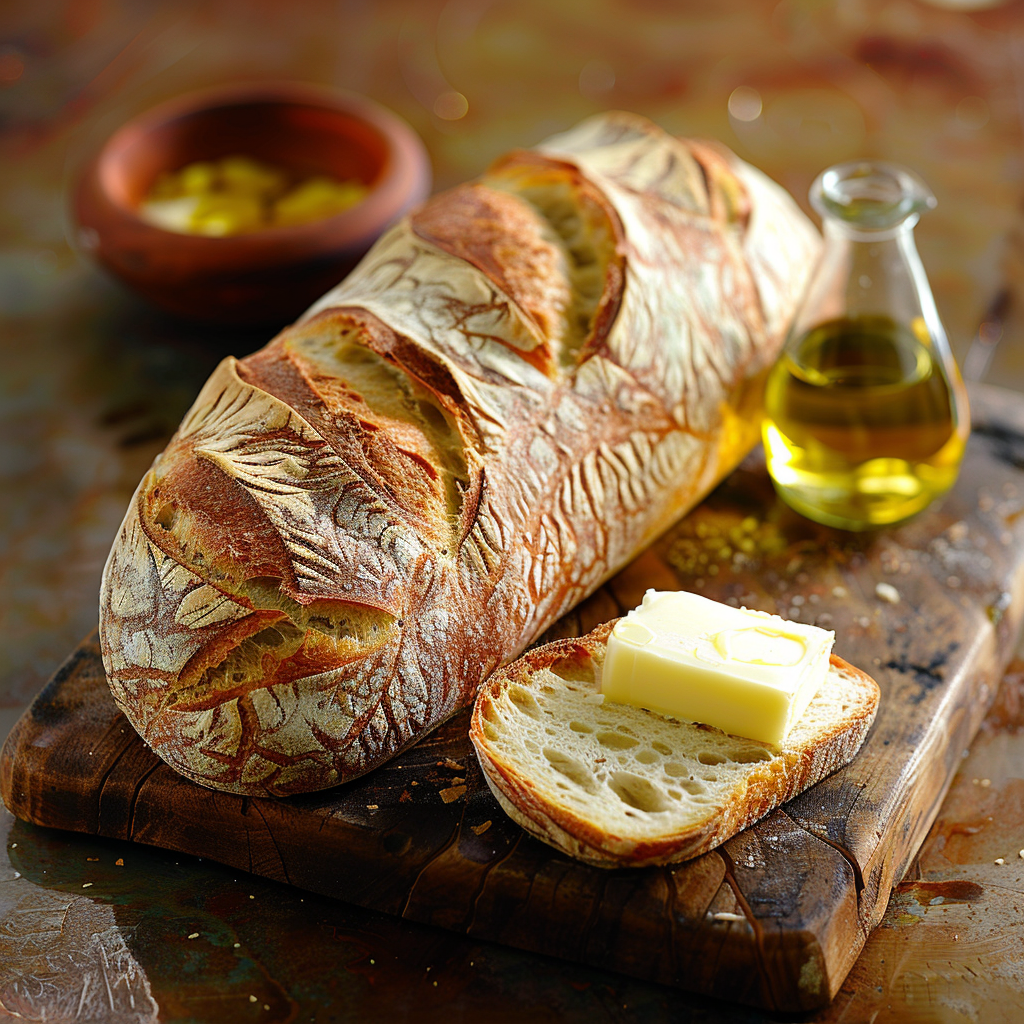
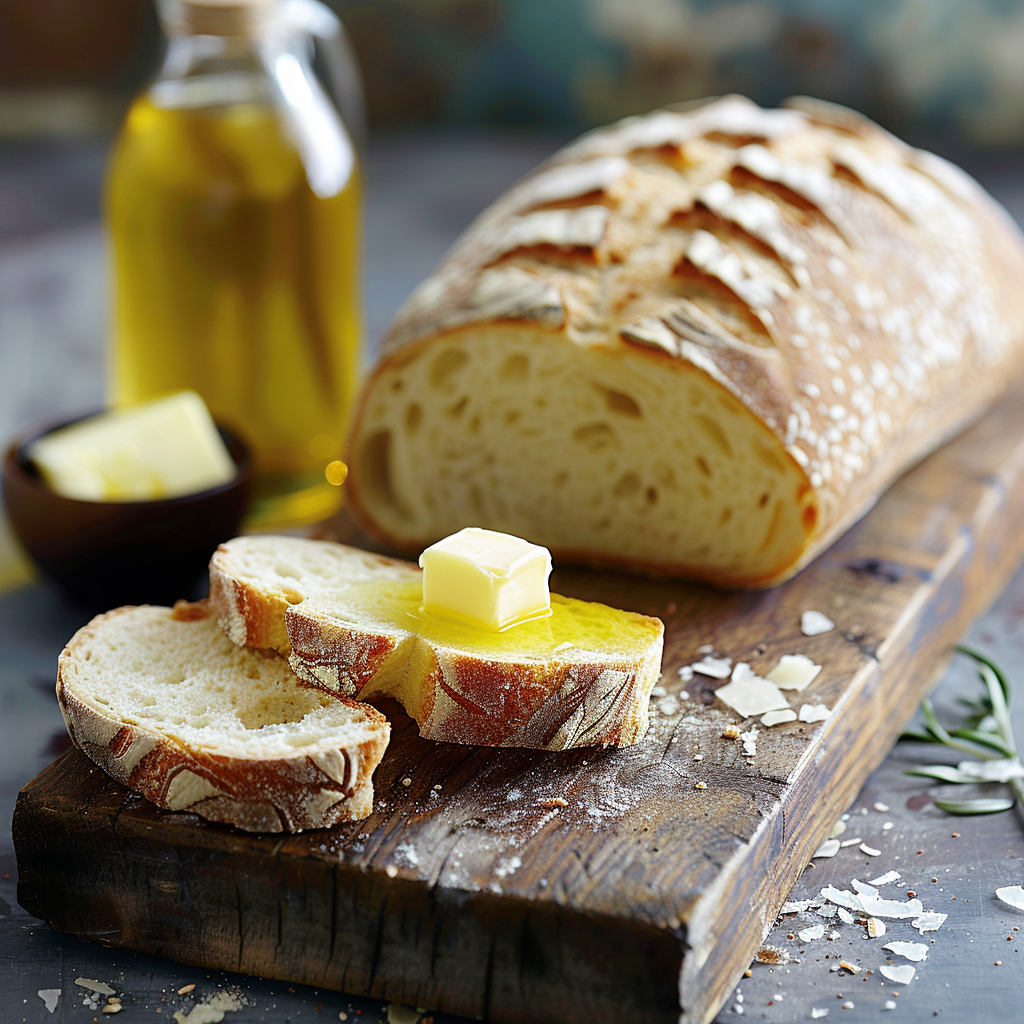
- Serve slices with honey and butter for a sweet twist.
- Pair it with olive oil and balsamic vinegar for dipping.
- Make mini loaves for individual servings.
Healthier Alternative Recipes
Want to switch things up? Try these six variations:
- Whole Wheat Version: Replace half the all-purpose flour with whole wheat for added fiber.
- Herb Infusion: Add rosemary, thyme, or garlic powder for extra flavor.
- Seeded Delight: Sprinkle sesame seeds or sunflower seeds on top before baking.
- Gluten-Free Option: Use a gluten-free flour blend designed for bread.
- Cheesy Twist: Fold shredded cheese into the dough for gooey pockets.
- Sweet Treat: Add cinnamon and raisins for a dessert-inspired loaf.
Common Mistakes to Avoid
Mistake 1: Using Cold Water
Lukewarm water activates the yeast properly. If the water is too cold, the yeast won’t bloom, and your bread won’t rise. Aim for a temperature between 105°F and 115°F.
Mistake 2: Skipping the Rest
The long resting period is crucial for developing flavor and texture. Rushing it leads to dense, bland bread. Plan ahead and let time do the work.
Mistake 3: Overhandling the Dough
This dough is delicate, so handle it gently. Overworking it deflates the air bubbles, resulting in a flat loaf. Less is more here!
Frequently Asked Questions
Can I Make This Bread Without a Dutch Oven?
Absolutely! While a Dutch oven traps steam beautifully, you can use a regular oven-safe pot with a lid. Alternatively, bake directly on a baking stone and create steam by adding ice cubes to the oven floor.
How Do I Know When My Bread Is Done?
Tap the bottom of the loaf—it should sound hollow. Another method is checking the internal temperature with a thermometer; aim for 190°F–200°F.
Can I Use Active Dry Yeast Instead of Instant?
Yes, but dissolve it in the lukewarm water first to ensure it activates properly. Instant yeast skips this step, making the process slightly quicker.
Why Does My Bread Taste Flat?
A flat taste often means the dough didn’t ferment long enough. Give it ample time to develop those complex flavors during the resting phase.
Is This Bread Vegan?
Yes! This recipe contains no animal products, making it naturally vegan-friendly. Just double-check your substitutions if you tweak the original formula.
Can I Double the Recipe?
Definitely. Doubling ensures you have extra loaves for sharing—or snacking. Simply increase each ingredient proportionally and divide the dough before shaping.
What If My Dough Is Too Sticky?
A sticky dough is normal, especially with high hydration recipes like this one. Resist the urge to add too much flour, as it can toughen the bread. Lightly flour your hands instead.
Why Is My Crust Soft Instead of Crispy?
Moisture is likely the culprit. After baking, cool the bread on a wire rack to allow air circulation. Storing it in a paper bag also helps maintain crispiness.
Can I Freeze This Bread?
Yes, wrap it tightly in foil and freeze for up to three months. Reheat in the oven to refresh the crust.
Do I Really Need to Wait 12–18 Hours?
For best results, yes. The extended fermentation enhances both flavor and texture. However, if you’re short on time, try a no knead artisan bread in five minutes version.
Final Thoughts
This Easy No Knead Artisan Bread is proof that simplicity can yield extraordinary results. With minimal effort, you can impress your loved ones and enjoy fresh, homemade bread whenever the craving strikes. So grab your ingredients, embrace the process, and savor the magic of homemade bread. Happy baking!
Easy No Knead Artisan Bread
Ingredients
Equipment
Method
- In a large mixing bowl, combine the flour, salt, and yeast.
- Pour in the lukewarm water and mix until everything comes together into a shaggy dough.
- Cover the bowl with plastic wrap or a clean kitchen towel and let it rest on the counter for 12–18 hours.
- Once the dough has doubled in size, gently turn it out onto a floured surface and shape it into a round loaf by folding the edges toward the center.
- Place the shaped dough on parchment paper for easy transfer later.
- Preheat your oven to 450°F (230°C) with a Dutch oven inside.
- Carefully place the dough into the hot pot, cover it, and bake for 30 minutes.
- Uncover and bake for another 10–15 minutes until the crust turns a beautiful golden brown.