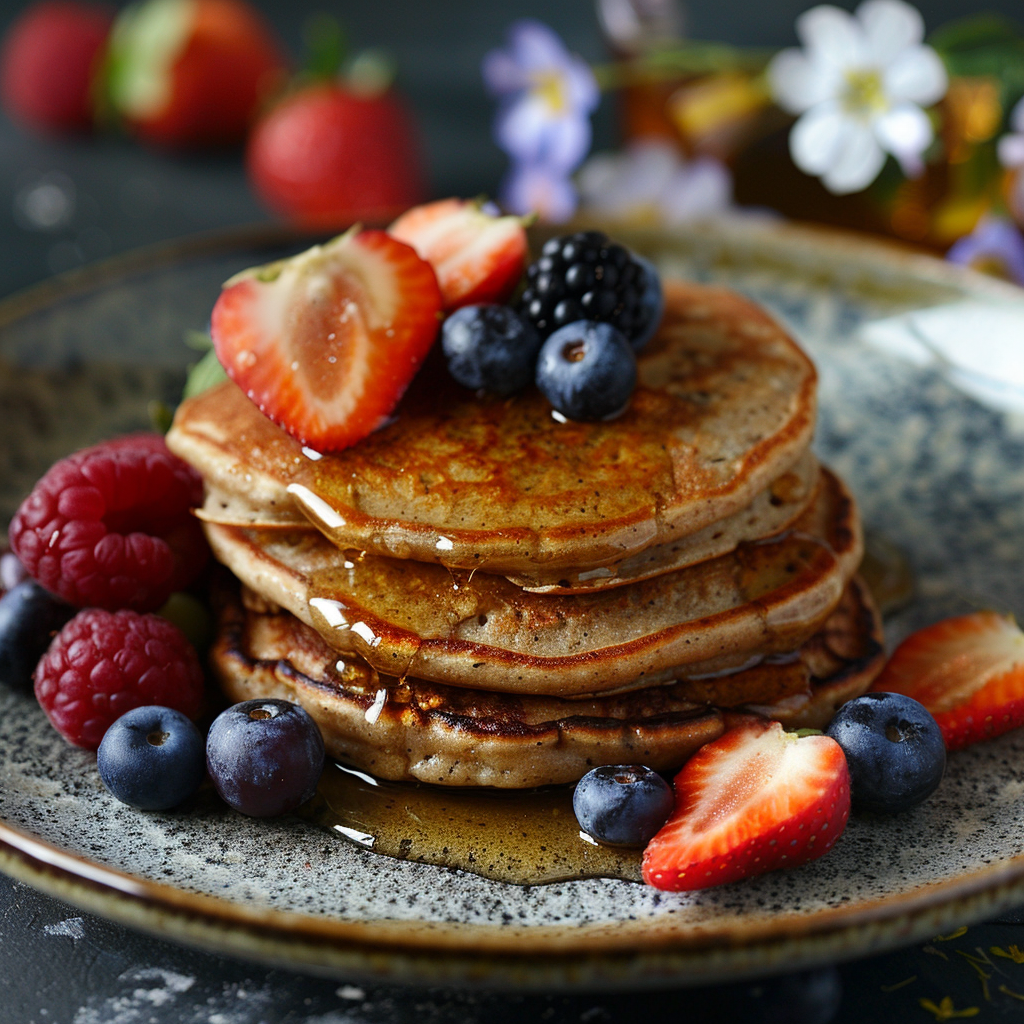
Start Your Day with a Tropical Twist
Picture this: it’s a lazy Sunday morning, and the smell of something sweet and tropical wafts through the air. You’re craving pancakes but want something that fits your Autoimmune Protocol (AIP) lifestyle. That’s when I discovered AIP Banana Coconut Pancakes. These little golden stacks are fluffy, fragrant, and feel like a warm hug for your taste buds. The first time I made them, my family couldn’t believe they were AIP-compliant. Now, they’re a staple in our home. Let me share why you’ll love them too.
A Bite of History: From Island Roots to Modern Plates
Bananas and coconuts have been staples in tropical cuisines for centuries. Islanders mashed bananas into flatbreads long before pancakes became a breakfast favorite. When I first started experimenting with AIP-friendly recipes, I wanted to honor those roots while keeping things simple. These pancakes blend the creamy sweetness of bananas with the rich aroma of coconut. It’s like bringing a piece of paradise to your kitchen. Plus, they’re so easy to make that even my kids can help!
Why You’ll Love This Recipe
These AIP Banana Coconut Pancakes are more than just delicious—they’re a game-changer for anyone following an autoimmune-friendly diet. They’re naturally sweetened by bananas, so there’s no need for added sugar. The coconut flour gives them a light, airy texture that’s hard to resist. Best of all? They come together in minutes, making them perfect for busy mornings. Trust me, once you try these, you’ll never miss regular pancakes again.
Perfect Occasions to Whip Up These Pancakes
Whether it’s a cozy weekend brunch or a special treat for someone on an AIP diet, these pancakes fit the bill. I love serving them on holidays like Easter or Mother’s Day because they feel indulgent without being off-limits. They’re also great for meal prep—just make a big batch and reheat throughout the week. Even my non-AIP friends rave about them at potlucks. Who knew pancakes could be so versatile?
Ingredients
- 2 ripe bananas, mashed
- 1/2 cup coconut flour
- 1/4 teaspoon baking soda
- 1/4 teaspoon sea salt
- 3 large eggs
- 1/2 cup full-fat coconut milk
- 1 teaspoon vanilla extract
- 1 tablespoon coconut oil, melted (plus extra for greasing)
Substitution Options
- If you don’t have coconut flour, almond flour works as a substitute, though the texture will change slightly.
- For those avoiding eggs, try using gelatin “eggs” made from flaxseed meal mixed with water.
- Coconut milk can be swapped for another nut-free milk alternative like tiger nut milk.
Preparation Section
Step 1: Mash Those Bananas
Grab two ripe bananas and mash them until smooth. Ripe bananas are key here because they add natural sweetness and help bind the batter. As you mash, take a moment to enjoy their bright yellow color and fruity aroma—it’s like sunshine in a bowl. If your bananas aren’t quite ripe, pop them in the oven at 350°F for 10 minutes to soften them up. Pro tip: Use a fork instead of a blender for a chunkier texture.
Step 2: Mix Dry Ingredients
In a separate bowl, whisk together the coconut flour, baking soda, and sea salt. Coconut flour is magical—it absorbs liquid like crazy, which helps create that fluffy pancake texture we all love. Make sure to break up any lumps in the flour to ensure even mixing. Don’t skip the whisking step; it makes a huge difference in the final product.
Step 3: Combine Wet and Dry Ingredients
Add the eggs, coconut milk, vanilla extract, and melted coconut oil to the mashed bananas. Stir until everything is well combined. Then, slowly incorporate the dry ingredients into the wet mixture. The batter will thicken quickly thanks to the coconut flour, so work fast. Chef’s tip: Let the batter rest for 2-3 minutes to allow the coconut flour to fully hydrate. This step ensures perfectly cooked pancakes every time.
Step 4: Cook the Pancakes
Heat a non-stick skillet over medium-low heat and grease it lightly with coconut oil. Pour small spoonfuls of batter onto the skillet, spreading them slightly with the back of the spoon. Watch for bubbles to form on the surface—that’s how you know they’re ready to flip. Each side should turn golden brown and slightly crispy. Resist the urge to flip too soon; patience pays off here.
Timing
- Prep Time: 10 minutes
- Cooking Time: 15 minutes
- Total Time: 25 minutes
Chef’s Secret
To enhance the coconut flavor, toast some shredded coconut in a dry skillet before sprinkling it on top of your pancakes. It adds a delightful crunch and elevates the dish to gourmet status. Try it—you won’t regret it!
Extra Info
Did you know that bananas are technically berries? Yep, they belong to the same family as blueberries and raspberries. Weird, right? But what’s not weird is how perfectly they pair with coconut in this recipe. Every bite feels like a mini tropical vacation.
Necessary Equipment
- Non-stick skillet
- Mixing bowls
- Whisk
- Spatula
- Measuring cups and spoons
Storage
Let’s talk leftovers because who doesn’t love having breakfast ready to go? Store cooled pancakes in an airtight container in the fridge for up to 4 days. For longer storage, freeze them in a single layer on a baking sheet before transferring to a freezer-safe bag. They’ll keep for up to 3 months.
To reheat, simply pop them in the toaster or microwave for a few seconds. The toaster method gives them a nice crisp edge, while the microwave keeps them soft and pillowy. Either way, they taste just as good as fresh.
If you’re prepping for the week, consider doubling the recipe. You’ll thank yourself later when you have a stack of AIP Banana Coconut Pancakes waiting for you each morning.
Tips and Advice
- Use very ripe bananas for maximum sweetness and moisture.
- Don’t overcrowd the skillet; cook a few pancakes at a time for even cooking.
- If the batter seems too thick, add a splash more coconut milk to loosen it.
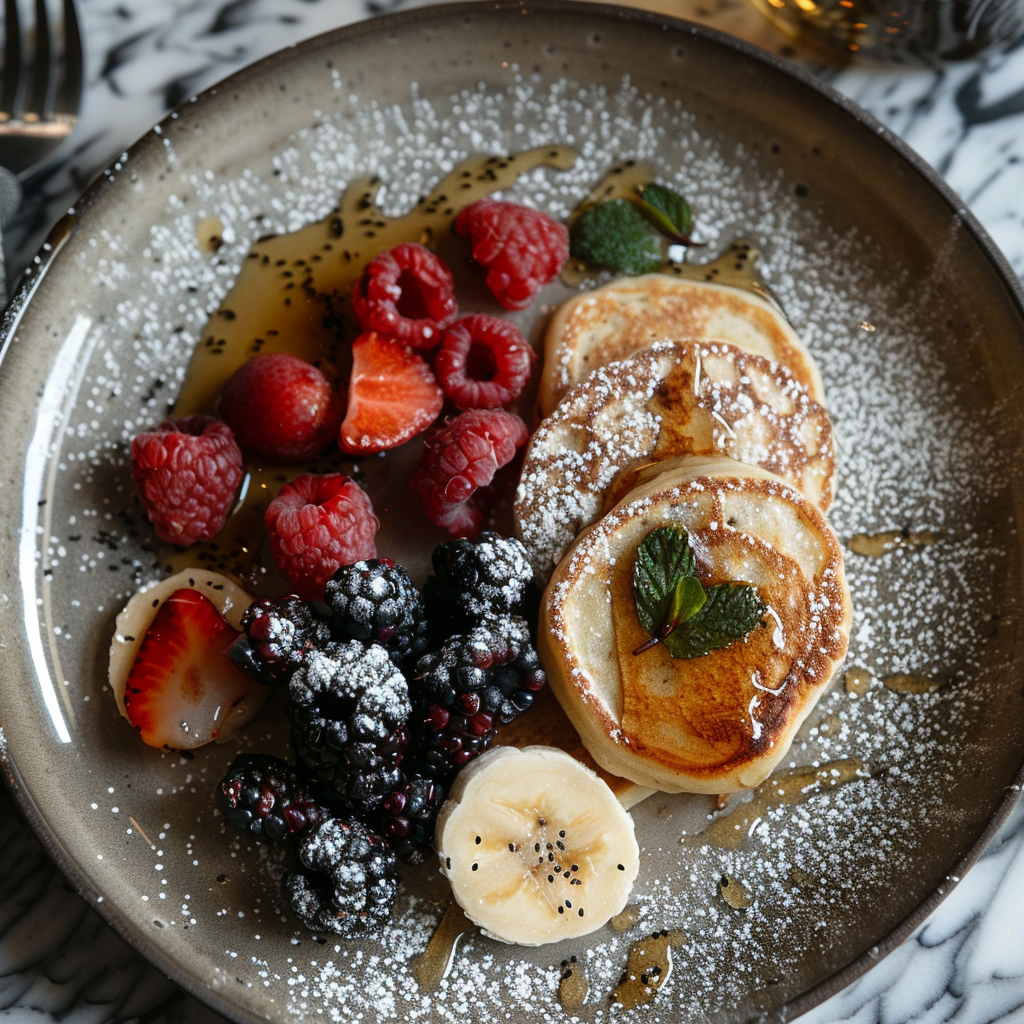
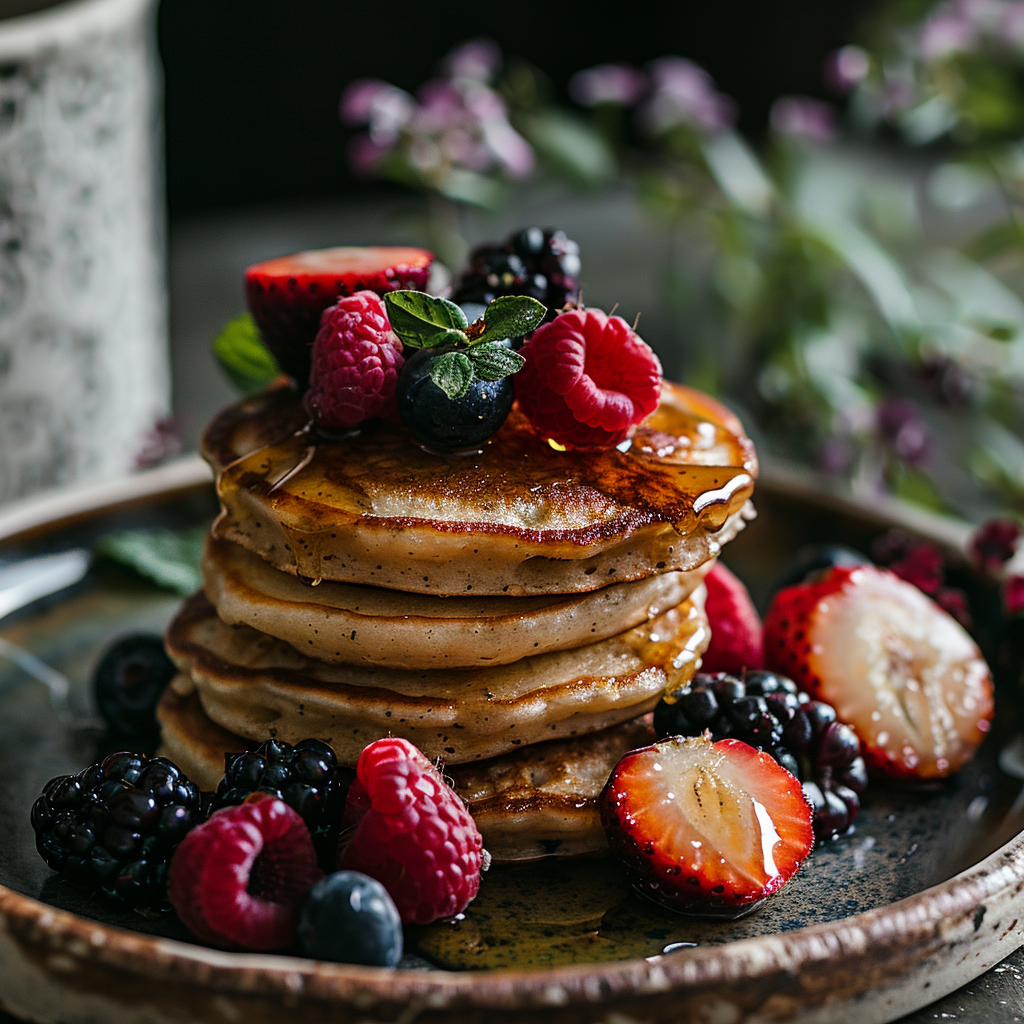
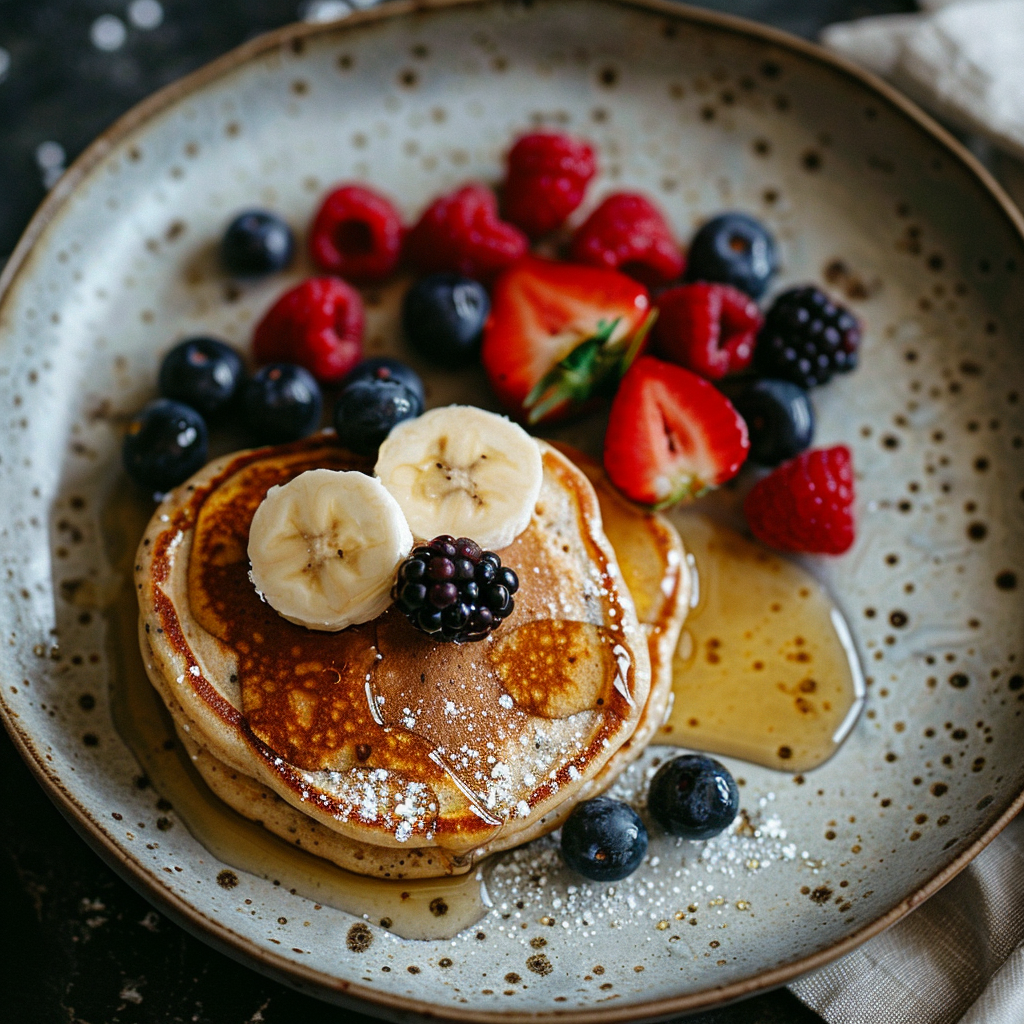
Presentation Tips
- Top with fresh banana slices and toasted coconut flakes for a pretty finish.
- Drizzle with homemade AIP-approved fruit compote for extra flair.
- Serve on a wooden board for a rustic touch.
Healthier Alternative Recipes
Looking to switch things up? Here are six variations to try:
- Blueberry Coconut Pancakes: Fold fresh or frozen blueberries into the batter for a burst of color and antioxidants.
- Chocolate Chip Delight: Add dairy-free chocolate chips for a decadent twist.
- Spiced Apple Pancakes: Swap bananas for grated apples and add cinnamon for fall vibes.
- Pumpkin Spice Pancakes: Mix in pumpkin puree and a pinch of nutmeg for a seasonal treat.
- Matcha Green Tea Pancakes: Stir in matcha powder for an earthy flavor boost.
- Zucchini Coconut Pancakes: Grate zucchini into the batter for added moisture and nutrients.
Common Mistakes to Avoid
Mistake 1: Overmixing the Batter
Overmixing leads to dense pancakes. Coconut flour is delicate, so mix until just combined. Think of it like folding egg whites into a cake batter—gentle hands are key.
Mistake 2: Skipping Rest Time
Resting the batter allows the coconut flour to absorb moisture properly. Skip this step, and your pancakes might turn out gummy. Patience is truly a virtue here.
Mistake 3: Cooking on High Heat
High heat burns the outside while leaving the inside raw. Keep the skillet on medium-low and give each pancake its time to shine.
Mistake 4: Flipping Too Soon
Flipping pancakes prematurely causes them to tear. Wait for bubbles to form and edges to look set before flipping. Trust the process!
Mistake 5: Using Old Bananas
Underripe bananas lack sweetness and moisture. Always use bananas with brown spots for the best results. Practical tip: Freeze overripe bananas for future batches.
FAQ
Can I make these pancakes nut-free?
Absolutely! These AIP Banana Coconut Pancakes are naturally nut-free since they use coconut flour instead of almond flour. Just double-check that all your ingredients are certified nut-free if needed.
What can I use instead of eggs?
For an egg-free version, mix 1 tablespoon of flaxseed meal with 2.5 tablespoons of water per “egg.” Let it sit for 5 minutes to gel before adding it to the batter.
How do I store leftover pancakes?
Store cooled pancakes in an airtight container in the fridge for up to 4 days or freeze them for longer storage. Reheat in the toaster or microwave for best results.
Are these pancakes kid-friendly?
Yes! Kids love the mild sweetness and soft texture of these pancakes. Serve them plain or topped with fresh fruit for a fun breakfast everyone will enjoy.
Can I double the recipe?
Definitely. Doubling the recipe is a great idea if you’re feeding a crowd or want leftovers for the week. Just make sure your skillet isn’t overcrowded while cooking.
Do I need special equipment?
No fancy gadgets required—just a non-stick skillet, mixing bowls, and basic kitchen tools. Even beginners can tackle this recipe with ease.
Why does my batter seem too thick?
Coconut flour absorbs a lot of liquid. If your batter feels too thick, add a splash more coconut milk to achieve the right consistency. Stir gently after adding.
Can I add toppings?
Of course! Fresh fruit, toasted coconut flakes, or a drizzle of fruit compote make excellent toppings. Get creative and have fun with it.
Will these pancakes freeze well?
They freeze beautifully. Place cooled pancakes in a single layer on a baking sheet, then transfer to a freezer-safe bag. Reheat directly from frozen.
Is this recipe suitable for other diets?
Yes, these pancakes are gluten-free, grain-free, and dairy-free, making them perfect for various dietary needs beyond AIP. Just check individual ingredient labels if necessary.
Final Thoughts
There’s something truly magical about AIP Banana Coconut Pancakes. They’re easy to make, packed with flavor, and adaptable to suit your preferences. Whether you’re new to AIP or a seasoned pro, this recipe deserves a spot in your repertoire. So grab those bananas, fire up the skillet, and treat yourself to a breakfast that feels like a tropical getaway. Enjoy!
AIP Banana Coconut Pancakes
Ingredients
Equipment
Method
- Mash the two ripe bananas until smooth.
- In a separate bowl, whisk together the coconut flour, baking soda, and sea salt.
- Add the eggs, coconut milk, vanilla extract, and melted coconut oil to the mashed bananas and mix well.
- Slowly incorporate the dry ingredients into the wet mixture, stirring until just combined.
- Let the batter rest for 2-3 minutes to allow the coconut flour to hydrate.
- Heat a non-stick skillet over medium-low heat and grease it lightly with coconut oil.
- Pour small spoonfuls of batter onto the skillet and cook until bubbles form on the surface, then flip and cook until golden brown.