Introduction
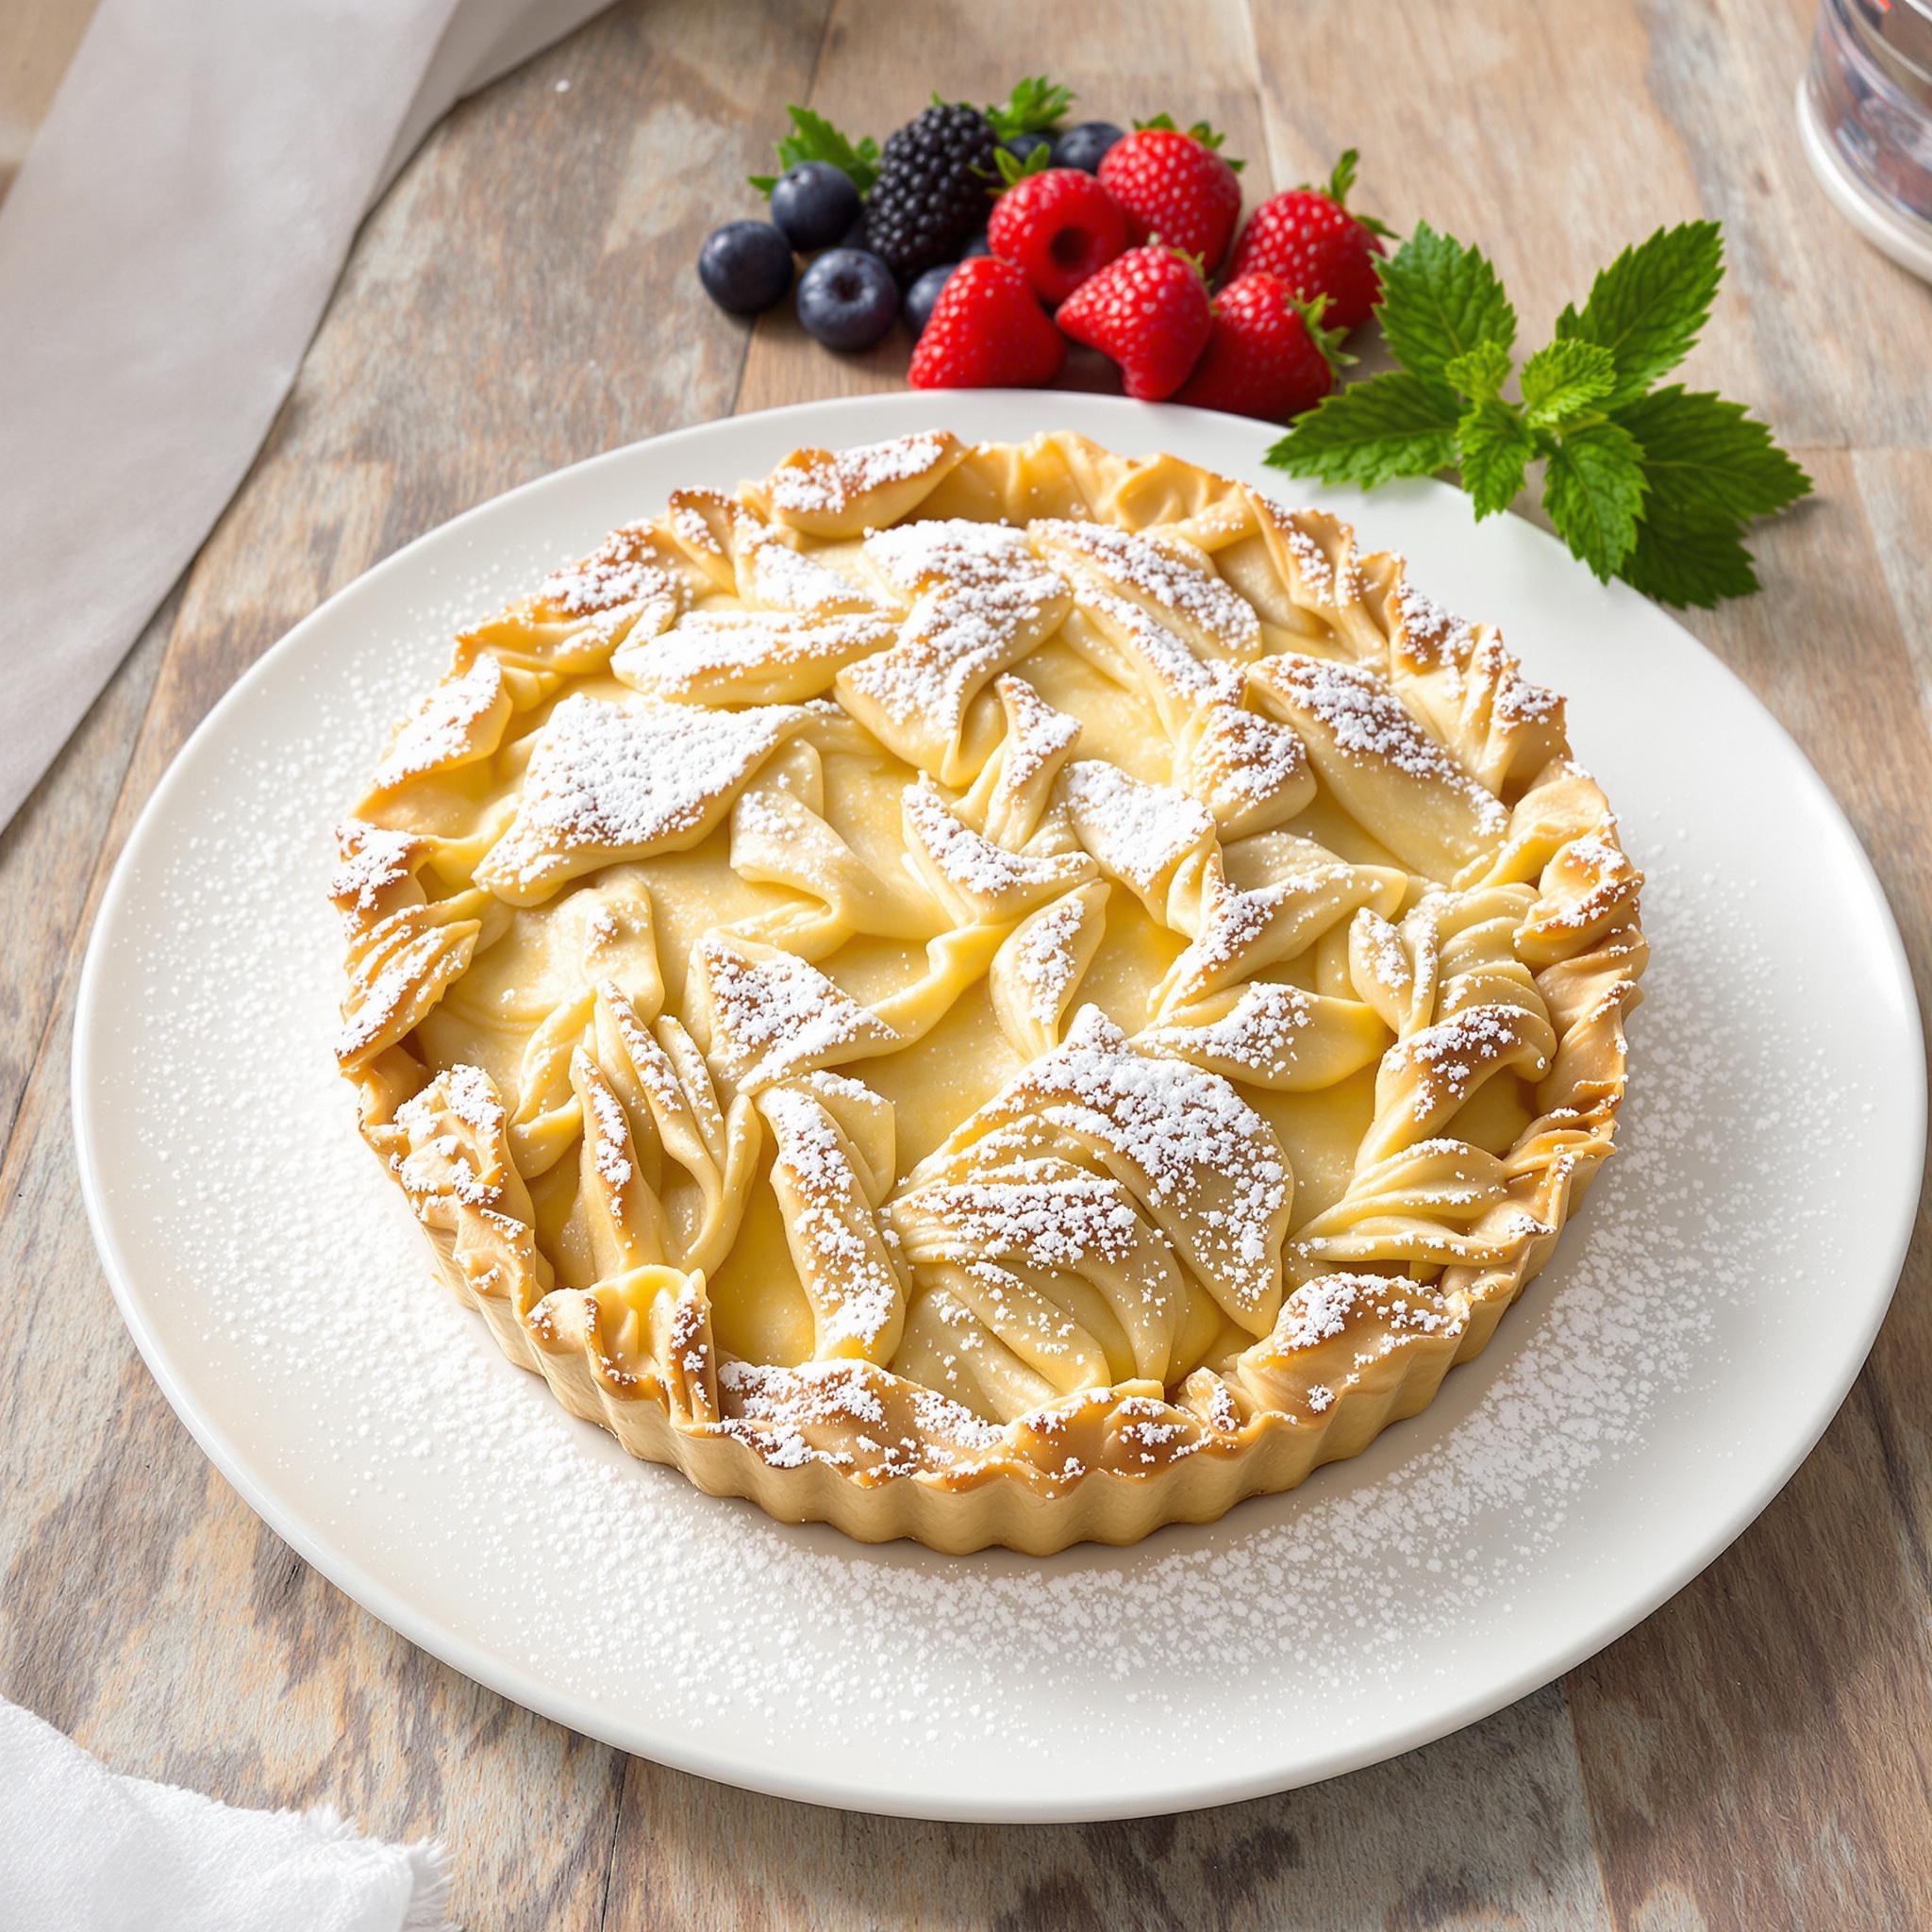
There’s something special about making a homemade Basic Flaky Pie Crust. It’s buttery, crisp, and works for any pie. I’ve made this crust so many times for family get-togethers, and it always gets rave reviews. Whether you’re baking sweet or savory pies, this recipe is a winner.
The Story Behind the Perfect Pie Crust
Pie crusts have been around forever. They started as simple covers to keep food fresh. Over time, they turned into flaky delights. My grandma taught me this recipe. She always said, “Keep it cold, handle it less.” That advice still sticks with me today.
Why You’ll Love This Recipe
This pie crust is easy to make and full of flavor. The buttery layers are amazing. Plus, it goes with any filling. Whether you’re new to baking or a pro, this recipe never fails.
Perfect Occasions to Prepare It
Serve this crust at holidays, potlucks, or cozy dinners. It’s great for apple pies in the fall or quiches at brunch. Honestly, any day is perfect for a homemade pie.
Ingredients
- 1 1/4 cups all-purpose flour
- 1/2 teaspoon salt
- 1/2 cup unsalted butter, chilled and diced
- 3 to 4 tablespoons ice water
Substitution Options
- Try pastry flour for a lighter crust.
- Use shortening instead of butter for a vegan option.
- Add a pinch of sugar instead of salt for sweeter pies.
Preparation
Step 1: Mix Dry Ingredients
In a bowl, mix flour and salt. Whisk until evenly combined. The mix should look pale and powdery. This ensures even seasoning.
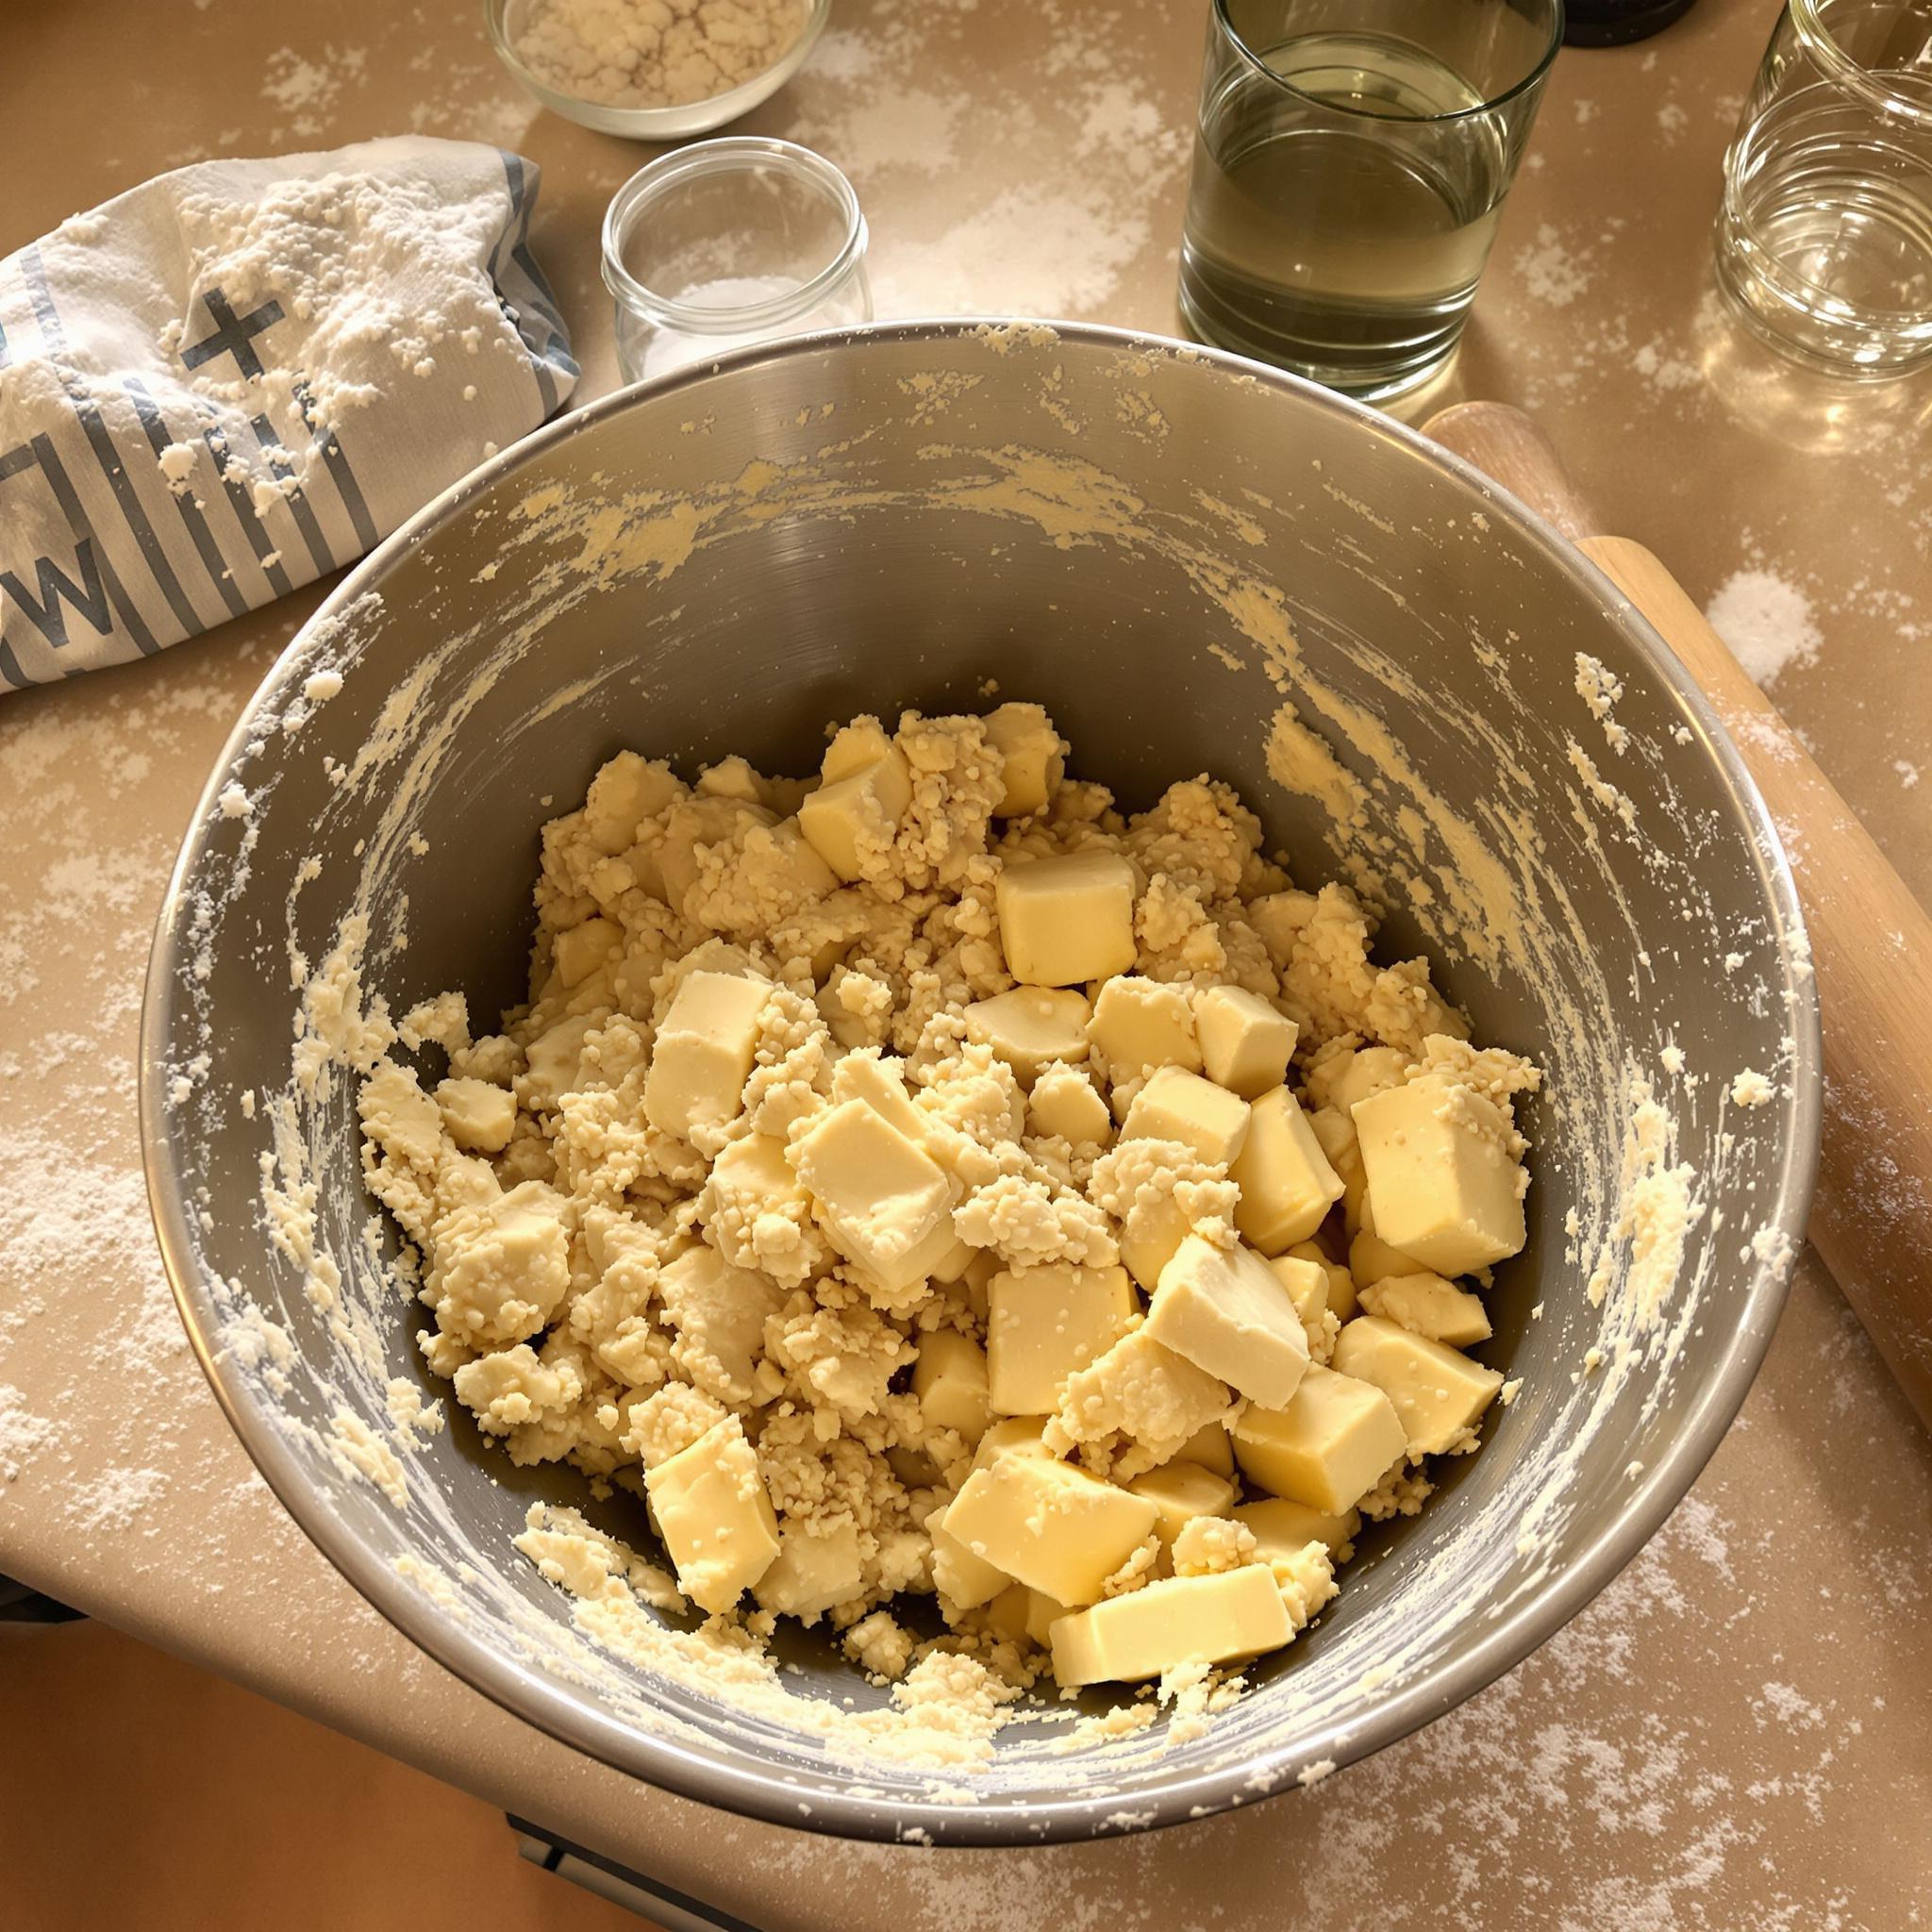
Step 2: Cut in the Butter
Add cold, diced butter to the flour. Use a pastry cutter to blend until it looks like coarse crumbs. The butter bits should be pea-sized. These chunks create flaky layers.
Step 3: Add Ice Water
Pour ice water one tablespoon at a time. Mix gently with a fork. Stop when the dough holds together when squeezed. Don’t overwork it. Overmixing makes it tough.
Step 4: Shape and Chill
Turn the dough onto a floured surface. Knead briefly, then shape it into a disk. Wrap it in plastic wrap and chill for an hour. Chilling relaxes the gluten and firms up the butter.
Step 5: Roll Out the Dough
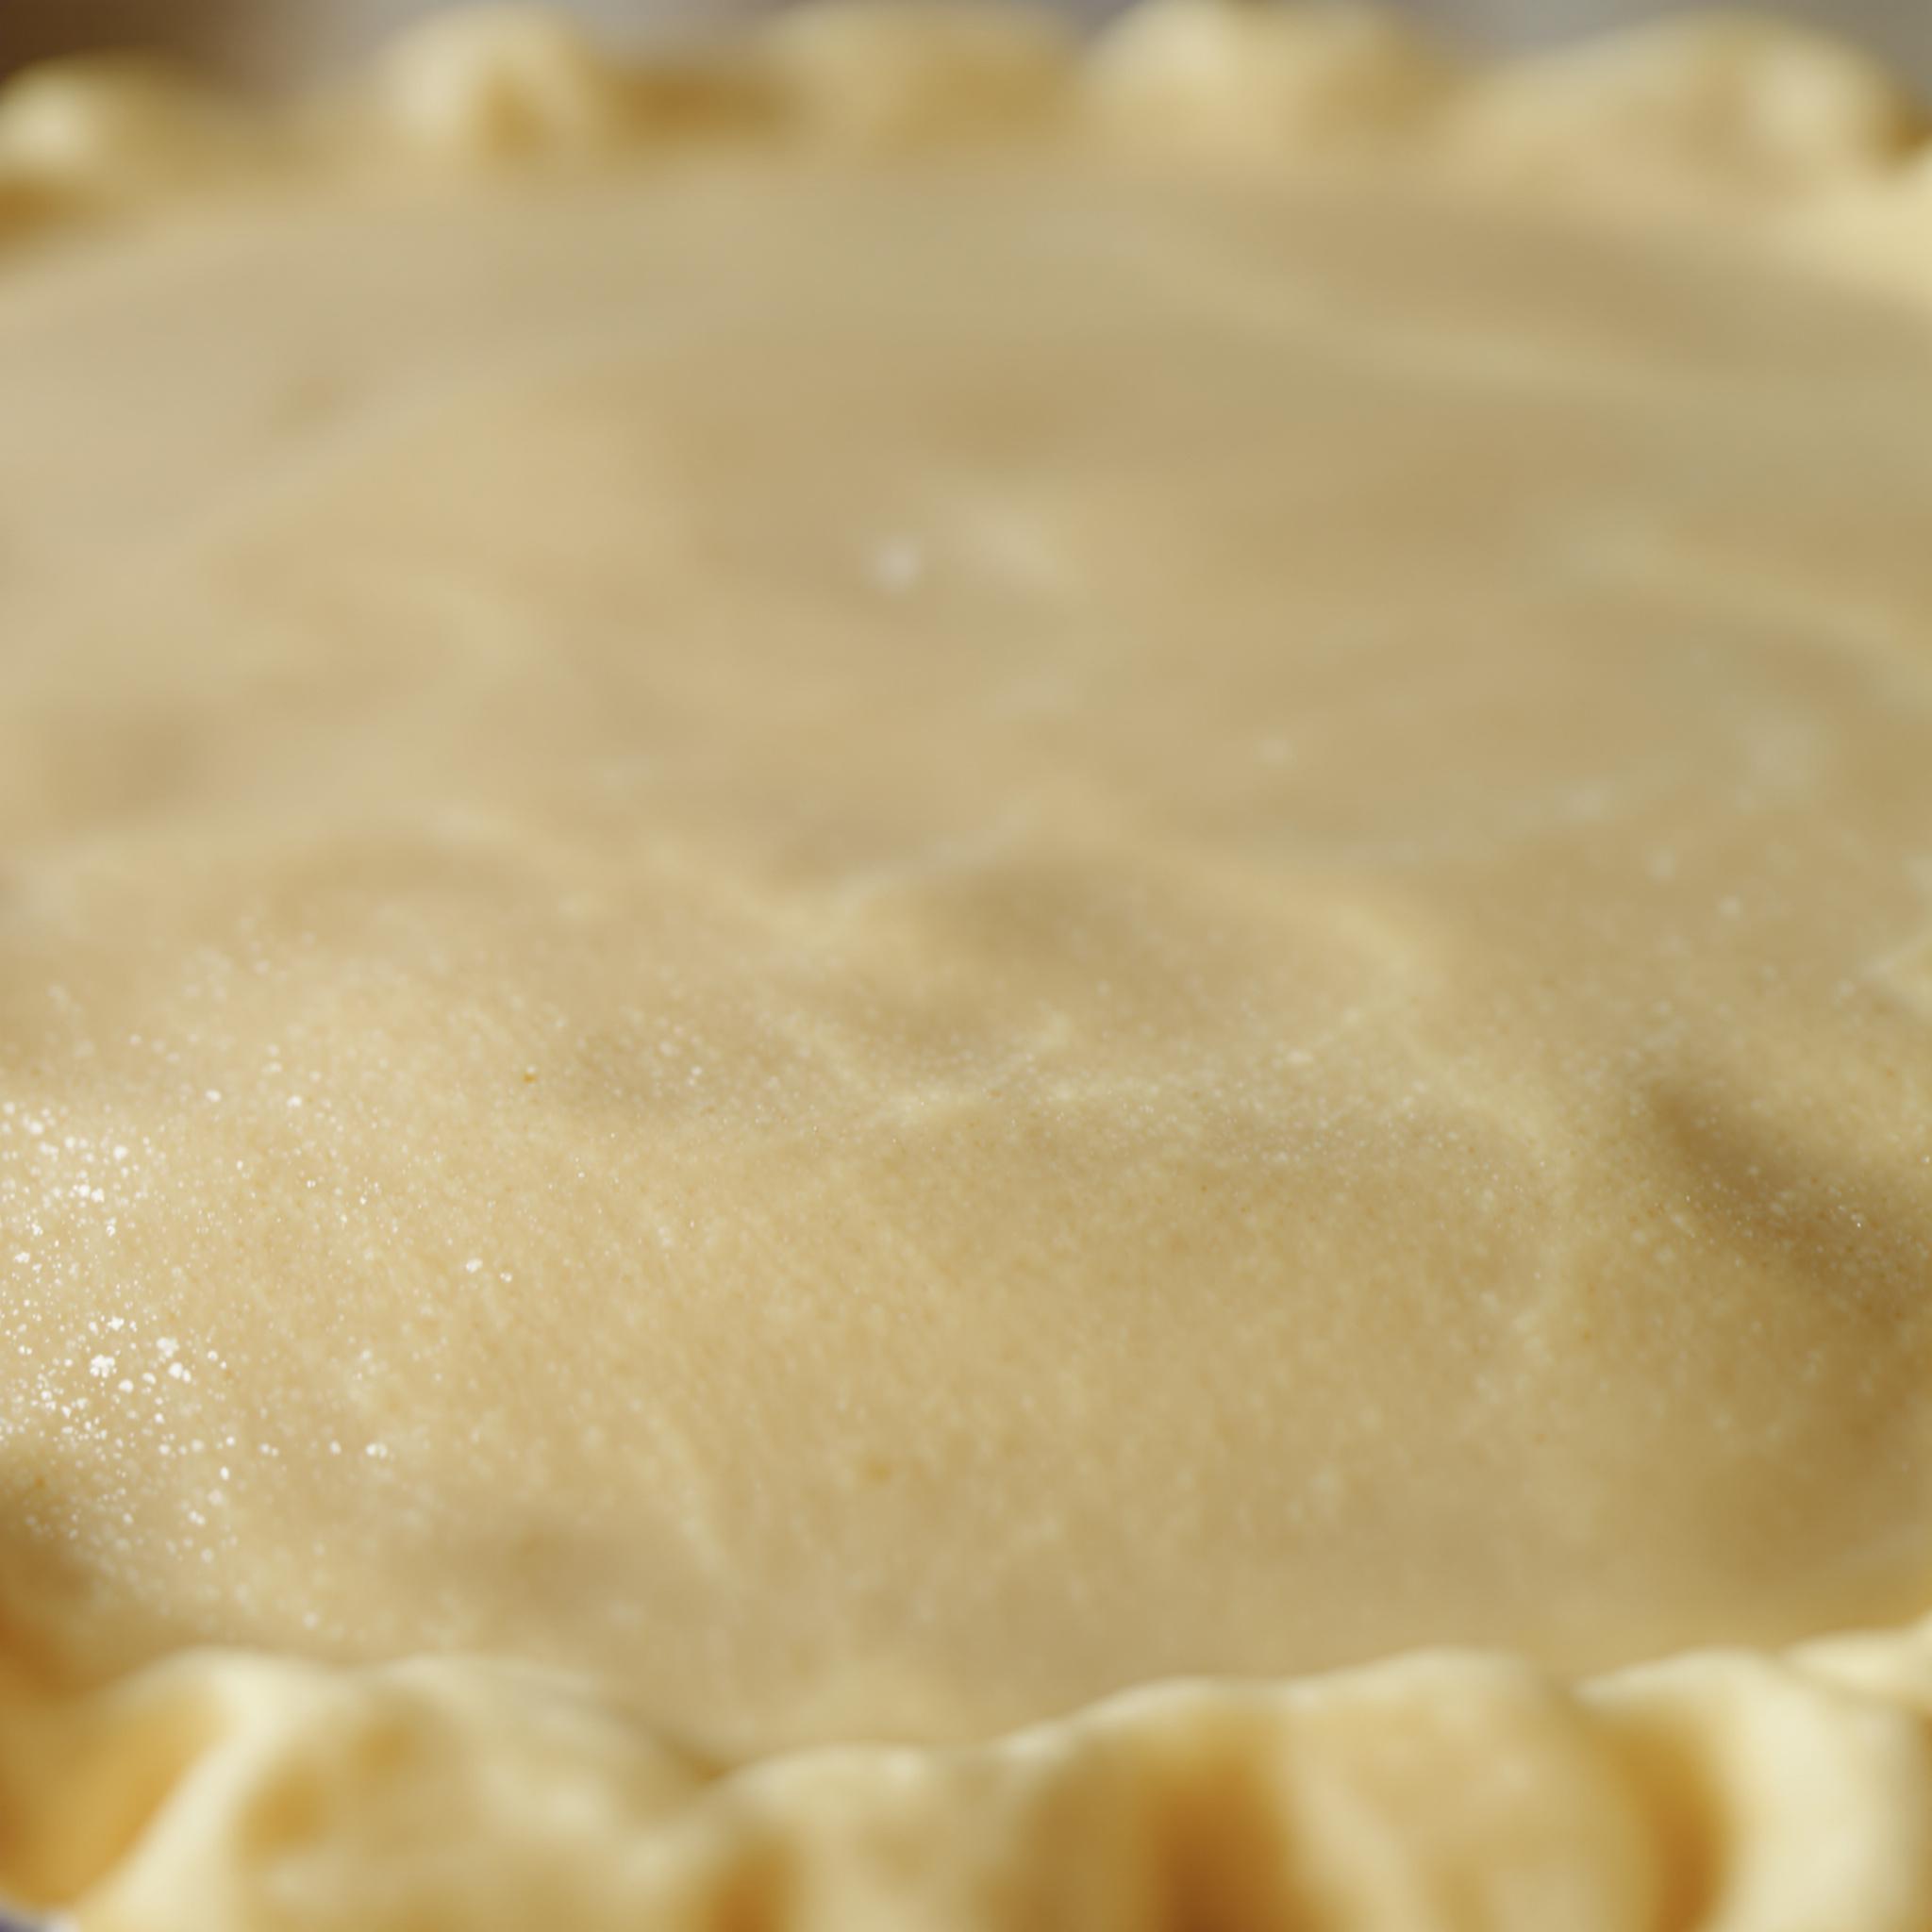
Once chilled, roll out the dough on a floured surface. Aim for even thickness. Transfer it carefully to your pie dish. Patch cracks with extra dough. Keep your workspace cool to avoid melting butter.
Chef’s Tip
For extra flakiness, grate frozen butter into the flour instead of dicing it. This creates tiny pockets of fat that puff up beautifully in the oven.
Time
- Prep Time: 15 minutes
- Resting Time: 1 hour
- Total Time: 1 hour 15 minutes
Nutritional Information
One serving (without filling) contains:
- Calories: 200
- Fat: 12g
- Carbohydrates: 20g
- Protein: 3g
Extra Information
Here’s a tip: The key to flaky crusts is keeping everything cold. Warm butter ruins the texture. Always chill your ingredients and tools.
Necessary Tools
- Large mixing bowl
- Pastry cutter or fork
- Rolling pin
- Plastic wrap
- Pie dish
Storage Instructions
Store leftover crust in the fridge for up to 3 days. Wrap it tightly in plastic wrap. For longer storage, freeze the dough. Double-wrap it to avoid freezer burn. Thaw overnight in the fridge before using.
To reheat, warm slices in the oven at 350°F for 10 minutes. This restores crispness. Avoid microwaving—it makes the crust soggy. Proper storage keeps your crust fresh.
Tips and Tricks
- Use a spray bottle for better control of ice water.
- Chill your rolling pin and surface to keep the dough cold.
- Dust your hands with flour to prevent sticking while shaping.
Serving Suggestions
- Top dessert pies with whipped cream.
- Serve savory pies with a side salad for a complete meal.
Healthier Alternatives for the Recipe
Here are six ways to make your crust healthier:
1. Swap half the butter with Greek yogurt for less fat.
2. Use whole wheat flour for added fiber.
3. Replace ice water with almond milk for a creamy twist.
4. Add chia seeds for extra nutrients.
5. Try coconut oil instead of butter for a dairy-free option.
6. Cut the salt in half if you’re watching sodium intake.
Common Mistakes to Avoid
Mistake 1: Using Warm Butter
Warm butter blends too easily, ruining the flaky texture. Always use cold butter. Freeze it for 10 minutes before cutting.
Mistake 2: Adding Too Much Water
Too much water makes the dough sticky and tough. Add water slowly, one tablespoon at a time. Test by squeezing the dough—it should hold together without being wet.
Mistake 3: Overworking the Dough
Overmixing makes the crust tough. Handle the dough as little as possible. Stop mixing once it comes together.
Mistake 4: Skipping the Resting Step
Skipping chilling causes shrinkage during baking. Always rest the dough for at least an hour. This relaxes the gluten and firms the butter.
Frequently Asked Questions
Can I use margarine instead of butter?
Margarine works but won’t taste as rich. Butter gives better flavor and texture. If using margarine, make sure it’s solid and cold.
How do I fix a cracked crust?
Patch cracks with extra dough or press edges together gently. Brush with water to seal. Most cracks disappear after baking.
What’s the best way to roll out dough?
Roll from the center outward, rotating often. Keep your surface floured to prevent sticking. Aim for even thickness for consistent baking.
Can I make this ahead?
Yes! Make the dough up to 3 days in advance. Store it wrapped in the fridge. You can also freeze it for up to 3 months.
Why does my crust taste bland?
You might need more salt. Season generously but not excessively. Taste your flour-salt mix before adding butter to check balance.
How do I prevent a soggy bottom?
Blind bake the crust first. Line it with parchment paper and fill with pie weights or beans. Bake for 10 minutes before adding filling.
Can I use a food processor?
Absolutely! Pulse flour and butter until crumbly. Add water slowly while pulsing. Be careful not to overprocess.
What if I don’t have a pastry cutter?
Use two knives or your fingers. Pinch butter into flour until crumbly. Work quickly to keep the butter cold.
Is it okay to skip chilling?
No. Chilling is essential for flakiness. Without it, the butter melts too soon, ruining the layers.
Can I double the recipe?
Yes! Double all ingredients for two crusts. Perfect for recipes needing both top and bottom layers.
Conclusion
Mastering the Basic Flaky Pie Crust opens up endless possibilities. With practice, you’ll find joy in creating perfect pies every time. So grab your tools, gather your ingredients, and start baking!
Basic Flaky Pie Crust
Ingredients
Equipment
Method
- In a large bowl, combine flour and salt. Use a whisk to distribute evenly.
- Add cold, diced butter to the flour. Use a pastry cutter to blend until the mixture resembles coarse crumbs.
- Gradually pour in ice water, one tablespoon at a time. Mix gently with a fork. Stop when the dough holds together when squeezed.
- Turn the dough onto a floured surface. Knead briefly, then shape it into a disk. Wrap it in plastic wrap and chill for at least an hour.
- Once chilled, roll out the dough on a floured surface. Aim for an even thickness, and transfer it to your pie dish carefully.