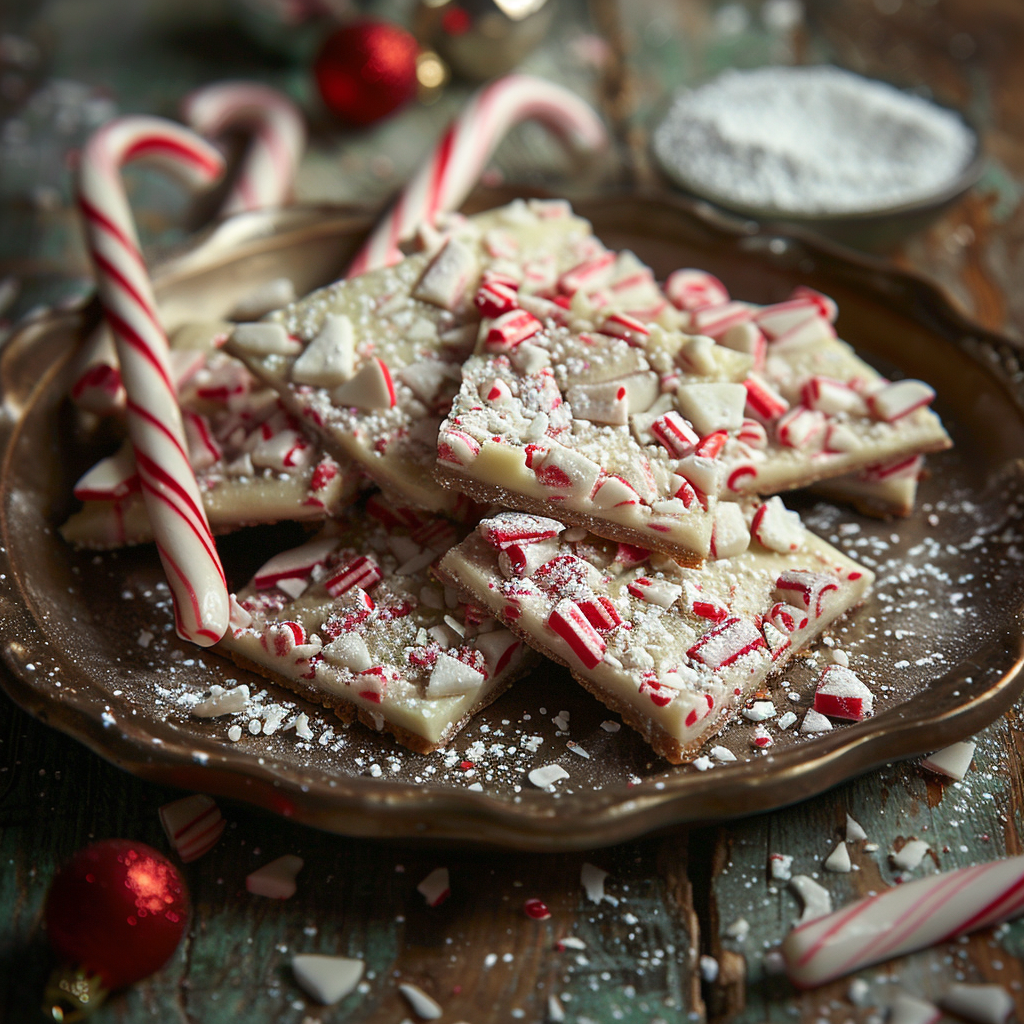
What Makes Christmas Peppermint Bark So Magical?
I still remember the first time I tasted Christmas peppermint bark. It was at my grandma’s house, and she had this big, shiny tin on the counter. The smell of chocolate and mint wafted through the air, and I couldn’t resist sneaking a piece. That buttery crunch of peppermint candy paired with creamy chocolate? Pure magic. Now, every December, making Christmas peppermint bark is a tradition in my home. It’s simple, festive, and always a crowd-pleaser.
A Little History Behind the Treat
So, what exactly is Christmas peppermint bark? It’s layers of chocolate—usually dark, milk, or white—topped with crushed candy canes. This sweet treat became popular in the U.S. during the 1980s when fancy food stores started selling it as a holiday indulgence. Over time, it became a Christmas staple because it’s easy to make and looks gorgeous on any dessert table. Peppermints themselves have been linked to Christmas since Victorian times, symbolizing warmth and cheer. No wonder they’re such a beloved holiday flavor!
Why You’ll Fall in Love with This Recipe
This recipe is perfect if you’re short on time but want something impressive. The combination of rich chocolate and refreshing peppermint is irresistible. Plus, it’s beginner-friendly—you don’t need to be a pastry chef to nail it. I’ve tested this recipe dozens of times, tweaking it until it was just right. One year, I even made batches for all my neighbors. Let’s just say I earned some serious “favorite person” points!
When to Whip Up This Festive Treat
Christmas peppermint bark shines during the holidays. Bring it to cookie exchanges, office parties, or family gatherings. It’s also great for gifting. Wrap it up in cellophane bags tied with ribbon, and watch people light up when they open their presents. Honestly, though, there’s no bad time to enjoy this bark—it’s good any day you need a little holiday spirit.
Ingredients You’ll Need
- 12 ounces dark chocolate
- 12 ounces white chocolate
- 1 teaspoon peppermint extract
- 1 cup crushed candy canes
Substitutions for Dietary Needs
- Use dairy-free chocolate for a vegan version.
- Swap peppermint extract with vanilla extract if you’re not a fan of mint.
- Replace candy canes with crushed peppermint candies for a similar effect.
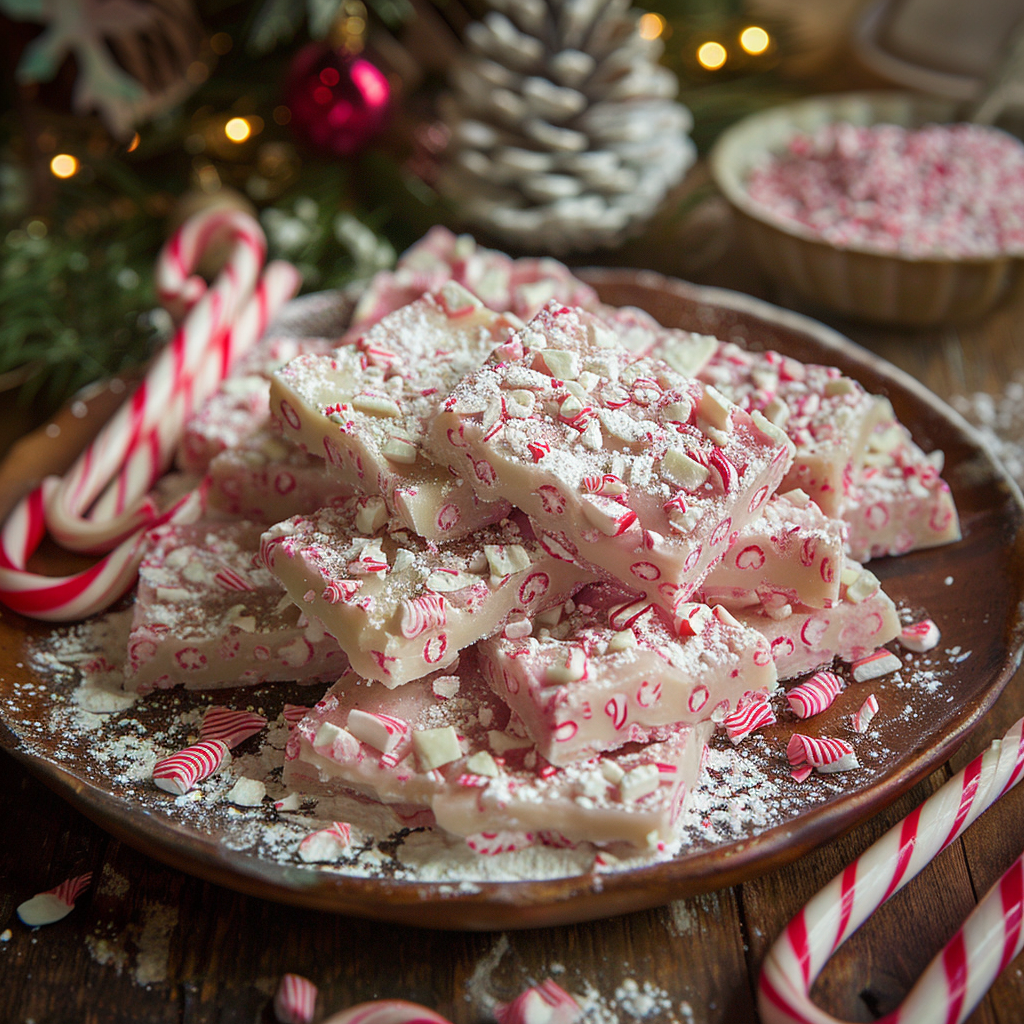
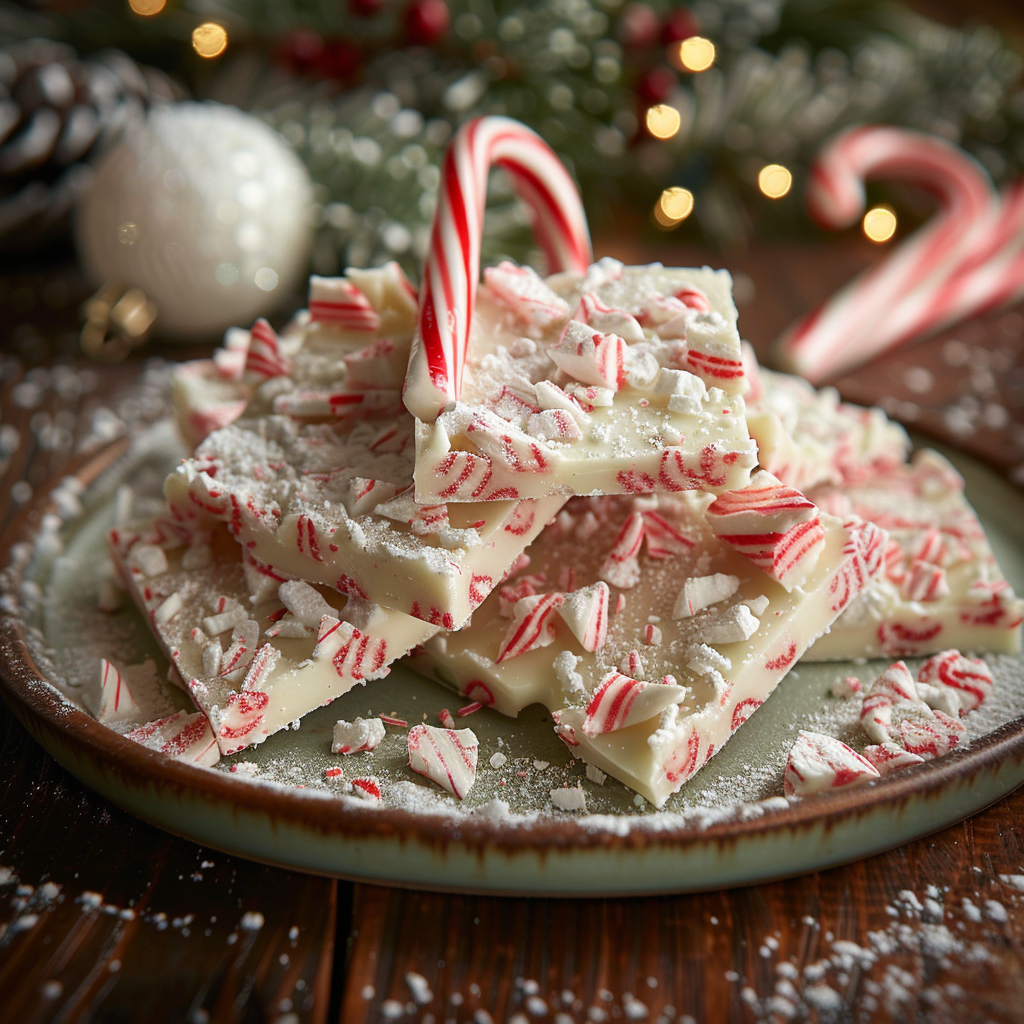
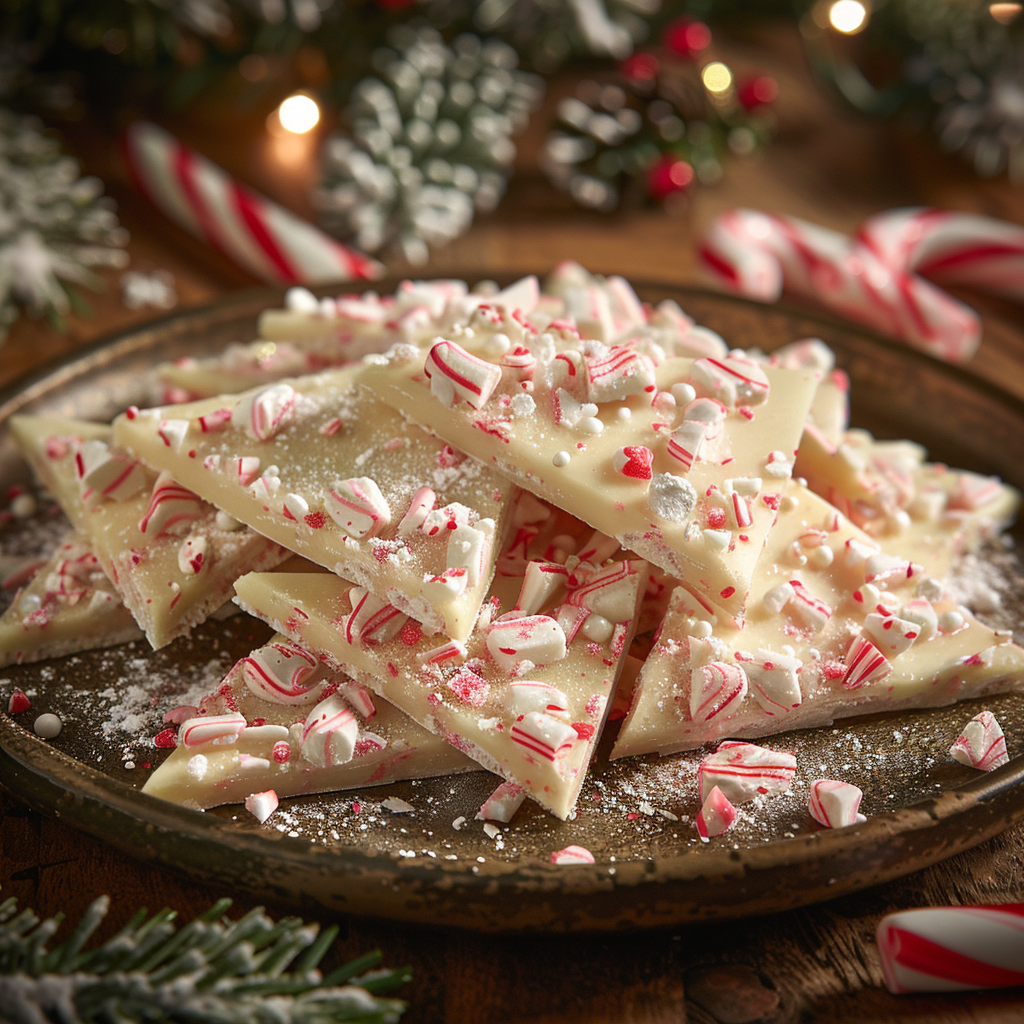
How to Make Christmas Peppermint Bark
Step 1: Melt the Dark Chocolate
Grab your favorite dark chocolate and melt it gently in the microwave or using a double boiler. Stir often so it doesn’t burn. Once melted, pour it onto a parchment-lined baking sheet and spread it evenly. The glossy, deep brown layer will set the stage for the next steps. Pro tip: Use a spatula to smooth out the edges for a polished look.
Step 2: Add the White Chocolate Layer
Now comes the fun part! Melt the white chocolate and stir in the peppermint extract. Pour this over the dark chocolate layer, spreading it carefully to cover the base. Watch how the snowy white contrasts beautifully with the dark chocolate beneath. This step transforms plain chocolate into a festive masterpiece.
Step 3: Sprinkle with Candy Canes
Before the white chocolate sets, sprinkle crushed candy canes generously over the top. Press them lightly into the chocolate to ensure they stick. The vibrant red and white specks add a pop of color that screams Christmas. Chef’s tip: Crush the candy canes in a zip-top bag with a rolling pin for an easy, mess-free method.
Step 4: Let It Set
Pop the tray into the fridge for about 30 minutes. As it chills, the layers firm up, making it easier to break into pieces later. When it’s ready, take it out and admire your handiwork—it’s almost too pretty to eat. Almost.
Timing Breakdown
- Prep Time: 15 minutes
- Cooking Time: 5 minutes
- Resting Time: 30 minutes
- Total Time: 50 minutes
Chef’s Secret for Extra Flavor
Add a pinch of sea salt to the dark chocolate layer before adding the white chocolate. The hint of salt enhances the sweetness and creates a more complex flavor profile. Trust me; it makes a world of difference.
An Interesting Fact About Peppermint Bark
Did you know that Williams Sonoma claims to have invented peppermint bark back in 1987? While some debate this claim, one thing’s for sure—it’s become a holiday icon. Whether you buy theirs or make your own, it’s hard to resist those layers of chocolatey goodness.
Necessary Equipment
- Baking sheet
- Parchment paper
- Microwave-safe bowls or double boiler
- Spatula
- Rolling pin (for crushing candy canes)
Storage Tips for Your Bark
To keep your Christmas peppermint bark fresh, store it in an airtight container at room temperature for up to two weeks. If you live in a warm climate, consider keeping it in the fridge to prevent melting. For longer storage, freeze it for up to three months. Just make sure to separate layers with parchment paper to avoid sticking.
Another pro tip: Keep a small batch handy for unexpected guests. It’s a lifesaver when you need a quick dessert or snack. Finally, label your containers if gifting them—it adds a personal touch that recipients will appreciate.
Tips and Advice
Here are a few tricks to elevate your bark-making game. First, chop your chocolate finely for even melting. Second, work quickly once the white chocolate is poured—it sets fast! Lastly, experiment with different toppings like sprinkles or nuts for variety.
Presentation Ideas
- Serve in mini cupcake liners for individual portions.
- Arrange on a tiered dessert stand for visual impact.
- Package in mason jars with festive labels for gifts.
Healthier Alternatives
If you’re looking for lighter options, here are six variations:
- Dark Chocolate Only: Skip the white chocolate and use only dark for a less sugary option.
- Coconut Sugar Chocolate: Substitute regular chocolate with coconut sugar varieties.
- No-Candy Cane: Replace candy canes with unsweetened dried fruit.
- Nut-Based: Add crushed almonds or pistachios for extra protein.
- Vegan Delight: Use plant-based chocolates and extracts.
- Low-Calorie: Opt for sugar-free chocolates and minimal toppings.
Common Mistakes to Avoid
Mistake 1: Burning the Chocolate
Chocolate burns easily if overheated. To avoid this, melt it in 30-second intervals, stirring between each round. If it starts to seize, add a teaspoon of coconut oil to smooth it out.
Mistake 2: Uneven Layers
Uneven layers can ruin the look of your bark. Use a spatula to spread each layer thinly and evenly. Take your time—it’s worth it!
Mistake 3: Skipping the Chill Time
Rushing the chilling process leads to messy breaks. Always let the bark set completely before cutting or breaking it into pieces.
Frequently Asked Questions
What is Christmas peppermint bark?
Christmas peppermint bark is a layered dessert made with dark and white chocolate topped with crushed candy canes. Its festive colors and flavors make it a holiday favorite.
How do you make candy cane Christmas bark?
Melt dark chocolate, then top with melted white chocolate mixed with peppermint extract. Finish by sprinkling crushed candy canes on top and letting it set.
Why are peppermints associated with Christmas?
Peppermints became linked to Christmas due to their red-and-white colors, which resemble holiday themes. They also evoke feelings of nostalgia and warmth.
Which is better, Williams Sonoma or Costco peppermint bark?
Both brands offer high-quality bark, but Williams Sonoma’s is richer, while Costco’s is more affordable. Try both to see which suits your taste buds!
Can I use almond bark instead of real chocolate?
Yes, almond bark works well as a substitute, though it lacks the depth of flavor found in real chocolate.
How long does peppermint bark last?
Stored properly, peppermint bark lasts up to two weeks at room temperature or three months in the freezer.
Is peppermint bark gluten-free?
Most recipes are naturally gluten-free, but always check the labels of your ingredients to be sure.
Can I make peppermint bark without candy canes?
Absolutely! Try crushed peppermint candies or other toppings like sprinkles or nuts.
What tools do I need to make peppermint bark?
You’ll need a baking sheet, parchment paper, bowls for melting chocolate, and a spatula.
Can I freeze peppermint bark?
Yes, freezing extends its shelf life. Just wrap it tightly and thaw at room temperature when ready to serve.
Wrap-Up
There you have it—everything you need to create your own batch of Christmas peppermint bark. From its delightful crunch to its eye-catching design, this treat is sure to impress. Whether you’re gifting it or enjoying it yourself, it’s a recipe that spreads joy. So grab your ingredients, crank up some holiday tunes, and get ready to make memories in the kitchen. Happy baking!