Why These Pancakes Are a Game-Changer
Let me tell you about the morning I discovered Low Histamine Banana Oat Pancakes. It was one of those days when my stomach felt like it had its own weather system—stormy and unpredictable. I wanted something warm, comforting, and easy on my body. That’s when I whipped up this recipe, and oh boy, did it deliver! These pancakes are soft, fluffy, and slightly sweet, with no weird additives or gut-wrecking ingredients. Plus, they’re perfect for anyone looking to enjoy breakfast without the histamine drama.
A Little Background on This Tasty Treat
Banana oat pancakes have been around forever, but this low-histamine version is my twist on a classic. Bananas and oats are both naturally low in histamines, making them a safe bet for sensitive tummies. Historically, oats were considered peasant food in Europe, but today, they’re celebrated as a superfood. I tested this recipe over a lazy weekend brunch with friends who loved it so much, they begged me to share it. One friend even called them “the pancake that saved my mornings.” Now that’s what I call a win!
Why You’ll Love This Recipe
These pancakes are simple, wholesome, and downright delicious. They’re made with just a handful of pantry staples, and the banana adds natural sweetness so you don’t need extra sugar. The texture? Pure magic. Light, fluffy, and perfectly golden. Plus, they’re kid-approved, which means you can serve them to your pickiest eaters without a fight. Whether you’re avoiding histamines or just craving something healthy, these pancakes check all the boxes.
Perfect Occasions to Whip Up These Pancakes
Need a cozy breakfast idea? Done. Hosting a brunch for friends with dietary restrictions? Nailed it. Want a quick weekday meal that feels indulgent but isn’t? Sorted. These pancakes shine at any time of day. I’ve served them at family gatherings, post-workout snacks, and even as a midnight treat (don’t judge me). Trust me, once you try them, you’ll find excuses to make them again and again.
Ingredients You’ll Need
- 1 ripe banana
- 1/2 cup rolled oats
- 1/4 cup almond milk (or any low-histamine milk)
- 1 egg
- 1 teaspoon baking powder
- 1/2 teaspoon vanilla extract
- A pinch of salt

Substitution Options
- For rolled oats: Use gluten-free oats if needed.
- For almond milk: Any plant-based milk works, like coconut or rice milk.
- For the egg: Try a flax egg (1 tablespoon ground flaxseed + 3 tablespoons water).
- For vanilla extract: Skip it or use a dash of cinnamon instead.
Preparation Section
Step 1: Mash That Banana
Grab your ripe banana and get mashing. A fork does the trick perfectly. You want it nice and smooth, almost like baby food. As you mash, take a moment to appreciate the creamy texture and sweet aroma. This step sets the flavor foundation for your pancakes. Pro tip: Use an overripe banana for maximum sweetness.
Step 2: Blend the Oats
Next, toss the rolled oats into a blender or food processor. Pulse until they turn into a fine flour-like consistency. Don’t overdo it—you’re not aiming for dust here. The smell of freshly ground oats is heavenly, isn’t it? If you don’t have a blender, you can buy pre-ground oat flour too.
Step 3: Mix Everything Together
In a mixing bowl, combine the mashed banana, oat flour, almond milk, egg, baking powder, vanilla extract, and salt. Stir gently until everything comes together in a thick batter. The mixture should be slightly lumpy but still pourable. Picture a warm, gooey hug in a bowl—that’s what this batter smells like.
Step 4: Cook Those Pancakes
Heat a non-stick skillet over medium heat and lightly grease it with oil or butter. Spoon small amounts of batter onto the pan, spreading each dollop into a circle. Let the pancakes cook until bubbles form on top and the edges look set. Flip them carefully and cook for another minute or two. Watch how they puff up beautifully—it’s like kitchen magic!
Chef’s Tip
To keep your pancakes from sticking, always preheat the pan before adding batter. And remember, patience is key. Resist the urge to flip too soon; otherwise, they might fall apart.
Timing
This recipe takes about 5 minutes to prep, 10 minutes to cook, and zero resting time. From start to finish, you’ll have a stack of pancakes ready in under 15 minutes. Talk about efficiency!
Chef’s Secret
Add a sprinkle of cinnamon to the batter for an extra burst of warmth and flavor. It pairs beautifully with the banana and gives your pancakes a hint of spice.
Extra Info
Did you know bananas are technically berries? Yep, science says so. They’re packed with potassium, which helps regulate blood pressure. So not only are these pancakes tasty, but they’re also good for your heart. Win-win!
Necessary Equipment
- Blender or food processor
- Mixing bowls
- Non-stick skillet
- Spatula
- Measuring cups and spoons
Storage
If you end up with leftovers (unlikely, but possible), store them properly. Let the pancakes cool completely before transferring them to an airtight container. They’ll stay fresh in the fridge for up to 3 days. For longer storage, freeze them in a single layer on a baking sheet before bagging them up.
Reheating is a breeze. Pop them in the toaster for a crispy texture or microwave them for a softer bite. Either way, they taste just as amazing as when they were first made.
Pro tip: Freeze individual portions wrapped in parchment paper for grab-and-go breakfasts. Just reheat and enjoy!
Tips and Advice
Don’t rush the cooking process. Low and slow is the way to go for perfectly cooked pancakes. Also, avoid overcrowding the pan—give each pancake enough space to breathe. Lastly, experiment with toppings like fresh fruit, nut butter, or a drizzle of maple syrup to make every bite exciting.
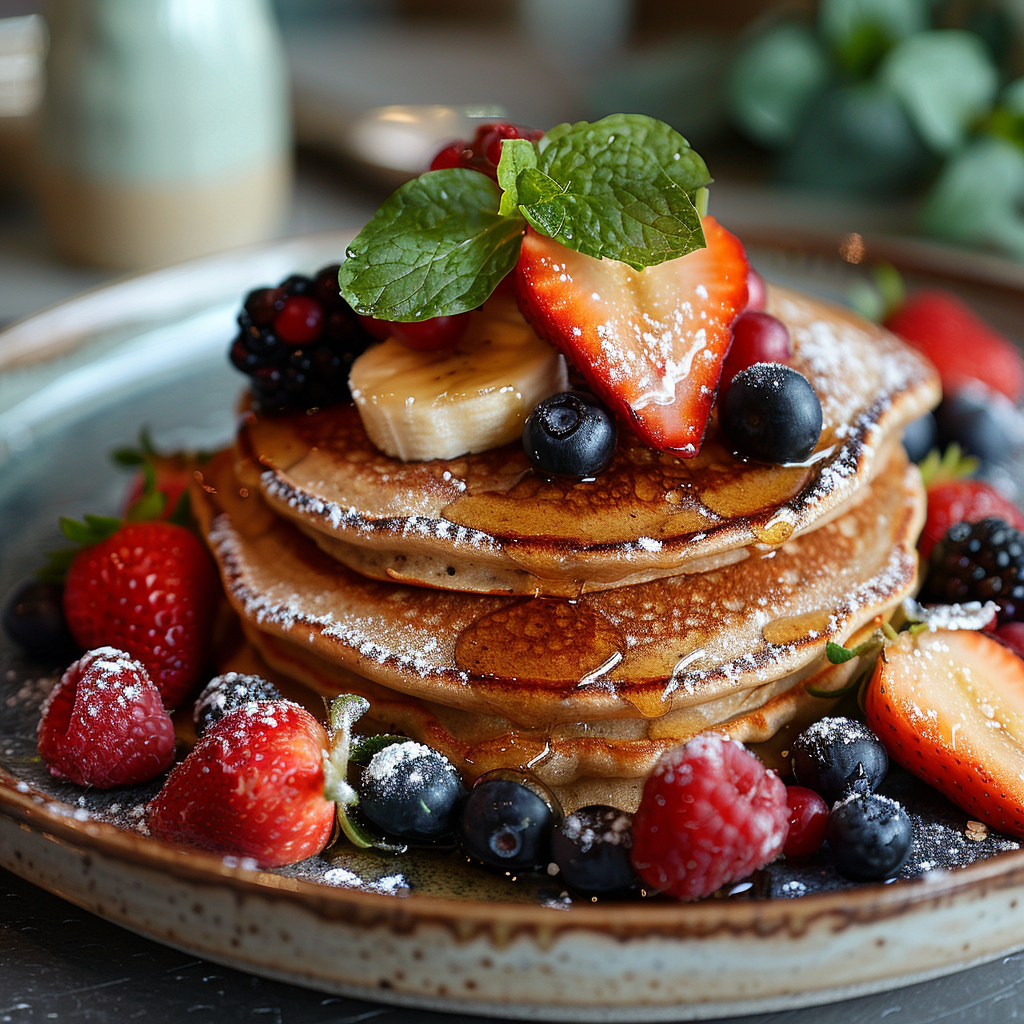
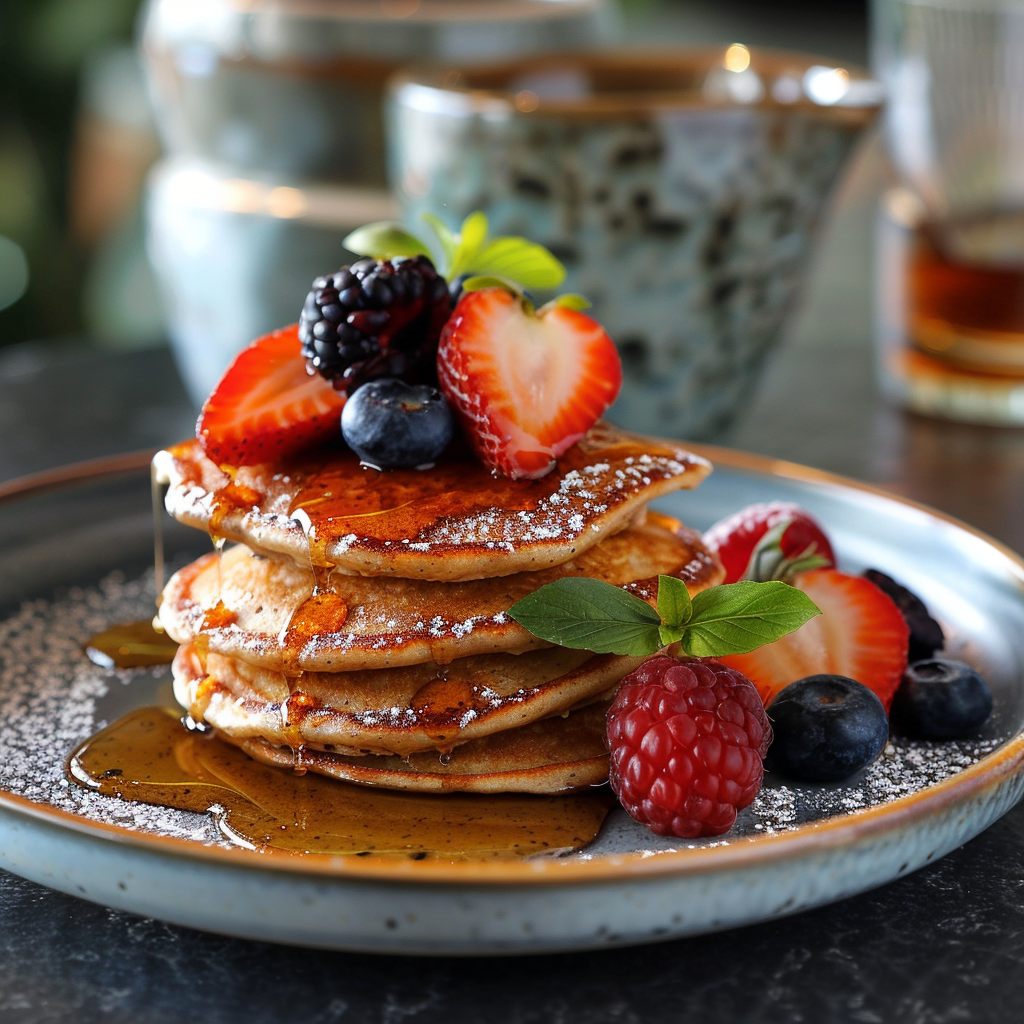
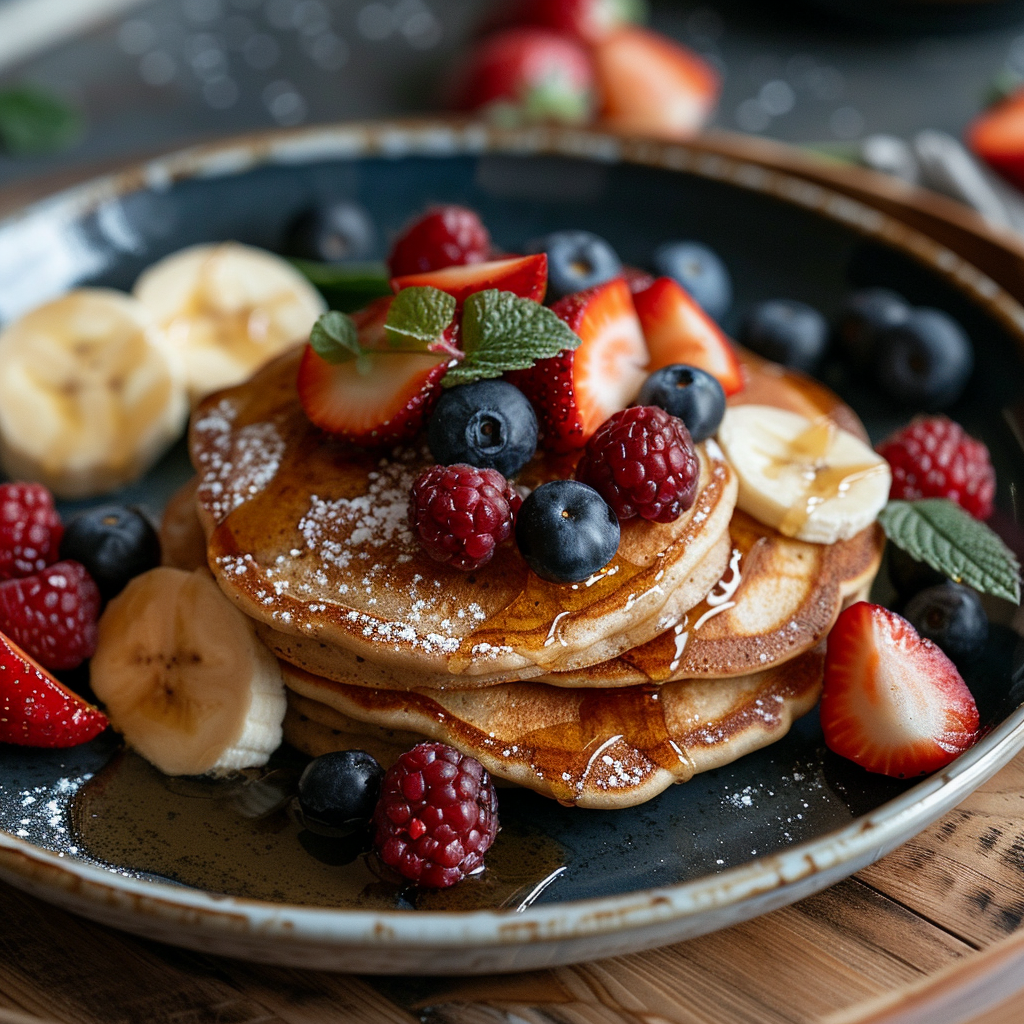
Presentation Tips
- Stack the pancakes high and drizzle honey artfully across the top.
- Garnish with sliced bananas and a sprinkle of chia seeds.
- Serve with a side of fresh berries for a pop of color.
Healthier Alternative Recipes
Here are six variations to switch things up:
- Gluten-Free Option: Swap regular oats for certified gluten-free oats.
- Vegan Version: Replace the egg with a flax egg and use plant-based milk.
- Protein Boost: Add a scoop of protein powder to the batter.
- Chocolate Lover’s Delight: Stir in some dairy-free chocolate chips.
- Spiced Pancakes: Add a pinch of nutmeg or cloves for festive vibes.
- Blueberry Bliss: Fold in fresh or frozen blueberries before cooking.
Common Mistakes to Avoid
Mistake 1: Using Underripe Bananas
An underripe banana won’t provide enough sweetness or moisture. Always choose a banana with plenty of brown spots. It’s sweeter and blends better into the batter.
Mistake 2: Overmixing the Batter
Overmixing leads to dense pancakes. Stir just until the ingredients come together. A few lumps are totally fine.
Mistake 3: Flipping Too Soon
Patience pays off. Wait for bubbles to form and the edges to look set before flipping. Otherwise, your pancakes might tear apart.
FAQ
Are these pancakes truly low histamine?
Yes, they are! All the ingredients used are naturally low in histamines, making them suitable for most people following a low-histamine diet.
Can I make these pancakes ahead of time?
Absolutely! Prepare the batter the night before and store it in the fridge. In the morning, give it a quick stir and cook as usual.
What’s the best topping for these pancakes?
Fresh fruit, nut butter, or a drizzle of honey works wonders. Get creative and find what suits your taste buds best.
Do I need a blender?
Not necessarily. If you already have oat flour, you can skip the blending step entirely.
How do I prevent sticking?
Use a non-stick skillet and lightly grease it with oil or butter. Preheating the pan also helps.
Can I double the recipe?
Of course! Simply multiply the quantities by two and follow the same steps.
Are these pancakes gluten-free?
They can be! Just use certified gluten-free oats to ensure there’s no cross-contamination.
Why are my pancakes flat?
Flat pancakes usually happen if the baking powder is old or if the batter was overmixed. Check your ingredients and mix gently.
Can I freeze these pancakes?
Yes, they freeze beautifully. Store them in an airtight container and reheat as needed.
What makes these pancakes healthier?
The use of whole oats, minimal added sugars, and nutrient-rich bananas makes them a wholesome choice compared to traditional pancakes.
Final Thoughts
Low Histamine Banana Oat Pancakes are more than just a recipe—they’re a celebration of simple, nourishing ingredients coming together to create something magical. Whether you’re cooking for yourself, your family, or friends, these pancakes will bring joy to the table. So grab your apron, fire up the stove, and let’s make breakfast memorable!
Low Histamine Banana Oat Pancakes
Ingredients
Equipment
Method
- Mash the ripe banana in a bowl until smooth.
- Blend the rolled oats in a blender or food processor until they reach a fine flour consistency.
- In a mixing bowl, combine the mashed banana, oat flour, almond milk, egg, baking powder, vanilla extract, and salt. Stir gently to form a thick batter.
- Heat a non-stick skillet over medium heat and lightly grease it. Spoon small amounts of batter onto the skillet and shape into circles. Cook until bubbles form, then flip and cook for another 1-2 minutes.