
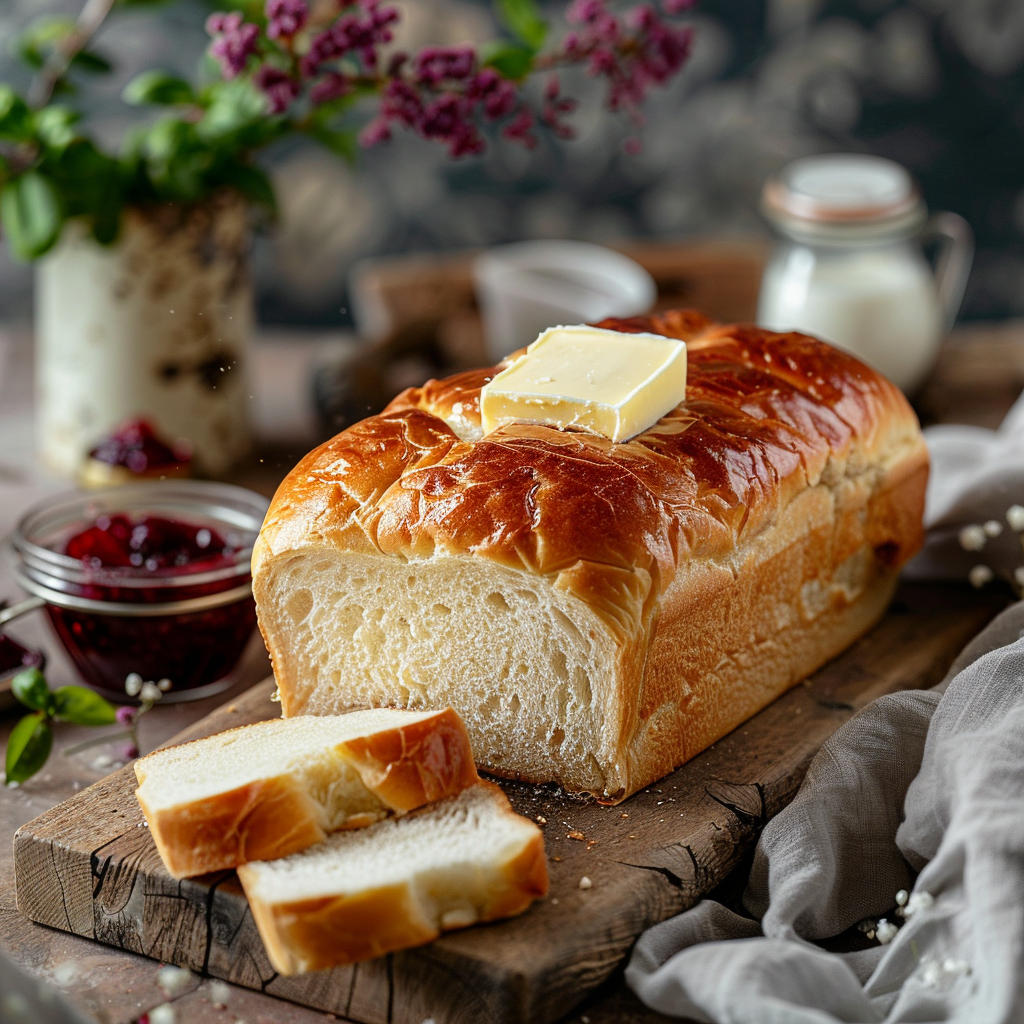
Why This Classic White Sandwich Bread is a Game Changer
There’s something magical about the smell of freshly baked bread wafting through your kitchen. I remember the first time I made this Classic White Sandwich Bread. My kids were playing outside, and as soon as they caught a whiff, they came running in like little bread detectives. “Mom, what smells so good?” they asked. That moment sealed the deal for me. Not only is this bread soft, hearty, and perfect for sandwiches, but it also brings people together. Whether you’re making a simple PB&J or serving it alongside a warm bowl of soup, this recipe is a winner.
A Little History Behind the Loaf
Sandwich bread has been a household staple for centuries. Its origins trace back to Europe, where bakers perfected the art of soft, fluffy loaves. Over time, recipes evolved, and the white sandwich bread recipe became a symbol of comfort food in America. Fast forward to today, and we have countless sandwich bread types, from whole grain to gluten-free. But nothing beats the classic. When I tested this recipe, I wanted to create something that felt like a warm hug—soft, comforting, and oh-so-versatile. It’s no wonder this bread is often called the best sandwich bread recipe by home bakers everywhere.
Why You’ll Fall in Love with This Recipe
This Classic White Sandwich Bread is everything you want in homemade bread. It’s soft, airy, and has just the right amount of chewiness. Plus, it’s surprisingly easy to make. No fancy tools or hours of kneading required. The dough comes together quickly, and the results are consistently amazing. Whether you’re a seasoned baker or a newbie, this recipe will boost your confidence. Plus, there’s nothing quite like the pride of slicing into a loaf you made yourself. Trust me, once you try this easy white bread recipe, store-bought bread will feel like a distant memory.
Perfect Occasions to Bake This Bread
This bread is perfect for any occasion—or no occasion at all! Whip it up for family breakfasts, pack it for school lunches, or serve it at a cozy dinner party. It’s also a great addition to holiday meals, picnics, or potlucks. I love making it on lazy Sundays when I have time to enjoy the process. There’s something therapeutic about kneading dough and watching it rise. It’s like a mini vacation for your soul.
Ingredients You’ll Need
- 4 cups all-purpose flour (plus extra for dusting)
- 1 packet (2 ¼ teaspoons) active dry yeast
- 1 cup warm water (about 110°F)
- 1/3 cup granulated sugar
- 1 teaspoon salt
- 2 tablespoons unsalted butter, melted
- 1 large egg
- 1 teaspoon vanilla extract (optional, but adds a lovely flavor)
Substitution Options
- Flour: Use bread flour for a chewier texture or whole wheat flour for a healthier twist.
- Butter: Swap with olive oil for a dairy-free version.
- Egg: Replace with a flax egg (1 tablespoon ground flaxseed mixed with 3 tablespoons water) for an egg-free option.
- Sugar: Substitute with honey or maple syrup for a natural sweetener.
Step-by-Step Preparation
Step 1: Activate the Yeast
In a small bowl, combine the warm water, sugar, and yeast. Stir gently and let it sit for about 5 minutes. You’ll know it’s ready when the mixture becomes frothy and bubbly. This step is crucial because it ensures your yeast is alive and ready to work its magic. Pro tip: Make sure your water isn’t too hot; otherwise, it might kill the yeast.
Step 2: Mix the Dough
In a large mixing bowl, whisk together the flour and salt. Add the yeast mixture, melted butter, egg, and vanilla extract. Stir until a shaggy dough forms. The dough should be slightly sticky but manageable. If it’s too sticky, add a bit more flour, one tablespoon at a time. This is where the fun begins—you’ll see the transformation from loose ingredients to a cohesive dough.
Step 3: Knead the Dough
Turn the dough onto a lightly floured surface and knead for about 8–10 minutes. As you work, the dough will become smooth and elastic. Imagine you’re giving it a little massage—it’s therapeutic! Chef’s tip: If you have a stand mixer, use the dough hook to save time and effort.
Step 4: Let It Rise
Place the dough in a greased bowl, cover it with a clean kitchen towel, and let it rise in a warm spot for about 1 hour. Keep an eye on it; it should double in size. The aroma during this step is heavenly. You’ll start to understand why baking bread is such a beloved tradition.
Step 5: Shape and Bake
Punch down the dough, then shape it into a loaf and place it in a greased 9×5-inch loaf pan. Cover it again and let it rise for another 30 minutes. Preheat your oven to 350°F and bake for 30–35 minutes, or until golden brown. The bread should sound hollow when tapped on the bottom. Once baked, let it cool before slicing.
Timing Breakdown
- Prep Time: 20 minutes
- Rising Time: 1 hour 30 minutes
- Baking Time: 30–35 minutes
- Total Time: About 2 hours 20 minutes
Chef’s Secret
To ensure your bread stays soft, brush the top with melted butter as soon as it comes out of the oven. This locks in moisture and gives it a beautiful shine. Trust me, it makes a world of difference!
An Interesting Tidbit
Did you know that King Arthur White Bread is named after the legendary King Arthur? The company wanted to evoke strength and reliability, much like the qualities of their flour. Fun fact: Their flour is unbleached, which means it retains more nutrients compared to bleached varieties.
Necessary Equipment
- Stand mixer (optional)
- Loaf pan (9×5 inches)
- Kitchen towel
- Measuring cups and spoons
- Parchment paper (optional)
Storage Tips
To keep your Classic White Sandwich Bread fresh, store it in an airtight container or plastic bag. This prevents it from drying out. For longer storage, wrap it tightly in plastic wrap and freeze for up to 3 months. When ready to eat, thaw it at room temperature or reheat it in the oven for a few minutes.
If you live in a humid climate, consider storing the bread in the refrigerator to prevent mold. Just make sure it’s well-wrapped to avoid absorbing odors from other foods.
For everyday use, a bread box works wonders. It keeps the bread soft while allowing air circulation to prevent sogginess. Remember, homemade bread doesn’t contain preservatives, so it’s best enjoyed within a week.
Tips and Advice
- Use a kitchen scale to measure ingredients accurately.
- Don’t rush the rising process; patience pays off.
- Experiment with different flours for unique textures.
- Always preheat your oven for consistent results.
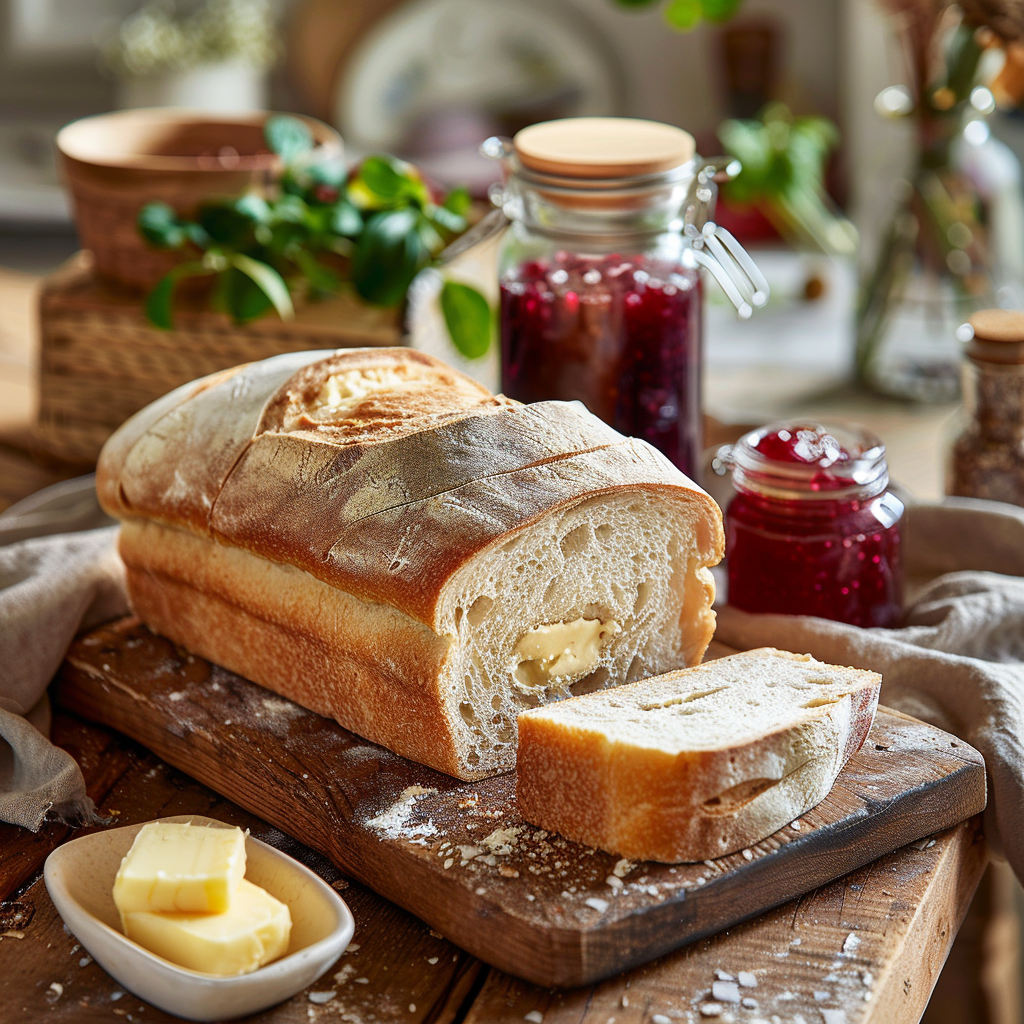
Presentation Ideas
- Serve slices with a pat of butter and a sprinkle of sea salt.
- Create an open-faced sandwich with avocado and poached eggs.
- Pair it with homemade jam for a sweet treat.
- Use it as a base for garlic bread or bruschetta.
Healthier Alternative Recipes
Looking for ways to make this bread even healthier? Try these variations:
- Whole Wheat Version: Substitute half or all of the all-purpose flour with whole wheat flour for added fiber.
- Gluten-Free Option: Use a gluten-free flour blend and xanthan gum for structure.
- Low-Sugar Recipe: Reduce the sugar to 2 tablespoons or replace it with stevia.
- Seed-Infused Loaf: Add chia seeds, flaxseeds, or sunflower seeds for extra nutrition.
- Dairy-Free Delight: Use plant-based milk instead of water and coconut oil instead of butter.
- Herb Bread: Mix in dried rosemary, thyme, or oregano for a savory twist.
Common Mistakes to Avoid
Mistake 1: Using Water That’s Too Hot
One common mistake is using water that’s hotter than 110°F, which can kill the yeast. Always check the temperature with a thermometer to ensure it’s just right. Pro tip: If you don’t have a thermometer, test the water on your wrist—it should feel warm, not scalding.
Mistake 2: Skipping the Second Rise
Skipping the second rise might seem like a time-saver, but it results in dense bread. Allow the dough to rise twice for the best texture. Think of it as giving the yeast two chances to do its job.
Mistake 3: Overflouring the Dough
Adding too much flour can make the bread dry and crumbly. Stick to the recipe measurements, and only add flour sparingly if the dough feels too sticky. Remember, a slightly sticky dough is better than an overfloured one.
Frequently Asked Questions
Can I Make This Recipe Without a Stand Mixer?
Absolutely! While a stand mixer can speed things up, you can easily mix and knead the dough by hand. It might take a bit more effort, but the end result is just as delicious.
How Do I Know When the Bread Is Done?
The bread is done when it’s golden brown on top and sounds hollow when tapped on the bottom. If you’re unsure, insert a thermometer into the center—it should read 190°F.
Can I Use Instant Yeast Instead of Active Dry Yeast?
Yes, you can substitute instant yeast for active dry yeast. Just mix it directly with the dry ingredients instead of activating it in water.
What Makes This a Hearty Sandwich Bread Recipe?
This bread has a soft yet sturdy texture, making it ideal for holding up to hearty fillings like meats, cheeses, and veggies without falling apart.
Is This Recipe Suitable for Beginners?
Definitely! With clear instructions and minimal equipment needed, this quick homemade sandwich bread is perfect for beginners.
How Can I Make This Bread Healthier?
Try using whole wheat flour, reducing the sugar, or adding seeds and nuts for extra nutrients. These tweaks turn it into a healthy sandwich bread recipe.
Can I Freeze This Bread?
Yes, wrap it tightly in plastic wrap and freeze for up to 3 months. Thaw at room temperature before serving.
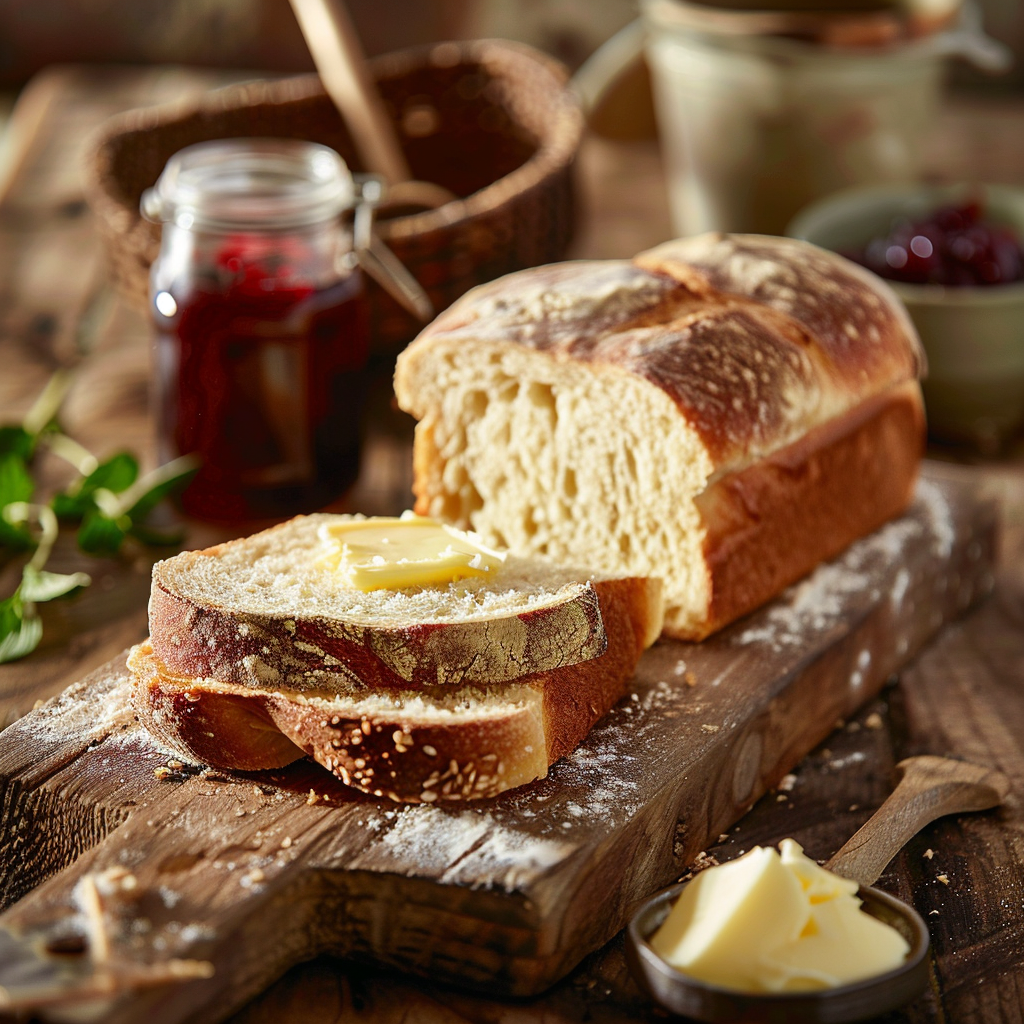
What’s the Best Way to Slice Fresh Bread?
Use a serrated knife and gentle sawing motions to avoid squishing the loaf. Let the bread cool completely before slicing for cleaner cuts.
Why Does My Bread Taste Yeasty?
If your bread tastes overly yeasty, you might have used too much yeast or let it rise for too long. Stick to the recommended amounts and times for balanced flavor.
Can I Add Flavors Like Cinnamon or Cheese?
Of course! Get creative with cinnamon and raisins for a sweet version or shredded cheese and herbs for a savory twist.
Final Thoughts
Baking your own Classic White Sandwich Bread is a rewarding experience that fills your home with warmth and delicious aromas. Whether you stick to the original recipe or experiment with healthier alternatives, this bread is sure to become a family favorite. So grab your apron, gather your ingredients, and get ready to create something truly special. Happy baking!
Classic White Sandwich Bread
Ingredients
Equipment
Method
- In a small bowl, combine the warm water, sugar, and yeast, stir gently and let it sit for about 5 minutes until frothy.
- In a large mixing bowl, whisk together the flour and salt.
- Add the yeast mixture, melted butter, egg, and optional vanilla extract, stirring until a shaggy dough forms.
- Turn the dough onto a lightly floured surface and knead for 8–10 minutes until smooth and elastic.
- Place the dough in a greased bowl, cover with a clean kitchen towel, and let it rise in a warm spot for about 1 hour until doubled in size.
- Punch down the dough, shape it into a loaf, and place it in a greased 9x5-inch loaf pan.
- Cover again and let it rise for another 30 minutes.
- Preheat your oven to 350°F and bake for 30–35 minutes, or until golden brown and hollow sounding when tapped.
- Let cool before slicing.