Why You’ll Love This Recipe
Let me tell you a little story. A few months ago, I was hosting a game night for my friends and family. Everyone was buzzing with excitement—except me. Why? Because I had promised to make chicken wings, but I didn’t want to deal with the mess of frying. That’s when I discovered the magic of Crispy Baked Chicken Wings. They turned out so delicious that my brother-in-law asked if I’d cheated and deep-fried them. Spoiler alert: I didn’t. These wings are crispy, juicy, and packed with flavor—all without the hassle of oil splatters or smoke alarms going off. And guess what? You can make them too!
A Little Background on Chicken Wings
Chicken wings have come a long way since their humble beginnings in Buffalo, New York, back in the 1960s. Legend has it that a bar owner accidentally created the first buffalo wing by tossing fried chicken pieces in hot sauce. Fast forward to today, and we’ve got everything from air-fried to oven-baked versions like this one. What I love about baked buffalo chicken wings is that they’re just as tasty as their fried cousins but way easier to make at home. Plus, no need to feel guilty about indulging—they’re healthier too!
Why You’ll Love Crispy Baked Chicken Wings
This recipe is perfect for anyone who loves bold flavors and crispy textures but doesn’t want to spend hours in the kitchen. The best part? You don’t even need baking powder to get that golden crunch (yes, I’m looking at you, fans of crispy baked chicken wings without baking powder). With minimal prep work and simple ingredients, this dish is foolproof. Whether you’re feeding picky kids or impressing guests, these wings will steal the show.
Perfect Occasions for Crispy Baked Chicken Wings
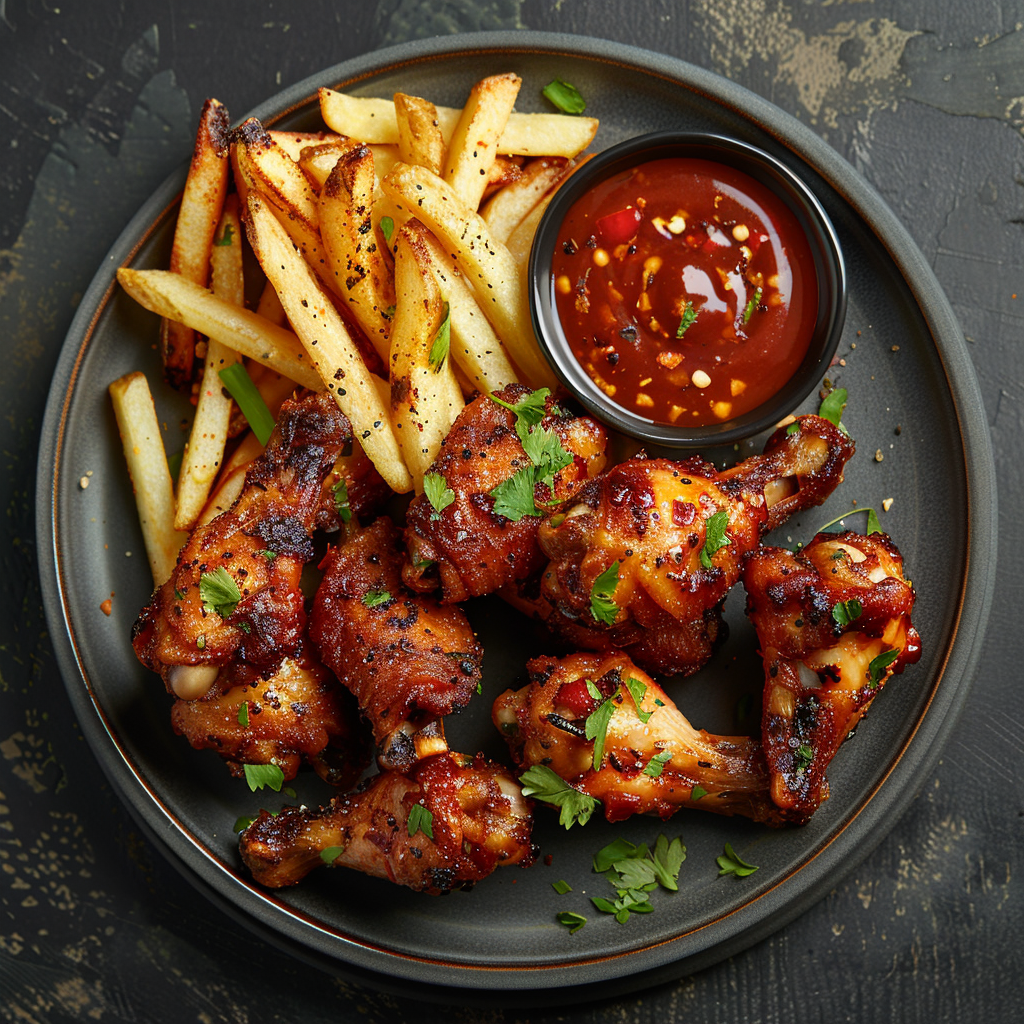
These wings are versatile enough for any occasion. Hosting a football party? Check. Need a quick weeknight dinner? Done. Want something fun for your next potluck? Absolutely. Even on lazy Sundays, these baked whole chicken wings hit the spot. Pair them with some ranch or blue cheese dressing, celery sticks, and maybe a cold drink, and you’ve got yourself a meal worth celebrating.
What You’ll Need
- 2 lbs chicken wings, split into drumettes and flats
- 2 tablespoons olive oil
- 1 teaspoon garlic powder
- 1 teaspoon paprika
- 1 teaspoon salt
- ½ teaspoon black pepper
- ½ teaspoon cayenne pepper (optional)
- Your favorite buffalo sauce (or homemade glaze)
Substitution Options
- No fresh wings? Frozen ones work fine too! Just pat them dry before seasoning.
- Swap olive oil for melted butter if you want extra richness.
- Hate spice? Skip the cayenne and serve with honey mustard instead.
- Gluten-free? Use cornstarch instead of flour for coating.
Step 1: Preheat and Prep
Start by preheating your oven to 400°F (200°C). While it heats up, line a baking sheet with parchment paper or a wire rack. This step is crucial because it ensures the wings bake evenly and stay crispy. Pat the wings dry with paper towels—this removes excess moisture, which is key for achieving that crackly skin. Pro tip: Drying the wings thoroughly makes all the difference between soggy and crispy baked chicken wings.
Step 2: Season Generously
In a bowl, toss the wings with olive oil until they’re lightly coated. Then sprinkle on the spices—garlic powder, paprika, salt, pepper, and a pinch of cayenne if you’re feeling adventurous. Mix well to ensure every piece gets kissed by flavor. As you coat the wings, take a moment to appreciate the vibrant red hue from the paprika and the earthy aroma of garlic. It’s like a sneak preview of how amazing these wings will taste later.
Step 3: Bake Until Golden
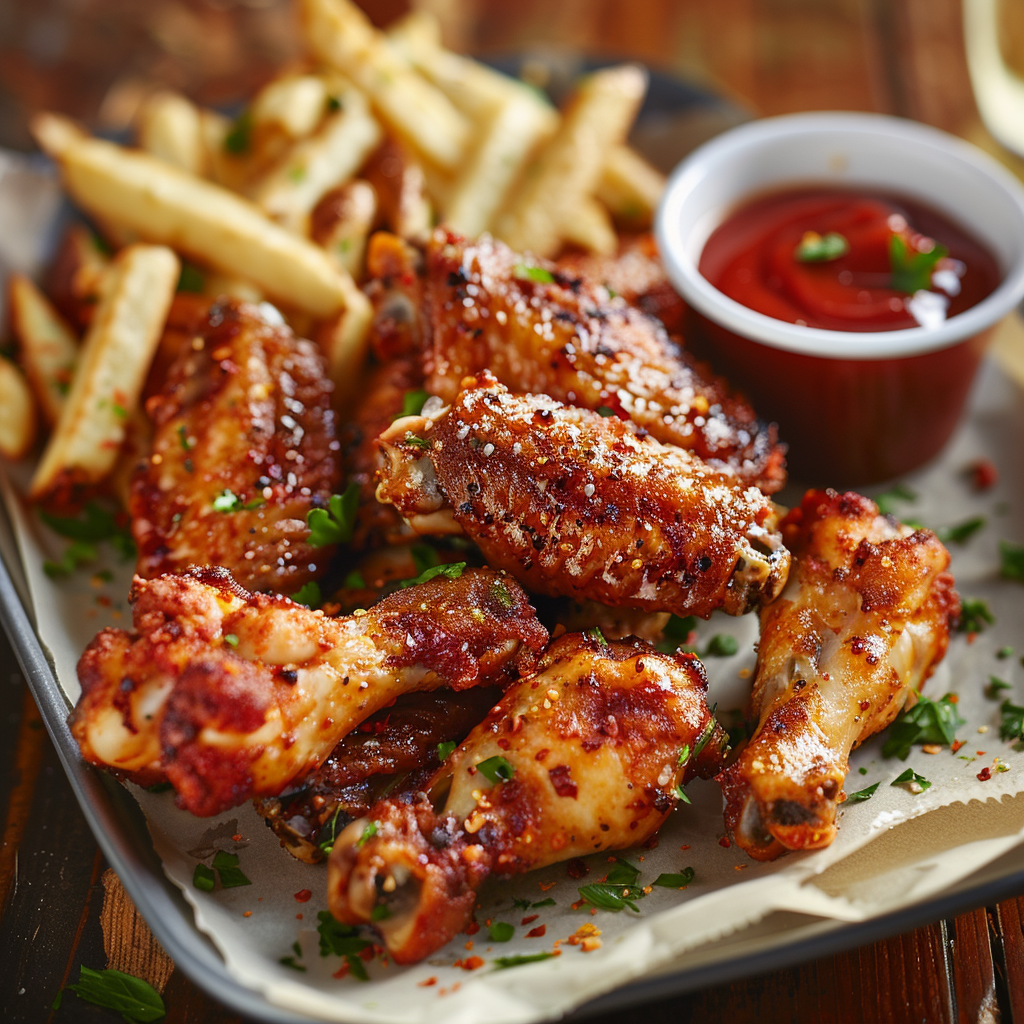
Arrange the wings in a single layer on the prepared baking sheet. Make sure none of them touch; overcrowding leads to steaming instead of crisping. Pop them in the oven and let them bake for 45–50 minutes, flipping halfway through. By the end, the wings should be golden brown with irresistibly crispy edges. Chef’s tip: For extra crispiness, turn the broiler on high for the last 2–3 minutes—but keep an eye on them to avoid burning!
Step 4: Sauce and Serve
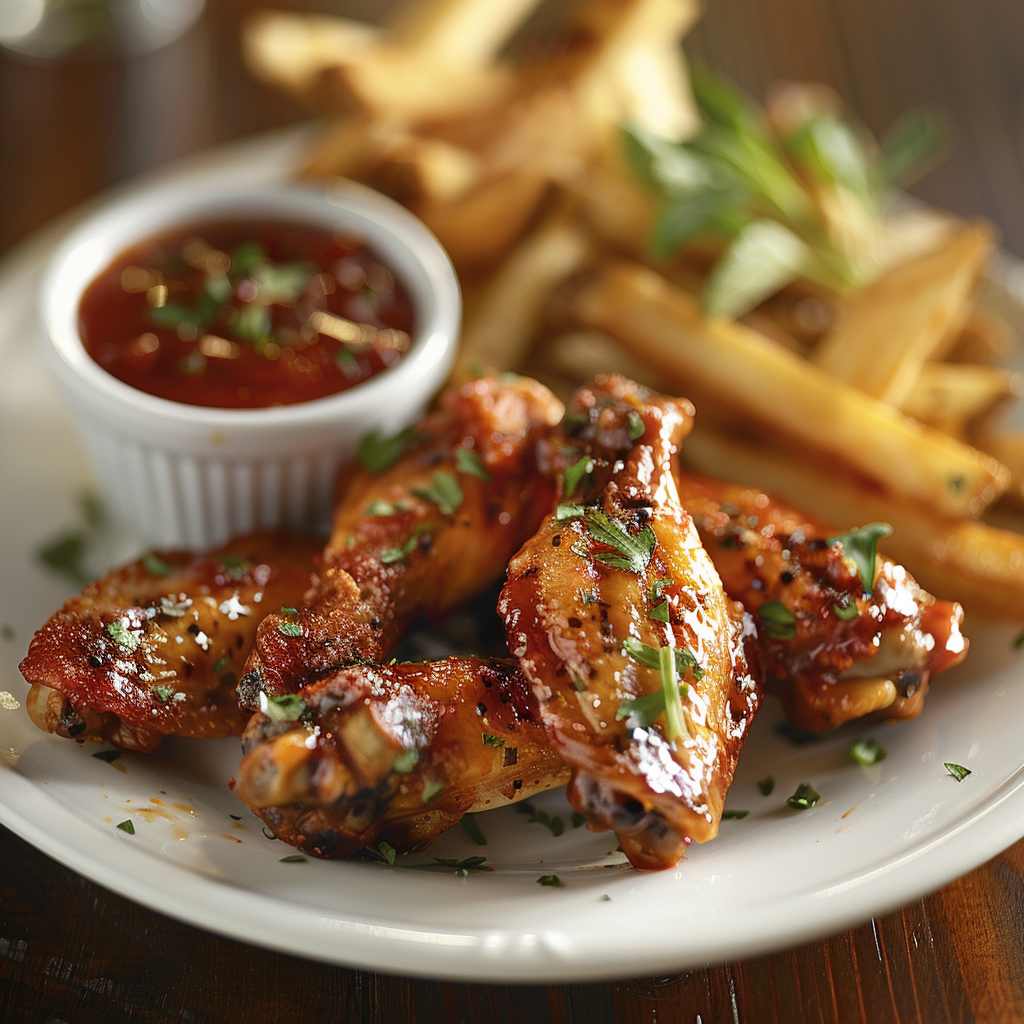
Once the wings are out of the oven, toss them in your favorite buffalo sauce while they’re still warm. The heat helps the sauce cling beautifully to the wings. If you’re making healthy baked chicken wings, skip the sauce and serve them plain with a side of Greek yogurt dip. Now, plate them up proudly and watch everyone dig in.
Timing Breakdown
- Prep Time: 10 minutes
- Cooking Time: 45–50 minutes
- Resting Time: None
- Total Time: About 1 hour
Chef’s Secret
Here’s a little trick I learned from testing this recipe dozens of times: Toss the wings in a light dusting of cornstarch before adding the seasonings. Cornstarch acts as a natural crisping agent, giving you that crunchy texture we all crave. Trust me—it works wonders.
Fun Fact
Did you know that Americans consume over 1.4 billion chicken wings during the Super Bowl alone? Imagine how many of those could be swapped for healthier, equally delicious crispy baked chicken wings. Food for thought, right?
Necessary Equipment
- Baking sheet or wire rack
- Parchment paper
- Mixing bowls
- Tongs for flipping
- Brush for applying sauce
Storage Tips
If you have leftovers (which rarely happens), store them in an airtight container in the fridge for up to 3 days. Reheat them in the oven at 350°F for 10 minutes to retain crispiness. Microwaving isn’t recommended unless you’re okay with softer wings.
For longer storage, freeze the cooked wings in a freezer-safe bag. They’ll keep for up to 2 months. When ready to eat, thaw overnight in the fridge and reheat as usual.
Pro tip: Double-wrap the wings in foil before freezing to prevent freezer burn. Your future self will thank you.
Tips and Advice
- Use a meat thermometer to check doneness; internal temperature should reach 165°F.
- Don’t skip drying the wings—it’s the secret to crispiness.
- Experiment with different sauces like teriyaki, honey BBQ, or lemon pepper.
Presentation Ideas
- Serve the wings on a wooden board surrounded by veggies and dips.
- Garnish with fresh parsley or cilantro for a pop of color.
- Pair with mini slider buns for DIY chicken sandwiches.
Healthier Alternatives
Looking to lighten things up? Try these variations:
- Baked Lemon Herb Wings: Skip the buffalo sauce and add lemon zest and thyme.
- Teriyaki Glazed Wings: Brush with low-sodium teriyaki sauce after baking.
- Spicy Mango Wings: Combine mango puree with chili flakes for a sweet-and-spicy twist.
- Garlic Parmesan Wings: Toss baked wings in melted butter mixed with minced garlic and grated Parmesan.
- Smoky BBQ Wings: Use smoked paprika and brush with barbecue sauce.
- Herb-Crusted Wings: Coat wings with crushed nuts or seeds for added crunch.
Mistake 1: Overcrowding the Pan
One common mistake is cramming too many wings onto one pan. When wings are too close together, they steam rather than roast, resulting in soggy skin. To avoid this, use two pans if needed and leave space between each piece.
Mistake 2: Skipping the Dry Rub
Some folks toss raw wings straight into the oven without seasoning properly. Big no-no! A good dry rub not only enhances flavor but also helps draw out moisture for maximum crispiness.
Mistake 3: Not Flipping Midway
Flipping the wings halfway through cooking ensures both sides get evenly browned. Set a timer to remind yourself—it’s worth the effort.
FAQ Section
How Long to Bake Chicken Wings at 400?
Bake chicken wings at 400°F for 45–50 minutes, flipping halfway through. This method gives you perfectly cooked wings with crispy skin. Adjust time slightly depending on the size of your wings.
Can I Make Frozen Chicken Wings Crispy in the Oven?
Absolutely! Simply increase the baking time by 10–15 minutes. Pat the frozen wings dry first to remove ice crystals, then follow the same steps as fresh wings.
Do I Need Baking Powder for Crispy Wings?
Nope! While baking powder can help, it’s not essential. Using cornstarch or simply drying the wings thoroughly works just as well.
What’s the Best Sauce for Baked Buffalo Wings?
Classic buffalo sauce made with hot sauce and melted butter is always a winner. But feel free to experiment with other sauces like honey sriracha or chipotle lime.
How Long to Bake Chicken Wings at 425?
At 425°F, bake wings for 35–40 minutes. Higher heat speeds up cooking but requires careful monitoring to prevent burning.
Are Baked Wings Healthier Than Fried?
Yes! Baked wings contain less fat and fewer calories compared to their fried counterparts. Plus, they’re easier to make at home.
Can I Use This Recipe for Whole Chicken Wings?
Of course! Just separate the drumettes and flats before seasoning for uniform cooking.
What Sides Go Well with Chicken Wings?
Pair your wings with classics like carrot sticks, celery, coleslaw, or potato wedges. For a heartier meal, serve with mac and cheese or garlic bread.
How Do I Keep Wings Crispy After Baking?
To maintain crispiness, let the wings rest uncovered on the baking sheet for 5 minutes before serving.
Can I Freeze Cooked Wings?
Definitely! Store cooled wings in a freezer-safe bag for up to 2 months. Reheat in the oven for best results.
Final Thoughts
There you have it—a foolproof guide to making Crispy Baked Chicken Wings that rival anything you’d find at a restaurant. Whether you’re whipping these up for a crowd or enjoying them solo, this recipe is sure to become a staple in your kitchen. So go ahead, give it a try, and see why baking wings might just be the best thing since sliced bread. Happy cooking!

Crispy Baked Chicken Wings
Ingredients
Equipment
Method
- Preheat your oven to 400°F (200°C) and line a baking sheet with parchment paper or a wire rack.
- Pat the wings dry with paper towels to remove excess moisture.
- In a bowl, toss the wings with olive oil until lightly coated.
- Sprinkle garlic powder, paprika, salt, pepper, and cayenne (if using) on the wings and mix well.
- Arrange the wings in a single layer on the baking sheet, ensuring they do not touch.
- Bake for 45–50 minutes, flipping halfway through, until golden brown and crispy.
- Toss the wings in buffalo sauce while they are still warm and serve.