Why This No-Knead Artisan Bread Is a Game-Changer
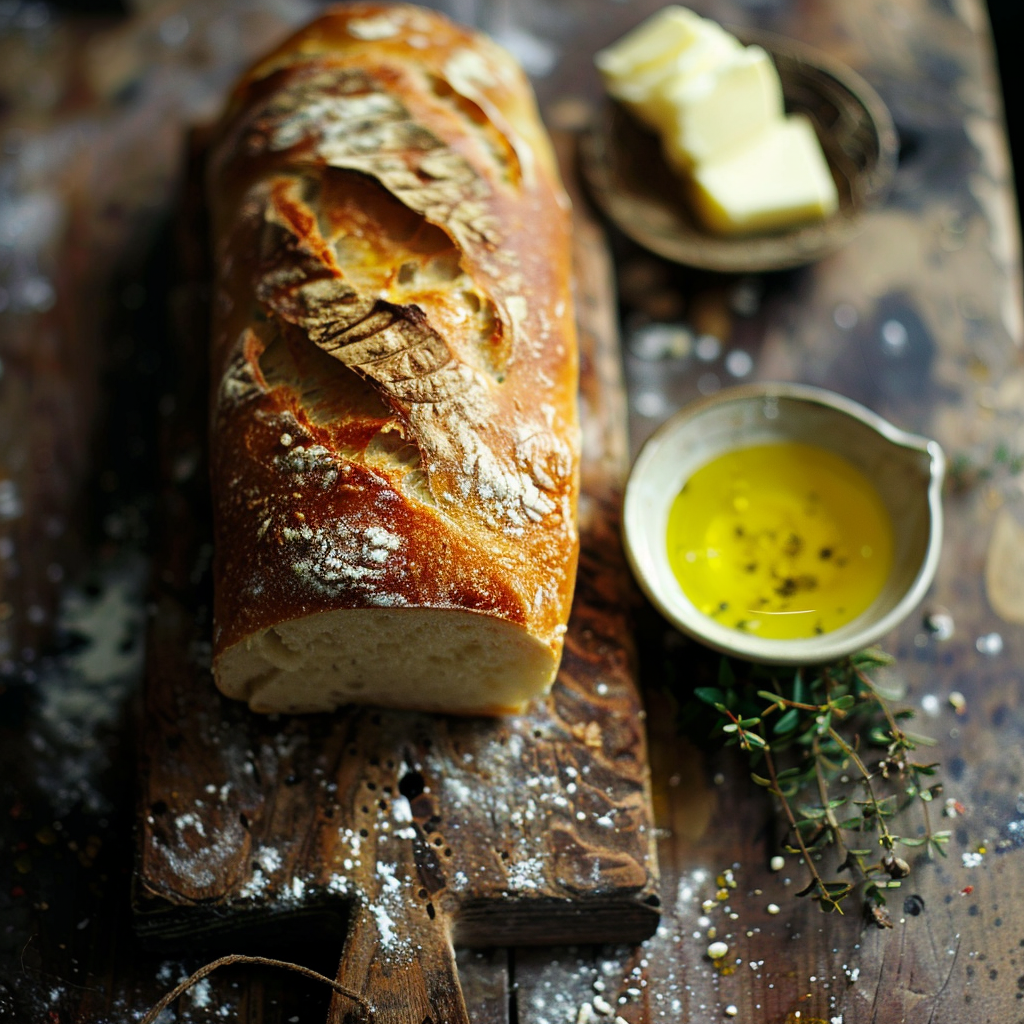
I’ll never forget the first time I baked this No-Knead Artisan Bread. It was a rainy Sunday, and my kitchen smelled like a cozy bakery. The crust was golden brown, crackling slightly as it cooled, while the inside was soft, airy, and dotted with those beautiful air pockets that make artisan bread so irresistible. What’s even better? You don’t need to knead it or fuss over it. Just mix, wait, and bake. Sounds easy, right? That’s because it is!
A Little History of No-Knead Artisan Bread
No-knead bread might seem trendy now, but its roots go back centuries. Before fancy mixers and gadgets, bakers relied on time and patience to let dough rise naturally. Jim Lahey, a New York baker, popularized this modern version in the early 2000s, and it quickly became a favorite for home cooks. When I first tried it, I thought, “How can something so simple taste so amazing?” Trust me, once you try it, you’ll feel like a professional baker too.
Why You’ll Love This Recipe
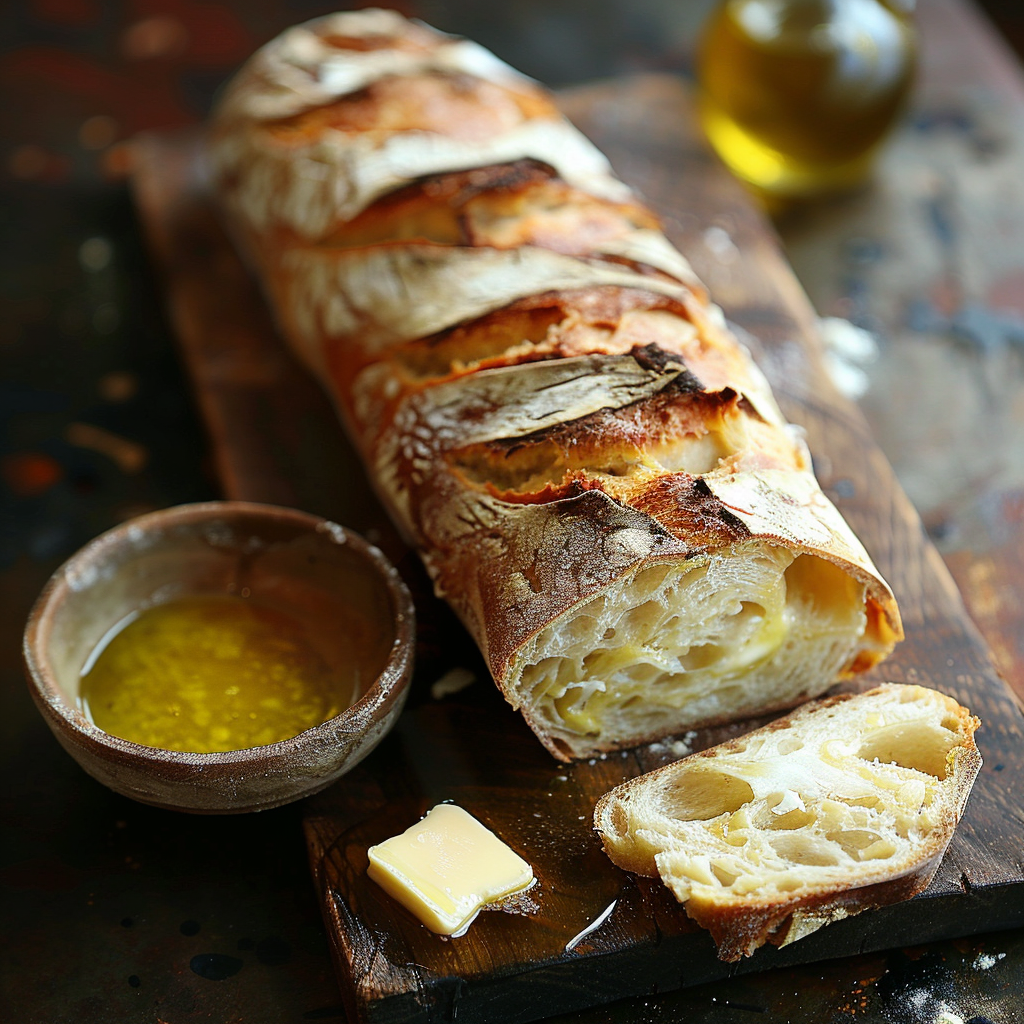
This No-Knead Artisan Bread is perfect for anyone who loves homemade bread but doesn’t want the hassle of traditional recipes. The flavor is rich and wholesome, thanks to the long fermentation process. Plus, it’s incredibly forgiving. Even if you’re a beginner, you’ll get great results. And did I mention how satisfying it is to hear that crunchy crust crackle when you cut into it?
Perfect Occasions to Bake This Bread
Whether it’s a casual family dinner or a holiday feast, this bread fits perfectly. Serve it warm with a bowl of soup, alongside a cheese platter, or even toasted for breakfast. It’s also a thoughtful gift for friends or neighbors. I’ve brought this bread to potlucks, and people always ask for the recipe.
Ingredients
- 3 cups all-purpose flour
- 1 ¼ teaspoons salt
- ¼ teaspoon instant yeast
- 1 ½ cups lukewarm water
- 1 tablespoon olive oil (optional)
Substitution Options
- Flour: Swap all-purpose flour with bread flour for a chewier texture.
- Salt: Use kosher salt if you prefer a milder flavor.
- Water: Room temperature water works fine if you don’t have lukewarm water.
Preparation Section
Step 1: Mix the Dough
In a large mixing bowl, combine the flour, salt, and yeast. Pour in the water and stir until everything comes together. Don’t worry about making it perfect; a shaggy dough is exactly what you want. Pro tip: Use a sturdy wooden spoon to save your arm muscles. Cover the bowl with plastic wrap or a clean kitchen towel, and let it rest for 12-18 hours.
Step 2: Shape the Dough
After resting, the dough will be bubbly and sticky. Sprinkle some flour on a clean surface and gently shape the dough into a ball. It’s okay if it’s not picture-perfect. Transfer the dough to a floured piece of parchment paper. Let it rise again for about 2 hours. During this time, preheat your oven to 450°F (230°C).
Step 3: Bake the Bread
Place the dough (still on the parchment) into a preheated Dutch oven. Cover it with the lid and bake for 30 minutes. Then, remove the lid and bake for another 15 minutes until the crust is deep golden brown. Oh, the aroma will fill your entire house! Chef’s tip: A sprinkle of cornmeal on the parchment paper adds a delightful crunch to the bottom.
Timing
Here’s the breakdown: Prep time is about 10 minutes, resting time is 14-20 hours total, and baking takes 45 minutes. From start to finish, plan for about 16-24 hours. But don’t worry—most of that time is hands-off.
Chef’s Secret
To make your No-Knead Artisan Bread extra crusty, place a shallow pan of water on the lower rack of your oven while baking. The steam helps create that bakery-style crust we all love.
Extra Info
Did you know that the long fermentation process not only develops flavor but also makes the bread easier to digest? It’s one of the reasons sourdough lovers rave about their loaves!
Necessary Equipment
- Dutch oven or heavy pot with a lid
- Mixing bowl
- Parchment paper
- Wooden spoon
Storage
Store your bread in a cool, dry place. Wrap it in a clean kitchen towel or place it in a paper bag to keep the crust crispy. Avoid plastic bags, as they make the crust soggy.
If you have leftovers, slice the bread and freeze it in a zip-top bag. It thaws quickly and tastes just as good when toasted.
For best results, consume the bread within 2-3 days. After that, it’s still edible, but the texture won’t be as fresh.
Tips and Advice
Use a kitchen scale to measure ingredients for precision. Always let the dough rest undisturbed during the first rise. If your kitchen is cold, extend the rising time slightly. And don’t skip preheating the Dutch oven—it’s crucial for achieving that perfect crust.
Presentation Tips
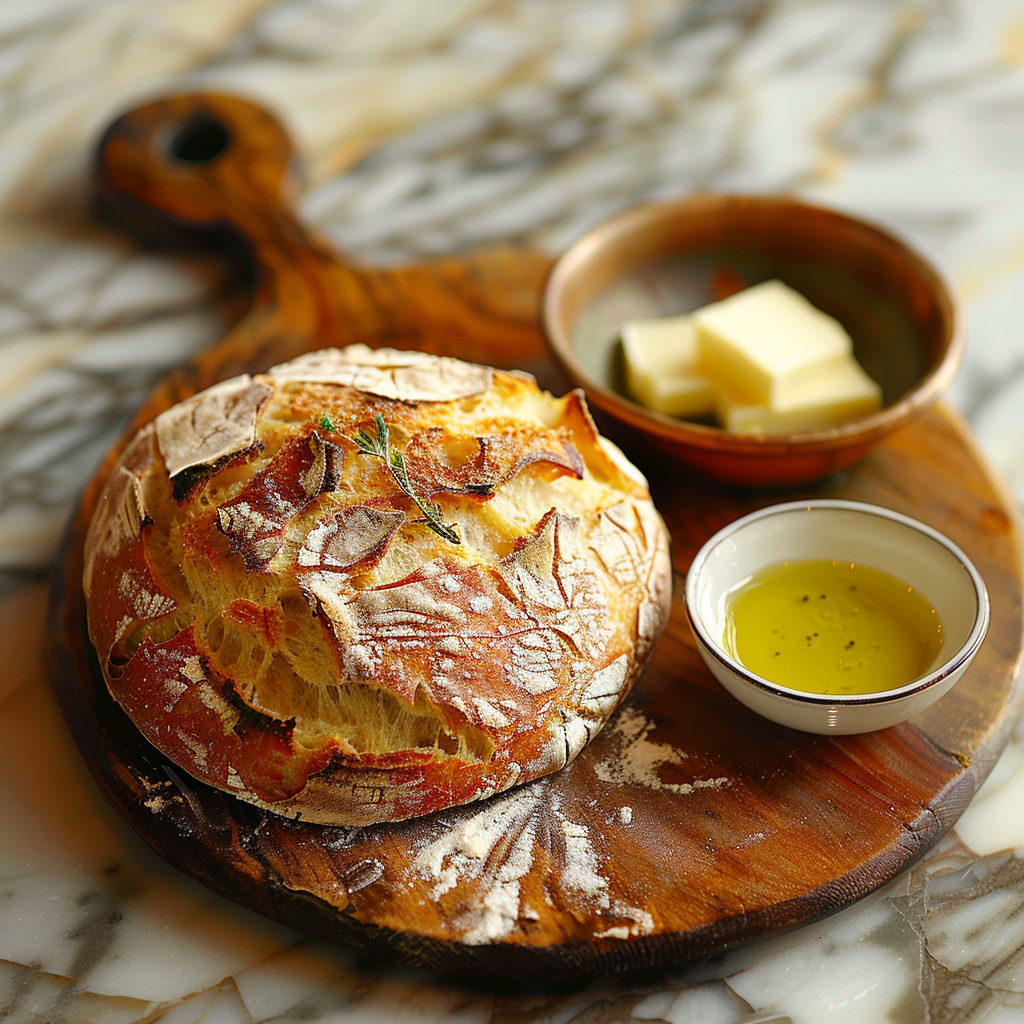
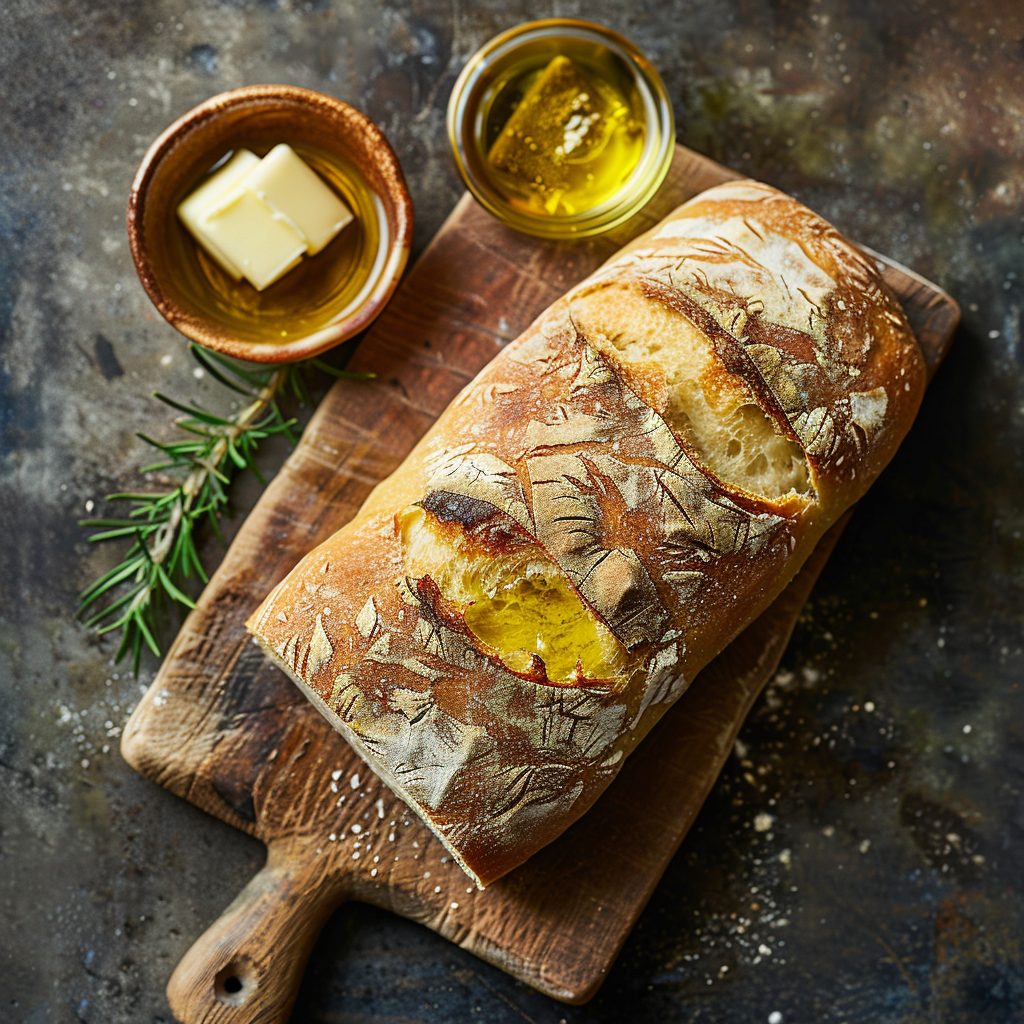
- Serve slices on a rustic wooden board for a charming look.
- Garnish with fresh herbs like rosemary or thyme before baking for added flair.
- Pair with colorful spreads like pesto, hummus, or flavored butter.
Healthier Alternative Recipes
Looking to tweak this recipe? Here are six ideas:
- Whole Wheat Version: Substitute half the all-purpose flour with whole wheat flour for a nuttier flavor.
- Gluten-Free Option: Use a gluten-free flour blend and xanthan gum for structure.
- Herb-Infused Bread: Add dried herbs like oregano or basil to the dough.
- Seeded Loaf: Roll the dough in sesame or sunflower seeds before baking.
- Olive Bread: Knead chopped olives into the dough for a savory twist.
- Low-Sodium Recipe: Reduce the salt by half and use unsalted butter for serving.
Common Mistakes to Avoid
Mistake 1: Rushing the Rise
Skipping the long fermentation means missing out on flavor and texture. Patience is key here. Let the dough rest for the full 12-18 hours to achieve the best results.
Mistake 2: Overflouring the Dough
Adding too much flour makes the dough dense. Stick to the recipe measurements, and remember, sticky dough is normal in this case.
Mistake 3: Skipping the Steam
Without steam, the crust won’t develop properly. Use a Dutch oven or add a pan of water to mimic professional baking conditions.
FAQ
What makes this bread “artisan”?
Artisan bread refers to bread made with minimal processing and traditional methods. This No-Knead Artisan Bread uses simple ingredients and relies on time instead of kneading to develop flavor and texture.
Can I use active dry yeast instead of instant yeast?
Yes, you can substitute active dry yeast, but dissolve it in the water first to activate it fully.
Do I need a Dutch oven?
While a Dutch oven is ideal, you can use any heavy pot with a lid. Alternatively, bake on a baking stone with a steam pan.
Why is my bread too dense?
Dense bread often happens if the dough hasn’t risen enough. Ensure it rests for the recommended time and avoid adding excess flour.
How do I store leftover bread?
Wrap it in a towel or paper bag and store it at room temperature. Freeze slices for longer storage.
Can I add mix-ins like nuts or cheese?
Absolutely! Fold in your favorite mix-ins during Step 2 for added flavor.
Is this bread beginner-friendly?
Yes! Its simplicity makes it perfect for beginners. Just follow the steps, and you’ll succeed.
Why does the dough need to rest so long?
The extended rest allows natural fermentation, which enhances flavor and creates an airy texture.
Can I double the recipe?
Yes, simply double all ingredients and divide the dough into two portions before shaping.
How do I know when the bread is done?
Tap the bottom of the loaf—it should sound hollow. Alternatively, check the internal temperature; it should be around 200°F (93°C).
Final Thoughts
Baking this No-Knead Artisan Bread has been one of my favorite discoveries. It’s simple, rewarding, and brings joy to every meal. Whether you’re a seasoned baker or just starting out, this recipe will become a staple in your kitchen. So grab your ingredients, roll up your sleeves, and let’s bake some magic!
No-Knead Artisan Bread
Ingredients
Equipment
Method
- In a large mixing bowl, combine the flour, salt, and yeast.
- Pour in the water and stir until everything comes together, forming a shaggy dough.
- Cover the bowl with plastic wrap or a clean kitchen towel, and let it rest for 12-18 hours.
- After resting, sprinkle some flour on a clean surface and gently shape the dough into a ball.
- Transfer the dough to a floured piece of parchment paper and let it rise again for about 2 hours.
- Preheat your oven to 450°F (230°C).
- Place the dough (still on the parchment) into a preheated Dutch oven and cover it with the lid.
- Bake for 30 minutes, then remove the lid and bake for another 15 minutes until the crust is deep golden brown.